
Hello crafty friends! Today I'm sharing two cards I made from one stencil panel I made with Rubbernecker Stamps' new release of the Wavy Stencil and the Under The Sea #2 stamp set and coordinating dies.

For my first card I used the adorable sea creatures from the new Under the Sea #2 set with the new stencil. I also challenged myself to get some no-line coloring practice in too! Here are the steps for my card.

Create the background:
- Prep the stencil by spraying the back of it with Pixie Spray. This is a temporary adhesive that will hold the stencil in place and prevent any movement of the delicate lines.
- Place the stencil onto a 6" x 6" piece of white card stock. Blend all four ink colors from Color Fuse Set #9 in an ombré pattern using ink blending brushes. Do not remove the stencil.
- Use a pallet knife to spread Glitz Glitter Gel over the entire project. Remove the stencil and wash it and your tools immediately.
- Set the panel aside to dry.
- When it is dry, use the largest Nested Rectangle Die to cut the panel. (NOTE: place the die up to either the right or left edge of the stenciled panel to have a strip left over for another card.)
- Adhere the die cut piece to a top-folding A2 card base.
- These photos show my process: 1) my supplies; 2) after ink blending; 3) after adding glitter texture paste; and 4) so you can see the beautiful sparkle!


The card elements:
- Stamp the images with Copic safe, no-line coloring ink.
- Use Copic markers to color the fish. Use a black Micron .005 pen to add in the details such as the eyes, mouths, and dots on the fish.
- Next die cut with the coordinating dies.
- Stamp one of the included sentiments from the Under The Sea #2 stamp set with black ink. Then trim it into a rectangle.
- Add foam tape to the fish, sentiment, and two pieces of the plants. Add to the card front, using liquid glue to adhere the remaining plants.

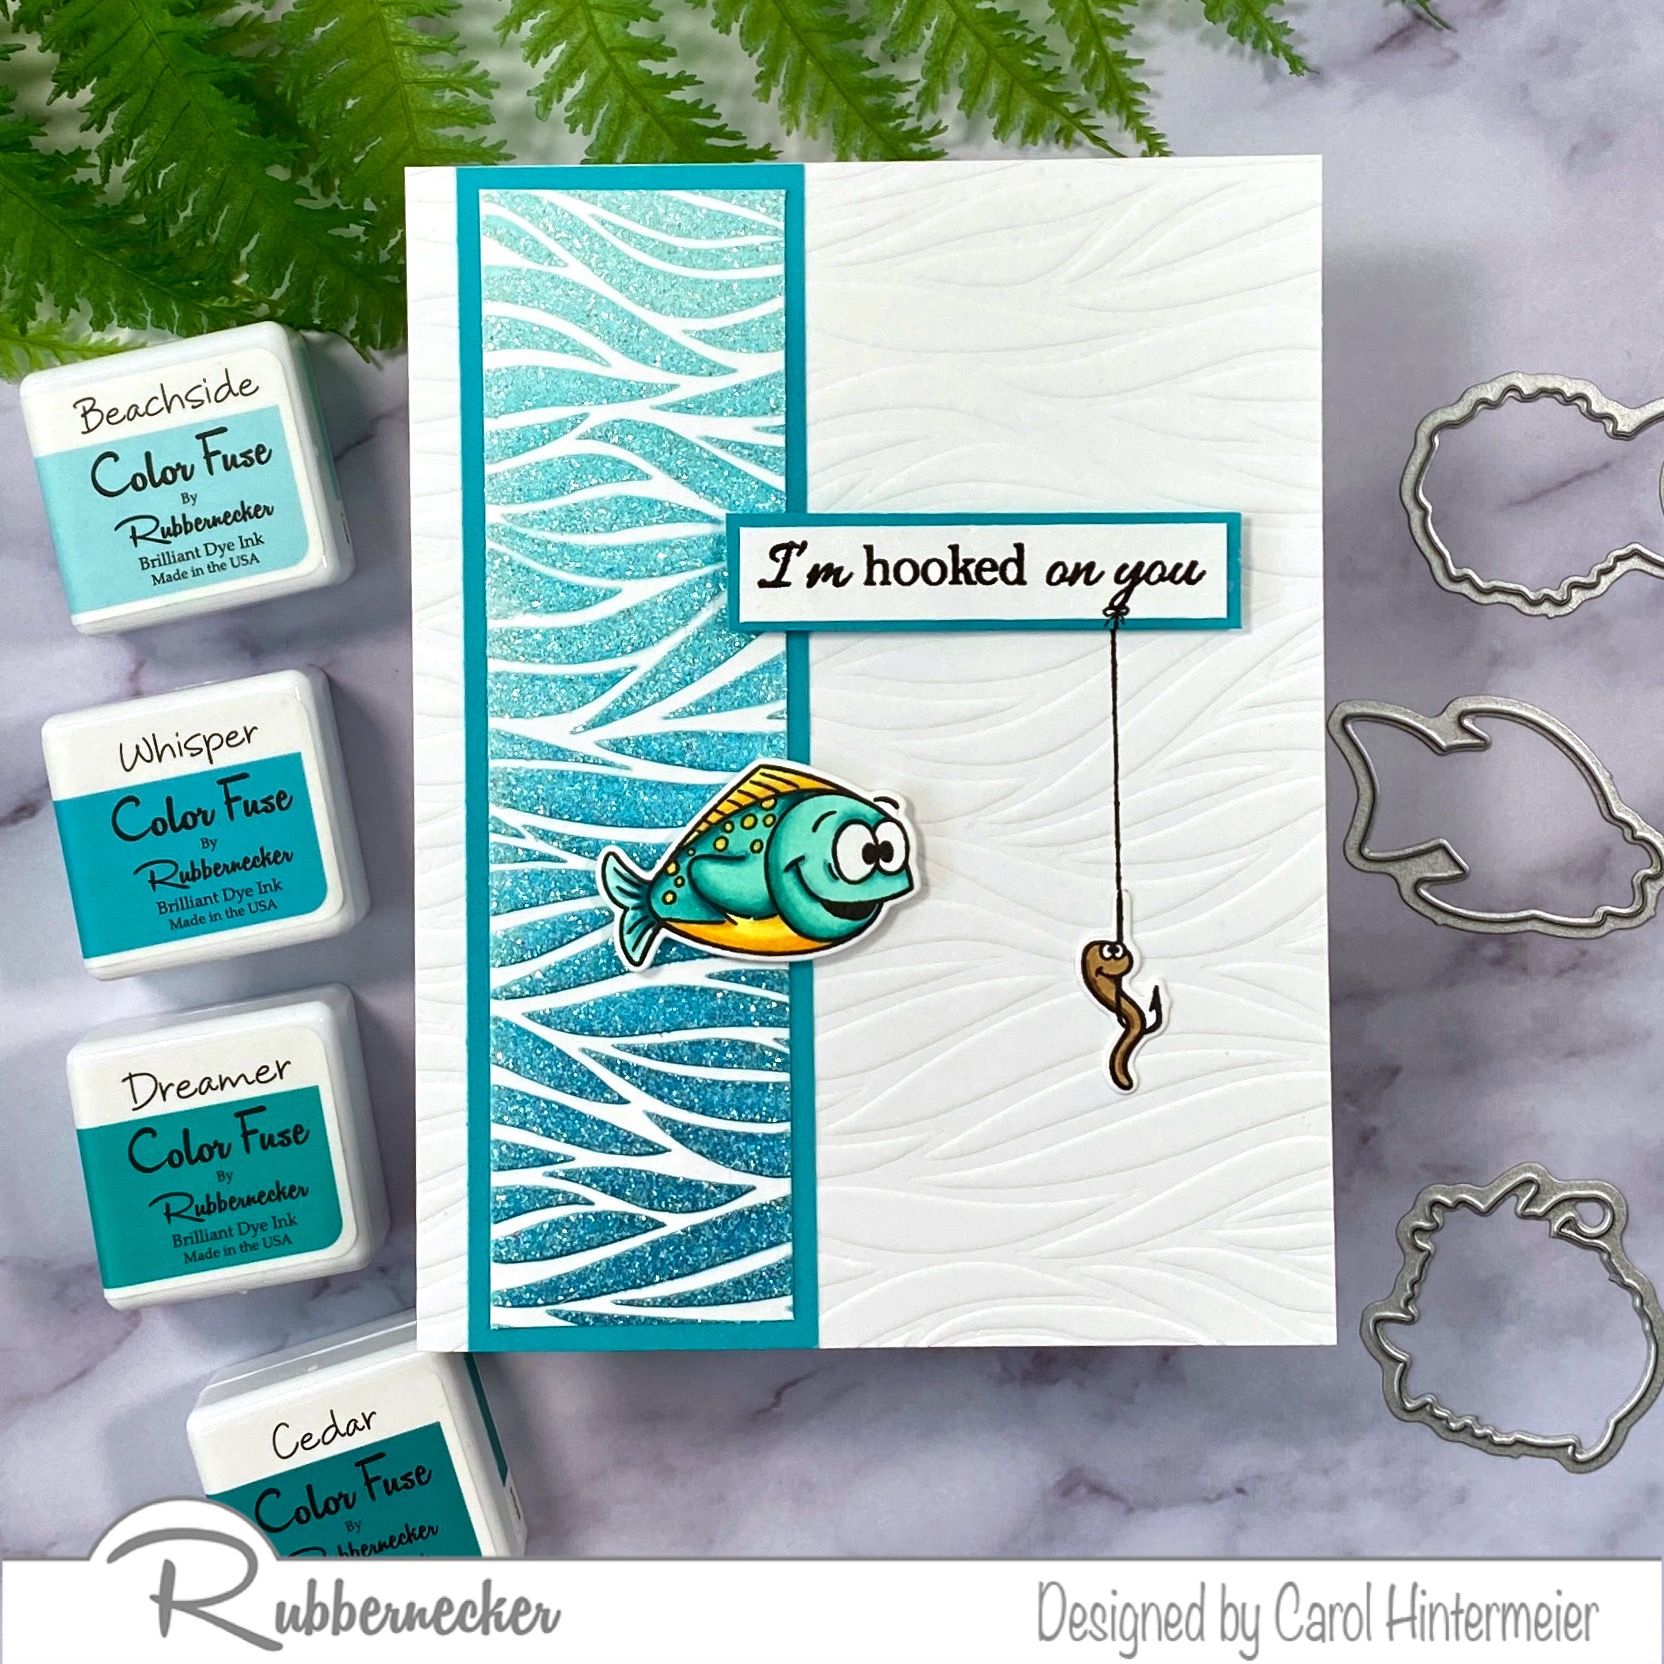
- Dry emboss a white A2 sized card panel with the Wavy Stencil by using the embossing sandwich recommended for your die cutting machine. Adhere it to a top-folding card base.
- The leftover strip from the previous card measured at about 1-3/8". I trimmed the length to 5-¼". Layer it onto a 1-5/8" x 5-½" piece of teal card stock and adhere it to the card front.

The card details:
- Stamp the fish and worm in Copic safe black ink and color with a few Copic markers. Die cut with the coordinating dies.
- Stamp the sentiment in black ink, trim to a slim rectangle shape and layer it onto a teal card stock strip. Add foam tape to the back.
- Add foam tape to the back of the fish and add it to the card.
- Plan where to place the sentiment and the worm, then use a ruler and black marker to draw a line, as shown.
- Adhere the sentiment and add the worm with liquid glue.

I love the subtle dimension you get from dry embossing with the stencil! Thank you so much for stopping by! Have a wonderful week.
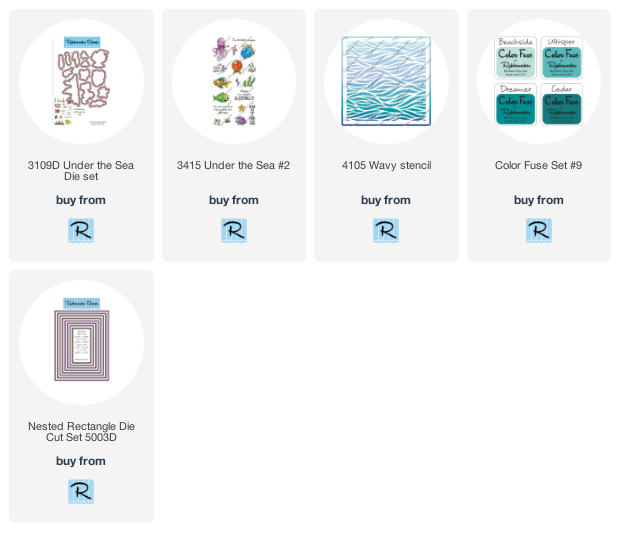
Click the icon for more details of the Rubbernecker products I used.
No comments:
Post a Comment
Thank you so much for using my product links to shop. Some of the product links I've provided may have what is called an "affiliate" link. By using my links to purchase products, I may earn a bit of a commission, at absolutely no additional cost for you. Thank you for supporting my blog.