Happy Tuesday my friends! Today my card features the new Rubbernecker Stamps Dessert Set. I've created a subtle and sparkly background to up the celebratory factor of this card. Keep ready for the details.
Directions for the card base:
- Create a 3-½" x 8-½" white card base by scoring a 7" x 8-½" piece of card stock at 3-½".
- Cut another panel of white card stock to 3-½" x 8-½".
- Using a MISTI stamp the Field of Stars background stamp onto it with Versamark clear embossing ink.
- Sprinkle on some white sparkle embossing powder and heat set.
- Since the stamp isn't tall enough to cover the entire slimline piece, turn the card around in the MISTI and cover the embossed stars with a scrap piece of paper. (see photo)
- Ink the stamp up again with Versamark and stamp it onto the exposed portion of the panel. Sprinkle on the white sparkle embossing powder and heat set.
- Adhere the embossed panel to the folded card base.
- Die cut the Slimline OPC Squares die four times from white card stock. Adhere the layers together with liquid glue and then glue the piece to the card.
Create the card elements:
- Stamp the images from the Dessert Set in Copic safe ink. Color with with various Copic markers.
- Use the coordinating Dessert Set dies to cut the images out. Add foam tape to the back of the cake and dish of ice cream and adhere them to the card.
- Stamp the sentiment (one of several in the Dessert Set) in black ink and die cut with the Nested Square Stitch Die. Die cut one more from black card stock.
- Offset the black square behind the white square sentiment and adhere with glue.
- Add foam tape to the back of the sentiment and adhere to the card.
- Glue the extra strawberries to the card as shown.
I wish the sparkle of the Field of Stars background showed up like it does in real life! I always so appreciate you stopping by. Thank you!
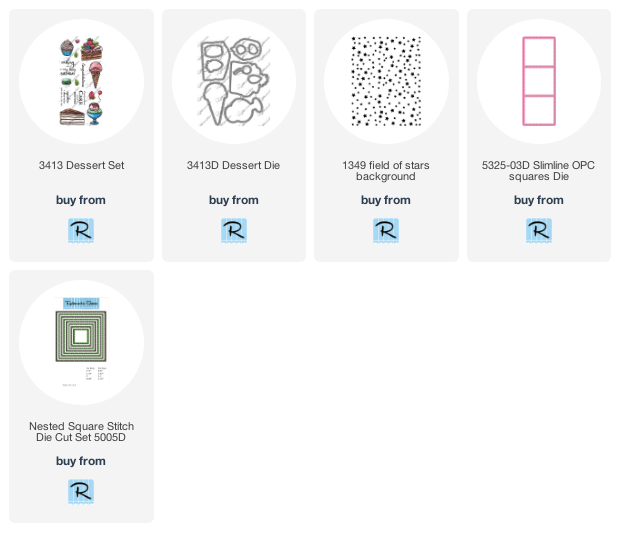
Links to Rubbernecker products:


Wow! Stunning, Carol! Your coloring is fantastic! I'm ready for dessert now
ReplyDelete