Showing posts with label Winter Wonder gem stickers. Show all posts

Wednesday, December 21, 2022

Sparkling Winter White Poinsettias Card

Hello crafty friends! Today I'm sharing my monochromatic winter card that features the Lovely Layers: Poinsettia Honey Cuts with lots of gorgeous sparkles! I love adding sparkles to cards anytime I can get away with it! Haha!

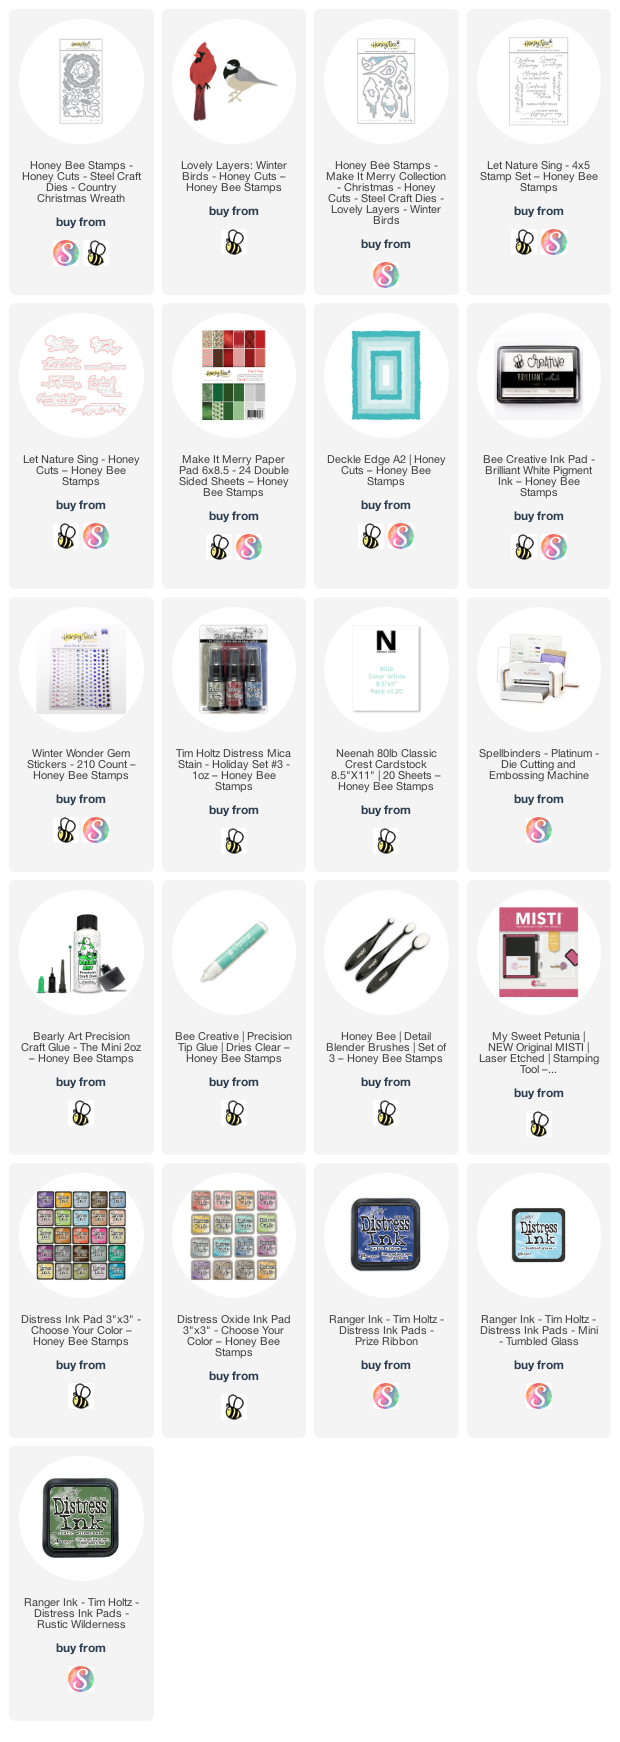
For the card base, I used a Detail Blender brush to add Stormy Sky Distress Oxide just around the edges of the folded card base. Then I used one of the papers that comes in the current "FreeBee" paper pack (free with a qualifying purchase). I used Bee Creative glue to adhere it to the card base.

Next I die cut the Lovely Layers: Poinsettia and Lovely Layers: Winter Greenery (pine sprigs, branch, and berries) from 80# Neenah. To add the sparkle to the poinsettia, I used an embossing dabber and swiped it along the edges of the petals. Then I added some embossing powder that I've had in my stash forever (and I just learned it is now discontinued) but I think that this sparkly gold embossing powder would be beautiful too.  I also linked a few at the end of my supply list below that would be very pretty!  I heat set the powder and repeated the steps for each layer of the poinsettia. I used glue to adhere the layers together.

Before I embossed the leaves and berries, I colored them with some Stormy Sky Distress Oxide using a Detail Blender brush. I repeated the embossing steps. My reverse tweezer made this easy and also protected my fingers from the heat!

I quickly colored the twigs with a blender brush and some Brushed Corduroy Distress Oxide.

I arranged the poinsettia and other die cuts on my card. I used a piece of Press N Seal to pick up all of the stems and branches to add glue to the back. Then just replace the Press N Seal to adhere the die cuts to the card. I added glue to the poinsettia to adhere it. Then I tucked in the leaves with some glue. To add more dimension, I used my fingers to slightly shape the twigs, sprigs, and leaves.

Next I colored a scrap of white cardstock with Stormy Sky Oxide. Then I brushed it with my anti-static tool and stamped the sentiment from the Home For The Holidays stamp set with clear embossing ink. I added white sparkle embossing powder and heat set it. Then I used the coordinating Honey Cut to die cut it out. I popped it up with a few foam squares.

I added a few gem stickers from the Winter Wonder gem sticker set to the center of the poinsettia.

I so wish cameras would pick up the gorgeous sparkle! It's so pretty in real life. If you celebrate Christmas, I wish you the happiest of holidays! If not, have a wonderful day, and I'll see you next week after Christmas! Thank you so much for stopping by--you are so appreciated! 
Wednesday, December 7, 2022

Blue Bird in a Country Christmas Wreath Holiday Card

Hello crafty friends!  Today, as I did last week, I pulled out one of my most favorite previously released Honey Bee holiday sets. Some of the older set are still my most favorite and I'll never get rid of them! So I pulled out the beautiful Country Christmas Wreath  by Honey Bee and paired it with the new favorite Lovely Layers: Winter Birds!! My inspiration for this came from the raucous, but beautiful, Blue Jays we have here in Texas. They have a crest and a similar body shape to the Cardinal this is intended to be. I think it works!!

For ease of reading, I'll list the steps for each component of my card starting with the wreath.

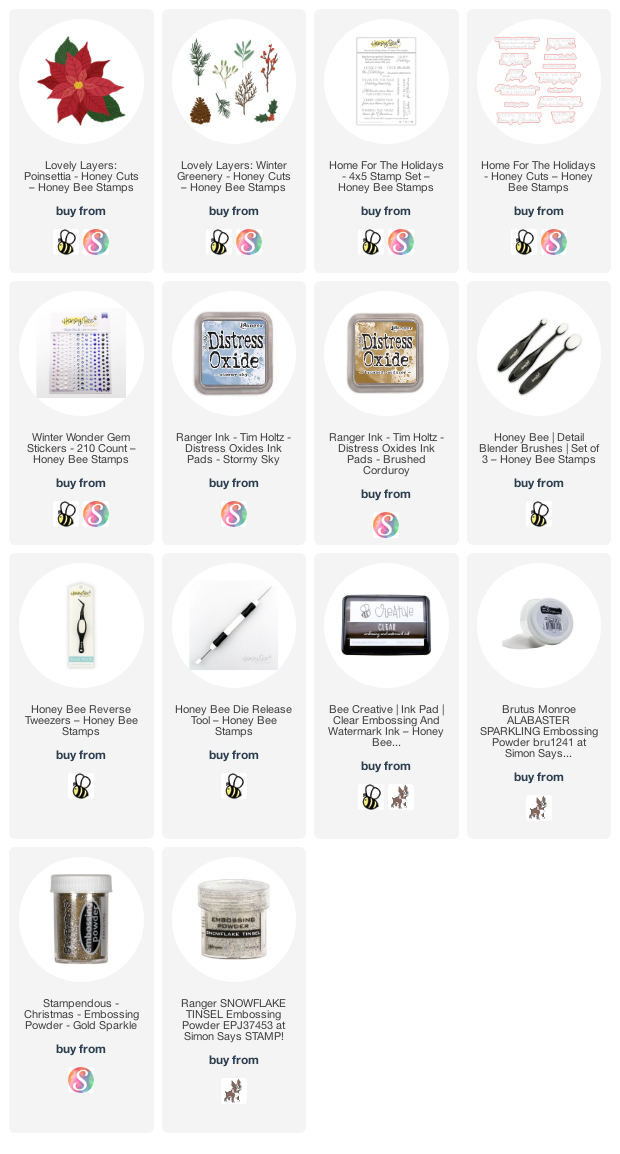
  • From the Country Christmas Wreath Honey Cuts, I die cut the wreath from 80# Neenah.
  • Then I chose two shades of green cardstock from my stash and a piece of white 80# Neenah. Then I used the Fresh Balsam Distress Mica Stain to lightly spray the pieces.
  • WOW! I ordered these recently and this is the first time I've used them. These sprays give such a beautiful shimmer and shine that a photo just cannot capture! (P.S.: I need them all--LOL!)
  • Once the pieces were dry, I chose a few of the greenery dies in the Country Christmas Wreath and die cut them from the mica panels.
  • I tried to keep count and think I die cut about 34 of the pine sprigs and maybe a dozen of the leafy branches. I die cut the small leafy sprigs from white cardstock.
  • Then I put dots of glue on the small leafy sprigs and dipped them into Clear Rock Candy Distress Glitter and set them aside to dry.
  • I used glue and my reverse tweezers to arrange the pine branches and leafy sprigs around the die cut wreath.
  • Lastly I added in the glittered small leafy sprigs around the wreath.
  • I used a piece of paper from the Make It Merry paper pad and die cut it with the largest Deckle Edge A2 Honey Cut. Then I adhered it to an A2 card base.
  • I used Bee Creative glue to adhere the wreath to my card base.

Next I created my "Blue Jay" inspired bird:

  • I die cut the layers for the bird in the Lovely Layers: Winter Birds Honey Cuts from 80# Neenah. The feet, beak and eye is black cardstock. Did you know that there is a downloadable layering guide? The link to it is just under the product description in the Honey Bee shop.
  • Then I used a couple of the little bitty Detail Blender brushes to color each layer. I used Prize Ribbon and Tumbled Glass.
  • To get the lighter shade in the middle of the birds belly, I lightly inked on some Brilliant White pigment ink with a detail blender brush.
  • I always begin with inking/coloring the bottom layer of all of the Lovely Layers sets. Even though you don't need to color the entire layer, I added some ink around all of the edges as I usually like to pop up the layers and didn't want the white cardstock to show.
  • I added thin foam squares for dimension between the bird's body layers. I used glue to adhere the rest.
  • Since the bird is sitting over the wreath, I added a few pieces of foam tape to the back to adhere it.
  • I stamped the sentiment from the Let Nature Sing stamp set with Rustic Wilderness Distress Oxide ink. I cut it out with the coordinating Honey Cut.
  • As if there's not enough shimmer and shine, (Haha!) I added a few gem stickers from the Winter Wonder set onto some of the green leafy sprigs.

I wish photo could capture the depth and beautiful shimmer of the wreath!  Thank you so much for stopping by today!

Thank you if you choose to use my affiliate links (never any additional cost to you).