Showing posts with label Make It Merry paper pad. Show all posts

Wednesday, October 21, 2026

Quilted Home For The Holidays -- Honey Bee Stamps

Hello, crafty friends!  With October over half over, I need to get going on my holiday cards to send!  Last week, I made an autumn card with the Honey Bee Stamps Bee Quilted: Honeycomb Hexies Honey Cuts and I mentioned that I wanted to make a holiday card with this set.

I couldn't get that out of my mind, so today's card is my holiday version of the Bee Quilted: Honeycomb Hexies!  This card's top folding piece is actually the Honeycomb Hexies top layer--keep reading to see more and steps to create your own.

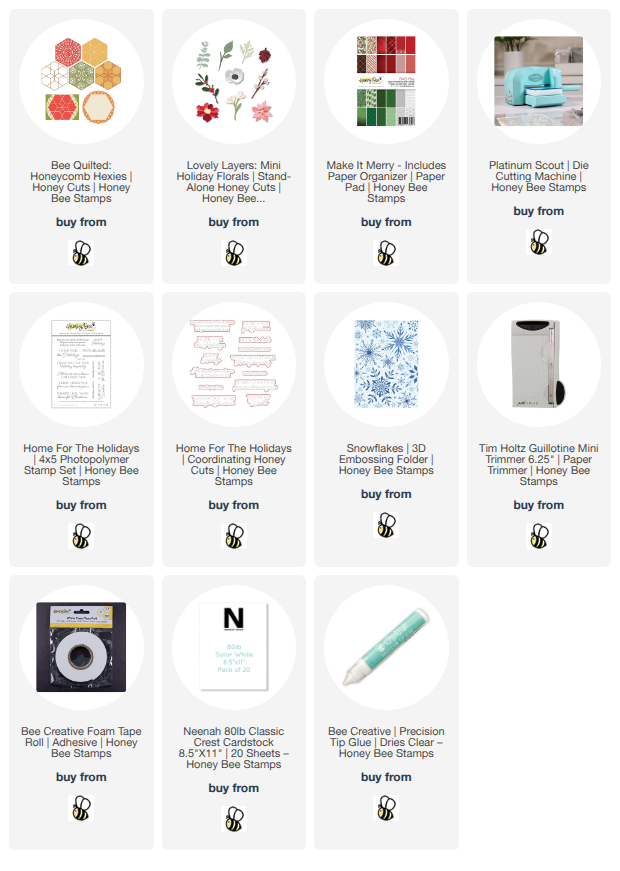
I started by choosing this beautiful patterned paper from the Make It Merry paper pad.  (Check out the paper organizer that's included!)  I die cut the paper by placing smaller pieces of this paper over the larger stitched Honeycomb Hexies die.  There are two other smaller die cuts attached to this larger honeycomb die, but I just wanted the larger one.  I repeated this five more times until I had six patterned paper honeycomb pieces.

Using the same die (with the three stitched dies) I die cut red cardstock by placing just the other two die cuts over the paper.  As before, I repeated this until I had six sets.

After I die cut white cardstock with the Honeycomb Hexies large grid die and the outer single base die, I used Bee Creative glue to adhere the two layers together.  Then I glued all of the Bee Quilted die cuts into the grid pattern.

I have to say that having the new Bee Creative Platinum Scout right beside me to cut these small die cuts was SO good!  Honestly, I didn't think I would use this small die cutter all that much, but I have totally changed my mind on that!

Next I die cut shades of green cardstocks and red cardstock with some of the dies in the Lovely Layers: Mini Holiday Florals die set.  I glued the layers together, and added white gel pen highlights to the berries.

Next are the steps to create the unique fold for the Honeycomb Hexies layers:

  • Emboss one A2 sized white cardstock panel with the Snowflakes 3D embossing folder.
  • Trim a scrap of white cardstock to 2-½" x ½".  Score the strip at ¼" with a stylus and score board.
  • Fold in half, add glue to one side and adhere to the back of the Honeycomb Hexies panel.
  • Add glue to the inside of the other half of the strip and adhere to the back side of the Snowflakes embossed panel.  (Center the Honeycomb panel horizontally over the embossed panel.)
  • Glue a plain A2 white cardstock panel to the back of the embossed panel.  This will hide the flap.
  • Cut another base of the Honeycomb Hexies, trim a sliver off of one edge (this will facilitate the folding of the panel) and glue to the back of the quilted piece.

To add a smooth surface for the inside sentiment, die cut another Honeycomb Hexies base.  Trim each edge by ¼".  Then I stamped a sentiment from the Home For The Holidays stamp set onto the panel.  Place this face down on the back side of the card top, center it, add glue, then fold the embossed down.  Wait a minute for the glue to set.  Now you have a centered panel under the Honeycomb Hexies card front.

The sentiment on the front is also in the Home For The Holidays stamp set.  After I stamped it in black pigment ink, I cut it out with the coordinating die.  I used some foam adhesive to adhere it to the card front.

I absolutely love how this turned out!!  Now I'm thinking ahead to a Bee Quilted: Honeycomb Hexies card for spring--soft floral patterned paper, pastel cardstock--I think I would like that too!  What do you think?

Thanks so very much for stopping by today!  I hope you have a wonderful day and some fun crafty time!

I so appreciate that you use my affiliate links to shop! (There's never any additional cost to you.)  It helps me with the expenses of posting my creative content, thank you.  Note:  You must have "allow cross-site tracking" and cookies turned on in your browser in order for it to know you use my links.
Wednesday, December 7, 2022

Blue Bird in a Country Christmas Wreath Holiday Card

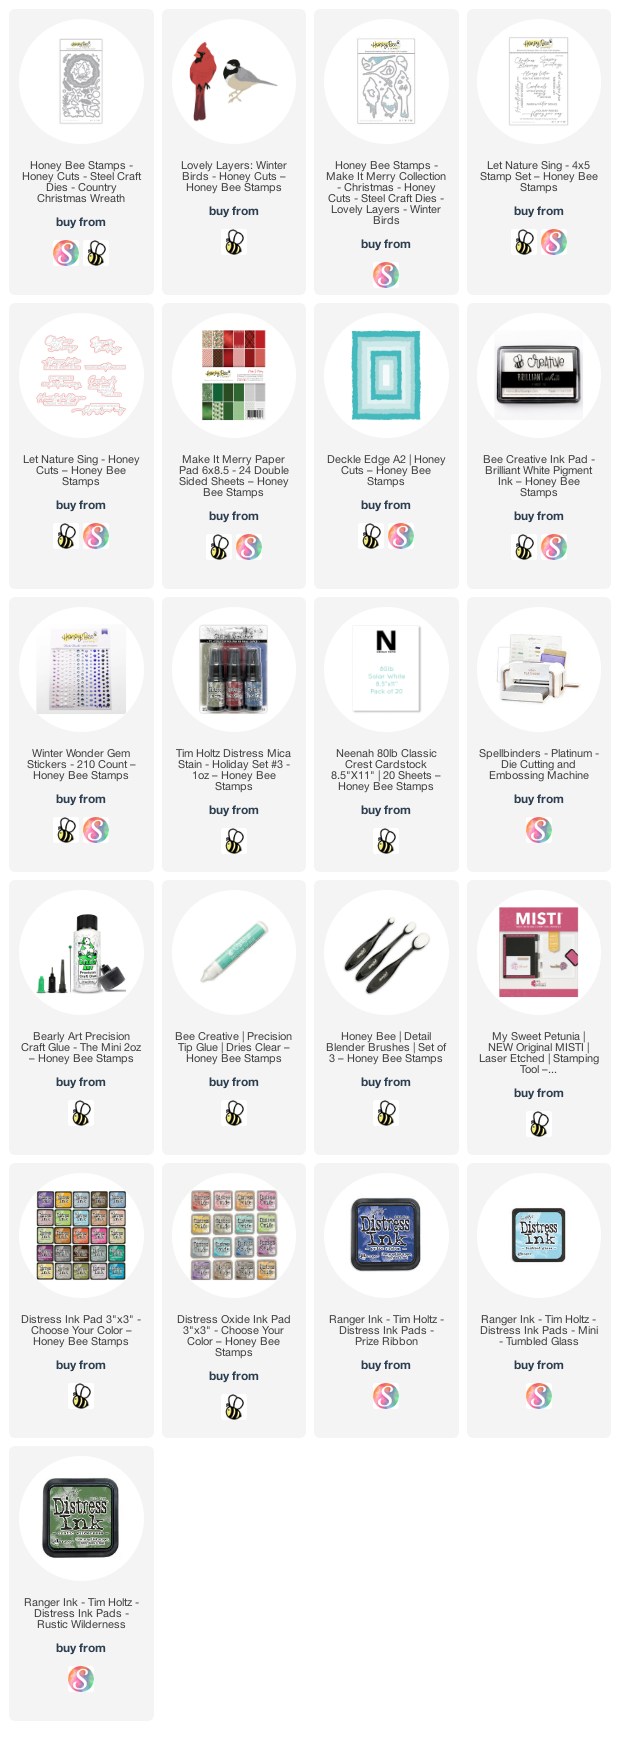
Hello crafty friends!  Today, as I did last week, I pulled out one of my most favorite previously released Honey Bee holiday sets. Some of the older set are still my most favorite and I'll never get rid of them! So I pulled out the beautiful Country Christmas Wreath  by Honey Bee and paired it with the new favorite Lovely Layers: Winter Birds!! My inspiration for this came from the raucous, but beautiful, Blue Jays we have here in Texas. They have a crest and a similar body shape to the Cardinal this is intended to be. I think it works!!

For ease of reading, I'll list the steps for each component of my card starting with the wreath.

  • From the Country Christmas Wreath Honey Cuts, I die cut the wreath from 80# Neenah.
  • Then I chose two shades of green cardstock from my stash and a piece of white 80# Neenah. Then I used the Fresh Balsam Distress Mica Stain to lightly spray the pieces.
  • WOW! I ordered these recently and this is the first time I've used them. These sprays give such a beautiful shimmer and shine that a photo just cannot capture! (P.S.: I need them all--LOL!)
  • Once the pieces were dry, I chose a few of the greenery dies in the Country Christmas Wreath and die cut them from the mica panels.
  • I tried to keep count and think I die cut about 34 of the pine sprigs and maybe a dozen of the leafy branches. I die cut the small leafy sprigs from white cardstock.
  • Then I put dots of glue on the small leafy sprigs and dipped them into Clear Rock Candy Distress Glitter and set them aside to dry.
  • I used glue and my reverse tweezers to arrange the pine branches and leafy sprigs around the die cut wreath.
  • Lastly I added in the glittered small leafy sprigs around the wreath.
  • I used a piece of paper from the Make It Merry paper pad and die cut it with the largest Deckle Edge A2 Honey Cut. Then I adhered it to an A2 card base.
  • I used Bee Creative glue to adhere the wreath to my card base.

Next I created my "Blue Jay" inspired bird:

  • I die cut the layers for the bird in the Lovely Layers: Winter Birds Honey Cuts from 80# Neenah. The feet, beak and eye is black cardstock. Did you know that there is a downloadable layering guide? The link to it is just under the product description in the Honey Bee shop.
  • Then I used a couple of the little bitty Detail Blender brushes to color each layer. I used Prize Ribbon and Tumbled Glass.
  • To get the lighter shade in the middle of the birds belly, I lightly inked on some Brilliant White pigment ink with a detail blender brush.
  • I always begin with inking/coloring the bottom layer of all of the Lovely Layers sets. Even though you don't need to color the entire layer, I added some ink around all of the edges as I usually like to pop up the layers and didn't want the white cardstock to show.
  • I added thin foam squares for dimension between the bird's body layers. I used glue to adhere the rest.
  • Since the bird is sitting over the wreath, I added a few pieces of foam tape to the back to adhere it.
  • I stamped the sentiment from the Let Nature Sing stamp set with Rustic Wilderness Distress Oxide ink. I cut it out with the coordinating Honey Cut.
  • As if there's not enough shimmer and shine, (Haha!) I added a few gem stickers from the Winter Wonder set onto some of the green leafy sprigs.

I wish photo could capture the depth and beautiful shimmer of the wreath!  Thank you so much for stopping by today!

Thank you if you choose to use my affiliate links (never any additional cost to you).

Wednesday, October 26, 2022

Grandma's Christmas Tree - New 3D Embossing Folders & Coordinating Stencils

 Hello crafty friends! Are you loving the Honey Bee Stamps' Make it Merry release as much as I am? There are so many wonderful products that it's so hard to choose what to make next! I couldn't wait to have a play with Honey Bee's new product: the 3D embossing folder that coordinates with the Grandma's Christmas Tree Honey Cuts and stencils. There are so many possibilities with this set!

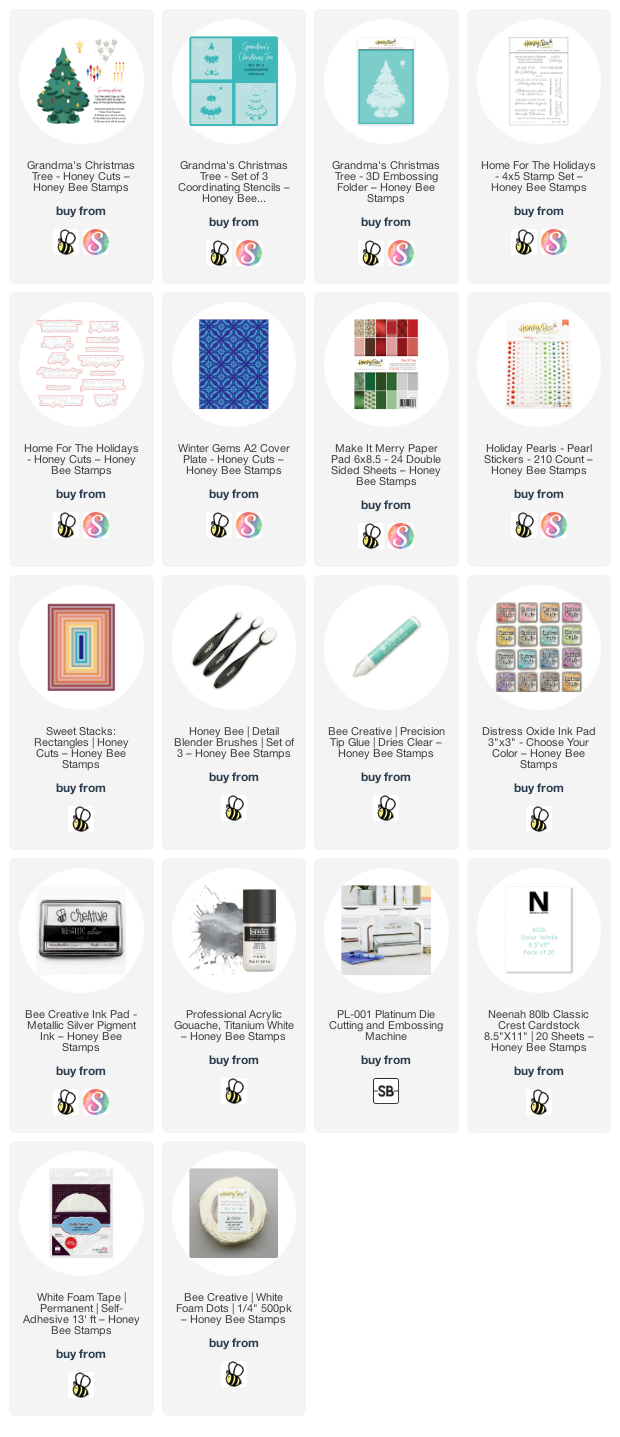
The first thing you need to do is die cut your tree with one of the dies in Grandma's Christmas Tree Honey Cuts. I chose the tree die that cuts the little slits to use with the lights, as I did here, and also the candles and birds. After I die cut the tree from 80# Neenah, I placed the die cut in the Grandma's Christmas Tree 3D embossing folder. I turned it face down and used a couple pieces of removable tape to hold it in place over the recessed side of the embossing folder.

I use a Spellbinders Platinum for my die cutting and found that I didn't have a plate to work for the 3D embossing folder sandwich. NO worries! Just play with creating your own sandwich! What worked for me was a couple pieces of thick chipboard along with a few layers of printer paper. The main thing is you don't want to force it through your machine.

Next I used the coordinating Grandma's Christmas Tree stencil set to add some Bundled Sage and Rustic Wilderness Distress Oxide inks with a couple of detail blending brushes. For the final stencil, I added iridescent glitter gel and then set it aside to dry. I also added white splatters with some diluted white gouache and a paint brush. Then I adhered some white and green pearls from the new Holiday Pearl Stickers set.

After I die cut the light bulbs (x 3) I added drops of White Blizzard Nuvo Glitter Drops. While those were drying I added Metallic Silver ink to the star with a sponge dauber. I used Bee Creative glue to adhere the lights after slipping them into the little slits.

I stamped the sentiment from the Home For The Holidays stamp set with Rustic Wilderness Distress Oxide ink. Then I cut it out with the coordinating die.

The A2 card base is layered with some beautiful paper from the Make It Merry paper pad and a white layer that has the Winter Gems A2 Cover Plate embossed onto it. I used a Sweet Stacks: Rectangles die to trim the white layer down. Then I finished up by popping up the tree and sentiment with foam tape.

This was such a fun card to make and the 3D embossing folder adds so much beautiful detail!! Thank you so much for stopping by today! Have a wonder, and crafty week!!