
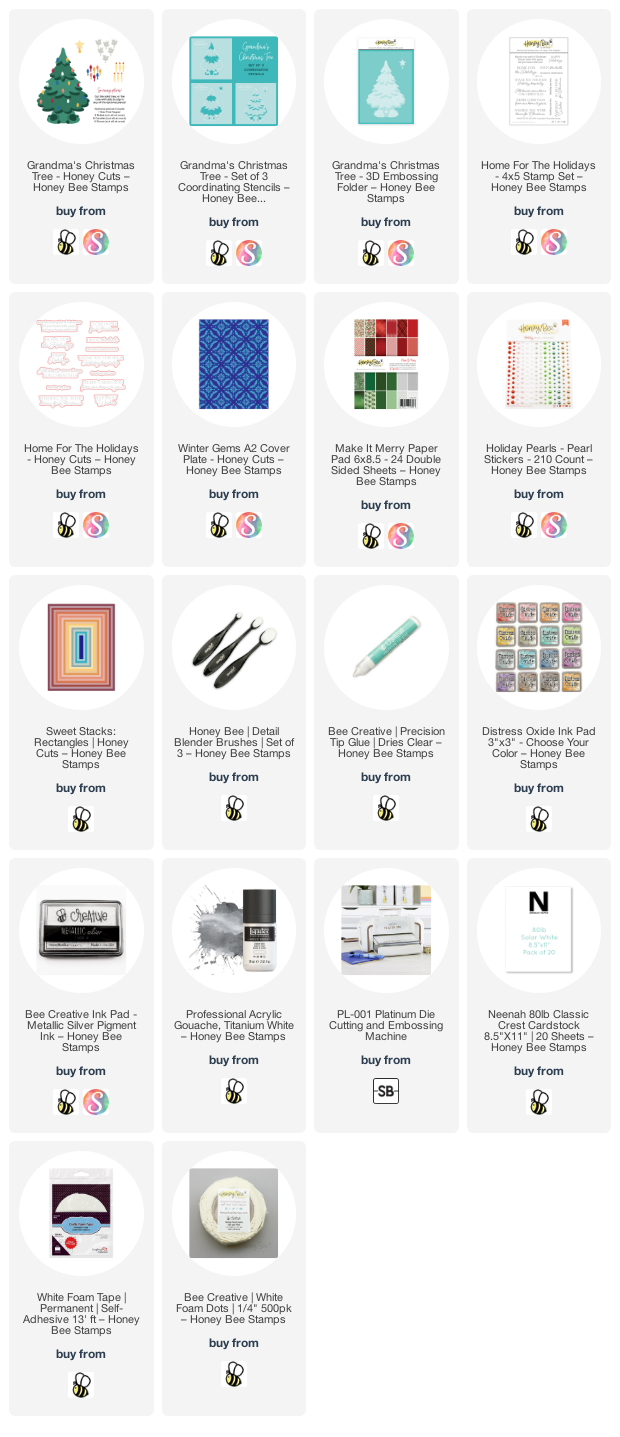
Hello crafty friends! Are you loving the Honey Bee Stamps' Make it Merry release as much as I am? There are so many wonderful products that it's so hard to choose what to make next! I couldn't wait to have a play with Honey Bee's new product: the 3D embossing folder that coordinates with the Grandma's Christmas Tree Honey Cuts and stencils. There are so many possibilities with this set!

The first thing you need to do is die cut your tree with one of the dies in Grandma's Christmas Tree Honey Cuts. I chose the tree die that cuts the little slits to use with the lights, as I did here, and also the candles and birds. After I die cut the tree from 80# Neenah, I placed the die cut in the Grandma's Christmas Tree 3D embossing folder. I turned it face down and used a couple pieces of removable tape to hold it in place over the recessed side of the embossing folder.
I use a Spellbinders Platinum for my die cutting and found that I didn't have a plate to work for the 3D embossing folder sandwich. NO worries! Just play with creating your own sandwich! What worked for me was a couple pieces of thick chipboard along with a few layers of printer paper. The main thing is you don't want to force it through your machine.

Next I used the coordinating Grandma's Christmas Tree stencil set to add some Bundled Sage and Rustic Wilderness Distress Oxide inks with a couple of detail blending brushes. For the final stencil, I added iridescent glitter gel and then set it aside to dry. I also added white splatters with some diluted white gouache and a paint brush. Then I adhered some white and green pearls from the new Holiday Pearl Stickers set.
After I die cut the light bulbs (x 3) I added drops of White Blizzard Nuvo Glitter Drops. While those were drying I added Metallic Silver ink to the star with a sponge dauber. I used Bee Creative glue to adhere the lights after slipping them into the little slits.
I stamped the sentiment from the Home For The Holidays stamp set with Rustic Wilderness Distress Oxide ink. Then I cut it out with the coordinating die.

The A2 card base is layered with some beautiful paper from the Make It Merry paper pad and a white layer that has the Winter Gems A2 Cover Plate embossed onto it. I used a Sweet Stacks: Rectangles die to trim the white layer down. Then I finished up by popping up the tree and sentiment with foam tape.
This was such a fun card to make and the 3D embossing folder adds so much beautiful detail!! Thank you so much for stopping by today! Have a wonder, and crafty week!!
Beautiful card -- love that dimension proved by the plate. It sounds like those dies are pretty amazing too
ReplyDelete