Hello crafty friends! Today I'm sharing my monochromatic winter card that features the Lovely Layers: Poinsettia Honey Cuts with lots of gorgeous sparkles! I love adding sparkles to cards anytime I can get away with it! Haha!
For the card base, I used a Detail Blender brush to add Stormy Sky Distress Oxide just around the edges of the folded card base. Then I used one of the papers that comes in the current "FreeBee" paper pack (free with a qualifying purchase). I used Bee Creative glue to adhere it to the card base.
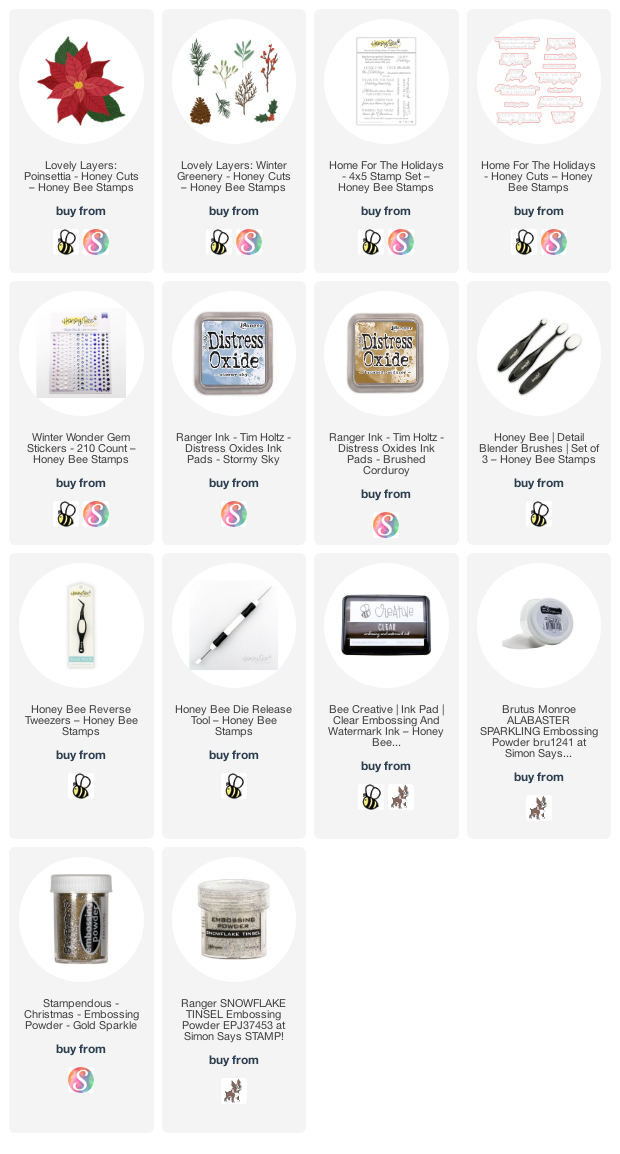
Next I die cut the Lovely Layers: Poinsettia and Lovely Layers: Winter Greenery (pine sprigs, branch, and berries) from 80# Neenah. To add the sparkle to the poinsettia, I used an embossing dabber and swiped it along the edges of the petals. Then I added some embossing powder that I've had in my stash forever (and I just learned it is now discontinued) but I think that this sparkly gold embossing powder would be beautiful too. I also linked a few at the end of my supply list below that would be very pretty! I heat set the powder and repeated the steps for each layer of the poinsettia. I used glue to adhere the layers together.
Before I embossed the leaves and berries, I colored them with some Stormy Sky Distress Oxide using a Detail Blender brush. I repeated the embossing steps. My reverse tweezer made this easy and also protected my fingers from the heat!
I quickly colored the twigs with a blender brush and some Brushed Corduroy Distress Oxide.
I arranged the poinsettia and other die cuts on my card. I used a piece of Press N Seal to pick up all of the stems and branches to add glue to the back. Then just replace the Press N Seal to adhere the die cuts to the card. I added glue to the poinsettia to adhere it. Then I tucked in the leaves with some glue. To add more dimension, I used my fingers to slightly shape the twigs, sprigs, and leaves.
Next I colored a scrap of white cardstock with Stormy Sky Oxide. Then I brushed it with my anti-static tool and stamped the sentiment from the Home For The Holidays stamp set with clear embossing ink. I added white sparkle embossing powder and heat set it. Then I used the coordinating Honey Cut to die cut it out. I popped it up with a few foam squares.
I added a few gem stickers from the Winter Wonder gem sticker set to the center of the poinsettia.
I so wish cameras would pick up the gorgeous sparkle! It's so pretty in real life. If you celebrate Christmas, I wish you the happiest of holidays! If not, have a wonderful day, and I'll see you next week after Christmas! Thank you so much for stopping by--you are so appreciated!


Lovely card. I will be case-ing it.
ReplyDelete