Showing posts with label Pinstripes & Polka Dots: Outdoors paper pad. Show all posts

Wednesday, September 27, 2023

I Couldn't Have Picked A Better Friend Featuring Fun Coloring Stencils

Hello crafty friends! Today I'm sharing my sweet card featuring Honey Bee Stamps beautiful Awesome To The Core stampsHoney Cuts, and coordinating stencil set! I thought I'd create an unexpected green apple to coordinate with the patterned papers I chose. Read on for the details!

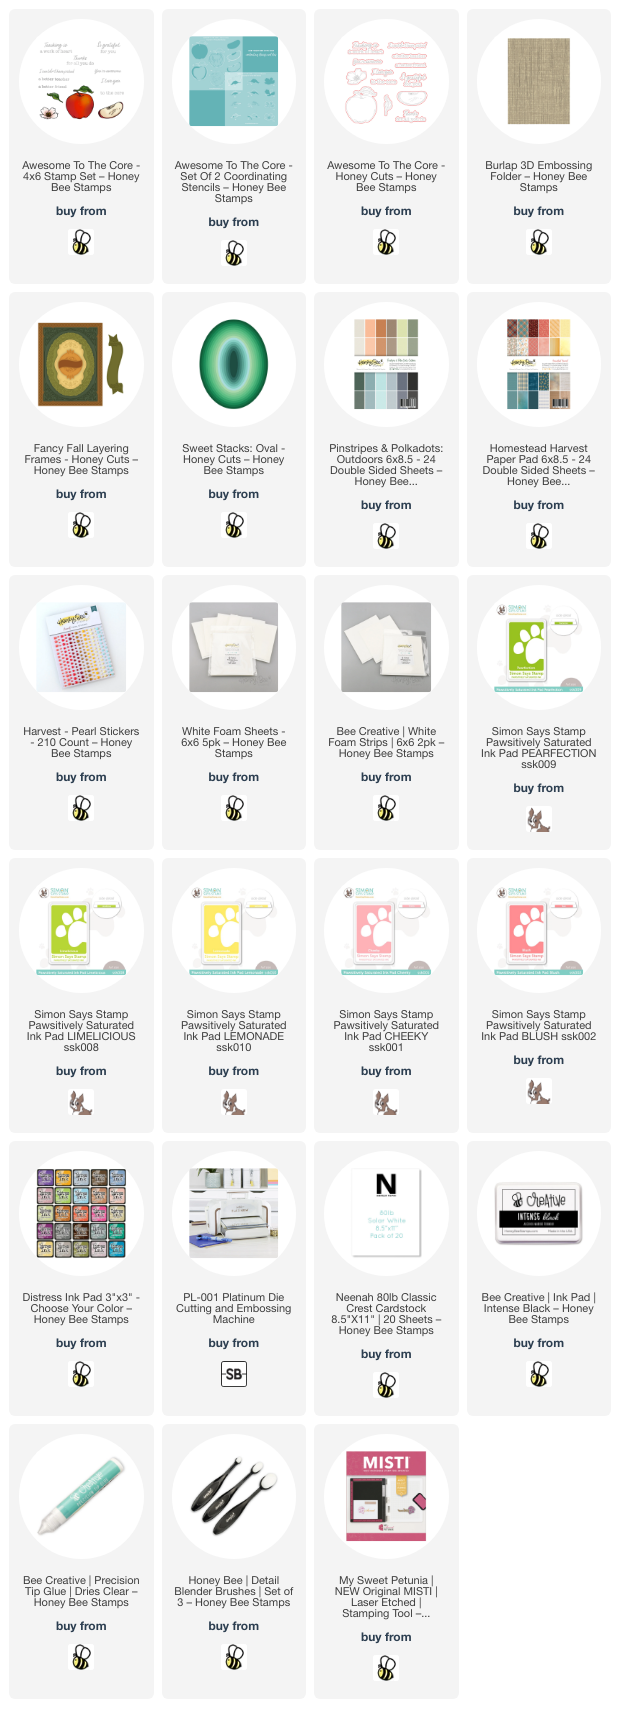
For the layers of my A2 card, first I added white cardstock that I embossed with the Burlap 3D embossing folder (I love that texture). Next I chose papers from the Pinstripes & Polka Dots: Outdoors paper pad and the Heartfelt Harvest paper pad and die cut them with two of the Fancy Fall Layering Frames dies.

I added foam tape to the back of the green layer to adhere it to the card. Before I adhered the pink layer, I glued an oval I die cut from a Sweet Stack: Ovals die to the back of it. I used thin foam tape strips to adhere this layer.

I stamped the images from the Awesome To The Core stamp set with Intense Black ink. I also stamped extra flowers and leaves to use for the card . I made sure the ink was dry before I began coloring the images with the coordinating stencils.  These stencils have some fabulous details in them and are so fun to use!

I used ink blender brushes to color the apple, the slice, and flowers with inks I have in my stash. For the leaves I used Mowed Lawn and Rustic Wilderness Distress Inks. The stem and seed are Gathered Twigs Distress Ink. I very lightly colored the apple slice with Antique Linen Distress ink. Once all of the images were colored, I cut them out with the coordinating Honey Cuts.

To adhere the pieces to the card I used Bee Creative glue and foam tape for a bit of extra dimension. Then I added three pretty pearl stickers from the Harvest Pearl Stickers.

I will be adding this card to my stash to use any time of the year for one of my sweet friends!  Thank you so much for stopping by!

Thank you so much for using my affiliate links to shop (never any additional cost to you)!
Monday, May 22, 2023

Vintage Is In! A Totally Masculine Birthday Card

Do you need a quick and easy masculine card?  This one is totally masculine!!  It features several of Honey Bee Stamps new products from the Adventure Awaits release.  This card did not take me long to make and that's always a bonus for me!

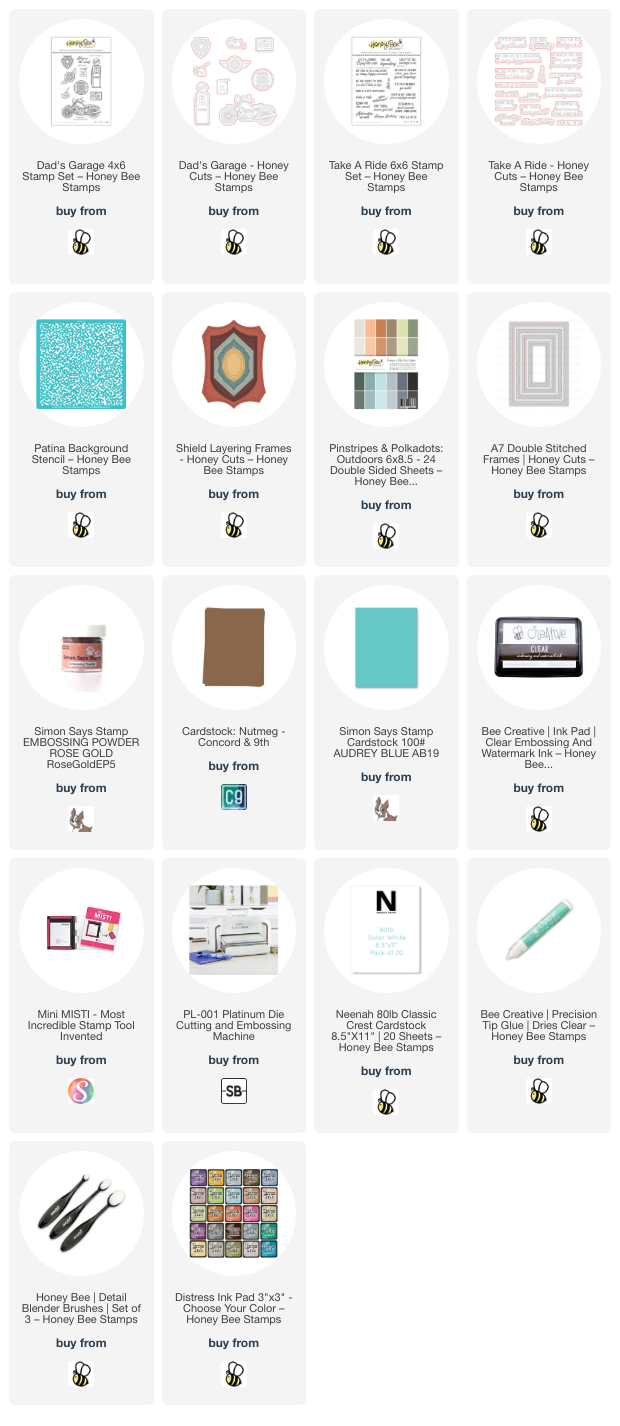
First I made two pieces using the new Patina Stencil.  I die cut brown cardstock (all product links are below) with the A7 Double Stitched Frames die.  The stencil doesn't cover the entire piece but you can't tell that at all.  The Clear Embossing Ink I stenciled through is very subtle.  (I used a new Paper Pouncer to add the clear ink through the stencil!  Makes it SO easy!)

Next I added more embossing ink through the stencil onto teal cardstock.  I added rose gold embossing powder and heat set it.  I die cut that piece and the striped paper (the new Pinstripes & Polka Dots: Outdoors paper pad) with dies from the Shield Layering Frames set.  I blended on some Brushed Corduroy Distress ink around the teal layer for more of a vintage look.

I added the layers to an A7 card base.  Then I stamped the motorcycle and the sentiments with clear embossing ink and heat set the rose gold embossing powder.  These are found in the Dad's Garage and Take A Ride stamp sets.  There are coordinating Dad's Garage and Take A Ride dies to cut them out!  Be sure to check out all of the awesome sentiments in the Take A Ride stamp set.

I added foam tape to the motorcycle and sentiments to pop them up on the card.


And just like that, you have a fabulous masculine card!  Be sure to check out all of the other amazing things in the Adventure Awaits release.  Thank you so much for stopping by!

Thank you very much for using my affiliate links to shop (never any additional cost to you)!