Showing posts with label floral cards. Show all posts

Wednesday, July 8, 2026

Sending Summer Smiles -- Perfect Picnic Release by Honey Bee Stamps

Hello crafty friends!  Did you see all of the new summertime goodies from Honey Bee Stamps' Perfect Picnic Release?  This release is so fun with lots of summer themed products to make cards for all of your gatherings!  Also, there are two gorgeous floral stamp sets.  I've used one here on my card.  The Summer Smiles florals are so beautiful.  Of course, I love that there are coordinating Summer Smiles coloring stencils and Summer Smiles Honey Cuts too!  Some paper from the new Signature Surfaces paper pad made an awesome background!

Keep reading to see another card I've made with this awesome release!

There are two different ways to get started with the Summer Smiles stencils.  You can stamp the Summer Smiles floral, and then stencil, or you can do as I did and do all of the stenciling first.  Since I knew I was going to use a light colored ink, I just didn't want to risk smearing that stamped ink.

I chose a set of pink inks that are four shades from light to dark.  A set of three inks would work too!  I used a grip mat to hold my white cardstock and began with the first of six stencils and my lightest colored ink pad.  I continued with blending brushes and each shade of ink for each stencil layer.

For the leaves I used three different shades of green ink.  Ink blending these layers is so fun!

I added pink and then green splatters to the flower and the leaves.  I just used some scrap paper to cover up what I needed to.

Next I used the coordinating Summer Smiles dies and cut out the floral image.  I used a white gel pen to add white dots to the flower's stamen.

I stamped two of the sentiments from the Summer Smiles stamp set with black ink and cut them out with the included coordinating dies.

Instead of my typical white embossed background (which I do love!) I found a piece of patterned paper from the new Signatures Surfaces paper pad (a paper organizer is included!) that I think works wonderfully for the background.  After I trimmed the paper to 4-¼" x 5-½" I used Bee Creative glue to adhere the paper to an A2 card base.

Did you know the papers in the Signature Surfaces paper pad were designed by several of us on the Honey Bee Design Team?  And guess what?  The paper I chose is one I designed with an ink smooshing technique!

The Summer Smiles flower and the sentiments are all popped up with foam tape and foam strips.

And a side note!  Did you hear that there is an Instagram Hop to celebrate the Perfect Picnic release?  You can join us on the hop and leave comments for your chance to win one of two Honey Bee gift cards!  You have until July 10, 2026 for commenting for your chance to win.  Click HERE to join us!

This is my card I have for the Hop:

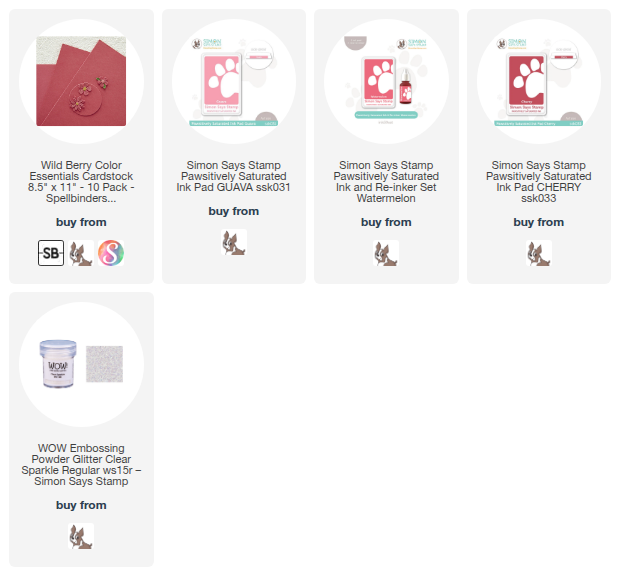
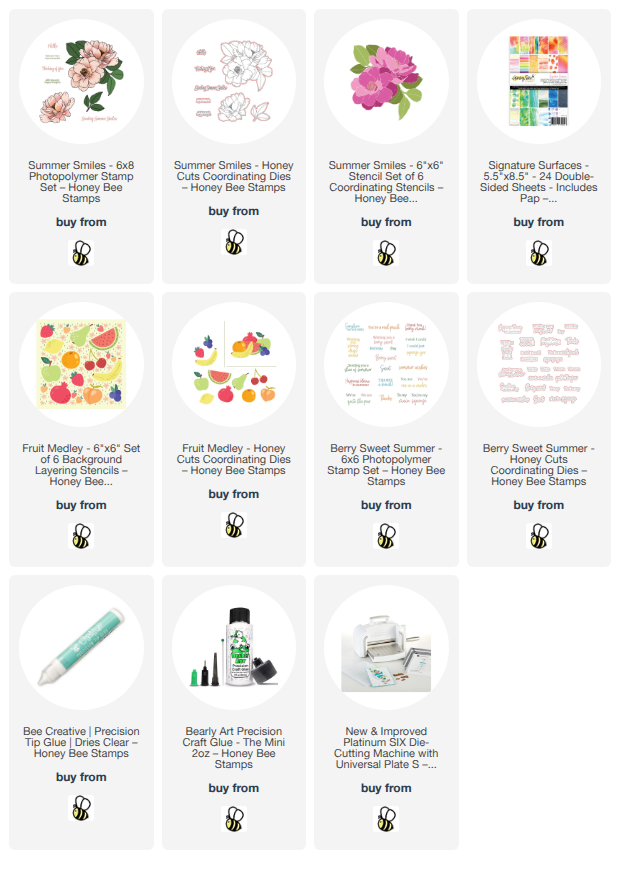
I used these products from the new release for this super sweet, fruity card!

I hope you've found some inspiration here today for the fabulous Perfect Picnic release!  Thank you so much for stopping by.  I hope your day is awesome and very crafty!

Thank you so much for using my affiliate links to shop (never any additional cost to you)!
Wednesday, May 20, 2026

Celebrating You...Every Single Day

Hello crafty friends!  Do you ever make a card and just totally love it?  It doesn't happen as much as I like, but today's card is one!  I've used a few of Honey Bee Stamps latest release products, including the Lovely Layers: Mini Spring Florals, the Tooled Leather 3D embossing folder (how many times have I used it now?), and a couple other wonderful sets.

First I die cut white cardstock with the dies for the Bearded Iris and the stemmed floral that are in the Lovely Layers: Mini Spring Florals.  I used blending brushes and inks in coordinating shades of yellow, purple, and green to color the layers each Bearded Iris.  I used Bee Creative Glue to adhere the layers together.

I love adding these soft colors in one of my top color combinations!  Next I die cut more white cardstock with the dies for this cute bow that's in the Accessorize It: Charmed die set.  I used the same yellow inks to color the layers with blending brushes.  After I glued the layers together (the little knot is popped up with a foam from the new ¼" White Honeycomb Foam adhesive).  I used my white Gelly Roll 10 pen to add dots all over.

The card base is A2 sized and I embossed a white cardstock panel with, my now favorite, Tooled Leather 3D embossing folder.  I smooshed two of the mid-tone purple and yellow inks onto a large stamping block and diluted the ink with some water.  I added splatters of both colors along the embossed panel from the bottom left to the top right.  I made sure to dry one color with my heat tool before splattering the next color.

After I glued the embossed panel to my card base I began to arrange the Mini Spring Florals.  I used glue and a few foam adhesives to stick them to the card front.

The sweet sentiments are from the Heart Of Our Family stamp set, stamped in black pigment ink, cut out with the coordinating dies, and then popped up on the card with foam strips.

I love Bearded Irises and really like the soft colors of this card!  I hope you do too, and are inspired by my card!

Thank you so much for stopping by today!  I hope is a good one for you!

I always so appreciate those of you that use my affiliate links to shop (never any additional cost to you)!

Tuesday, October 14, 2025

Merry And Bright

 Hello friends!  Today I'm sharing this card featuring some products from My Pretty Things' 2025 Holiday Collection!  This features the beautiful Timeless Beauty stamps, stencils, and coordinating dies.  While this stamp set comes with some awesome birthday sentiments, I'm in the mood for holiday cards!  Read on for the details.

I like to stencil my stamp sets before I stamp it in black ink to help prevent smearing.  So first I stamped the Timeless Beauty floral stamp with a no-line coloring ink.

Tip:  To easily stamp the black ink later use a stamp positioning tool.  I placed the white cardstock panel into the bottom corner of my MISTI and then stamped it with no-line coloring ink.  LEAVE the stamp on the door of the MISTI.

Now you can pull out the stamped panel and begin to add your ink colors through the Timeless Beauty stencils with blending brushes.  Check out my list below for the ink colors I used.

I did not stencil ink for the berries. 

Next, place the colored floral panel back into the MISTI.  Make certain that the card is completely into the same corner as before.  I inked up the Timeless Beauty floral with black ink.

To color the berries, I made a custom color of pearl texture paste by mixing a bit with a drop of re-inker.  After I spread it onto the berries stencil, I set it aside to dry.

I created my card base layer by stamping the Art Deco Christmas Tree stamp onto deep pink cardstock with clear embossing ink.  I added clear sparkle embossing powder and then set it with my heat tool.

I trimmed the piece to 4" x 5-¼" then used the Art Deco Christmas Tree stencils and two pink inks to add a bit of subtle color to the stamped image.  Then I glued it to my card base.

Making sure the texture paste was dry, and it was, I cut out the Timeless Beauty floral with the coordinating Timeless Beauty die.  I added foam tape to the back to adhere the flowers to the card.

Next I stamped a sentiment from the Happy Holidays Sentiments with pink ink.  I cut the sentiment out with the coordinating die and adhered it to my card with foam tape.

Thank you so much for stopping by today!  I hope it's a great one for you!

Thank you very much for using my affiliate links to shop (never any additional cost to you)!

Saturday, May 10, 2025

May The Wind Always Be At Your Back...

 Happy Saturday!!  Today I'm sharing my card that features several of the products from Spellbinders beautiful Field Notes Collection.

The Field Notes 3D embossing folder makes such a gorgeous background in white.  I used my old corner rounder to round all four corners for a bit of a different look!  This embossing folder will be used many times for my cards, I predict!

Next I die cut the Field Notes Twine from light brown cardstock.  I folded the tabs around to the back of the embossed panel and used glue to secure.  Then I glue the piece to a rounded-corner A2 card base.

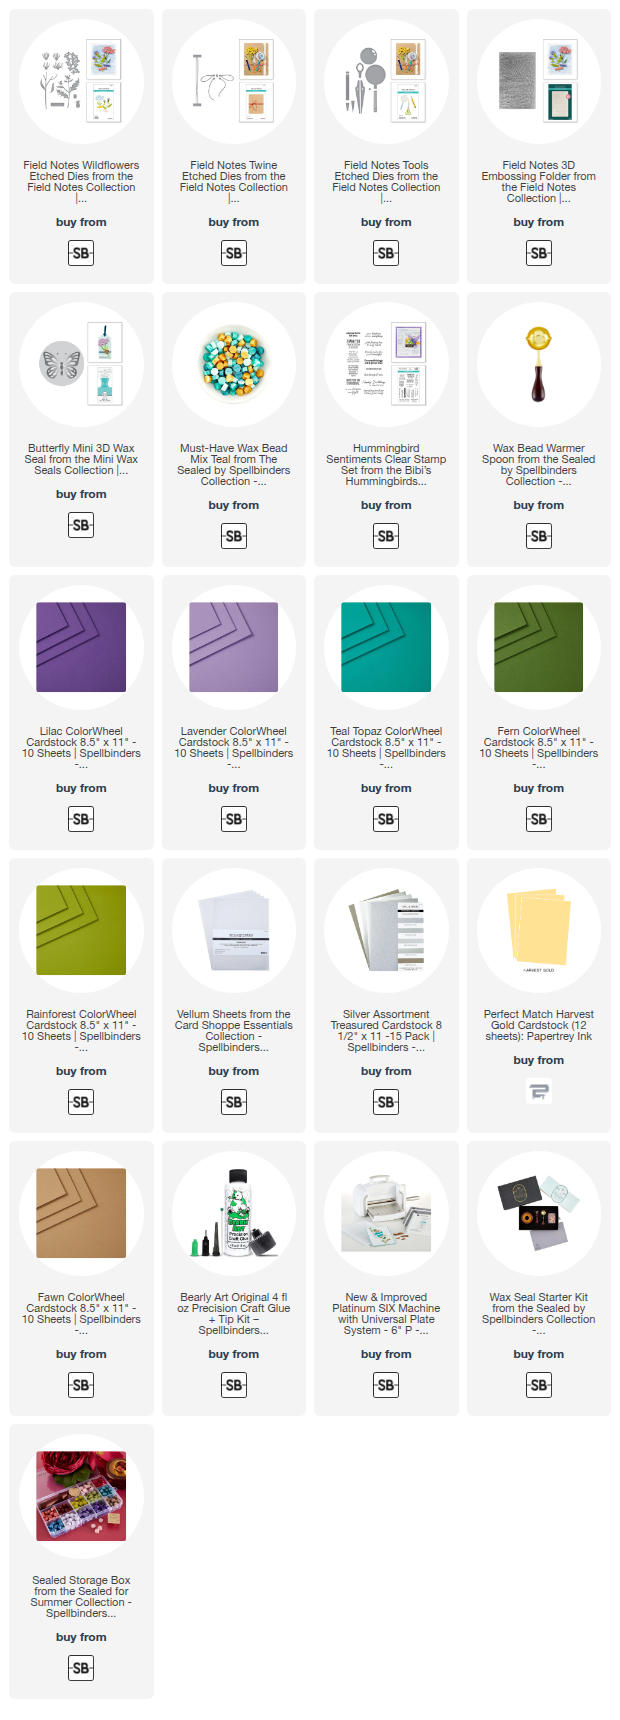
Then I used some pretty teal, yellow, green, and purple cardstocks (available colors in the list below) to die cut all of the pieces from the Field Notes Tools and the Field Notes Wildflowers die set.

There is a die that resembles washi tape in the Field Notes Wildflowers set.  I put some black and white polka dot washi tape from my stash onto a piece of white cardstock.  Then I die cut two washi tapes from this.  So fun!

I die cut a piece of vellum for the magnifying glass center and silver cardstock for its handle.  I die cut more silver cardstock with the scissors die.

After I glued the various layers of all of the die cuts together, I tucked them umber the twine die cut and adhered with glue.

The sentiment is from the Hummingbird Sentiments stamp set.  After I stamped it with black ink, I trimmed the piece and adhered it with foam tape.  Then I adhered the washi tape die cuts with small pieces of foam tape.

I finished the card up by adding the cutest Butterfly Mini 3D wax seal to the center of the twine die cut bow.  Two wax beads from the Teal Mix was just the right amount for this mini seal.

I love how this turned out and hope you do too!  I think there are so many ways to use these Field Notes Collection sets for many different occasions.  Have a wonderful weekend!!

Thank you for using my affiliate links to shop (never any additional cost to you)!

Wednesday, June 19, 2024

Summer Birthday Card with Ink Blended Plumerias

Hello crafty friends! Today I have a card for those that have a summer birthday! I've used Honey Bee Stamps gorgeous Bold Background: Plumeria for this summery birthday card!  Plumerias are one of my favorite flowers and I was excited to use this set today!

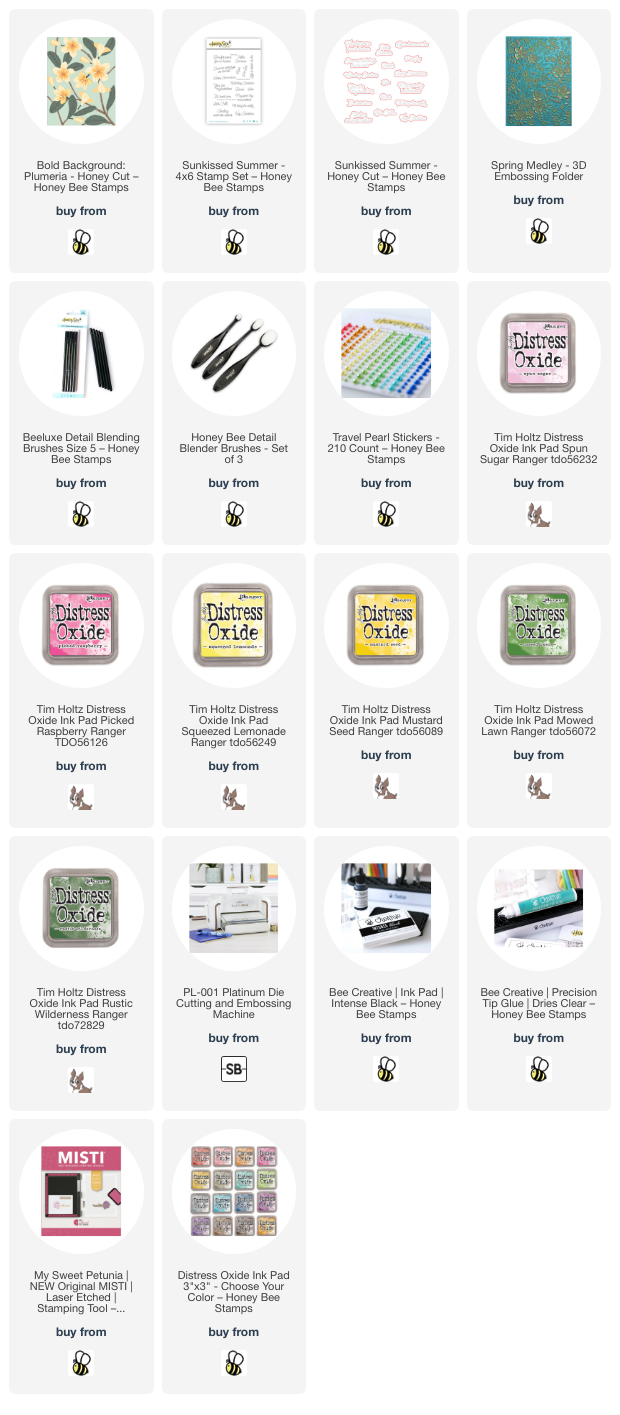
I die cut all of the flower layers of the Bold Background: Plumeria Honey Cuts from 80# white cardstock. Then I used various small ink blending brushes to color the layers with Distress Oxide inks. My inspiration for the colors came from a web search of plumeria images! First I brushed on Spun Sugar Distress Oxide with a small blending brush. Then I added Picked Raspberry Oxide ink to the edges. I was able to achieve the detailing by using a size 5 Beeluxe Detail Blending Brush. I love how that tiny brush makes it easy to color a small area!

I used another size 5 brush to dab on Squeezed Lemonade and Mustard Seed Oxide to the centers of the flowers.

I die cut the background and leaves of the Bold Background: Plumeria from green cardstock. This made it super easy and quick to blend on Mowed Lawn and Rustic Wilderness to add a bit of shading to the pieces.

I used glue to adhere the layers of the flowers. The Layering Guide was very helpful for assembling the flower layers. I noticed a great tip on the Guide that said to adhere the leaves to the background first!

I embossed white cardstock with one of my favorite -- the Spring Medley 3D embossing folder. I trimmed it to A2 size and glue it to a card base. Then I adhered the background with leaves to the card. Next I adhered the Plumerias to the base with glue.

I chose one of the sentiments from the Sunkissed Summer stamp set and stamped it with black ink. Then I cut it out with the coordinating die and glued it to the card.

I added a few coordinating pearls from the Travel Pearl Stickers set to the center of the open plumeria.

I really appreciate you stopping by to check out my card!  Have a wonderful and crafty day!

Thank you for using my affiliate links to shop (never any additional cost to you)!

Saturday, May 4, 2024

Fresh Picked Angel Trumpets Birthday Card

Hello crafty friends!  Today I'm sharing my card featuring the beautiful Fresh Picked Angel Trumpets die set by Spellbinders.  This is one of the sets in the new More Fresh Picked Collection.

I've also used some of Spellbinders glitter cardstock for the flowers and the background layer of the card.  The only ink used on this card is where I added green ink for shading on the leaves die cut!

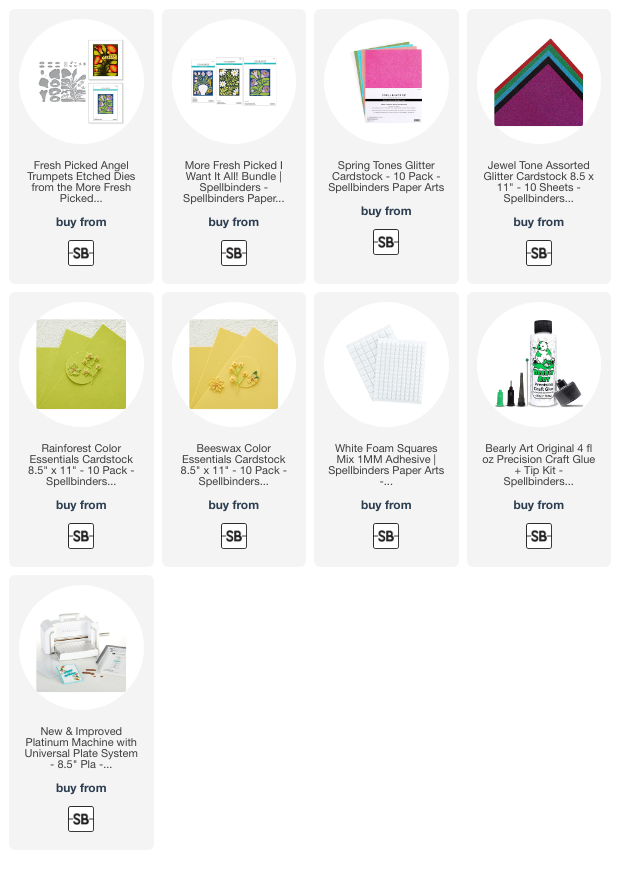
I die cut the flower pieces from two shade of blue glitter cardstock.  The smaller pieces are die cut from yellow and more green cardstock.  The assembly is easy and I used glue for this step.

I used a sentiment from the Be Bold Glimmer Sentiments that I had saved from a previous project.  I popped it up with some foam squares for a bit of dimension.

I just love the Fresh Picked Collections and how the die fills up an entire A2 card front!  Thank you for stopping by today!  I hope you have a wonderful, and crafty weekend!

Thank you for shopping with my affiliate links (never any additional cost to you)!
Wednesday, April 17, 2024

A Floral Shaker Card for Your Friend With A Mailable Card Stand

Hello crafty friends!  Today I'm sharing my shaker card that features Honey Bee Stamps new Squared Spring Florals stampsHoney Cuts, and coordinating coloring stencils.  I love the design of this stamp with the flowers spilling from the upper left corner! I've also made a card stand with the new Ornate Card Stand Honey Cut that can be mailed with the card! How fun it would be to receive a card with a matching stand to display it? Read on for all of the details.

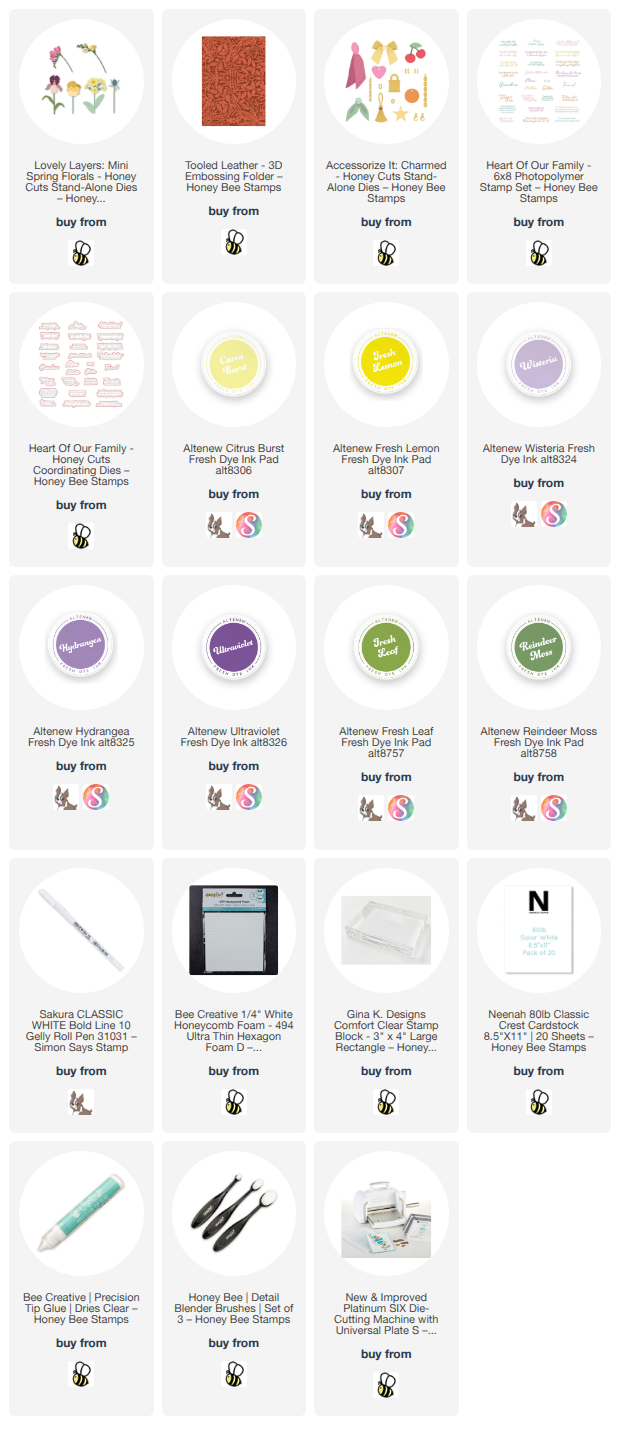
First I used the Squared Spring Florals stencil set and blender brushes to color the image.  I used Distress Oxide inks in the colors of Abandoned Coral, Peacock Feathers, Squeezed Lemonade, Mowed Lawn, and Rustic Wilderness. Then I placed the piece into my MISTI and centered the Squared Spring Florals stamp over the image. I stamped it with Intense Black ink.

The Squared Spring Florals Honey Cuts have dies for all of the sentiments as well as a die to cut out the floral image and a die to cut out just the center square. So many options! As you can see from the photos, I just used the center square die to cut the opening for my shaker window. After I added a piece of acetate to the back of the opening, I added The World's Best foam tape around the opening and all of the edges. I sprinkled in my sequins and closed the opening with another piece of acetate. This makes it easy to adhere the card to your card base.

After I stamped the sentiment in black ink and cut it out with the coordinating die, I used Bee Creative Glue to adhere it to the shaker window. I added pretty yellow gems from the Let's Party Gem Stickers.

Next I die cut the Ornate Card Stand from some coordinating teal cardstock. Since I've had this Gilded Distress Foundry Wax for quite some time (and have NOT even tried it!) I thought I'd add some gold touches to the stand. I followed the directions on the bottle and added the wax with an old paint brush. TIP: I held the brush almost sideways to the cardstock to lightly brush it on in a more natural looking way. To set the wax, you use your heat tool over it and it becomes so pretty and shiny!

This was super fun to make! It was so easy and quick, that I am going to try to make more to send with the cards I mail. This next photo shows how pretty it looks with the card!

I hope you've enjoy my post today and have been inspired to try out the Ornate Card Stand for your cards! Thanks so very much for stopping by!

Thank you so much for shopping with my affiliate links (never any additional cost to you)!

Saturday, January 20, 2024

Fill Your Card with Fresh Picked Anemones

So say that I am wow'ed by this Fresh Picked Anemones set is an understatement!!  The card-front-filling size of these beautiful dies by Spellbinders really creates a gorgeous card.  

These two cards featuring the Fresh Picked Anemones have all of the same colored cardstocks.  To create two different looks I just die cut the elements out of different colors each time.  I've linked all available cardstocks and inks I used below.

After I die cut the leaves and flower pieces, I used ink blending brushes and shades of ink that were darker than the cardstock to add some depth.

For the background of both cards I used the January Embossing Folder of the Month called Branching Out.  These monthly clubs really are a good bargain, and can be cancelled at any time.

The sentiments are from the Fresh Picked Sentiments die set.  This set includes nine different words to use for a variety of card occasions!

I offset the sentiments with another die cut of a different color.  I think this helps it to stand out from the rest of the card.  I cut pieces of narrow foam tape for both sentiments to pop them up onto the card.

Honesty, I'm not sure which of these color combinations is my favorite!  Do you have a favorite?  Let me know in the comments below.

I absolutely love the oversized size of these Fresh Picked Anemones!  Be sure to check out the other sets available in the Fresh Picked Collection.  Thank you so much for stopping by!  I hope you have a wonderful weekend!

Thank you for using my affiliate links to shop (never any additional cost to you)!