Showing posts with label Lovely Layers: Mini Spring Florals. Show all posts

Wednesday, May 20, 2026

Celebrating You...Every Single Day

Hello crafty friends!  Do you ever make a card and just totally love it?  It doesn't happen as much as I like, but today's card is one!  I've used a few of Honey Bee Stamps latest release products, including the Lovely Layers: Mini Spring Florals, the Tooled Leather 3D embossing folder (how many times have I used it now?), and a couple other wonderful sets.

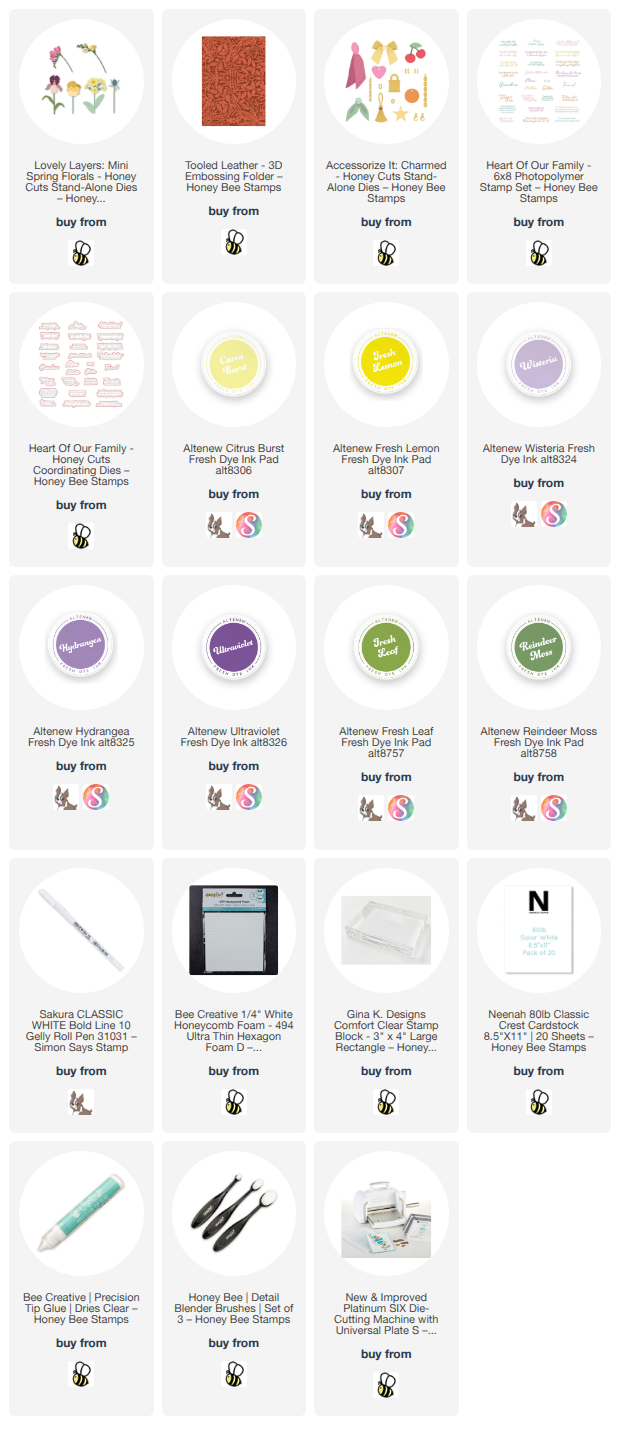
First I die cut white cardstock with the dies for the Bearded Iris and the stemmed floral that are in the Lovely Layers: Mini Spring Florals.  I used blending brushes and inks in coordinating shades of yellow, purple, and green to color the layers each Bearded Iris.  I used Bee Creative Glue to adhere the layers together.

I love adding these soft colors in one of my top color combinations!  Next I die cut more white cardstock with the dies for this cute bow that's in the Accessorize It: Charmed die set.  I used the same yellow inks to color the layers with blending brushes.  After I glued the layers together (the little knot is popped up with a foam from the new ¼" White Honeycomb Foam adhesive).  I used my white Gelly Roll 10 pen to add dots all over.

The card base is A2 sized and I embossed a white cardstock panel with, my now favorite, Tooled Leather 3D embossing folder.  I smooshed two of the mid-tone purple and yellow inks onto a large stamping block and diluted the ink with some water.  I added splatters of both colors along the embossed panel from the bottom left to the top right.  I made sure to dry one color with my heat tool before splattering the next color.

After I glued the embossed panel to my card base I began to arrange the Mini Spring Florals.  I used glue and a few foam adhesives to stick them to the card front.

The sweet sentiments are from the Heart Of Our Family stamp set, stamped in black pigment ink, cut out with the coordinating dies, and then popped up on the card with foam strips.

I love Bearded Irises and really like the soft colors of this card!  I hope you do too, and are inspired by my card!

Thank you so much for stopping by today!  I hope is a good one for you!

I always so appreciate those of you that use my affiliate links to shop (never any additional cost to you)!
Wednesday, April 29, 2026

Just For You — A Beautiful 3D Floral Gift Card Bag

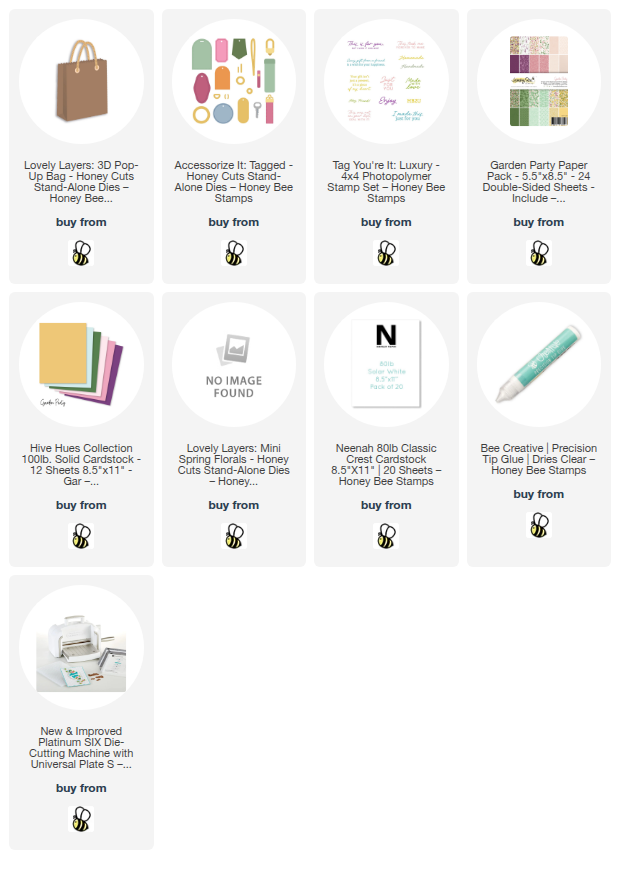
Hello crafty friends!  Today I’m sharing this super adorable gift card holder that features Honey Bee Stamps NEW 3D Pop-Up Bag and the Lovely Layers: Mini Spring Florals!

Apologies if anything looks “off” with this post!  We had a storm on Saturday evening with TONS of lightening!  We must’ve had a strike very close to our home.  I am using my iPad to write this!  Ugh!!  Had to order a new Logic Board for my not one-year-old iMac, our main TV is out, garage door wouldn’t open (but got that figured out, thankfully).  Once I get my computer up and running, I will come back to check this out and correct anything that should be.


The first thing I made is the 3D Pop-Up Bag using the NEW gorgeous Garden Party paper pad!  The papers in this pack are so beautiful, I had a difficult time choosing just one!  To make my bag more sturdy, I layered the patterned paper with 80# Neenah with some double sided adhesive

Then I used the dies in the 3D Pop-Up Bag to cut out the pieces.  I die cut the handles from some brown cardstock in my stash.  I folded the die cut pieces on the score lines using a bone folder to help get a good crease.  Next I used Bee Creative glue to adhere the pieces together. Be sure to give the glue time to set up before moving on.

I added a little tag sentiment by stamping a in black pigment ink from the Tag You’re It: Luxury stamp set.  Then I chose on of the tag dies from the Accessorize It: Tagged to cut out the sentiment.  I glued the tag to the bag.  I used some twine I have and tied it into a little bow to glue at the top of the tag. 

I think this turned out to be so pretty!  How awesome would it be to receive a gift card inside this sweet package?!!

Thank you so very much for stopping by today!  I hope you have a wonderful and crafty day!!

Thank you so much for using my affiliate links to shop (never any additional cost to you)!

Wednesday, April 15, 2026

Bee Well -- Get Well Card Card & Sneak Peek

Hello crafty friends!  I'm excited to share another sneak peek of products in Honey Bee Stamps Bloom In Style release which will be available this evening after Honey Bee's "release party" on their YouTube channel!

The sets I'm using today are part of a collaboration between Honey Bee and Kim Mraz of Paper Smooches!!  All of the sets are so adorable and I have used three of her five sets that are part of the Bloom In Style release.  Here are the new release sets I've used today:

  • Bee Well stamps and dies
  • Honeycomb die
  • Heartfelt Honeys dies
  • Lovely Layers:  Mini Spring Florals

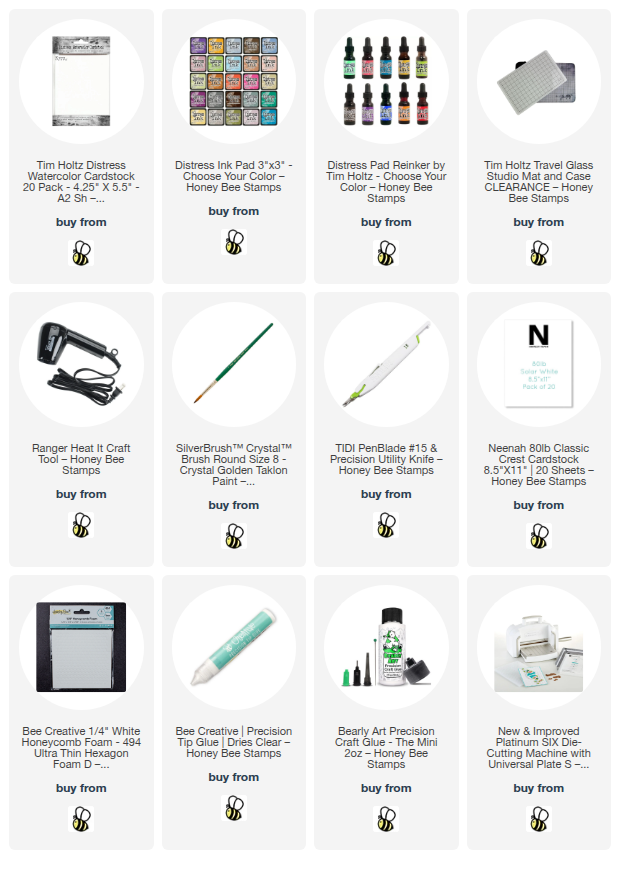
To begin, I created an inked background on bright white watercolor cardstock.  I used a paint brush to add water to the panel and then dropped in small drops of Distress Ink re-inkers.  I used my paint brush to slowly add in these colors of re-inkers:  Squeezed Lemonade, Wild Honey, and Mustard Seed.

I made another watercolor panel by smooshing watercolor cardstock into diluted Distress Inks.  After smooshing the Distress Ink pads (same colors as the re-inkers used above) onto my craft mat and spraying the ink with some water, I pressed the panel into the inks.  I used my heat tool to dry both panels.

I used Bee Creative glue to adhere the first panel to an A2 card base.

I used the second panel to cut with the Honeycomb die.  I die cut two more Honeycombs from white cardstock and glued the layers together.  Then I glued the Honeycomb to the card.  I used a craft knife to trim off the part of the honeycomb that was hanging off of the edge.

I cut white cardstock with the Heartfelt Honeys (isn't that the cutest name?!) and used my Copic markers to color the bees.  Each bee has two layers which were glued together after I finished the coloring.

I die cut pink and green cardstock with the freesia dies in the Lovely Layers: Mini Spring Florals dies (x 3).  I used glue to adhere the layers and added Bee Creative ¼" White Honeycomb Foam adhesives to the back of the flowers to adhere the florals to the card.

The sentiment, stamped bee, yellow heart and small honeycomb are from the sweet little Bee Well stamp set and coordinating Bee Well dies.  The stamped honeycomb is glued to the card and the other elements are adhered with foam adhesive.

I think this will be the sweetest get well card that I hope will cheer up a special friend!

Be sure to save this post to visit after the release is live!  Come back and click the links for the Bloom In Style release to create your own get well card!!

Thanks so much for stopping by!  I hope you have a wonderful and crafty day!

Thank your for shopping with my affiliate links (never any additional cost to you)!