Showing posts with label Spring Medley 3d embossing folder. Show all posts

Wednesday, April 9, 2025

Springtime Inspired Birthday Card with Cherry Blossoms and a Bluebird!

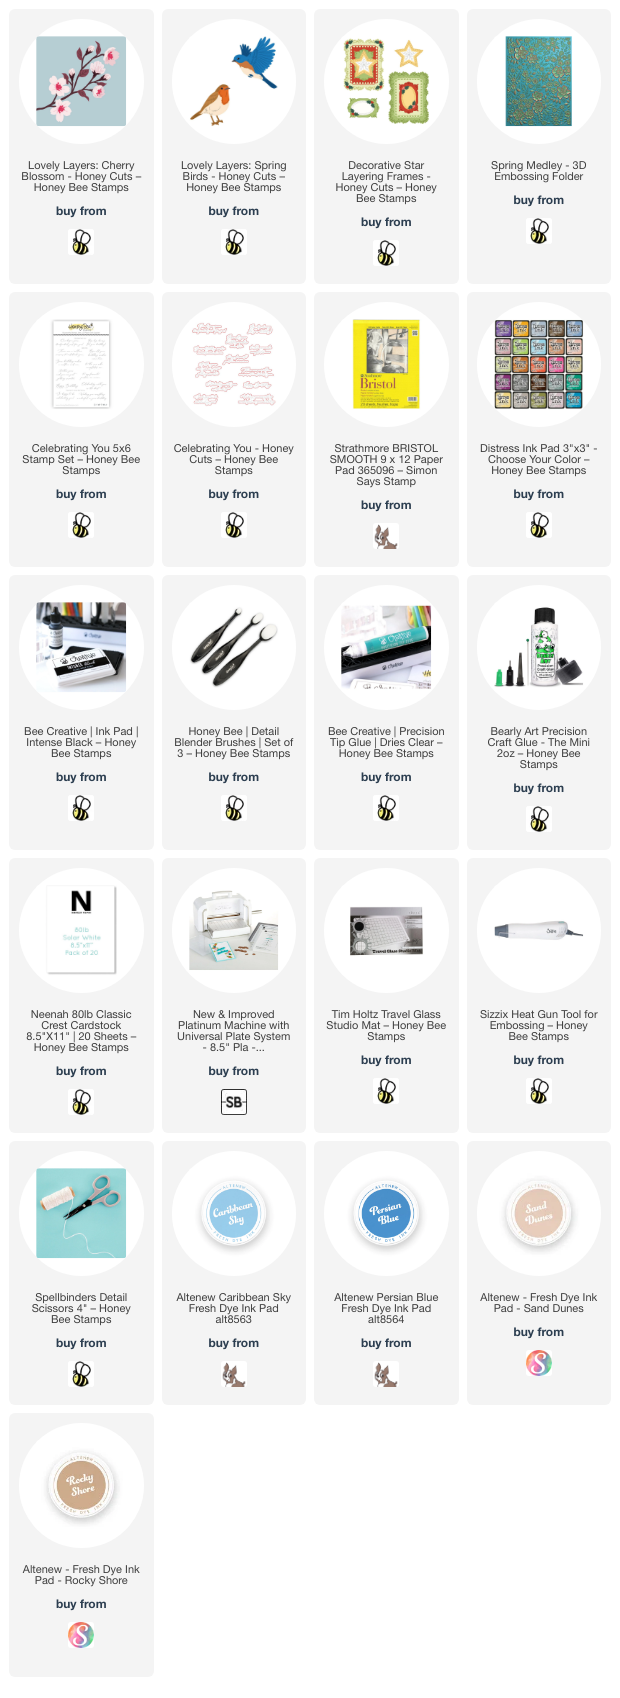
Hello crafty friends! Today I'm sharing my springtime inspired card that features a few of my favorite previously released products! My inspiration comes from the gorgeous cherry trees I saw in full bloom on my recent trip to Oregon for the Honey Bee Stamps 10th Anniversary Retreat! These trees won't grow where I live and I had never seen them in real life! I was awed!

If you are wondering about my inspiration for the bluebird, while I was sitting in the dental hygienist's chair last week, I saw one outside the window!

It was a 'no-brainer" to use the beautiful Lovely Layers: Cherry Blossom set today!

I began by taking three pieces of Bristol Smooth cardstock and having some ink smooshing fun! I smooshed Mowed Lawn and Twisted Citron Distress Inks onto my glass craft mat and spritzed them with some water. I pressed one piece of Bristol into the inks. Then I dried it with my heat tool and repeated the steps 2-3 more times.

For the two remaining pieces of Bristol, I used Picked Raspberry, Kitsch Flamingo, and Spun Sugar Distress Inks and went through the steps mentioned above for one panel. I decided I wanted a lighter pink panel and pressed the remaining cardstock into Kitsch Flamingo and Spun Sugar Distress Inks.

I used the dried inky panels and the Lovely Layers: Cherry Blossom to die cut all of the layers in the set. I used glue to adhere the layers and set the piece aside.

Next I die cut white cardstock with the dies from the Lovely Layers: Spring Birds Honey Cuts. I used a light and medium blue ink along with two brown inks to color the layers. I glued them together according to the Layering Guide.

I die cut white cardstock with the largest die in the Decorative Star Layering Frames die set. Then I used a blender brush to ink on blue ink. Then I pressed the ink pad onto my craft mat, sprayed a bit of water into the ink, and used a paint brush to splatter the diluted ink onto the panel.

When the Decorative Star piece was dry, I glued it to an A2 card base that I layered with the Spring Medley 3D embossing folder. I trimmed the overhang off with my scissors.

I stamped the sentiment from the Celebrating You stamp set with black ink and cut it out with the coordinating die. I added foam tape dots and squares to the sentiment, Cherry Blossom branch and Spring Bird to adhere them to the card.

I'm so thrilled to have finally seen Cherry Blossom trees!  I hope you are finding lots of inspiration around you this spring.  Thanks so much for stopping by!!!

Thank you for using my affiliate links to shop (never any additional cost to you)!
Wednesday, June 19, 2024

Summer Birthday Card with Ink Blended Plumerias

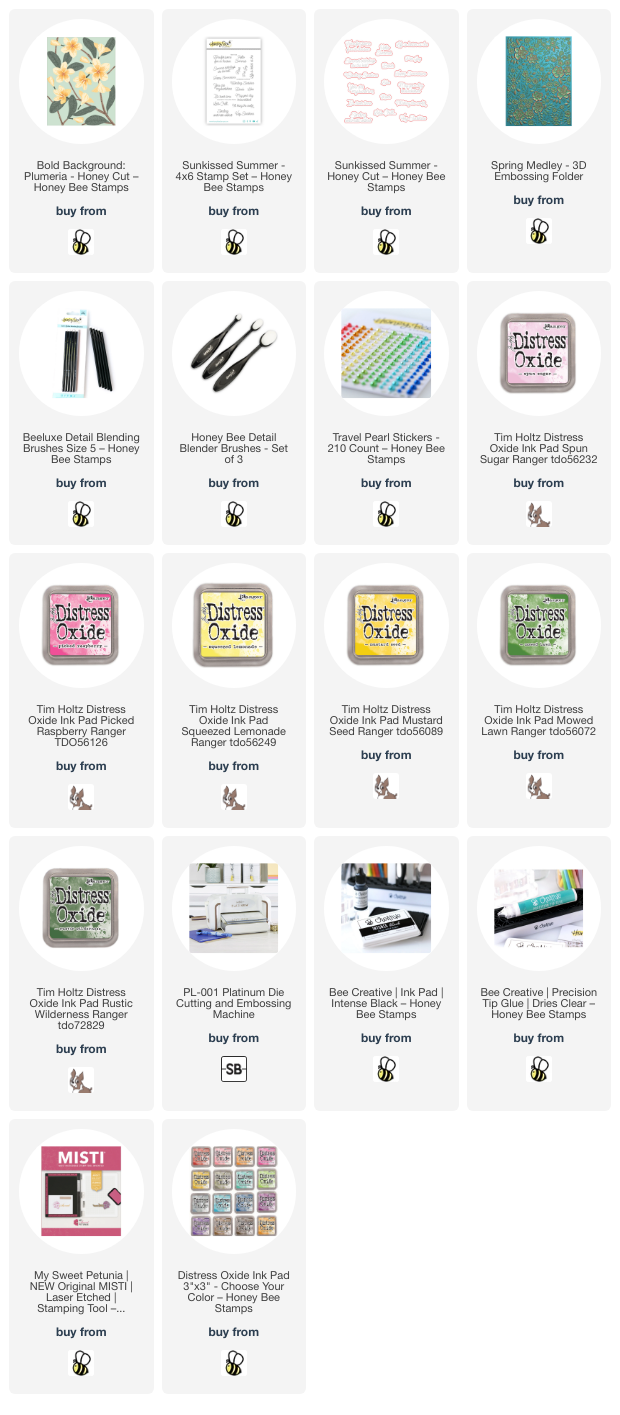
Hello crafty friends! Today I have a card for those that have a summer birthday! I've used Honey Bee Stamps gorgeous Bold Background: Plumeria for this summery birthday card!  Plumerias are one of my favorite flowers and I was excited to use this set today!

I die cut all of the flower layers of the Bold Background: Plumeria Honey Cuts from 80# white cardstock. Then I used various small ink blending brushes to color the layers with Distress Oxide inks. My inspiration for the colors came from a web search of plumeria images! First I brushed on Spun Sugar Distress Oxide with a small blending brush. Then I added Picked Raspberry Oxide ink to the edges. I was able to achieve the detailing by using a size 5 Beeluxe Detail Blending Brush. I love how that tiny brush makes it easy to color a small area!

I used another size 5 brush to dab on Squeezed Lemonade and Mustard Seed Oxide to the centers of the flowers.

I die cut the background and leaves of the Bold Background: Plumeria from green cardstock. This made it super easy and quick to blend on Mowed Lawn and Rustic Wilderness to add a bit of shading to the pieces.

I used glue to adhere the layers of the flowers. The Layering Guide was very helpful for assembling the flower layers. I noticed a great tip on the Guide that said to adhere the leaves to the background first!

I embossed white cardstock with one of my favorite -- the Spring Medley 3D embossing folder. I trimmed it to A2 size and glue it to a card base. Then I adhered the background with leaves to the card. Next I adhered the Plumerias to the base with glue.

I chose one of the sentiments from the Sunkissed Summer stamp set and stamped it with black ink. Then I cut it out with the coordinating die and glued it to the card.

I added a few coordinating pearls from the Travel Pearl Stickers set to the center of the open plumeria.

I really appreciate you stopping by to check out my card!  Have a wonderful and crafty day!

Thank you for using my affiliate links to shop (never any additional cost to you)!

Wednesday, May 29, 2024

You Are The Sunbeam -- 3D Embossing & Stencils

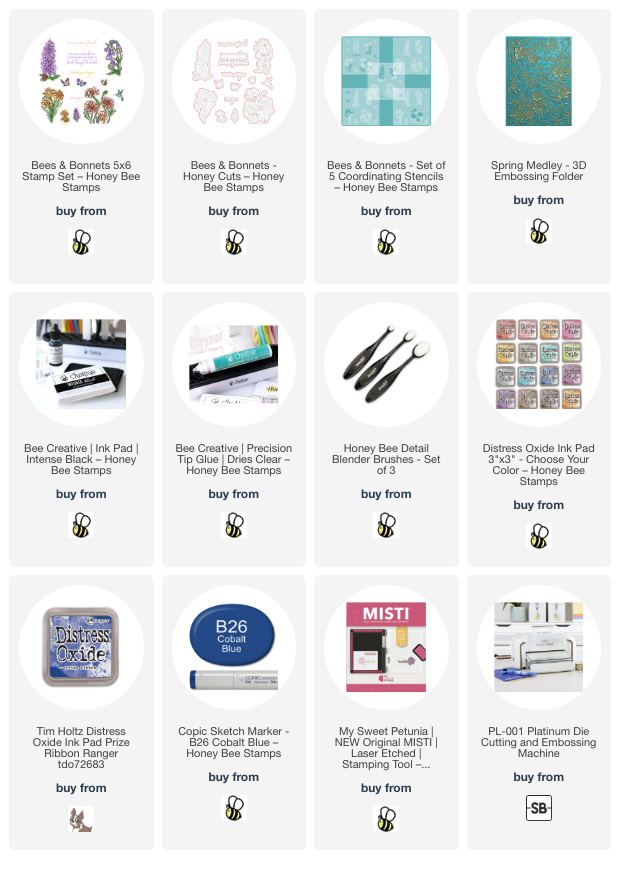
Hello crafty friends! Today I'm sharing this sweet card I made that features the beautiful Bees & Bonnets stamp set, dies, and coordinating stencils by Honey Bee Stamps!  Can you find all of the bees?  I love how some of the bees' bums are sticking out of the flowers!

First I used a large blending brush to ink up a panel of 80# Neenah with Prize Ribbon Distress Oxide ink. Then I put it into the Spring Medley 3D embossing folder and ran it through my die cutting machine. While it wasn't bad, there was some cracking of the cardstock allowing the white to show through. No worries though! I just went over it again with more Prize Ribbon!

Next I stamped all of the images in the Bees & Bonnets stamp set with Intense black ink. After I knew the ink was totally dry, I used the coordinating Bees & Bonnets stencils to color all of the flowers and insects with various inks from my stash. Then I cut them all out with the coordinating dies.

While I absolutely love the blue embossed background layer and also the flowers, as I was arranging them, I just was never satisfied with the look. Sometimes when I'm stuck I just take a break and do something else--go outside for a walk, pull a few weeds, or anything away from my craft desk. It's amazing what a break and a fresh eye will do. I realized that with the dark blue background, the white edges around the die cut pieces was making it all look way too busy for my eye! So I found a coordinating Copic marker, B26, and colored around all of the edges. Much better!!!

I adhered the flowers with some glue and a few with foam dots. I stamped the sentiment from the Bees & Bonnets stamp set with black ink and cut it out with the coordinating die. I added foam tape to the back for a bit more dimension on the card.

What do you think? Do you like the white edges of the die cuts colored in? Let me know your thoughts in the comments below. As always, you are so appreciated for stopping by the blog today! Have a fabulous and crafty day!

Thank you so much for shopping with my affiliate links (never any additional cost to you)!

Wednesday, January 10, 2024

You Are So Loved -- 3D Embossing & Hot Foil Fun

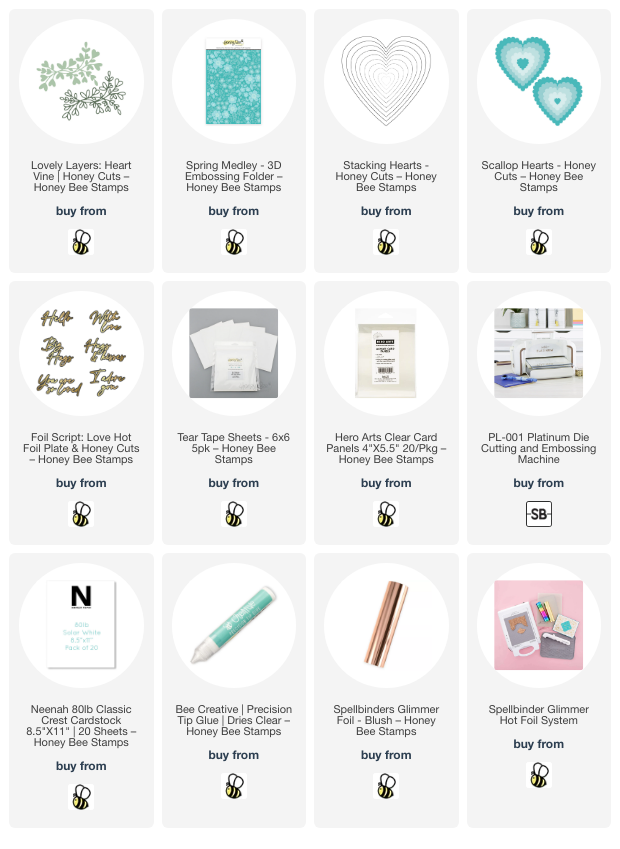
Hello crafty friends! Do you send Valentine cards? Whether you do or not, my card that I'm sharing today could be a Valentine, birthday, or even an anniversary card! It all just depends on the message you add inside the card! I've featured some of my favorite sets from Honey Bee including the Spring Medley 3D embossing folder and the Lovely Layers: Heart Vine Honey Cuts!

First I die some peach colored cardstock with a Stacking Hearts die. Then I embossed the piece with the beautiful Spring Medley 3D embossing folder. Next I trimmed it to 4" x 5-¼". I used a blending brush to add coordinating ink just around the edges.

I glued a piece of acetate to the back to cover the heart opening. When it was dry, I added thick foam tape (if you don't have thick foam tape, add a double layer) around the heart, being careful to leave no gaps between the ends of the foam tape. I also added foam tape around the edges of the embossed panel.

I sprinkled some pretty bling from my stash onto the acetate and then removed the foam tape backing. I added another piece of acetate to cover the opening. Then I removed the backing of the rest of the foam tape, added glue to it, and then adhered it to an A2 card base. (I sometimes add glue to foam tape for two reasons: you can be sure it is firmly adhered and it allows you to slightly move the panel for correct placement.) I set this aside to dry.

Next I die cut a Scallop Heart from 80# Neenah. Then I die cut a darker shade of peach cardstock with a Stacking Hearts die. I placed this heart into the Spring Medley 3D embossing folder and ran it through my die cutting machine. I used glueto adhere them together.

I used my Glimmer Hot Foil System and Blush Glimmer Foil to foil the sentiment from the Foil Script: Love Hot Foil Plates. I cut it out with the included coordinating die.  NOTE: I just noticed this set is "retiring" and is now at a reduced price!

Before I die cut the outline of the Lovely Layers: Heart Vine, I added a piece of Tear Tape Sheet to the back of brushed gold cardstock. I die cut the outline from the brushed gold cardstock and also the solid layer from peach cardstock. I used glue to adhere the layers together and also to adhere it to the card. After I glued the heart layers onto the card, I adhered the sentiment with narrow foam tape strips.

For a bit more shine, I added some gold pearls from the Metallic Mix Pearl Stickers set.

Thank you so very much for stopping by today!  I hope you have lots of crafty fun this week!

Thank you so much for using my affiliate links to shop (never any additional cost to you)!

Wednesday, June 28, 2023

Birthday Card with a Cute Pink Cabin

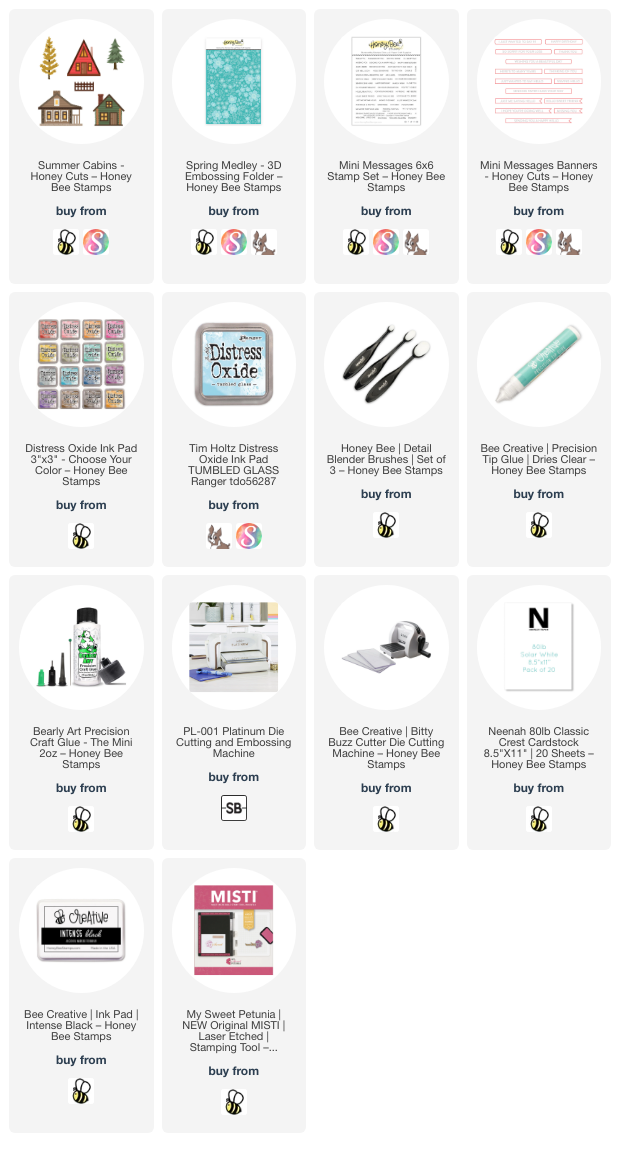
Happy Wednesday crafty friends!! Today I'm sharing a sweet birthday card for Honey Bee Stamps featuring a pink Summer Cabin and the gorgeous Spring Medley embossing folder.

First I die cut one of the cute cabins from the Summer Cabins Honey Cuts. The white pieces are 80# Neenah and the others are colored cardstock from my stash. I did use a brown Copic marker to color the trunks of the trees and also a blue marker for the backing I made to go behind the windows.

Next I used glue with a fine tip to make it easy to assemble the pieces of the cabin and trees. There's also a very handy link to a layering guide you can download and print in the product description.


Next I ran the Spring Medley 3D embossing folder and pink cardstock through my die cutting machine. I trimmed the embossed piece to 4" x 2-¾". I also trimmed a narrow strip of green cardstock.

Before adhering any element to my A2 card base, I used a Detail Blender brush to ink on a bit of Tumbled Glass Distress Oxide ink to create a sky for my scene. I used the embossed panel and the cabin as a guide for where to place the ink.

Next I adhered the pink embossed piece to my card and then the green strip. I used thin foam circles to adhere the cabin, and glue to adhere the other elements except the small tree. I popped it up with foam tape.

I stamped the sentiment from the Mini Messages: Everyday set in Intense black ink. Then I cut it out with a die from Mini Messages Banners. I added a narrow foam tape strip to pop it up.

I totally love how this turned out, and I hope you do too! I enjoy using sets like the Summer Cabins in a bit of an unexpected way. Thank you so much for stopping by today--you are appreciated!

Thank you for using my affiliate links to shop (never any additional cost to you)!

Wednesday, May 3, 2023

You're Simply The Best -- A "Girly" Farmers Market Cart Card

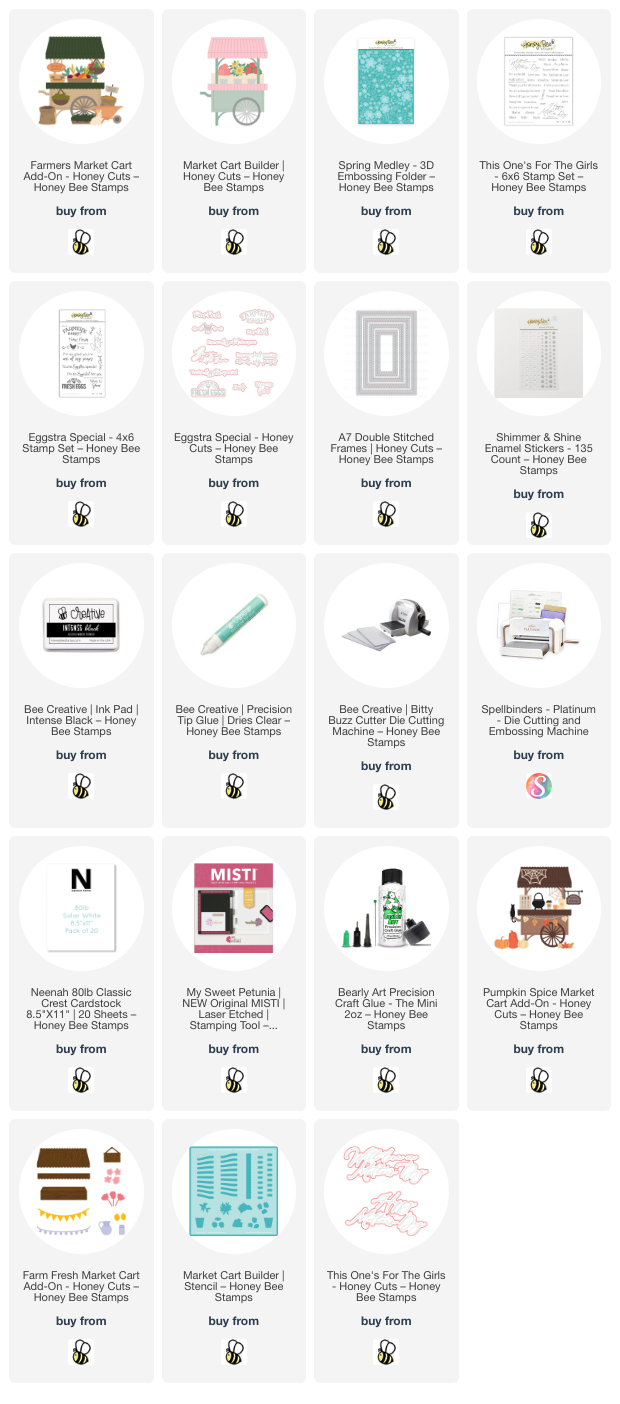
Today I'm sharing my card that features Honey Bee Stamps new Farmers Market Cart Add-on. This is the latest add-on for the previously released Market Cart Builder. There's also a Farm Fresh Market Cart Add-on and a Pumpkin Spice Market Cart Add-on to make the Market Cart Builder so you can use it year round!

You can even use other small elements from other sets as I did in this blog post where I made the Market Cart into a seashell cart for a summertime card!

I made the A7 card base and background layer first. I die cut 80# Neenah with the largest A7 Double Stitched frames Honey Cut. Then I placed it in the Spring Medley 3D embossing folder leaving about ¾" of the end out of the embossing folder. This leaves a nice smooth area to stamp the sentiment from the This One's For The Girls stamp set.

Here's a great tip for how I get the sentiment straight. I used a t-square ruler to draw a light pencil line where I wanted the sentiment to be stamped. Then I placed the piece in my MISTI, aligned the sentiments along the pencil line and then picked them up with the MISTI door. NOW, erase the pencil line! If you wait until after the sentiment is stamped, you run the risk of smearing the ink. I inked up the stamp with Intense Black ink and stamped it on the panel. I adhered a thin strip of dark gray cardstock where the embossing ends.

Next I created my cute market cart. I used the Market Cart Builder, the Farmers Market Cart Add-on, paper from the Simply Spring paper pad, and the Eggstra Special stamp set for the large sign.

The Market Card Builder is die cut from one sheet of patterned paper from the Simply Spring paper pad. Just flip it over for the orange cart. I die cut the images of the Farmers Market Cart Add-on from 80# Neenah white cardstock, except for the wheel and seed sack. I used dark gray cardstock and a patterned paper scrap in the Simply Spring paper pad.

I used Copic markers to color the images. These are small images and you can keep your coloring simple and it will still be beautiful! There's a layering guide in the Farmers Market Cart Add-on description that show how the pieces go together. I used Bee Creative glue to adhere the layers together.

Another tip is to use a Micron 005 black pen to trace the embossing left from die cutting the signs. This pen's tip fits perfectly into the lettering of the signs!

I used foam tape and glue to adhere the elements to the card base. I felt like the top of the cart needed something so I used the sentiment from the Eggstra Special stamp set, stamped it in black ink, then cut it out with the coordinating die.

I added a sparkly enamel sticker, from the Shimmer and Shine Enamel Stickers, to the wheel center. I added accents to the elements with a white gel pen.

I had lots of fun making this "girly" style of Market Cart card! And I'm sure my sister will love it! There are so many ideas in my head for this set, and I hope I've given you some inspiration for using all of the Market Cart sets! Thank you very much for stopping by today. It's always so appreciated!

Thank you for using my affiliate links (never any additional cost to you)!

Wednesday, April 19, 2023

You Make My Day Brighter! -- Rainbow Cottage Scene Card

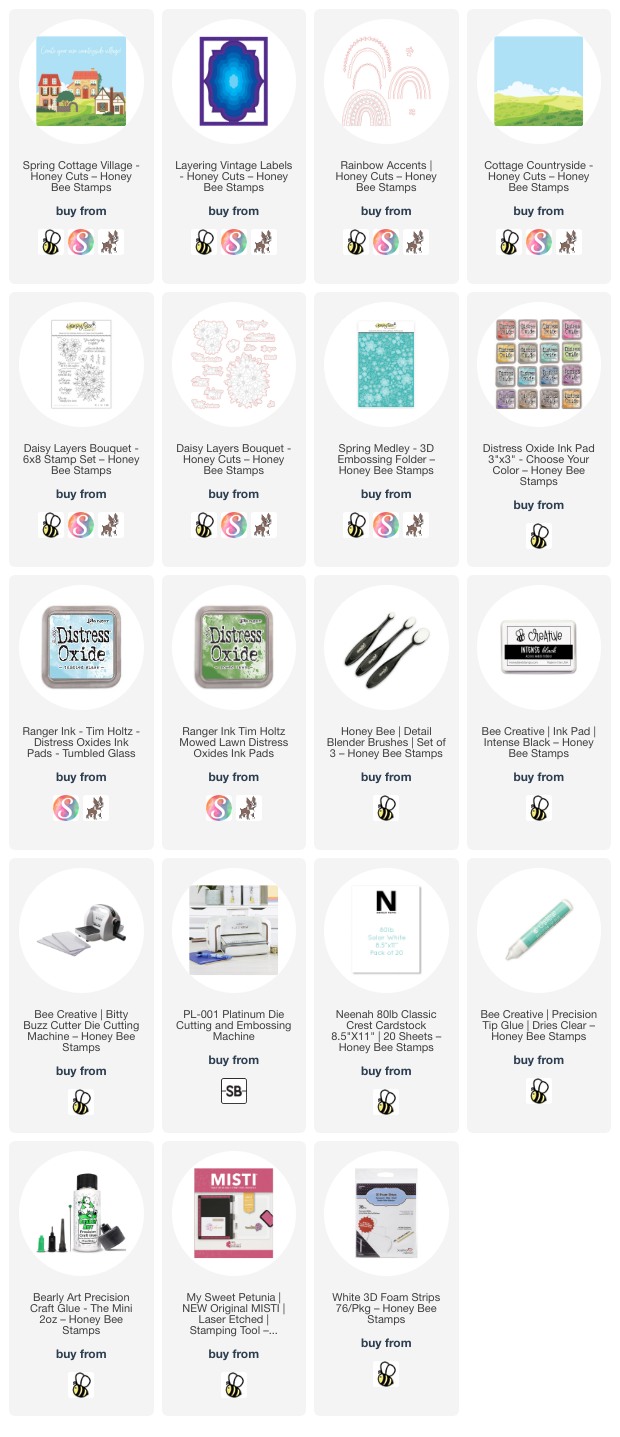
 Happy Wednesday my friends! Today I'm sharing my card featuring Honey Bee Stamps' Spring Cottage Village Honey Cuts and the Rainbow Accents Honey Cuts!  Rainbows, to me, are a sign of hope after a storm, and I love this sentiment that fits my card perfectly!

The card base is layered with a piece of Neenah embossed with the Spring Medley embossing folder. After I used Bee Creative glue to adhere it to the A2 card I die cut the Layering Vintage Labels frame two times from 80# Neenah. On one of the frames I taped off the edges with removable tape and blended on some Tumbled Glass Distress Oxide ink with a detail blender brush. I added water and white paint splatters. When it was dry I used foam tape to pop it up on the card.

I trimmed the center from the second piece and then used my scissors to cut a hill shape. This piece is about 2 inches tall. I blended on Mowed Lawn Distress Oxide, added splatters of water and diluted ink.

I only used the three smallest piece of the rainbow in the Rainbow Accents Honey Cuts. I die cut it from 80# Neenah and then colored the pieces with pastel colors of Copic markers. These are the colors I used: RV10, Y00, YG11, B000, BV01, and V12.

I glued the rainbow pieces on, then the green grass layer. The Spring Cottage Village house is die cut from pink, white and gray cardstock scraps. After I glued the house onto the card, I arranged the tree, bushes and gate around the house. I decided to add a few clouds and the ones in the Cottage Countryside Honey Cuts are just the right size!

I stamped the sweet sentiment from one in the Daisy Layers Bouquet stamp set. I stamped it with Intense Black ink and then cut it out with the coordinating Honey Cut. Since I seem to really like all the dimension on my cards (LOL!) I popped up the sentiment with foam tape strips!

I love that I was able to take an idea I had in my head and make it work for this card!  I hope this makes your day brighter, and that you have found some inspiration too!  Thanks so much for stopping by!

Thank you for using my affiliate links to shop (never any additional cost to you)!
Wednesday, January 25, 2023

To My Bestie -- Coloring With Stencils

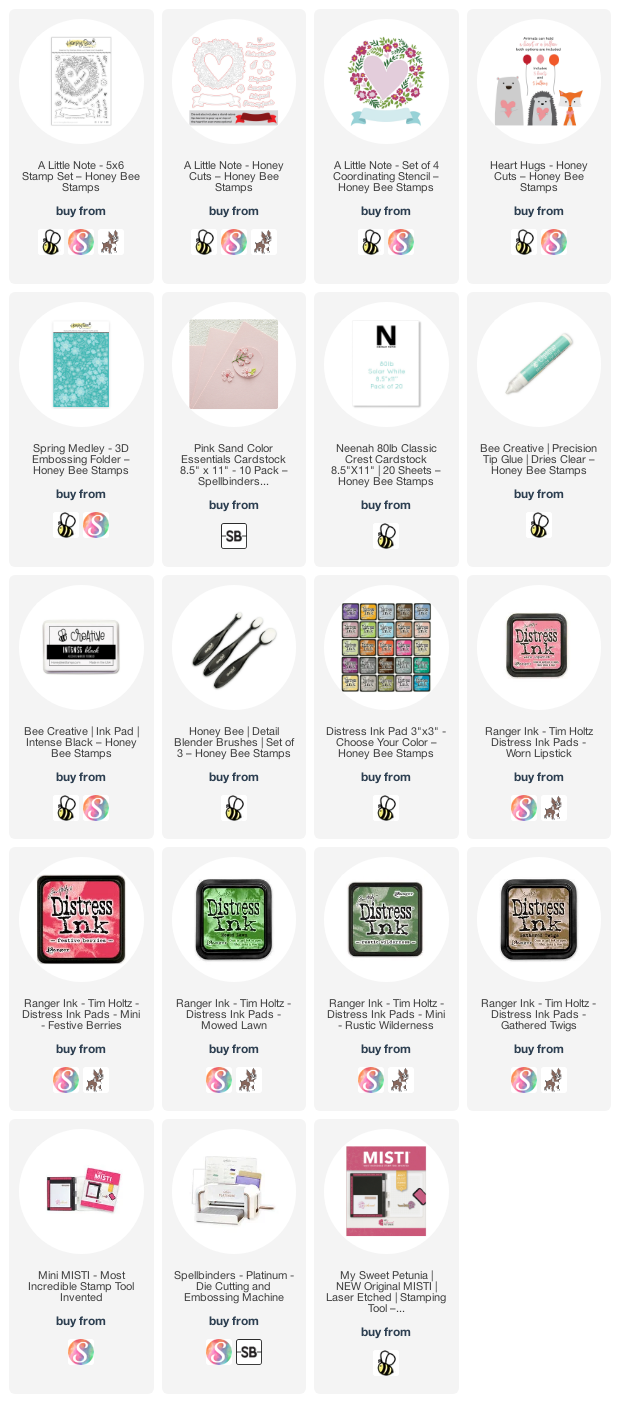
 Hello crafty friends! Today I'm sharing a sweet card for all the besties out there that features the beautiful new set called A Little Note and the adorable Heart Hugs dies. This is from the newest Happy Hearts release and also has coordinating Honey Cuts and a set of stencils to color the image!

First I placed some pink cardstock in the Spring Medley 3D embossing folder and ran it through my die cutting machine. This embossing folder is absolutely beautiful and is definitely at the top of my favorites!! I used Bee Creative glue to adhere it to an A2 card base.

Then I placed a piece of 80# Neenah into the corner of a stencil mat. I selected some Distress Inks to color through the A Little Note coordinating coloring stencils with my Detail Blender brushes. I used Worn Lipstick, Festive Berries, Rustic Wilderness, and Mowed Lawn. I decided to not used the outline stamp so the image would have a softer look to it. I used the coordinating A Little Note Honey Cuts to die cut the floral image and the banner image.

I chose a sentiment from the A Little Note set and stamped it onto the banner with black ink. I added foam dots to the back of the banner and set it aside to finish the other card elements.

Next I used the body of the hedgehog from the Heart Hugs die and die cut some kraft cardstock. I love that you can use this for a small bear too! I die cut the eyes and nose from black cardstock. To add some shading to the little bear I used a blender brush and some Gathered Twigs Distress ink. I die cut three of the small hearts and one larger one that's also in the Heart Hugs set. I blended on Festive Berries Distress ink and then added sparkle with a pink glitter pen I've had in my stash forever!

I used a white gel pen, a black pen and a pink Copic marker to add details to the bear. Then I used a craft knife to cut a slit right at the edge of the large heart and slipped the bear in! So cute! I added the heart under his hands with small foam dots.

I adhered the floral image to the card with glue and added foam dots to the back of the small hearts and placed them on the card.

I really had fun making this sweet and adorable card! The A Little Note stencils make such a beautiful image and I hope you've found some inspiration here today! Thank you so much for stopping by--you are so appreciated!

Thank you if you choose to use my affiliate links to shop (never any additional cost to you).

Wednesday, January 18, 2023

Hello, My Friend--New Lovely Layers: Pansy

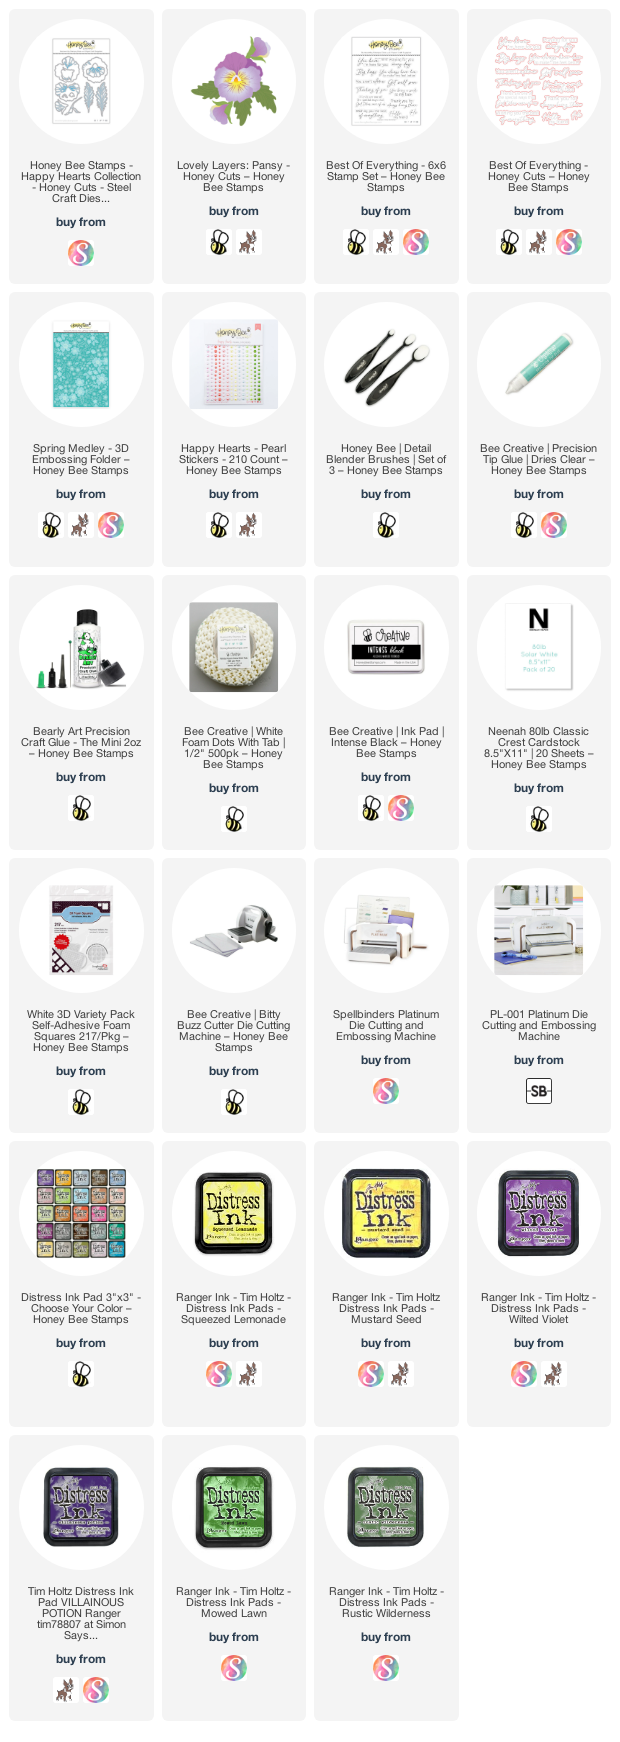
Hello crafty friends!! I'm sure by now you've seen the awesome new products in the Happy Hearts release! If not, be sure to check it all out in the Honey Bee shop! My card today features the gorgeous new  Lovely Layers: Pansy Honey Cuts! You can see peaks of the most gorgeous Spring Medley 3D embossing folder too! Check out the details below!  And, if you are on Instagram, I have a reel posted showing a bit of the process in making it!  Click HERE to see it!

First I created my card base and layer by running the Spring Medley 3D embossing folder and a piece of 80# Neenah through my die cutting machine. The results from using this beautiful embossing folder is just stunning!!! I really did hate to cover up so much of it with the pansies! LOL! I trimmed it to 4" x 5-¼" and used Bee Creative glue to adhere it to my A2 card base.

Next I die cut the layers for the pansy in the Lovely Layers: Pansy Honey Cuts. I die cut each one three times from yellow, purple, and green cardstock I have in my stash. Then I used some Distress Inks and Details Blending Brushes to add shading to each one. I used these Distress Inks: Wilted Violet, Villainous Potion, Mustard Seed, Squeezed Lemonade, Mowed Lawn and Rustic Wilderness.

When you begin with colored cardstock, it is so easy to just add the shading you want to bring the flowers to life! Another tip is to do a web search for your inspiration. I searched pansy images and there are so many beautiful color combinations. I was inspired by the colors of some pansies I've grown in my flowerbeds for my paper pansies. I used the blender brush for the purple ink to add just a touch of purple to the edges of the yellow petals.

Before I glued the layers together, I used a Prismacolor Imperial Violet pencil to add the purple veins on the yellow petals. I curled the petal edges with my fingers and glued them all together.

The sentiment is from the Best of Everything stamp set, stamped in black ink, and die cut with the coordinating Honey Cut. I used glue and foam dots to adhere the flowers, leaves and sentiment to my card. For a touch of bling, I added a few Happy Hearts Pearl Stickers around the flowers.

Are you on Instagram? If so, I sure hope you will join me in the Instagram hop celebrating the Happy Hearts release with lots of inspiration from the team.  AND, if you leave comments along the way, you will have a chance to win a $50 gift card to Honey Bee's shop!! Find me on Instagram at: @c.ann.h where you will find the entire hop list in my post.  (NOTE: January 20, 2023 is the final day for commenting for your chance to win.)

Thank you so much for stopping by!  I hope your day is awesome!

Thank you if you choose to use my affiliate links to check out the products (never any additional cost to you).