Showing posts with label Celebrating You. Show all posts

Wednesday, April 9, 2025

Springtime Inspired Birthday Card with Cherry Blossoms and a Bluebird!

Hello crafty friends! Today I'm sharing my springtime inspired card that features a few of my favorite previously released products! My inspiration comes from the gorgeous cherry trees I saw in full bloom on my recent trip to Oregon for the Honey Bee Stamps 10th Anniversary Retreat! These trees won't grow where I live and I had never seen them in real life! I was awed!

If you are wondering about my inspiration for the bluebird, while I was sitting in the dental hygienist's chair last week, I saw one outside the window!

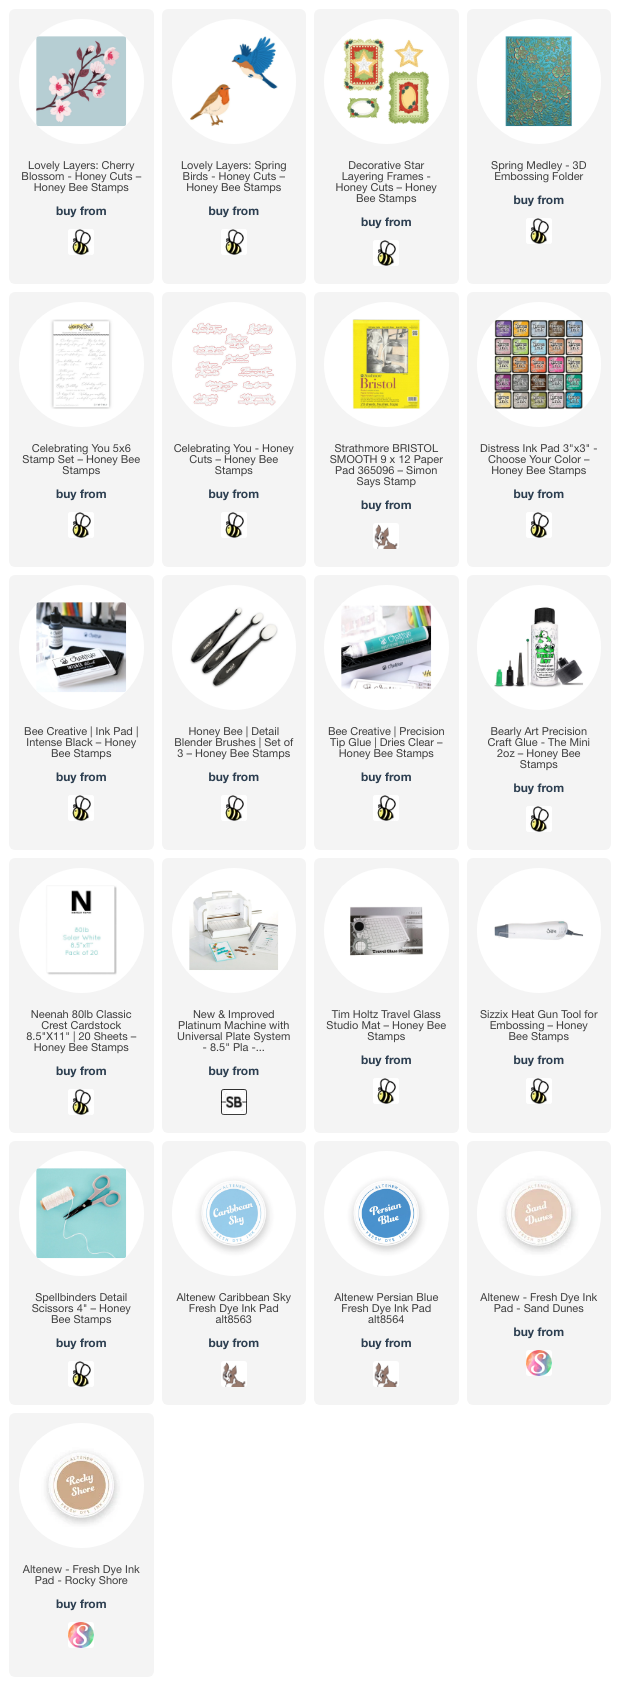
It was a 'no-brainer" to use the beautiful Lovely Layers: Cherry Blossom set today!

I began by taking three pieces of Bristol Smooth cardstock and having some ink smooshing fun! I smooshed Mowed Lawn and Twisted Citron Distress Inks onto my glass craft mat and spritzed them with some water. I pressed one piece of Bristol into the inks. Then I dried it with my heat tool and repeated the steps 2-3 more times.

For the two remaining pieces of Bristol, I used Picked Raspberry, Kitsch Flamingo, and Spun Sugar Distress Inks and went through the steps mentioned above for one panel. I decided I wanted a lighter pink panel and pressed the remaining cardstock into Kitsch Flamingo and Spun Sugar Distress Inks.

I used the dried inky panels and the Lovely Layers: Cherry Blossom to die cut all of the layers in the set. I used glue to adhere the layers and set the piece aside.

Next I die cut white cardstock with the dies from the Lovely Layers: Spring Birds Honey Cuts. I used a light and medium blue ink along with two brown inks to color the layers. I glued them together according to the Layering Guide.

I die cut white cardstock with the largest die in the Decorative Star Layering Frames die set. Then I used a blender brush to ink on blue ink. Then I pressed the ink pad onto my craft mat, sprayed a bit of water into the ink, and used a paint brush to splatter the diluted ink onto the panel.

When the Decorative Star piece was dry, I glued it to an A2 card base that I layered with the Spring Medley 3D embossing folder. I trimmed the overhang off with my scissors.

I stamped the sentiment from the Celebrating You stamp set with black ink and cut it out with the coordinating die. I added foam tape dots and squares to the sentiment, Cherry Blossom branch and Spring Bird to adhere them to the card.

I'm so thrilled to have finally seen Cherry Blossom trees!  I hope you are finding lots of inspiration around you this spring.  Thanks so much for stopping by!!!

Thank you for using my affiliate links to shop (never any additional cost to you)!

Wednesday, March 26, 2025

Celebrating Honey Bee Stamps' 10th Anniversary Card

Hello, crafty friends! This time tomorrow I will be headed to the airport to go to Oregon for Honey Bee Stamps' 10th Anniversary Card Making Retreat! I'm so excited! As you may guess, this trip is what inspired my card for today!

I pulled out what was one of my very first Honey Bee purchases! I still love the Busy Bees stamps and Honey Cuts, and good news, these are still available!

I think that the Busy Bees stamps and Honey Cuts are timeless, as these pair perfectly with newer products!

The background for my card is an A2 card base. First I used a blender brush to add blue ink to the card for the sky. Then I used the hill die from the Horizon Slimline Borders Honey Cuts to die cut green cardstock. I glued this to the bottom of the card base.

Next I stamped the grass from the new Dog Gone Amazing stamp set with green ink onto the hill. Then I stamped two of the dogs from that set with Intense Black ink and colored them with my Copic markers. I cut them out with the coordinating Honey Cuts.

My next step was to stamp all of the flowers, leaves, and some bees from the Busy Bees stamp set with black ink. I repeated the stamping onto more white cardstock since I knew I would want extra. After I colored them with my Copic markers, I cut them out with the coordinating Busy Bees dies.

I decided on an arrangement for the flowers, then adhered some with foam and glued some to the bottom of the card. I used my scissors to trim anything hanging off the edge of the card. I used glue to tuck the leaves here and there around the flowers.

I die cut the 1 and 0 from the Bee Playful Numbers die set four times from white cardstock and once from black. I used glue to adhere the layers together.

I stamped the sentiment from the Celebrating You with black ink and die cut it with the coordinating die.

Next I adhered the Dog Gone Amazing pups with foam squares. Then I put a butterfly from that set onto a stamp block and stamped it with Intense black ink. Then I colored them with a few blue and yellow Copic markers.

To finish up, I glued the number 10 on the card. I added foam strips to the right side of the sentiment and glue to the left to adhere it.

Then I placed the cute little Busy Bees here and there on the card.

If you would like to see some photos from the retreat, then be sure to follow me on my Instagram!  I hope to have time to share some of the fun!

Thank you so much for stopping by! You are most appreciated!

Thank you for using my affiliate links to shop (never any additional cost to you)!

Wednesday, May 1, 2024

Birthday Card with the Gorgeous Layering Iris Die Set

Hello my friends! Happy first day of May! One of my most favorite flowers to bloom in spring is the bearded iris and my goodness, the Lovely Layers: Iris is just as gorgeous as real irises!!

First I die cut all of the pieces of the Lovely Layers: Iris from 80# white cardstock. Then I used the new BeeLuxe Detail Blending Brushes to add yellow and purple inks to the layers. Let me say this, I was so very pleased with how these brushes swiped on the color! I wanted to imitate real irises I've seen that have that dark edge of color fading to white. These brushes made it way easier than I imagined!

When I'm coloring any of the Lovely Layers sets, I always begin with the bottom layer, placing the next layer over it to check it, and adjusting the coloring as needed. To smooth out the purple edges just a bit, I used a Detail Blending Brush to add a bit more purple ink. I used the Layering Guide to assist in the assembly as this is my first time to use these. All of the layers are adhered with glue.

Next I embossed 80# white cardstock with the beautiful Sandie's Garden 3D embossing folder. I added splatters of purple ink and diluted with water. When the droplets dried I added splatters of Bee Shimmery Liquid Shimmer Watercolor. When that was dry, I adhered the panel to my A2 card base.

Then I pulled out one of my older favorites, the Wood Frame Builder Honey Cuts, and adhered the die cut frame with foam tape. I trimmed the stem of the iris just a bit so it would fit under the frame. Next I added foam dots to the back of the flower and glue to the bottom of the stem to adhere it to the card.

I stamped the sentiment from the Celebrating You stamp set in black ink. Then I cut it out with the coordinating die and popped it up with foam strips.

I will have my reel posted over on Instagram soon and you'll be able to see the amazing coloring I did with the BeeLuxe brushes. I hope you will check it out! Thanks so very much for stopping by today. Have a wonderful day!

Thank you for shopping with my affiliate links (never any additional cost to you)!

Wednesday, April 24, 2024

Birthday Card Filled With Sweetness!!

Happy Wednesday friends! Today I'm sharing my sweet birthday card featuring a few of the new products from the awesome Honey Bee Stamps Celebrate release! Ice cream is my favorite dessert so I just had to use these dies from the Lovely Layers: Cupcakes & More Honey Cuts!

First I created the card base and layers by die cutting a piece of patterned paper from the Let's Party paper pad with the largest Lovely Layouts: Party Frames die set. I adhered it to an A2 card base with Bee Creative glue. I die cut vellum with the next largest die and set it aside to work on the other card elements.

Next I die cut 80# white cardstock with the ice cream cone and ice cream scoop dies (x 3) from the Lovely Layers: Cupcakes & More set. Then I used Detail Blender Brushes to add inks to the die cuts. I used various inks in my stash to imitate chocolate and strawberry ice cream. I used the new BeeLuxe Blending Brushes to add darker shading to the ice cream scoops. These small angled brushes make it easy to keep the ink just where I wanted!  I added shading to the vanilla scoop with Copic marker E50, blending it some with the 0 marker.

When I first saw the Lovely Layers: Party Blower Honey Cuts, I had a thought wondering if it would work to die cut tissue paper with the two fringe dies. I was delighted to find that it works great and creates a fun and fluffy fringe for the party blower! I die cut three layers of tissue paper with the two dies and glued the layers together. I coordinated the die with the background by cutting more paper from the Let's Party paper pad. If you need assistance assembling the party blower, be sure to check out the handy and downloadable layering guide found in the product description.

I stamped the sentiment from the Celebrating You stamp set with black ink. Then I cut it out with the coordinating die and added foam strips to the back.

This sweet card was quick and easy to make, and I'm happy to add another birthday card to my stash!  Thanks so much for stopping by!!  I appreciate you!

Thank you so much for shopping with my affiliate links (never any additional cost to you)!