Showing posts with label Sandie's Garden 3D embossing folder. Show all posts

Wednesday, May 22, 2024

Lovely Layers Hummingbird and Hydrangea Birthday Card

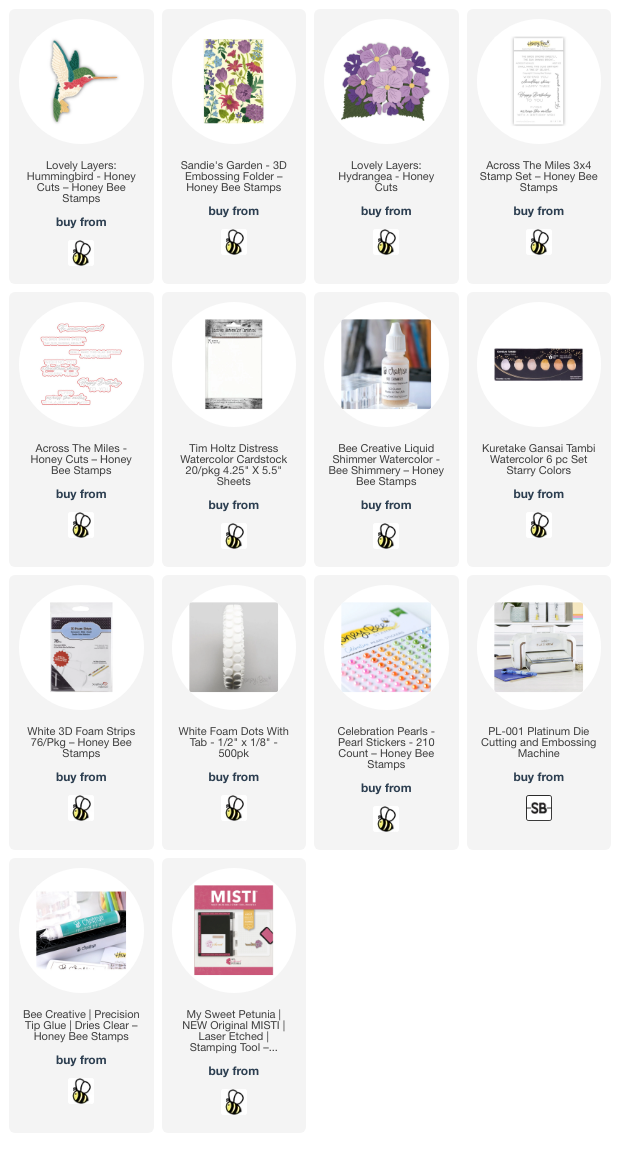
Hello crafty friends! I love using new products with some of my most favorite older products! That's what I've done today with this birthday card featuring Honey Bee Stamps beautiful new Lovely Layers: Hummingbird and Sandie's Garden 3D embossing folder along with the previously released Lovely Layers: Hydrangea!

The A2 card base has Distress watercolor paper embossed with the gorgeous Sandie's Garden 3D embossing folder. I used this watercolor paper since that's what I used on all of the other elements of the card and is a nice bright white.

Next I die cut all of the layers of the Lovely Layers: Hummingbird from more Distress watercolor cardstock. I watercolored all of the layers with a combination of four Distress Ink re-inkers, some water, and a few drops of Bee Shimmery Liquid Shimmer Watercolor. I used Peacock Feathers, Abandoned Coral, Mowed Lawn, and Twisted Citron. TIP: Have fun combining the Peacock Feathers with a bit of the green inks to create your own unique color! That's how I got the blue green shade of the wings and tail. The die cut eye and beak are watercolored with Black Soot Distress Re-inker. I used White Gold and Light Gold Starry Colors metallic watercolors for the whites of the bird.

There's a handy layering guide in the Hummingbird product description if you need a bit of help with the assembly. After the layers were completely dry, I used Bee Creative glue to adhere all of them together.

I die cut the layers of the Lovely Layers: Hydrangea from Distress Watercolor cardstock. After I mixed drops of Abandoned Coral re-inker for the flower with Bee Shimmery drops, I diluted it some with water and colored the layers with my paint brush. The leaves are the same, but with Mowed Lawn and Twisted Citron re-inkers. I added more layers of color to the pieces, drying between each layer, until I was happy with the look.

This next tip is a "do as I say, not as I did" tip. Haha! I glued all of the Hydrangea layers together and then glued the flower to the card. Let me just say, the thickness of this gorgeous flower was a bit of a struggle when I went to trim the extra off at the side of the card! So my tip to you (and me!) is to not glue the layers, but use a ruler and pencil to mark on each layer where to cut them separately--then glue together!

I tucked the Hydrangea leaves under the flower with glue. I added two foam dots to the Hummingbird to pop it up on the card.

The sentiment, from the Across The Miles stamp set, is stamped in black ink on Distress Watercolor cardstock. TIP: I turned the cardstock over and stamped on the smoother side! (I'm full of tips today--Haha!) I cut it out with the coordinating die and popped it up on the card with foam strips.
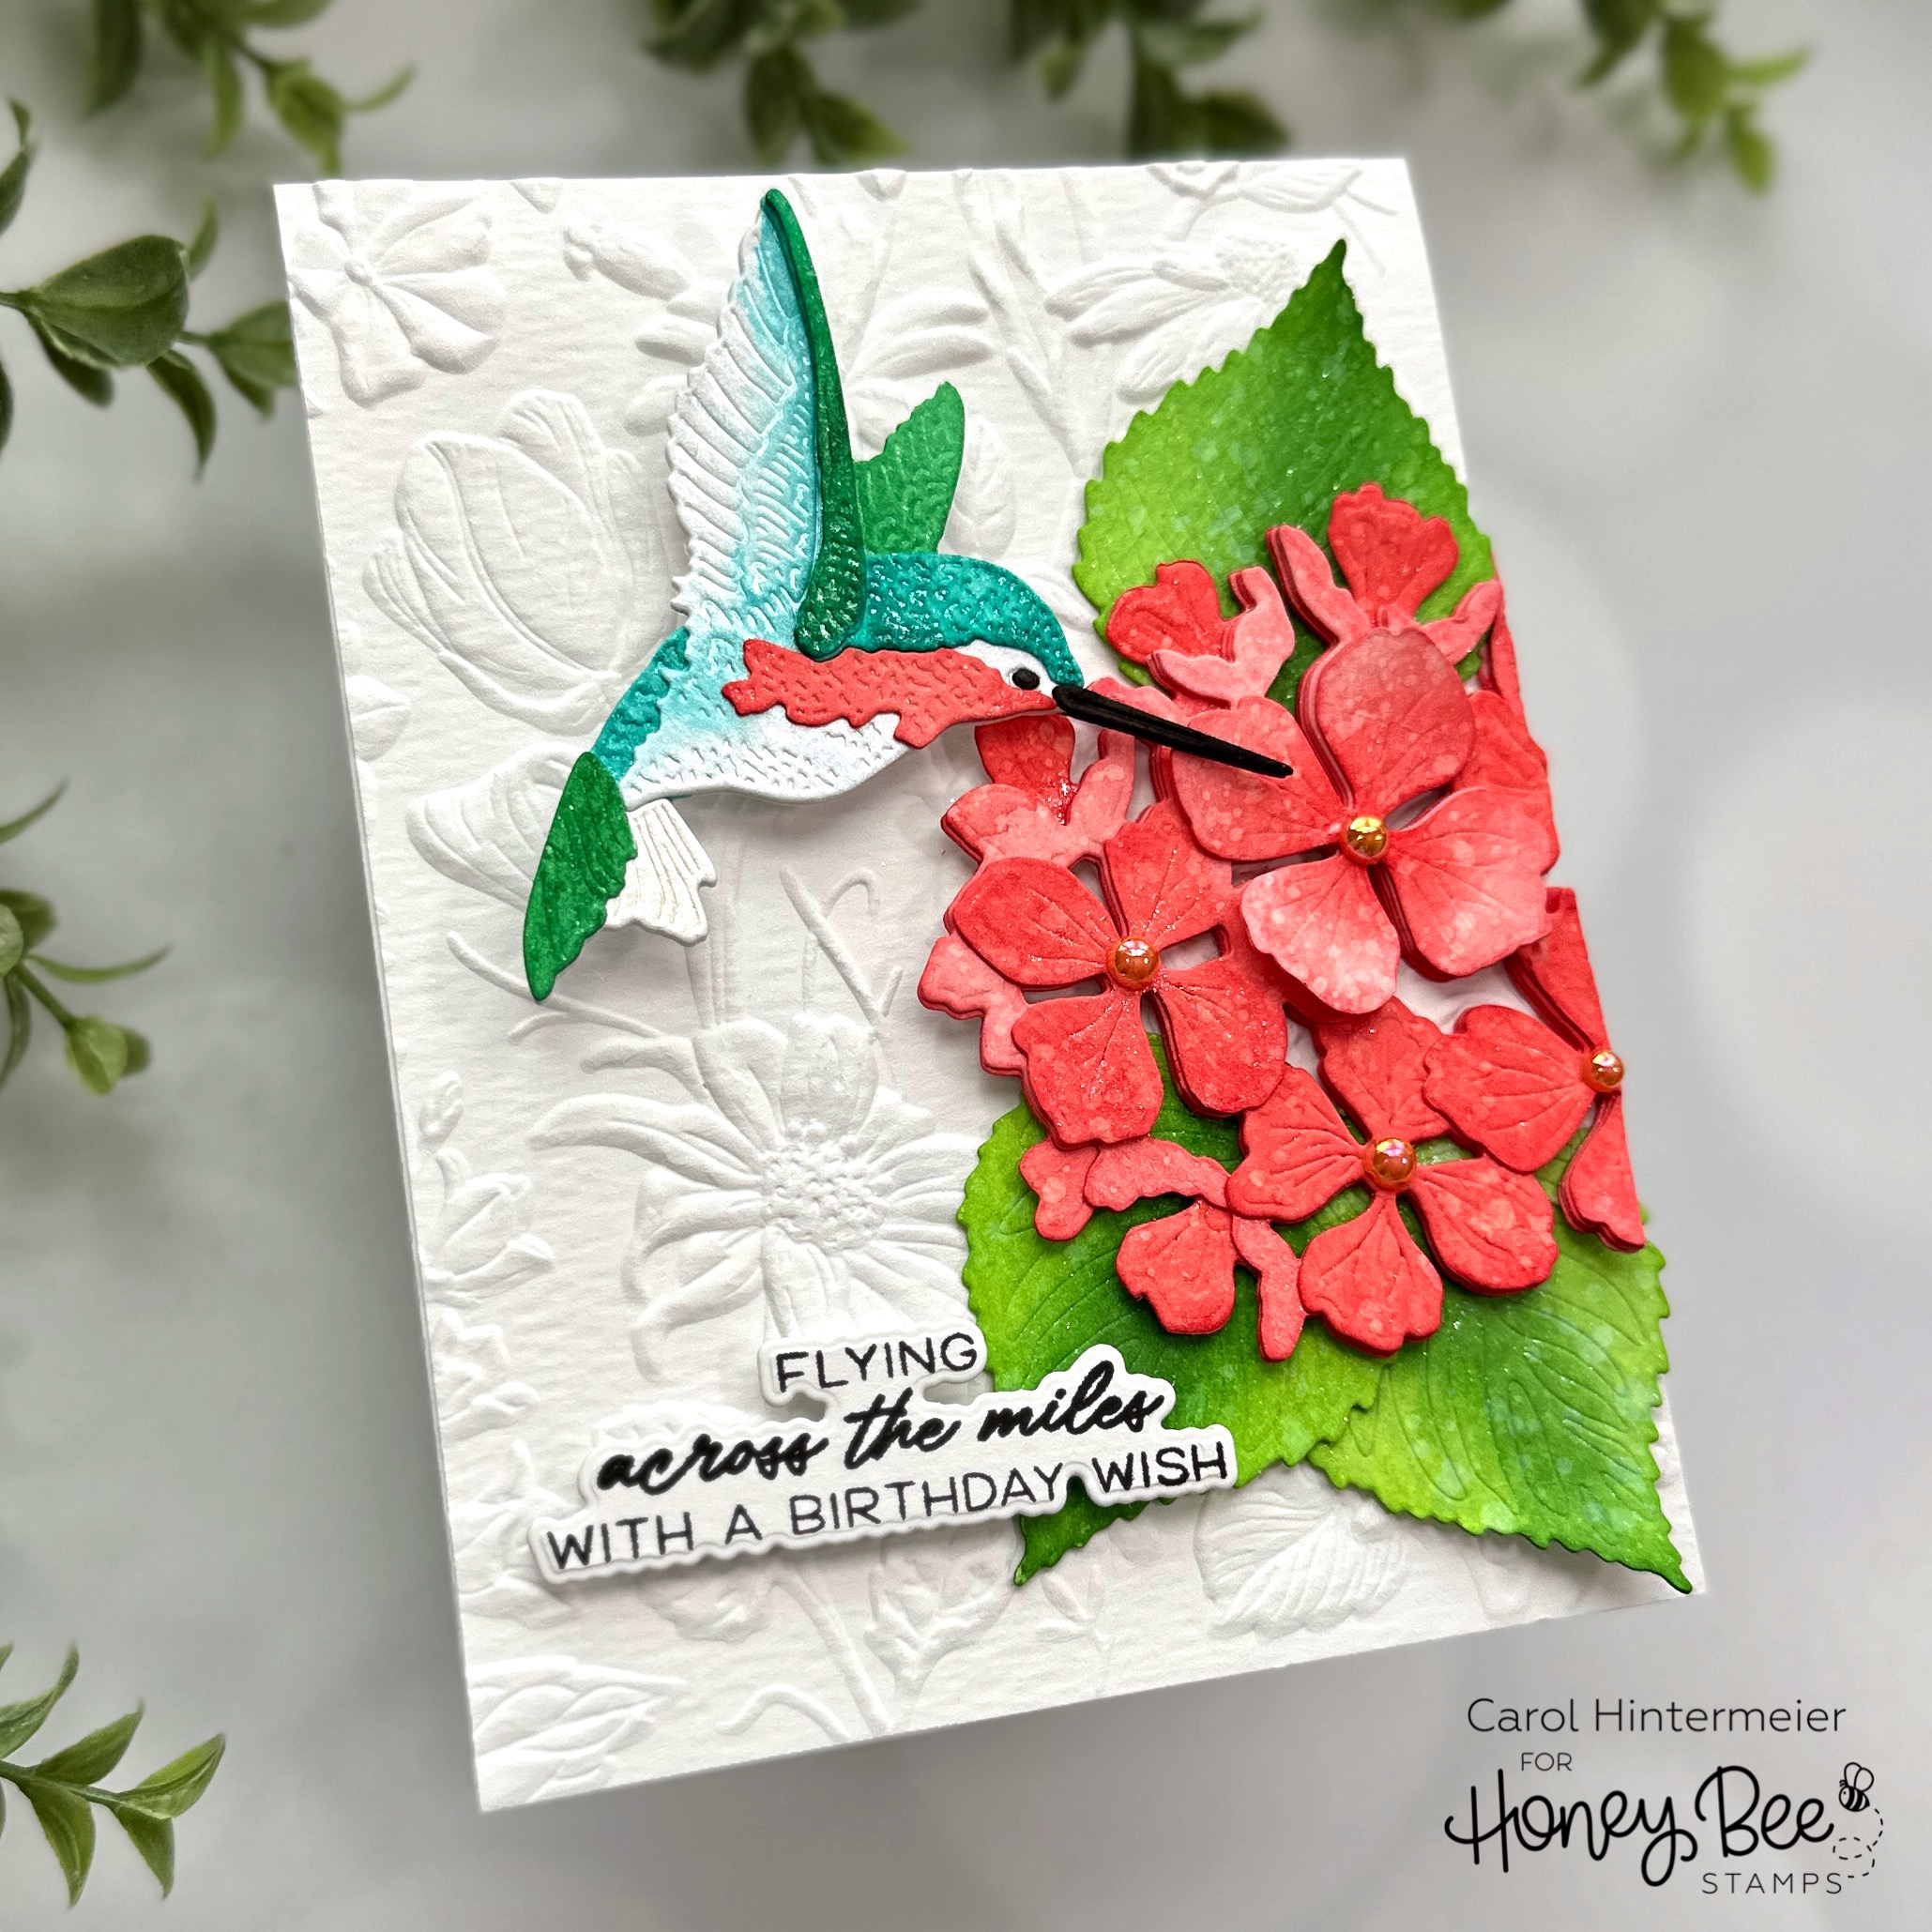
Since I seem to have misplaced (lost?) the die for the Hydrangea centers, I used some pretty matching pearls from the Celebration Pearl Stickers. (I sure hope I find it!!!)

I really enjoyed playing with watercolors to create my card! I always so appreciate you stopping by and hope you have been inspired today. Have a wonderful and crafty week!

Thank you very much for shopping with my affiliate links (never any additional cost to you)!
Wednesday, May 1, 2024

Birthday Card with the Gorgeous Layering Iris Die Set

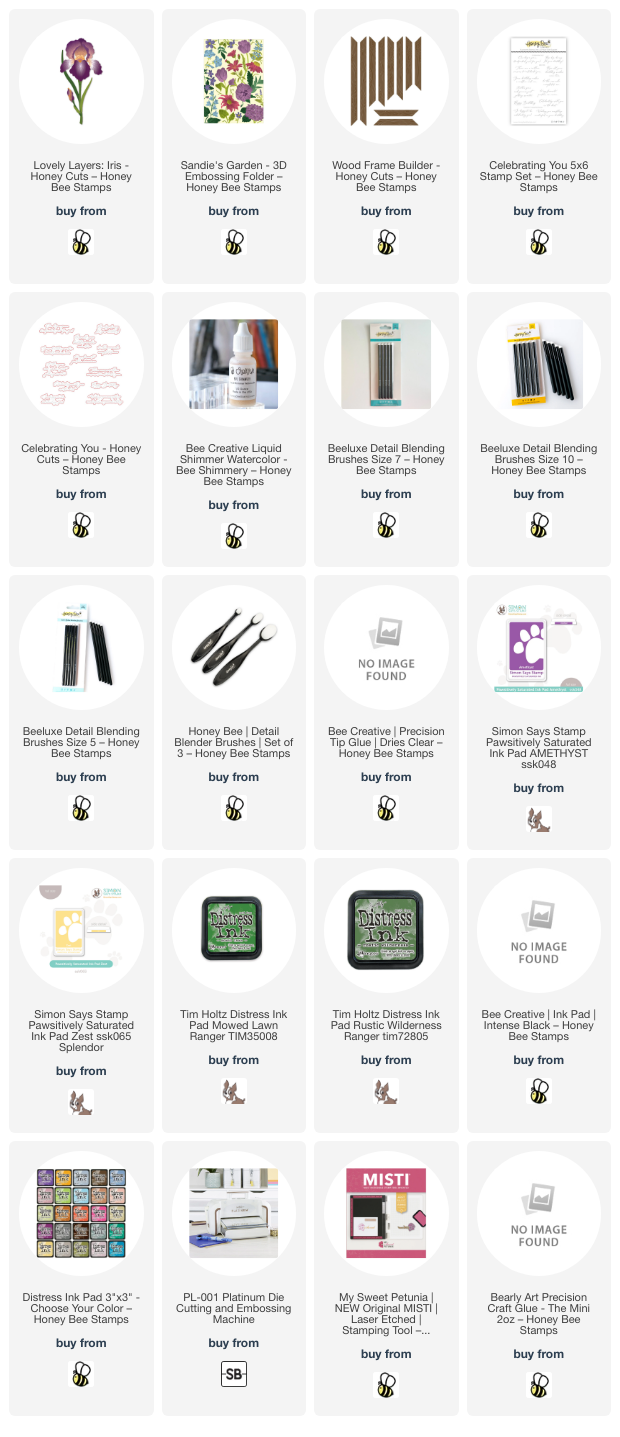
Hello my friends! Happy first day of May! One of my most favorite flowers to bloom in spring is the bearded iris and my goodness, the Lovely Layers: Iris is just as gorgeous as real irises!!

First I die cut all of the pieces of the Lovely Layers: Iris from 80# white cardstock. Then I used the new BeeLuxe Detail Blending Brushes to add yellow and purple inks to the layers. Let me say this, I was so very pleased with how these brushes swiped on the color! I wanted to imitate real irises I've seen that have that dark edge of color fading to white. These brushes made it way easier than I imagined!

When I'm coloring any of the Lovely Layers sets, I always begin with the bottom layer, placing the next layer over it to check it, and adjusting the coloring as needed. To smooth out the purple edges just a bit, I used a Detail Blending Brush to add a bit more purple ink. I used the Layering Guide to assist in the assembly as this is my first time to use these. All of the layers are adhered with glue.

Next I embossed 80# white cardstock with the beautiful Sandie's Garden 3D embossing folder. I added splatters of purple ink and diluted with water. When the droplets dried I added splatters of Bee Shimmery Liquid Shimmer Watercolor. When that was dry, I adhered the panel to my A2 card base.

Then I pulled out one of my older favorites, the Wood Frame Builder Honey Cuts, and adhered the die cut frame with foam tape. I trimmed the stem of the iris just a bit so it would fit under the frame. Next I added foam dots to the back of the flower and glue to the bottom of the stem to adhere it to the card.

I stamped the sentiment from the Celebrating You stamp set in black ink. Then I cut it out with the coordinating die and popped it up with foam strips.

I will have my reel posted over on Instagram soon and you'll be able to see the amazing coloring I did with the BeeLuxe brushes. I hope you will check it out! Thanks so very much for stopping by today. Have a wonderful day!

Thank you for shopping with my affiliate links (never any additional cost to you)!

Friday, April 5, 2024

Spring Greetings Shaker Card

Hello friends!  Today I'm sharing this card over on Instagram as part of Honey Bee Stamps' hop to celebrate their latest release for their 9th birthday!  Just so you know, there will be two $50 gift card prizes chosen from those that leave a comment on the Instagram posts!

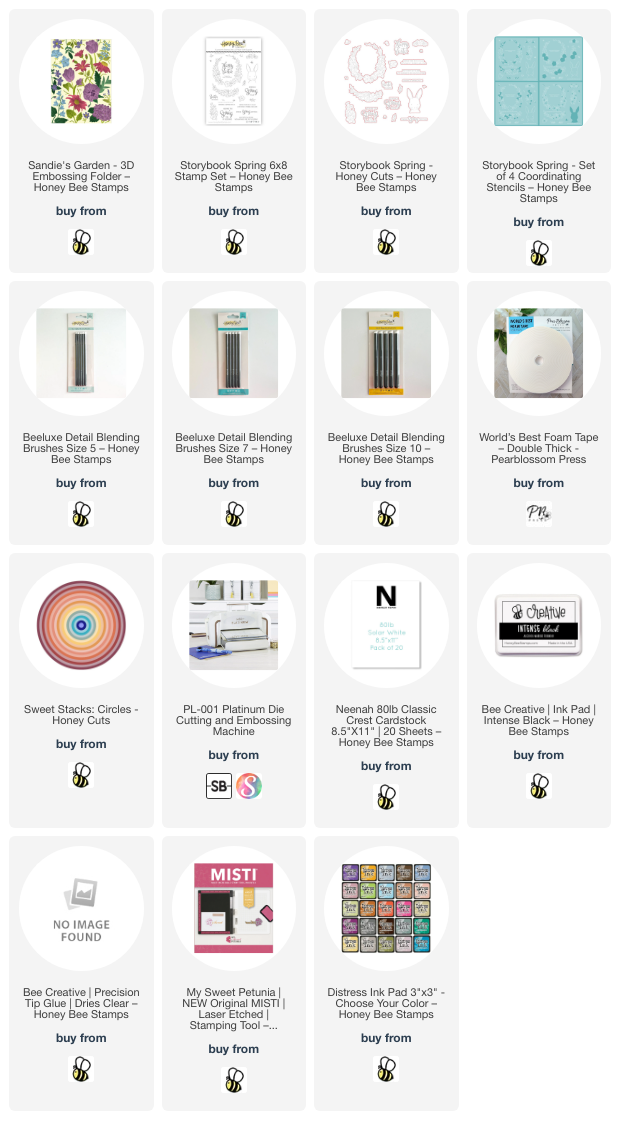
The new products I've used are the Storybook Spring stamps with the coordinating dies and stencils, and the Sandie's Garden 3D embossing folder.

I used Honey Bee's new Beeluxe Blending Brushes to color the image through each Storybook Spring stencil layer.  These brushes are pencil shaped and make getting into the small openings very easy.

I used Distress Inks in these colors:  Kitsch Flamingo, Mustard Seed, Squeezed Lemonade, Dried Marigold, Mowed Lawn, Rustic Wilderness, and Lost Shadow.  When I finished with each stencil layer I placed the panel into my MISTI.  Then I aligned each stamp over its image and picked them up with the MISTI door.  I inked up the stamps with Intense Black ink.  Then I cut them out with the coordinating Storybook Spring dies.

For the background layer, I placed a die from the Sweet Stacks Circles in the center of an A2 white cardstock panel.  After I cut out the circle, I put it into the Sandie's Garden 3D embossing folder to emboss it.

I adhered a piece of acetate to the back of the circle opening, then added strips of the World's Best Foam Tape by Pear Blossom Press around the opening and to the edges of the panel.  I've talked about this foam tape before, but if you missed it, this tape is truly amazing!!!  If you need to reposition your adhered panel, the tape is temporary for about 30 minutes!!  It becomes permanent after that.  

Next I added my shaker mix, then removed the adhesive backing, and placed my A2 card base onto the panel.  I love using some of my stash of embellishments!

The sentiment from the Storybook Spring set is stamped in black ink and cut out with the coordinating die.  The cute tiny bees add a bit of extra something!

Thank you for stopping by today!  I hope you'll click over to my Instagram to check out more inspiration from this awesome release!

Thank you for using my affiliate links to shop (never any additional cost to you)!