Showing posts with label Lovely Layers: Hydrangea. Show all posts

Wednesday, May 22, 2024

Lovely Layers Hummingbird and Hydrangea Birthday Card

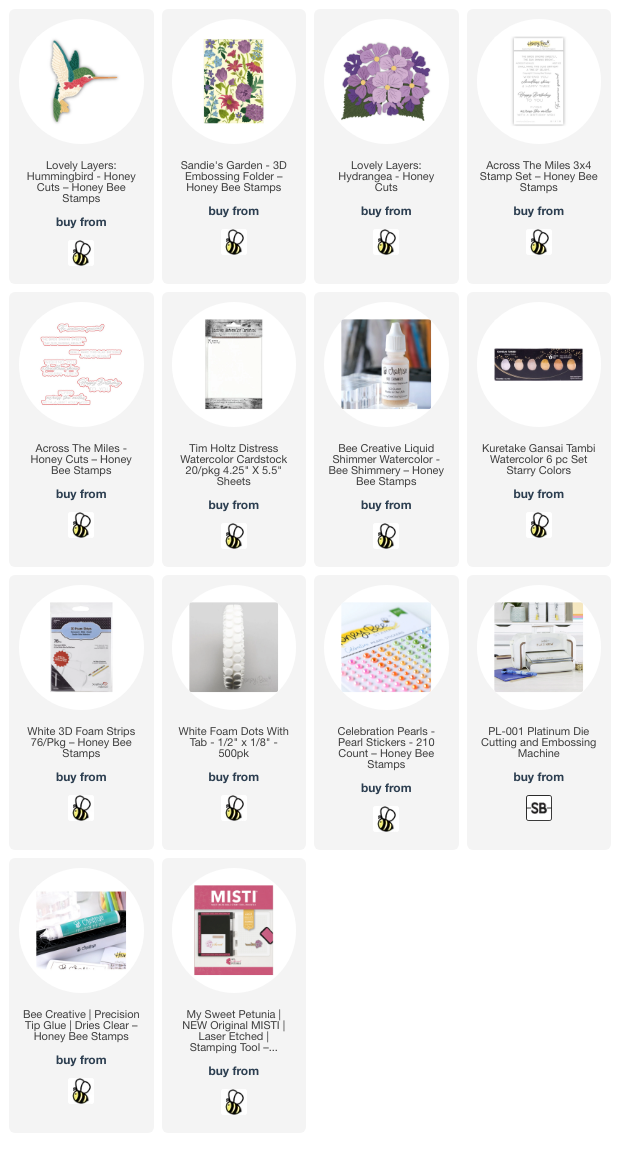
Hello crafty friends! I love using new products with some of my most favorite older products! That's what I've done today with this birthday card featuring Honey Bee Stamps beautiful new Lovely Layers: Hummingbird and Sandie's Garden 3D embossing folder along with the previously released Lovely Layers: Hydrangea!

The A2 card base has Distress watercolor paper embossed with the gorgeous Sandie's Garden 3D embossing folder. I used this watercolor paper since that's what I used on all of the other elements of the card and is a nice bright white.

Next I die cut all of the layers of the Lovely Layers: Hummingbird from more Distress watercolor cardstock. I watercolored all of the layers with a combination of four Distress Ink re-inkers, some water, and a few drops of Bee Shimmery Liquid Shimmer Watercolor. I used Peacock Feathers, Abandoned Coral, Mowed Lawn, and Twisted Citron. TIP: Have fun combining the Peacock Feathers with a bit of the green inks to create your own unique color! That's how I got the blue green shade of the wings and tail. The die cut eye and beak are watercolored with Black Soot Distress Re-inker. I used White Gold and Light Gold Starry Colors metallic watercolors for the whites of the bird.

There's a handy layering guide in the Hummingbird product description if you need a bit of help with the assembly. After the layers were completely dry, I used Bee Creative glue to adhere all of them together.

I die cut the layers of the Lovely Layers: Hydrangea from Distress Watercolor cardstock. After I mixed drops of Abandoned Coral re-inker for the flower with Bee Shimmery drops, I diluted it some with water and colored the layers with my paint brush. The leaves are the same, but with Mowed Lawn and Twisted Citron re-inkers. I added more layers of color to the pieces, drying between each layer, until I was happy with the look.

This next tip is a "do as I say, not as I did" tip. Haha! I glued all of the Hydrangea layers together and then glued the flower to the card. Let me just say, the thickness of this gorgeous flower was a bit of a struggle when I went to trim the extra off at the side of the card! So my tip to you (and me!) is to not glue the layers, but use a ruler and pencil to mark on each layer where to cut them separately--then glue together!

I tucked the Hydrangea leaves under the flower with glue. I added two foam dots to the Hummingbird to pop it up on the card.

The sentiment, from the Across The Miles stamp set, is stamped in black ink on Distress Watercolor cardstockTIP: I turned the cardstock over and stamped on the smoother side! (I'm full of tips today--Haha!) I cut it out with the coordinating die and popped it up on the card with foam strips.

Since I seem to have misplaced (lost?) the die for the Hydrangea centers, I used some pretty matching pearls from the Celebration Pearl Stickers. (I sure hope I find it!!!)

I really enjoyed playing with watercolors to create my card! I always so appreciate you stopping by and hope you have been inspired today. Have a wonderful and crafty week!

Thank you very much for shopping with my affiliate links (never any additional cost to you)!

Wednesday, June 1, 2022

Watercoloring a Rainbow & Hydrangea Birthday Card

Hello crafty friends, and happy first day of June! Today I'm sharing a birthday card I made with some of Honey Bee Stamps new Rainbow Dreams release products plus the beautiful Lovely Layers: Hydrangea! I had an idea for this card in my mind, and I'm always thrilled when I'm able to create what I envisioned! 


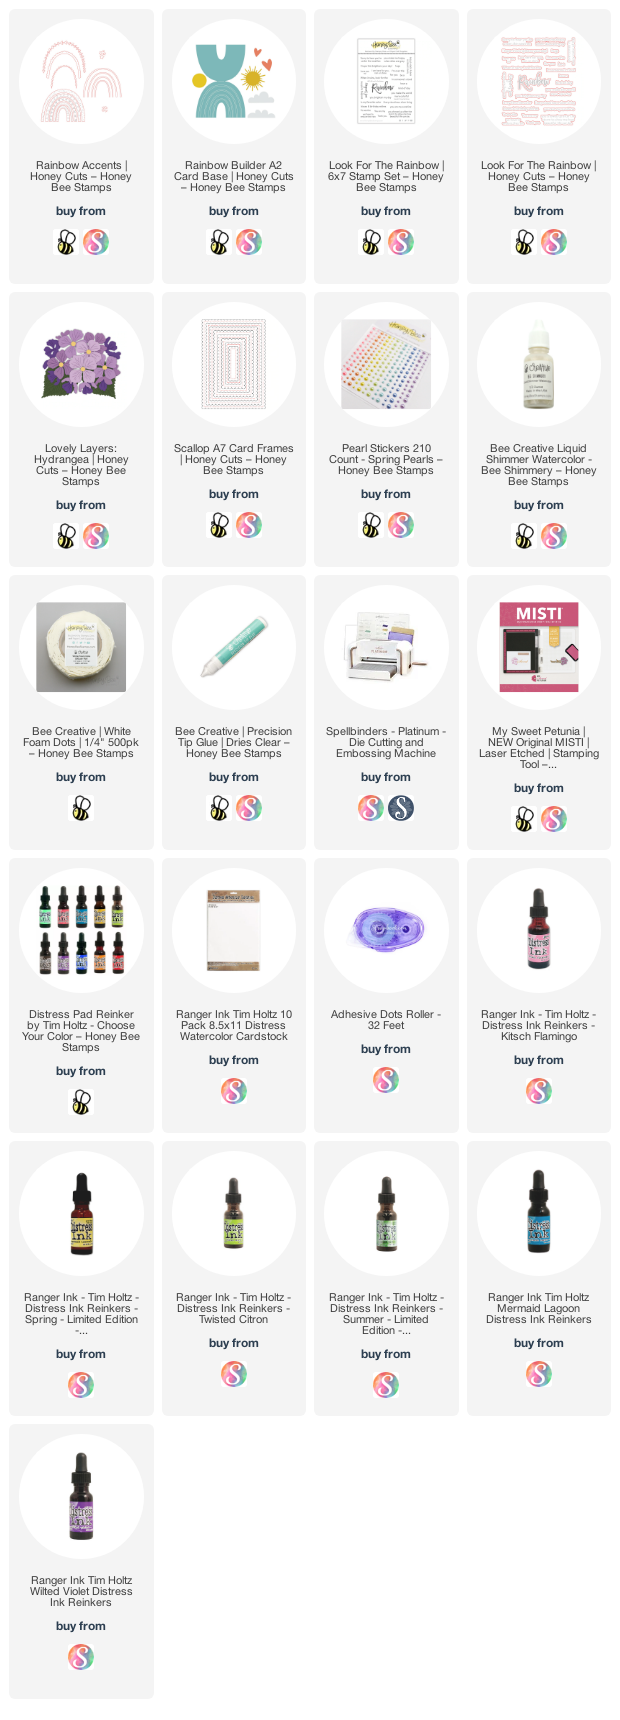
All of my layers, except the sentiments and card base, are die cut from this bright white watercolor paper. I die cut the rainbow from the Rainbow Accents Honey Cuts, the cloud from the Rainbow Builder A2 Card Base, and the flower from the Lovely Layers: Hydrangea.

Then I used several Distress Ink re-inkers to color the rainbow and hydrangea. My colors are inspired by the gorgeous new Spring Pearls stickers! The colors I used are Kitsch Flamingo, Squeezed Lemonade, Twisted Citron, Mowed Lawn, and Wilted Violet. I put drops of each re-inker onto my mat and used my paint brush with water to pick up the colors. As I colored the pieces, I found that with this watercolor paper it helped to dampen the paper with a bit of plain water first, then add the color.

Before I began to color the hydrangea, I adhered all of the layers with some repositionable adhesive. Then I was able to just add the color to the pieces that were on top.

For all of the rainbow and hydrangea pieces, I added some Bee Shimmery Liquid Shimmer Watercolor to them with my paintbrush and a drop or two of water. I wish the photos showed the beautiful sparkle!

I created my 5" x 7" card base by scoring a 10" x 7" piece of Neenah at the 5" mark. Then I die cut more watercolor paper with the largest Scallop A7 Card Frames Honey Cut. Next I adhered my rainbow pieces and the cloud with Bee Creative glue. I placed the Scallop A7 die back over the piece (secure it with temporary tape) and ran just the left edge through my die cutting machine. I like how the rainbow now has the same scallop edge!

I added foam dots between each layer of the hydrangea and adhered it and the leaves with glue. Then I stamped the sentiment from the Look For The Rainbow set with black ink. I used the coordinating Honey Cuts to die cut them and popped them up with foam tape.  To finish up, I added some Spring Pearl stickers to the flower centers.

I absolutely love how this turned out, and hope you do too! If you are over on Instagram, check out my Instagram feed later today for a reel I'm making to show some of the card making process. Thanks so much for stopping by. I hope you have a wonderful day!

Wednesday, May 26, 2021

Slimline Birthday Card with Hydrangeas | Honey Bee Stamps

 Happy Wednesday friends!  Today I'm sharing a slimline birthday card I made using Honey Bee Stamps gorgeous Lovely Layers: Hydrangea die set.  I love these layering dies and this made for a fairly quick card!  Read on for the details.

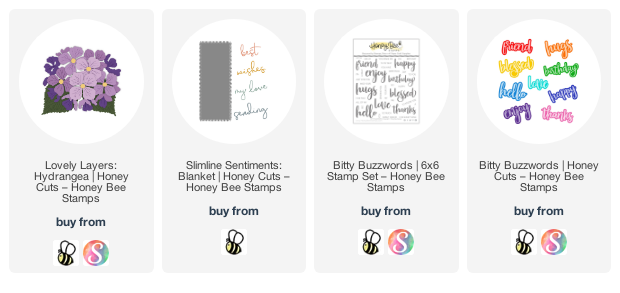
First I created my card base by scoring a piece of 8" x 9" 80# Neenah at 4".  After I folded it, I added a coordinating layer of purple card stock.  Then I die cut 80# Neenah with the Slimline Sentiments: Blanket die and adhered it to the purple layer.  All of the layers are adhered with the fantastic Bee Creative glue. (All products are linked below.)

Next I die cut all of the pieces of the Lovely Layers: Hydrangea from 80# Neenah.  I die cut five leaves.  Then I colored all of the pieces with my Copic markers.  For the flowers I used: BV17, BV04, BV13, BV02, BV31, G14, YG41, and YG11.  I colored the leaves with G28, YG17, YG25, and YG03.

I adhered the layers of the hydrangea together with thin foam squares.  OK, I'll admit to being pretty nervous for this next step, LOL!  I took my Tim Holtz scissors and cut the flower down a line I drew with my pencil.  These scissors were able to easily cut through the layers and the foam squares too!

I adhered the leaves and the flowers with Bee Creative glue.  Then I used a sentiment from the Bitty Buzzwords stamps and Honey Cuts, stamped them in black ink, and used the coordinating die to cut out "birthday".  The Bitty Buzzwords is such a fabulous set and one I will always keep!  I added thin foam strips to the back to the sentiments and adhered them to the card.

Thank you so very much for stopping by!  Have a wonderful, and crafty, rest of your week!


Links to the products I used:

Wednesday, May 5, 2021

Hydrangea Birthday Card & Treat Box | Honey Bee Stamps

Happy Wednesday crafty friends!  Today I'm sharing a card I made with some NEW products from Honey Bee Stamps newest release called Let's Celebrate!  I'm using the gorgeous Lovely Layers: Hydrangea Honey Cuts!  I have lots of photos for you and hope it helps you to see how I created this gorgeous set!

To begin I created some inky watercolor background pieces.  I used watercolors in my stash in shades of a pinky red, purple and lavender on two pieces of watercolor card stock.  On a third piece, I watercolored in two shades of green.  I set these aside to dry.

Then I used the same pinky red watercolor and added droplets to my card front.  While that was drying, I cut a strip of black striped paper from the new Funfetti Birthday 6x6 paper pad and added it to a black layer.  Then I adhered that to my card front.

Next I die cut the same black striped paper with the Hexagon Box Cover die.  I centered and taped the window dies in place before die cutting the paper.  Next I trimmed the tabs so they wouldn't show in the windows and adhered them together.  You can add acetate to the windows, but Honey Bee now carries these heavy weight acetate boxes that coordinate perfectly with the die cuts!  I assembled the acetate box and slipped my decorative cover over it.  To hold it in place I added dots of glue along the top inside edge of the paper.

Now it's time to have fun creating the hydrangeas!  There are four layers for the hydrangea and I die cut the pink watercolor background with these.  I also die cut the three extra single flowers from the pink paper.  I die cut several leaves and the flower centers from the green watercolor background.

After you have the layers die cut, if you look at the center of each layer, you will see a shape that all of them have in common to help you in your layering.  Check out this next photo to see what I mean.

I added foam squares between each layer to give it lots of beautiful dimension!  I adhered the hydrangea and the leaves to my card front with Bee Creative glue.  I glued the little flower centers on and added a drop of Nuvo Sunlit Meadows Glitter Drops.

Next I created the little floral topper for my treat box.  I used the single flowers and snipped a few apart. For the base I die cut the lid from the Hexagon Box Cover die set from white card stock and cut the tabs off.  Then I intertwined a few of the petals and gluedthem together.  I adhered these to a 1" circle of white card stock and added a foam circle to the back.  Then I adhere it to the hexagon.  I arranged the remaining flowers, snipping some apart, and gluing them around the top piece until I was happy with the look.  Here's a look at my pieces and the top flower cluster.

I adhered the flower piece to the treat box with Bee Creative glue.

I used the new Bitty Buzzwords stamp set and coordinating Honey Cuts for my sentiment.  These are the same buzzwords that Honey Bee has but in a smaller size!!  I love these!!

I absolutely love the dimension you can achieve with this Lovely Layers: Hydrangea!


I hope you've enjoyed the process of making this beautiful dimension card!  Be sure to check out the full Let's Celebrate release!  Thank you so much for stopping by!