Showing posts with label Spring Cottage Village. Show all posts

Wednesday, January 24, 2024

Hearts, Home, & Patterned Paper Card

 Hello crafty friends!! While we await the new Vintage Love release from Honey Bee Stamps on January 31, it gives me the chance to pull out previously released favorite sets to create with. Today my card is all about heart and home and features the Spring Cottage Village dies and No Place Like Home sentiments.

Often, when I am using products that I've used before, I like to try to think of something different to do. This time I used a sheet of beautiful paper from the Marvelous Moments paper pad. I chose the paper that has a flower border around three sides. I trimmed one end of the paper to 4-¼" x 5-½" and glued it to an A2 card base. My "something different" is to use my scissors to trim around the flowers of the remaining piece of the paper. When I had it all trimmed, I added thin foam dots to the flower border and adhered it in the bottom left corner of the card.

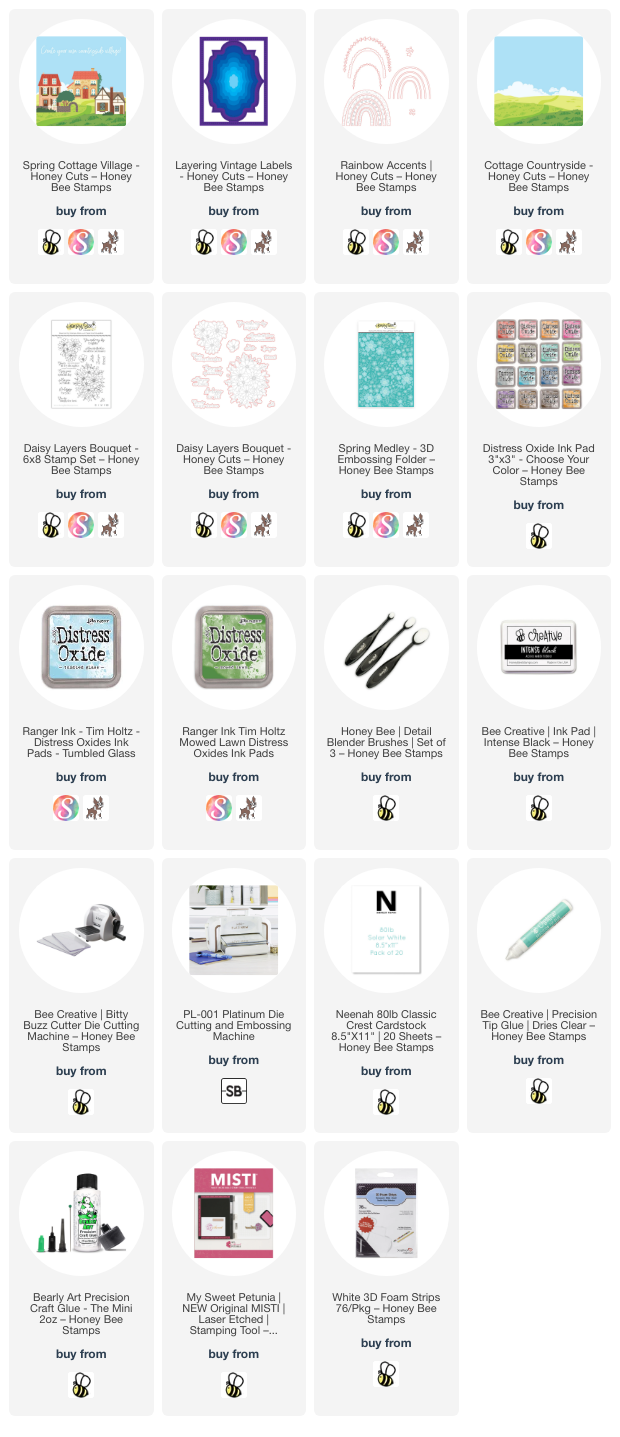
Next I chose a cottage from the Spring Cottage Village dies and cut the pieces from 80# Neenah. I used various inks in my stash that coordinate with the patterned paper colors to color the cottage elements. I used glue with a fine tip, and my reverse tweezers, to assemble the cottage.

I die cut a Stacking Hearts die from 80# Neenah and used removable tape to mask off the bottom so I could add green ink with a blender brush. Before I removed the mask, I added ink splatters in the same green ink diluted with a drop or two of water. Then I masked off the green and repeated the steps with blue ink.

I used glue to adhere the cottage and tree to the ink blended heart. Next I chose a coordinating solid paper in the Marvelous Moments paper pad and die cut a Scallop Hearts from it. I glued it to the card base and the other heart on top with foam dots.

The sentiment from the No Place Like Home set is stamped in black ink and die cut with the coordinating die.

Have you ever trimmed part of your patterned paper to pop up on your card? This was my first time, and I really like the look and hope you do too! Thank you so much for stopping by today! I hope you have a wonderful and crafty day!

Thank you so much for using my affiliate links to shop (never any additional cost to you)!
Wednesday, April 19, 2023

You Make My Day Brighter! -- Rainbow Cottage Scene Card

 Happy Wednesday my friends! Today I'm sharing my card featuring Honey Bee Stamps' Spring Cottage Village Honey Cuts and the Rainbow Accents Honey Cuts!  Rainbows, to me, are a sign of hope after a storm, and I love this sentiment that fits my card perfectly!

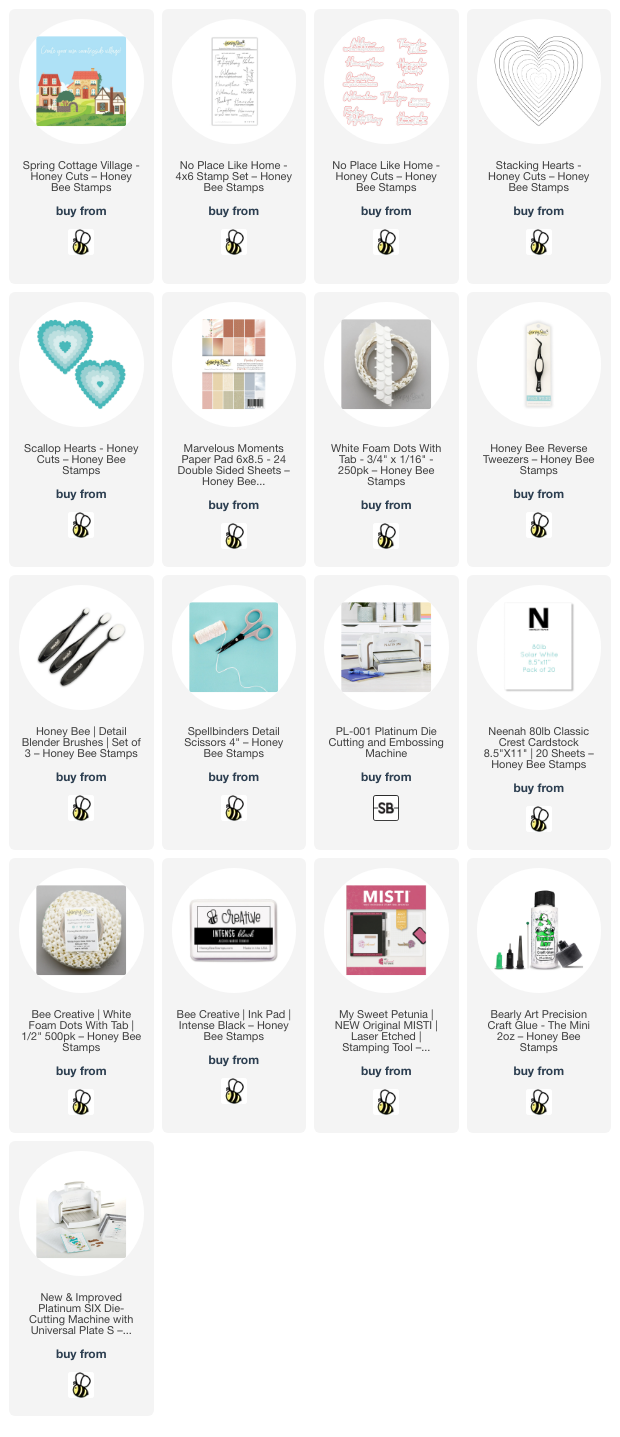
The card base is layered with a piece of Neenah embossed with the Spring Medley embossing folder. After I used Bee Creative glue to adhere it to the A2 card I die cut the Layering Vintage Labels frame two times from 80# Neenah. On one of the frames I taped off the edges with removable tape and blended on some Tumbled Glass Distress Oxide ink with a detail blender brush. I added water and white paint splatters. When it was dry I used foam tape to pop it up on the card.

I trimmed the center from the second piece and then used my scissors to cut a hill shape. This piece is about 2 inches tall. I blended on Mowed Lawn Distress Oxide, added splatters of water and diluted ink.

I only used the three smallest piece of the rainbow in the Rainbow Accents Honey Cuts. I die cut it from 80# Neenah and then colored the pieces with pastel colors of Copic markers. These are the colors I used: RV10, Y00, YG11, B000, BV01, and V12.

I glued the rainbow pieces on, then the green grass layer. The Spring Cottage Village house is die cut from pink, white and gray cardstock scraps. After I glued the house onto the card, I arranged the tree, bushes and gate around the house. I decided to add a few clouds and the ones in the Cottage Countryside Honey Cuts are just the right size!

I stamped the sweet sentiment from one in the Daisy Layers Bouquet stamp set. I stamped it with Intense Black ink and then cut it out with the coordinating Honey Cut. Since I seem to really like all the dimension on my cards (LOL!) I popped up the sentiment with foam tape strips!

I love that I was able to take an idea I had in my head and make it work for this card!  I hope this makes your day brighter, and that you have found some inspiration too!  Thanks so much for stopping by!

Thank you for using my affiliate links to shop (never any additional cost to you)!