Showing posts with label coloring stencils. Show all posts

Wednesday, April 17, 2024

A Floral Shaker Card for Your Friend With A Mailable Card Stand

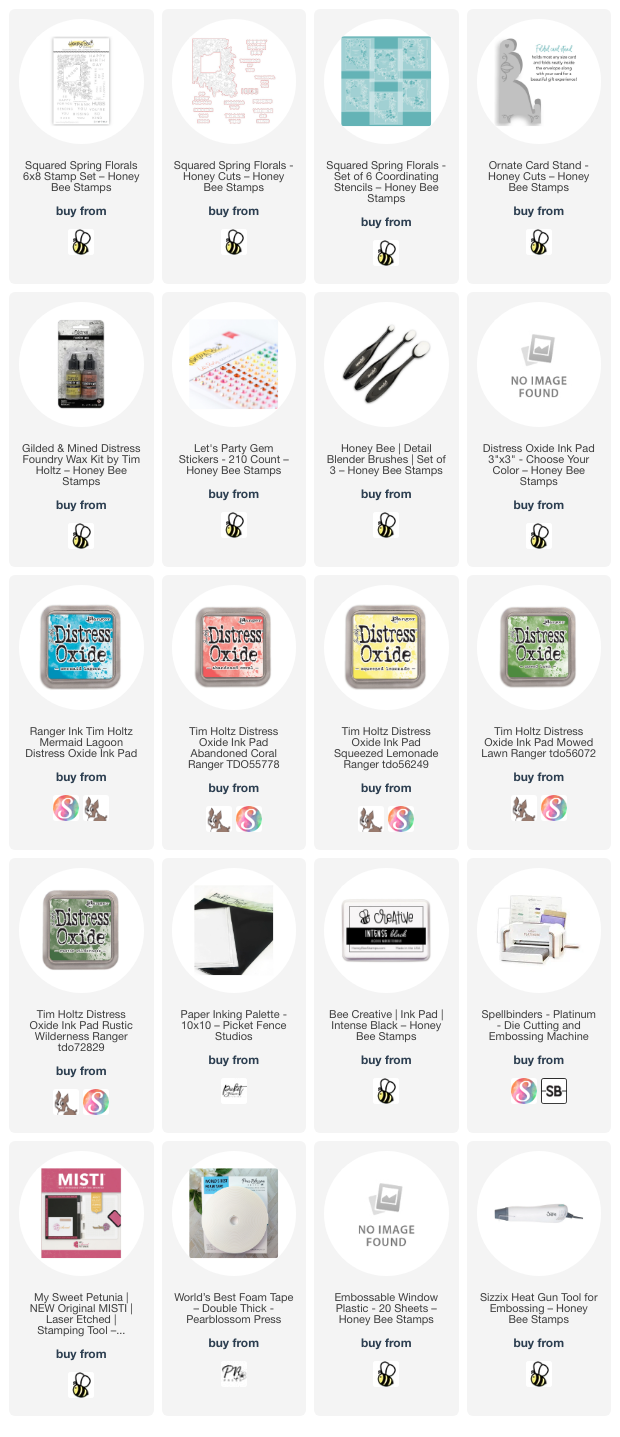
Hello crafty friends!  Today I'm sharing my shaker card that features Honey Bee Stamps new Squared Spring Florals stampsHoney Cuts, and coordinating coloring stencils.  I love the design of this stamp with the flowers spilling from the upper left corner! I've also made a card stand with the new Ornate Card Stand Honey Cut that can be mailed with the card! How fun it would be to receive a card with a matching stand to display it? Read on for all of the details.

First I used the Squared Spring Florals stencil set and blender brushes to color the image.  I used Distress Oxide inks in the colors of Abandoned Coral, Peacock Feathers, Squeezed Lemonade, Mowed Lawn, and Rustic Wilderness. Then I placed the piece into my MISTI and centered the Squared Spring Florals stamp over the image. I stamped it with Intense Black ink.

The Squared Spring Florals Honey Cuts have dies for all of the sentiments as well as a die to cut out the floral image and a die to cut out just the center square. So many options! As you can see from the photos, I just used the center square die to cut the opening for my shaker window. After I added a piece of acetate to the back of the opening, I added The World's Best foam tape around the opening and all of the edges. I sprinkled in my sequins and closed the opening with another piece of acetate. This makes it easy to adhere the card to your card base.

After I stamped the sentiment in black ink and cut it out with the coordinating die, I used Bee Creative Glue to adhere it to the shaker window. I added pretty yellow gems from the Let's Party Gem Stickers.

Next I die cut the Ornate Card Stand from some coordinating teal cardstock. Since I've had this Gilded Distress Foundry Wax for quite some time (and have NOT even tried it!) I thought I'd add some gold touches to the stand. I followed the directions on the bottle and added the wax with an old paint brush. TIP: I held the brush almost sideways to the cardstock to lightly brush it on in a more natural looking way. To set the wax, you use your heat tool over it and it becomes so pretty and shiny!

This was super fun to make! It was so easy and quick, that I am going to try to make more to send with the cards I mail. This next photo shows how pretty it looks with the card!

I hope you've enjoy my post today and have been inspired to try out the Ornate Card Stand for your cards! Thanks so very much for stopping by!

Thank you so much for shopping with my affiliate links (never any additional cost to you)!
Wednesday, January 17, 2024

Sweet Note Card with Pretty Springtime Colors

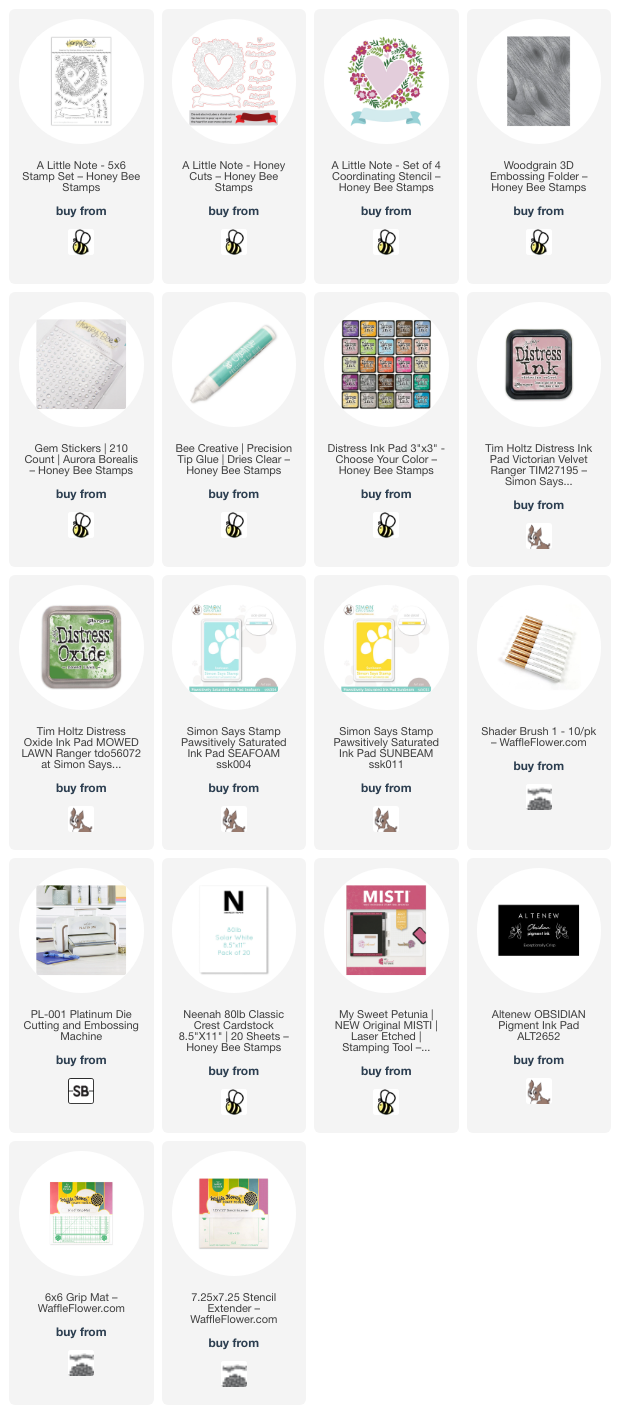
Hello crafty friends! Today I'm sharing a sweet card featuring one of my favorites: A Little Note stampsHoney Cuts, and coordinating stencils by Honey Bee Stamps.  It has been so cold here and I was in the mood for some pretty spring colors to remind us all that this ridiculous cold weather will most certainly go away as we get closer to springtime!

I began by using the A Little Note stencils and blender brushes to add some teal, pink, and green inks through the stencil layers onto white cardstock. I used a variety of ink brands I have in my stash. Note: I didn't use the outline stamp from the A Little Note stamp set because I wanted a softer look for the image.

I chose a sentiment from the A Little Note stamp set and stamped it onto the banner with black pigment ink.

When I was finished coloring with all of the stencil layers, I cut out the wreath and banner with the coordinating dies. I used the other larger banner die including in the A Little Note Honey Cuts to cut out a white banner to place behind the stenciled one.

The card base is an A2 top-folding card made from teal cardstock. I added a 4" x 5-¼" white cardstock I embossed with the Woodgrain 3D embossing folder and adhered with glue.

Next I added white foam strips to the back of the wreath to adhere it to the card. Then I die cut more white cardstock with the heart die in the A Little Note die set and embossed it with the Woodgrain embossing folder. I added foam strips to the back to adhere it to the center of the wreath. More foam tape was used to adhere the banner layers to the card.

I added some pretty sparkle with some gem stickers from the Aurora Borealis Gem Stickers.

I love using stencils to color images, and I hope you've enjoyed my card making process today!  Have a wonderful day!

Thank you so much for shopping with my affiliate links (never any additional cost to you)!

Saturday, December 2, 2023

Altenew Sweet Spray Stamps, Dies, 3D Embossing Folder, and Stencils--Available only at Scrapbook.com

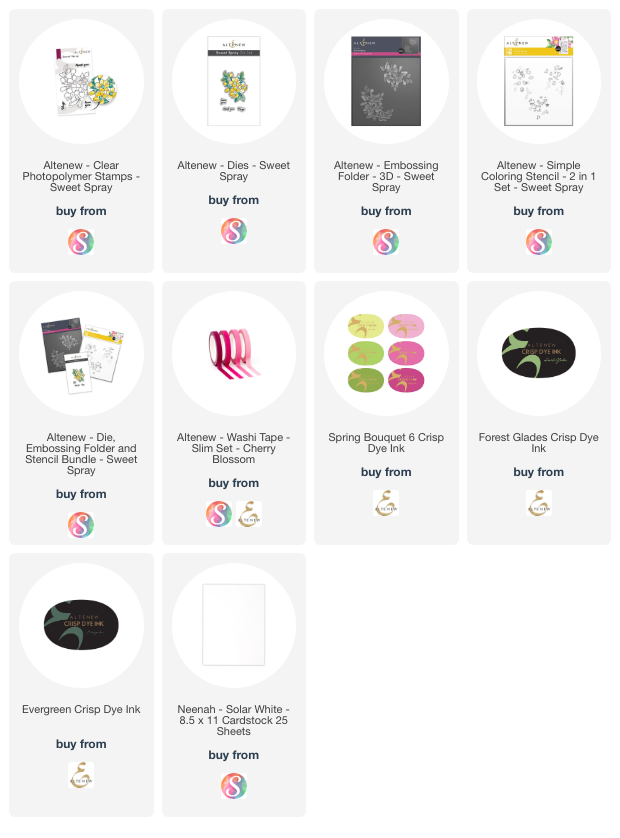
Hello crafty friends!  Today I am sharing my card featuring Altenew's Sweet Spray stamps, dies,  coordinating Sweet Spray 3D embossing folder, and Sweet Spray Simple Coloring Stencil set.  These products are only available over at Scrapbook.com!

As of the date of this post, the Sweet Spray stamp set is FREE, for a limited time!  All you have to do is add the product to your Scrapbook.com cart and it will be shown as free in your check out.  There is a bundle of the Sweet Spray dies, embossing folder, and stencils to complete the collection too!

First I put white cardstock into the Sweet Spray 3D embossing folder and ran it through my die cutting machine.  Next I added strips of Cherry Blossom Slim Washi tape diagonally across the embossing panel.

I stamped the Sweet Spray image then added Crisp Dye inks in the colors of Baby Pink, Fuchsia, Magenta, Forest Glades, and Evergreen through the Sweet Spray stencil layers.  I used ink blending brushes to make this a quick process!

The sentiment is one of three in the Sweet Spray stamp set and was die cut with the coordinating die.  Both the sentiment and floral image are popped up with foam tape.

This makes such a sweet card to send to someone that needs a hug!  Also, it was quick and easy to make.  Thank you for stopping by today!  I hope it's filled with lots of fun crafty time!

Thank for you using my affiliate links (never any additional cost to you)!

Thursday, November 30, 2023

Quick, Easy, and Beautiful Winter Wreath Card for the Holidays

Happy end of November my friends!  Can you believe it?  This year has flown, and so has my brain because I meant to have this post ready on Tuesday!  LOL!

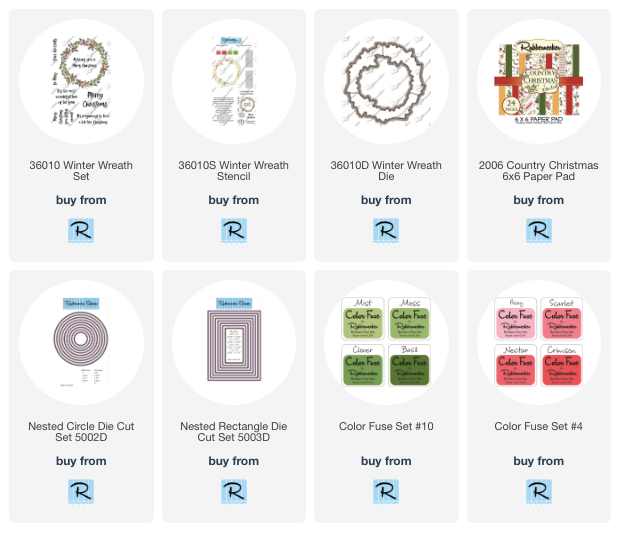
If you need a quick and easy card to get ready to mail for the holidays, this one featuring Rubbernecker Stamps Winter Wreath is one to make!  It's really beautiful and has coordinating coloring stencils too!

Since I need to get caught up on everything, I'm sending you over to my blog post on Rubbernecker's blog for all of the easy directions to make this card.

If you would like to check out the products I used, the links are below.

If you stop over at my post on Rubbernecker's blog, I hope you'll say hi!  Have a fabulous day!

Thank you for shopping with my affiliate links (never any additional cost to you)!

Sunday, November 19, 2023

A Quick and Easy Card with Coneflowers Layering Stencils

I'm interrupting my Christmas card making to bring you a touch of bright spring colors on this card I'm sharing today.  I features the fun and so easy-to-use Coneflowers Layering Stencils by Spellbinders!


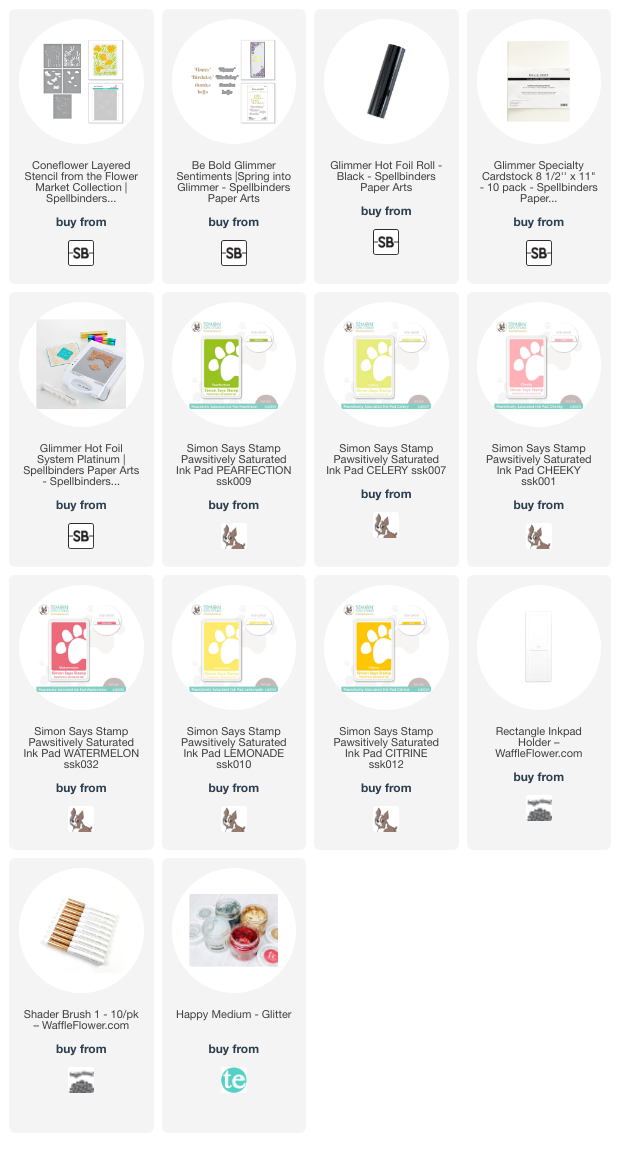
 I used ink blending brushes and several different inks (from my stash and linked below) to color through each of the five Coneflower layering stencils.

When I was finished with each stencil, I used the stencil layer with the detail dots and lines for the petals and flower centers to add some sparkly iridescent glitter gel.  This adds just a touch of sparkle and is so pretty!

I trimmed the panel to 4" x 5-¼", added foam tape to the back, and adhered it to my A2 card base.

I chose a sentiment from the Be Bold Glimmer Sentiments hot foil plates.  Then I hot foiled it onto Glimmer Specialty Cardstock with Black Glimmer Foil using my Glimmer Hot Foil Machine.  I cut it out with the included coordinating die.  I added a few foam squares to pop it up on the card.

I really love the crisp sharp black of the foil on this sentiment!   And the Specialty Cardstock takes foiling to perfection!

I hope you've enjoyed this bright and cheerful card full of color!  Thanks so very much for stopping by!

Thank you for using my affiliate links to shop (never any additional cost to you)!

Tuesday, November 14, 2023

Quick and Easy Holiday Card For Your Stash!

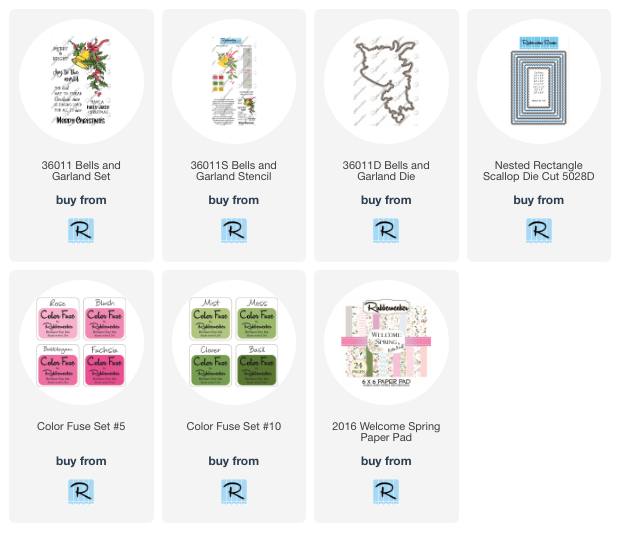
 Hello friends!  Today I'm sharing my card featuring Rubbernecker Stamps' beautiful Bells and Garland Set and the coordinating coloring stencils!

I decided to go with a more clean and simple design for this card.  I used ink blending brushes with a few Color Fuse inks (linked below) to add the colors through each Bells and Garland stencil layer.  I used Lost Shadow Distress Ink for the bell.

When I was finished coloring, I placed the panel into my MISTI.  Then I positioned the Bells and Garland stamp over the stenciled image.  Next I stamped it with some black pigment ink for a nice crisp image!  (NOTE:  If you are not comfortable stamping after stenciling, then for sure go ahead and stamp first.  Just be sure your black ink is dry.)

I added a pink cardstock layer I die cut with the Nested Scallop Rectangle die and a coordinating green cardstock layer (from the Welcome Spring paper pad) to an A2 card base.

I chose one of the five included sentiments from the Bells and Garland Set and stamped it onto the colored panel with black ink.  Then I added foam tape to the back to adhere it to the card.

This beautiful card would be so easy to mass produce to send to your family and friends!  I hope you've found some inspiration today!  Thank you so much for stopping by today!

Tuesday, September 19, 2023

Altenew September 2023 Marvelous Monthly Series Release Blog Hop & Awesome Giveaway!

Hello, and welcome to my stop on the September 2023 Marvelous Monthly Series Blog Hop.  Be sure to keep reading until the end to hear about the awesome prizes and to leave a comment for another chance to win!

You should have arrived here from the blog of Agnieszka Malyszek.  If you would like to start at the beginning, you can head to the Altenew Blog, or check the list at the end of my post.

Before I get to my cards, be sure to check out the Marvelous Monthly Series!  Just click this image.

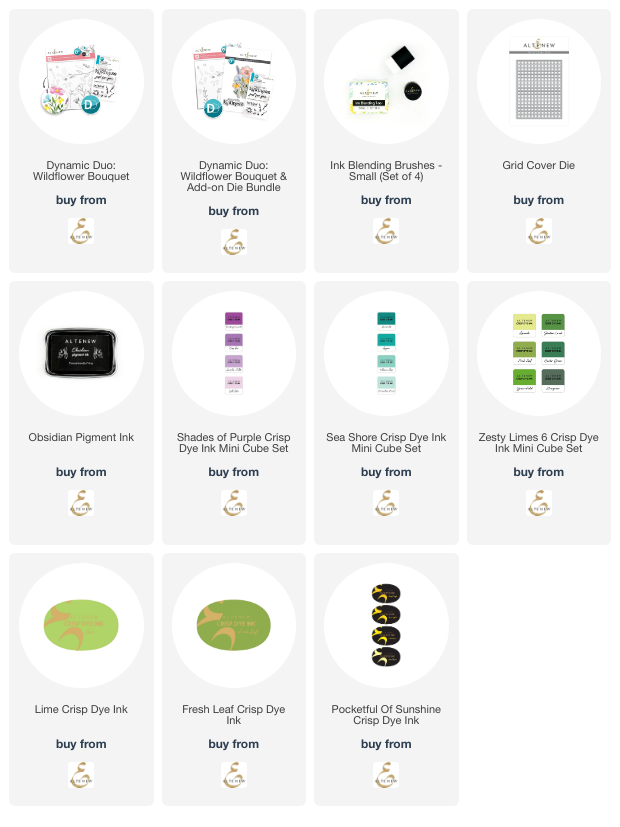
Or check out the Dynamic Duo: Wildflower Bouquet bundle here:

I have to say that I have become a huge fan of layering stencils and the beautiful Dynamic Duo: Wildflower Bouquet is now at the top of my favorites!  For my first card, I used cool, soothing colors that I feel worked well with the sentiment.

I used ink blending brushes to add various Distress Oxide inks through the Dynamic Duo: Wildflower Bouquet Layering Stencil Set.  These are the colors I used:  Tumbled Glass, Broken China, Uncharted Mariner, Mowed Lawn, Rustic Wilderness, Scattered Straw, and Shaded Lilac.  Altenew's blending brushes are so awesome to get the smooth blending!

The sentiment from the Dynamic Duo: Wildflower Bouquet Sentiment Stamp Set is stamped in a coordinating blue ink.  I just love the little :) that is part of the stamp!

I went with bright and vibrant colors for my next card.   Don't you think it makes the very same stencil look totally different?  I love the versatility!

This time I used several Crisp Dye inks to blend the colors through the Wildflower Bouquet Layering Stencil Set.  I used Fresh Leaf, Olive, Citrus Burst, Fresh Lemon, Pink Pearl, Coral Bliss, Purple Wine, Cosmic Berry, Volcano Lake, and Lagoon.

I die cut the florals with the coordinating Wildflower Bouquet Add-on Die Set.  I popped it up with foam tape onto a background I die cut with the Grid Cover Die.

This sentiment is also from the Wildflower Bouquet Sentiment Stamp set and is stamped with Obsidian ink and die cut with the coordinating die from the Add-on Set.

Thank you for stopping here along the hop!  Be sure to leave a comment before heading to the next stop!

Check out these awesome Giveaway Prizes!

$300 in total prizes! To celebrate this release, Altenew is giving away a $100 gift certificate to 1 lucky winner and a $40 gift certificate to 5 winners! Please leave a comment on the Altenew Card Blog and/or each designer’s blog post on the blog hop list below by 09/25/2023 for a chance to win. Altenew will draw 6 random winners from the comments left on each stop of this blog hop and announce the winners on the Altenew Winners Page on 09/27/2023.

*The winner of the $100 gift certificate will be chosen from comments left on the Altenew blog. 

You are invited to the Inlinkz link party!

Click here to enter
Thank you for using my affiliate links (never any additional cost to you)!
Tuesday, May 30, 2023

Birthday Filled With Sunshine, Rainbows, Love and Laughter Card

Hello crafty friends!  How is is at the end of May already?!!  It's already getting hot where I'm at so my birthday card I'm sharing today has those warm sunshiny colors!  I had lots of fun layering the colors for  Rubbernecker Stamps beautiful Like A Wildflower stencil.  I have a couple of good tips for stenciling first, then getting your outline stamp lined up just right. Read on for the details!
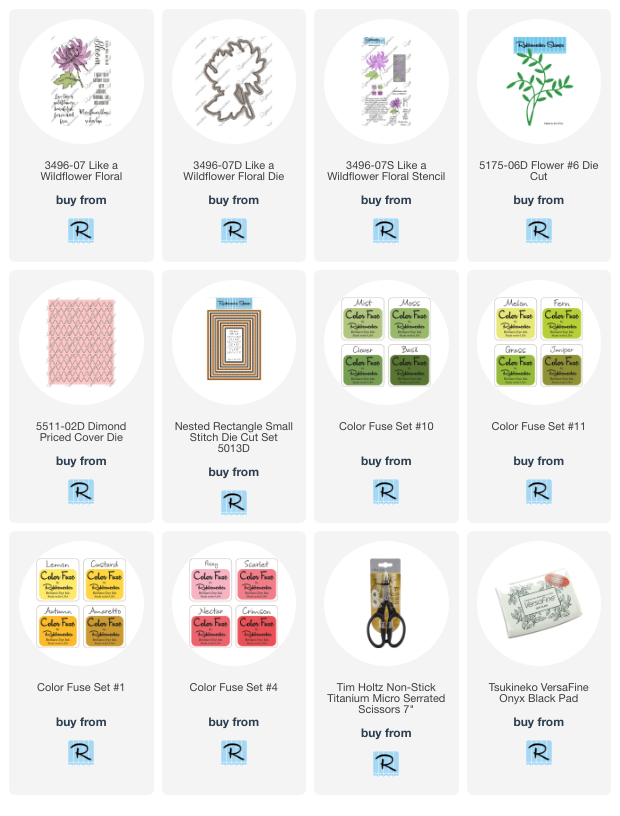
The card base is A2 size and has a 3-¾" x 5" piece that was die cut with the Diamond Pierced Cover die.

I went ahead and stamped the sentiment from the Like A Wildflower stamp set and then die cut it with the smallest Nested Rectangle Small Stitch die.  I added foam tape to the back and set it aside while I worked on the flower.

First I followed the layering guide on the Like A Wildflower stencil package to add Posey, Scarlet, Lemon, and Custard inks through the stencil.  (Color Fuse set numbers 4 and 1.)  I used small round ink blending brushes that I've linked below along with links for the Color Fuse inks.

I added Posey and Lemon for layer 1.  Then I switched to the slightly darker Scarlet and Custard inks for layers 2 and 3.  I let the pinks and oranges overlap to add small touches of orange to the petals.  The leaf and stem are colored with Grass and Basil inks (set numbers 10 and 11).

Die cut the image with the coordinating Like A Wildflower die.  Save that negative from your die cutting!

Next I set up my MISTI to stamp the outline by first stamping the outline image of the Like A Wildflower  onto a piece of printer paper.  DO NOT move the stamp or the image stamped on the printer paper!  Then I took the negative die cut and positioned it over the stamped flower and secured with removable tape.  Like this:

Now all you need to do is pop in the die cut image, re-ink your stamp, and then stamp it onto the stenciled flower.  Look at what a difference it makes!

This is the easiest way ever to get a perfectly aligned outline on your stenciled pieces!  I love this because it seems that if I stamp the image first, then stencil, the ink always smears no matter how long I've let it dry.  I also love how the black ink looks so crisp!

I cut out a few of the Flower #6 die and used the same green inks to color them.  Then I assembled the elements and sentiment onto the card front.  I did trim a branch or two from one of the Flower #6 die cuts to tuck in to fill a spot or two.

I hope I've given you some good tips for stenciling, then stamping.  If you have any questions, please use the "contact me" box in the left column of my blog.

Thank you so much for stopping by! Have a wonderful and crafty week!

I so appreciate it if you choose to use my affiliate links for shopping  (never any additional cost to you).

Wednesday, April 12, 2023

Enjoy Your Special Day -- Featuring Daisy Bouquet Coloring Stencils

 Hello crafty friends! Today my card features Honey Bee Stamps beautiful Daisy Layers Bouquet along with the coordinating stencils and Honey Cuts! Have you ever been inspired by just a piece of colored cardstock? Well, that's what inspired these colors for this special birthday card!

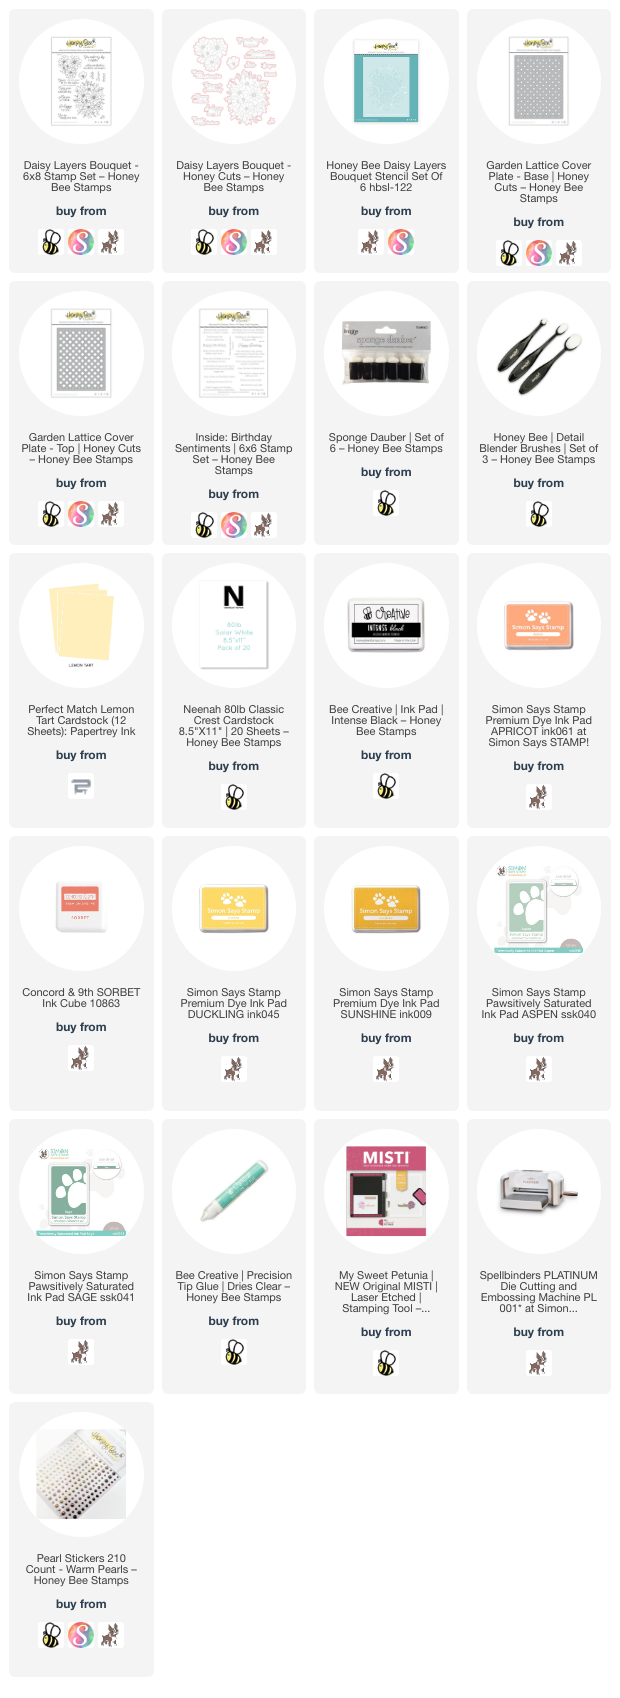
The soft yellow cardstock that is behind the Garden Lattice cover plate layers was my color inspiration. I die cut both the Garden Lattice top and base from 80# Neenah. After adhering the layers together with Bee Creative glue, I glued them to the A2 sized yellow cardstock. Then I added the layer to a top-folding A2 card base.

Using the cardstock I held it up to various inks in my stash and found a yellow that blended with the cardstock, then a couple of coral oranges, and the sage greens.  Check out the supply list below for the specific inks.  I used the Daisy Layers Bouquet stencil set and sponge daubers to add my chosen ink colors. This is a set of six easy-to-line-up stencils where you can build your flowers and leaves. I used a lighter and darker ink of each color in order to create a bit of depth in the coloring.

When I was finished with all of the stencils, I placed the image in my MISTI. Then I lined up the Daisy Layers Bouquetoutline stamp with the colored image and stamped it with Intense Black ink. When possible, I always stamp the image after using coloring stencils. Maybe it's just me, but I always smear the ink otherwise! It's not hard to line it up and you can always test out your alignment by first stamping onto a piece of acetate that covers the stenciled image.

Next I cut it out with the coordinating Daisy Layers Bouquet Honey Cut. I added foam tape to the back to adhere it to the card base.

Check out this next photo to see the inside of the card! I stamped the smaller image in the Daisy Layers Bouquet stamp set in the yellow ink in two corners. Then I stamped a sentiment from the Inside: Birthday Sentiments set with Intense Black ink. (And yes, in spite of me using my MISTI to stamp the flowers, the card shifted so that flower in the bottom left corner isn't perfect. But it actually doesn't bother me. What do you think?)

For the sentiment on the card front, I chose one of the several in the Daisy Layers Bouquet stamp set. After stamping it with black ink, I cut it out with the coordinating Honey Cut.

I added a few pearls from the Warm Pearls sticker set for a touch of bling!

I really enjoy using stencils to color these images!  It's really fun too!  Have you tried coloring stencils?  I hope you've found my card to be your inspiration to give them a try.  Thank you so much for stopping by.  Have a wonderful day!

P.S.:  Check out my Instagram reel to see some of the card making process!

Thank you so much for using my affiliate links to shop (never any additional cost to you)!