Showing posts with label Inside: Birthday Sentiments. Show all posts

Wednesday, April 23, 2025

Happy Birthday Card with Tips for Easy and Fast Die Cut Coloring!

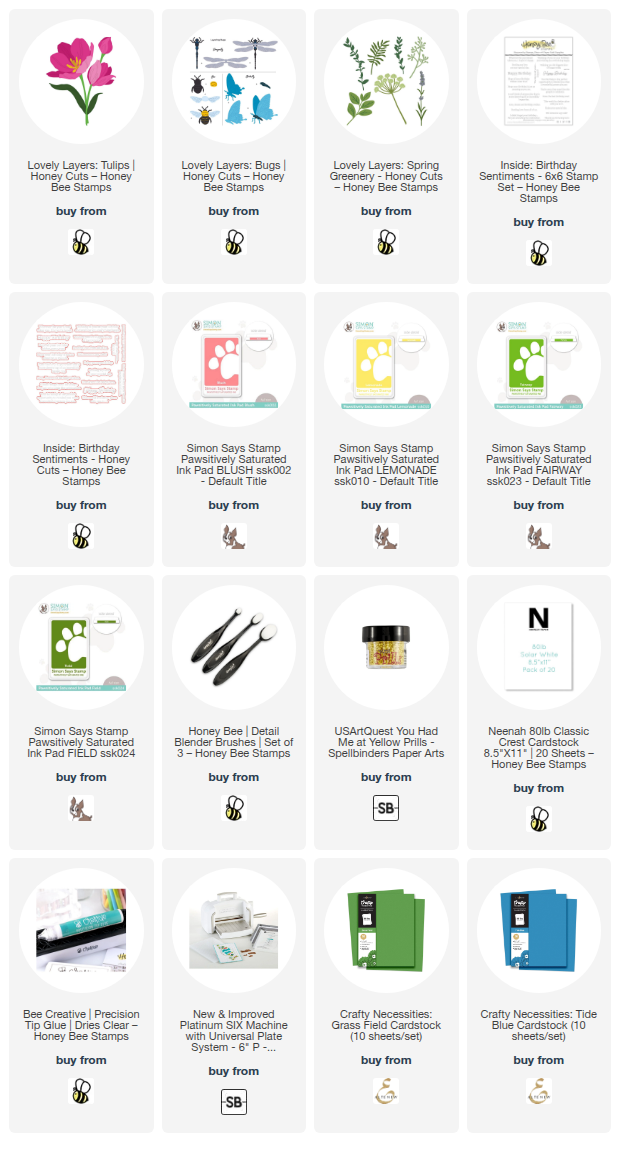
Hello crafty friends! Today I'm sharing a card to add to my birthday card stash that I've made with more of Honey Bee Stamps previously released products! I've used the beautiful Lovely Layers: Tulips along with a few other favorite sets. If you would like to learn a couple of tips for quick ink blending for your die cuts, read on!

My tip for faster ink blending for your die cuts is instead of inking each individual die cut, take a strip of cardstock and do your ink blending on that! I used a coral ink and a yellow ink and two blender brushes. To get the gradient, I overlapped the two colors in the middle of my 80# white cardstock strip, like this:

Then I just lined up the dies from the Lovely Layers: Tulips and cut them out with my die cutting machine. Easy and fast! If you want a bit more depth, like I did, it was easy to ink on more coral ink along the bottom of the die cuts!

Another quick way to color your die cuts is to begin with colored cardstock! I die cut the Lovely Layers: Tulips leaves and stems and the Lovely Layers: Spring Greenery (I used one of the dies from this set) from green cardstock. I used a darker shade of green ink to quickly add ink to the pieces for more depth.

I used glue to adhere the layers together. Next I adhered a blue cardstock panel to my A2 card base. Then I added the flowers and leaves to my card base with glue and foam dots.

I die cut the bee in the Lovely Layers: Bugs dies from 80# white cardstock and the bee's wings from vellum. I used my Copic markers to easily color the two layers of the bee's body. To get the "fuzzy" look on the bee, I used a black Micron 005 pen and added tiny lines along the black stripes.

I glued the bee layers together and adhered it to the card with foam squares. The sentiment is from the Inside: Birthday Sentiments stamp set and stamped in black pigment ink. I cut it out with the coordinating die and added foam strips to adhere it to the card.

For a bit of embellishment, I dug DEEP into my stash of older products and pulled out my Prills. Who remembers these?! I added dots of glue to the Tulip center and adhered the Prills.  And I can't believe I found where these are still available!  Check the link in the list below.

I really do enjoy pulling out some of my older and favorite products and hope I've inspired you to do the same! Thank you so much for stopping by today!

Thank you so much for using my affiliate links to shop (never any additional cost to you)!
Wednesday, April 12, 2023

Enjoy Your Special Day -- Featuring Daisy Bouquet Coloring Stencils

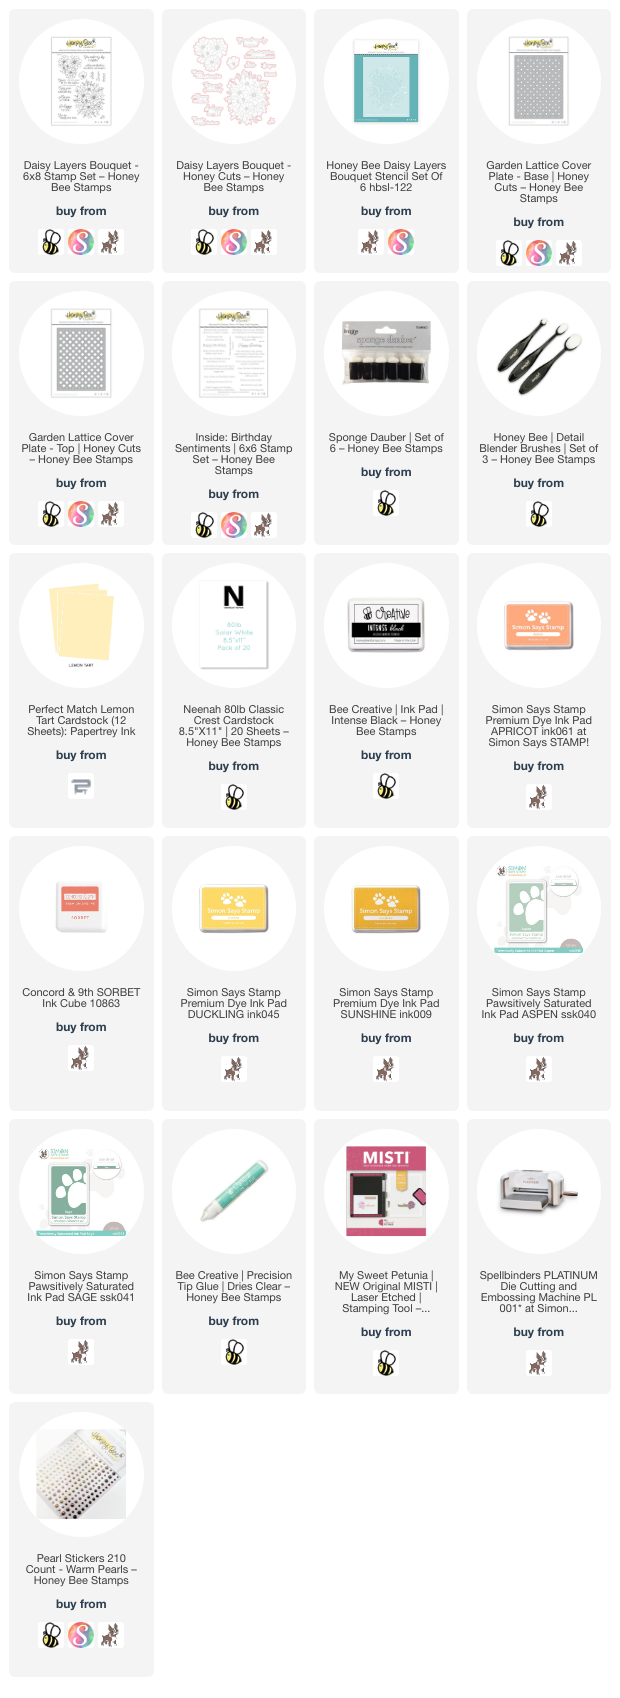
 Hello crafty friends! Today my card features Honey Bee Stamps beautiful Daisy Layers Bouquet along with the coordinating stencils and Honey Cuts! Have you ever been inspired by just a piece of colored cardstock? Well, that's what inspired these colors for this special birthday card!

The soft yellow cardstock that is behind the Garden Lattice cover plate layers was my color inspiration. I die cut both the Garden Lattice top and base from 80# Neenah. After adhering the layers together with Bee Creative glue, I glued them to the A2 sized yellow cardstock. Then I added the layer to a top-folding A2 card base.

Using the cardstock I held it up to various inks in my stash and found a yellow that blended with the cardstock, then a couple of coral oranges, and the sage greens.  Check out the supply list below for the specific inks.  I used the Daisy Layers Bouquet stencil set and sponge daubers to add my chosen ink colors. This is a set of six easy-to-line-up stencils where you can build your flowers and leaves. I used a lighter and darker ink of each color in order to create a bit of depth in the coloring.

When I was finished with all of the stencils, I placed the image in my MISTI. Then I lined up the Daisy Layers Bouquetoutline stamp with the colored image and stamped it with Intense Black ink. When possible, I always stamp the image after using coloring stencils. Maybe it's just me, but I always smear the ink otherwise! It's not hard to line it up and you can always test out your alignment by first stamping onto a piece of acetate that covers the stenciled image.

Next I cut it out with the coordinating Daisy Layers Bouquet Honey Cut. I added foam tape to the back to adhere it to the card base.

Check out this next photo to see the inside of the card! I stamped the smaller image in the Daisy Layers Bouquet stamp set in the yellow ink in two corners. Then I stamped a sentiment from the Inside: Birthday Sentiments set with Intense Black ink. (And yes, in spite of me using my MISTI to stamp the flowers, the card shifted so that flower in the bottom left corner isn't perfect. But it actually doesn't bother me. What do you think?)

For the sentiment on the card front, I chose one of the several in the Daisy Layers Bouquet stamp set. After stamping it with black ink, I cut it out with the coordinating Honey Cut.

I added a few pearls from the Warm Pearls sticker set for a touch of bling!

I really enjoy using stencils to color these images!  It's really fun too!  Have you tried coloring stencils?  I hope you've found my card to be your inspiration to give them a try.  Thank you so much for stopping by.  Have a wonderful day!

P.S.:  Check out my Instagram reel to see some of the card making process!

Thank you so much for using my affiliate links to shop (never any additional cost to you)!

Wednesday, August 3, 2022

Floral Birthday Card with Hot Foiled See-through Window

Hello friends! Today I'm sharing my card featuring Honey Bee Stamps' beautiful Painted Blooms stamps and coordinating Honey Cuts. I've created a pink foiled, acetate window and framed it out with the Painted Blooms. Read on for the details, and to see how I dressed up the inside of the card!

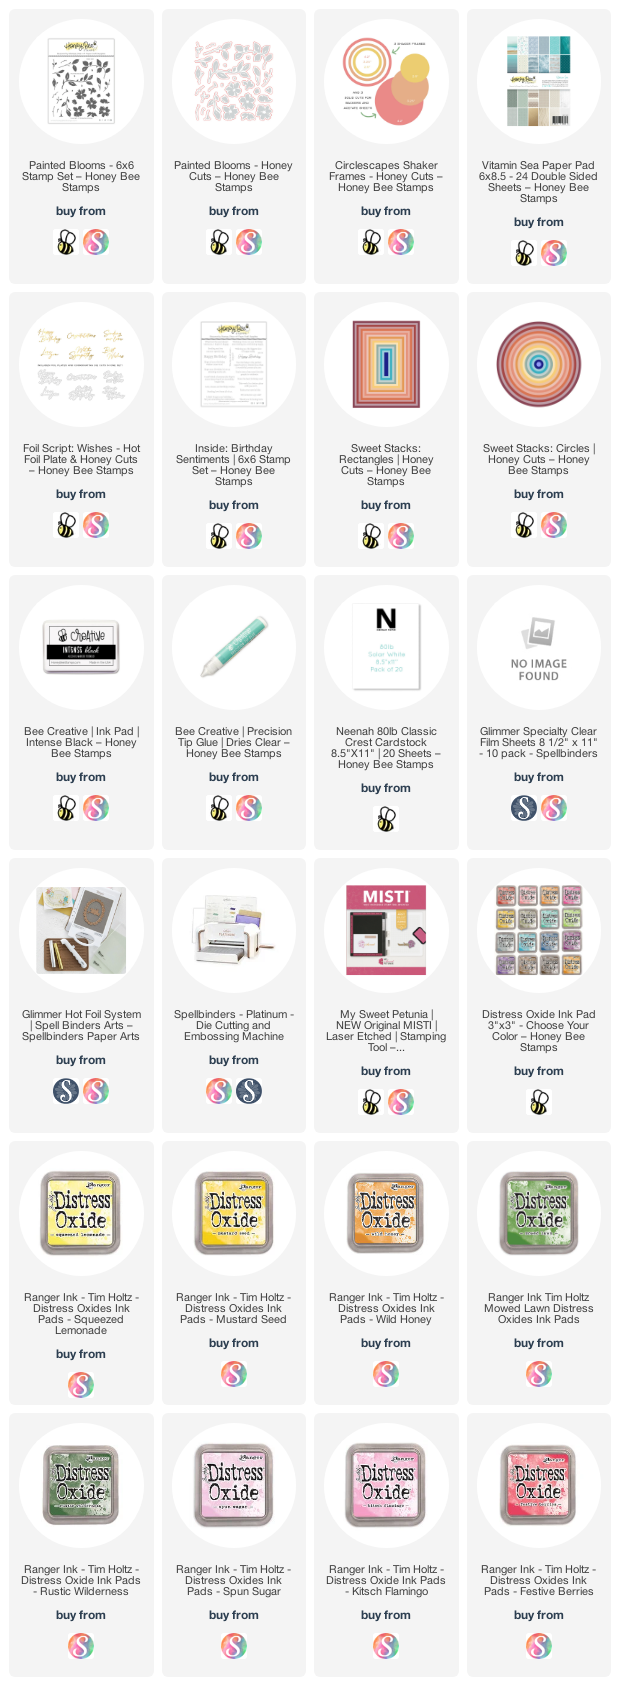
First I worked on my flowers from the Painted Blooms set. As you can see by my photos, I have lots of extras! I almost always stamp extras to have ready to go for another creation. The way I got the gradient colors on the flowers and leaves is I set everything up in my MISTI. Then I used sponge daubers with Distress Oxides to add the lightest colors to the stamps first, stamped them onto 80# Neenah, and then sponged on the darker shades. Sometimes I would use my finger or a towel to lightly dab the edges to smooth them out. I stamped them, and repeated the colors until I was happy with the look.

These are the Distress Oxide colors I used: flowers: Spun Sugar, Kitsch Flamingo, Festive Berries, Squeezed Lemonade, Mustard Seed, and Wild Honey. The leaves are colored with Mowed Lawn and Rustic Wilderness. I used the coordinating Painted Blooms Honey Cuts to die cut the pieces.

Now it's time to create the card base. First I used the middle sized Circlescape Shaker Frame die and die cut four from 80# Neenah. I used Bee Creative glue to stack and adhere three of them together. I chose a piece of patterned paper from the Vitamin Sea 6" x 8-½" paper pad and die cut it with the second larges Sweet Stacks: Rectangles die. I adhered that to an A2 card base.

Next I chose a circle die from the Sweet Stacks: Circles that is slightly larger than the opening of the Circlescape Shaker Frame stack. Then I opened up the card base and positioned the circle die on the card front and held it down with temporary tape. I ran that through my die cutting machine to cut the circle opening in the card front.

I used the plain circle die (middle size) from the Circlescape Shaker Frame set to die cut a piece of Glimmer Specialty Clear Film Sheet.  (NOTE: this is acetate made specifically for hot foiling and it's NOT the same as regular acetate.) I turned on my Glimmer Hot Foil machine to preheat. I prepped my pink foil by cutting a piece slightly larger than my sentiment from the Foil Script: Wishes hot foil plate set. I followed the layering directions that come with the machine to layer the foil plate, foil, and clear film circle. I adhered these in place with some temporary tape and put it die side down to heat it up. I followed my machines directions to complete the foiling. I wish foil was easier to photograph! It really is pink! Haha!

I used Bee Creative glue to adhere the foiled acetate circle over the opening of the card front. Then I used glue to adhere the stacked Circlescape Frame to the card. I adhered the extra circle frame on the inside of the card front.

Before I finished the card front with the flowers, I used my MISTI to stamp a sentiment from the Inside: Birthday Sentiments set near the bottom of the card inside. I adhered a few flowers and leaves with glue and trimmed the overhang off with my scissors.

To finish up, I arranged all of my flowers and leaves around the circle opening on the front of the card. Everything is adhered with Bee Creative glue.

Have you tried foiling on acetate? It's so fun and creates a beautiful and unique look for your card! Especially with the gorgeous Painted Blooms for a frame! Thank you so much for stopping by today! Have a wonderful, crafty week ahead!

Thank you so much for shopping with my links (I may earn a small commission at no extra cost to you)

Wednesday, May 11, 2022

Hot Foiled See-Through Birthday Card with Peonies

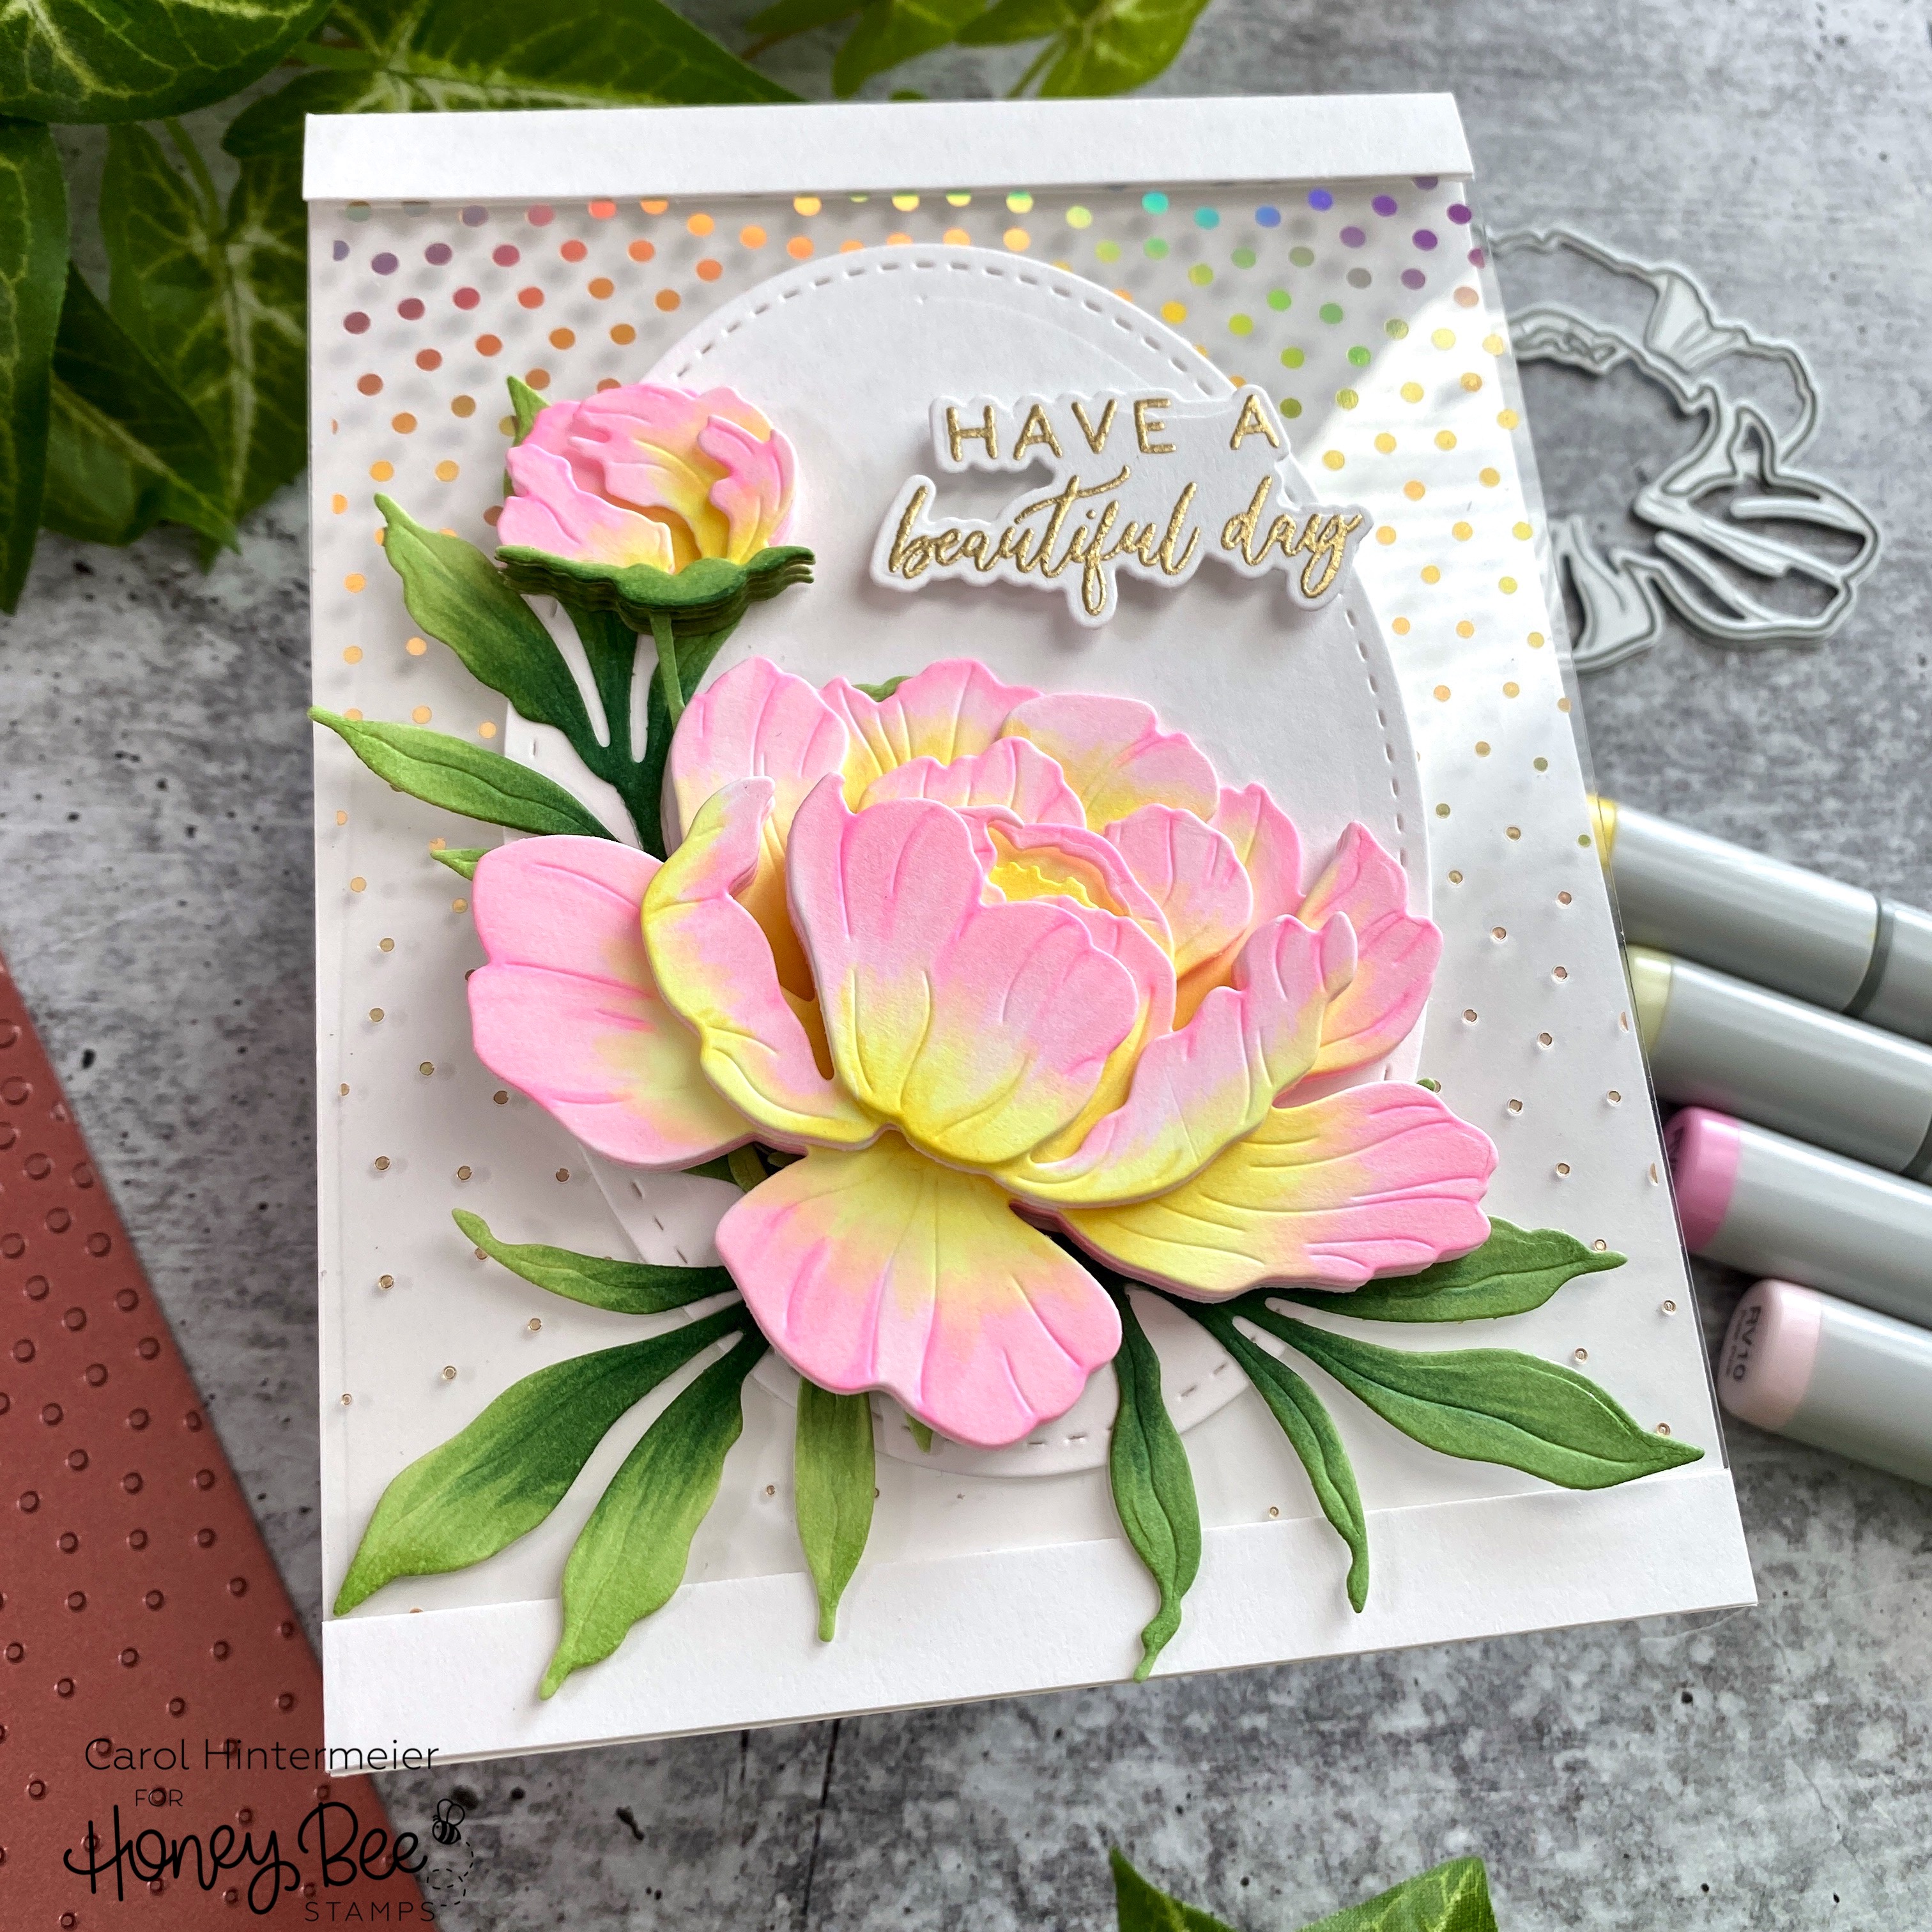
Hello crafty friends! Today I'm sharing a see-through birthday card with a foiled acetate front using Honey Bee Stamps Ombré Dots Hot Foil Plate.  I'm also using the gorgeous Lovely Layers: Peony Honey Cuts to create a very special birthday card. Keep reading for all the details!

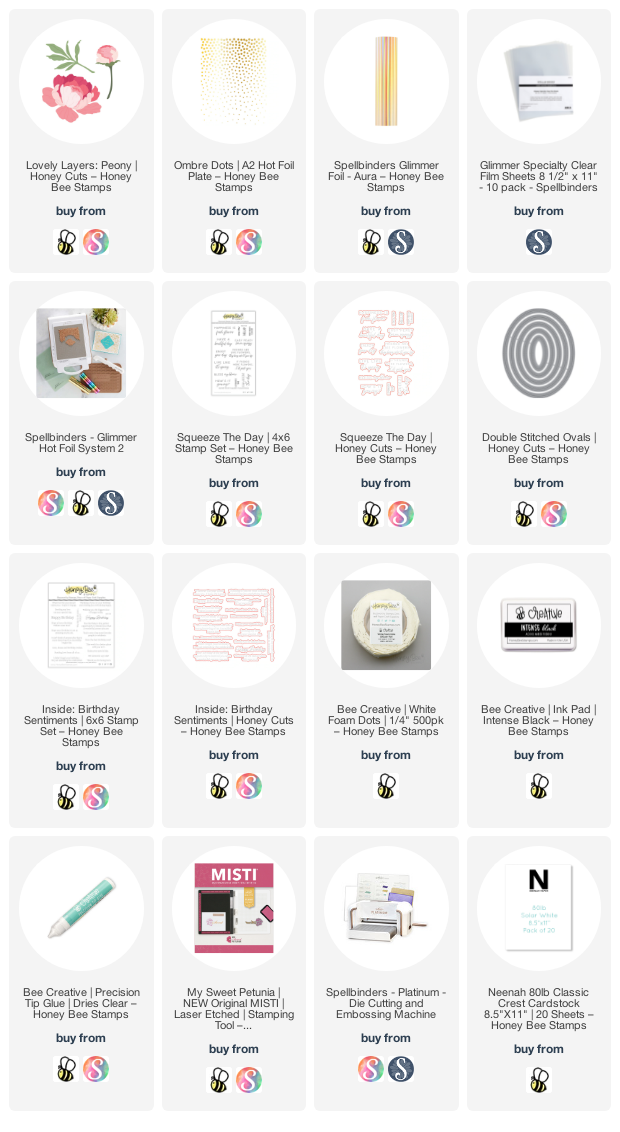
I followed the directions for my hot foil machine (which is on sale, as of this blog post date, at a very good price HERE) to add Aura gold foil to my acetate with the Ombré Dots Hot Foil Plate. This acetate is a specialty product that is thicker than the acetate sold for creating windows for your shaker cards and it is called Spellbinders Glimmer Specialty Clear Film Sheets.  This product works beautifully with your hot foil plates!

Next I took an A2 card base and trimmed the front off, leaving about 3/8" at the top. On the inside of the flap, I added some double-sided adhesive and adhered the foiled acetate. Then I cut three 3/8" x 4-¼" strips of white cardstock and adhered two at the bottom of the acetate--one on the front and the other on the back. I adhered the other strip on the top inside edge. This gives a clean look with the card is opened.

Next I die cut three Double Stitched Ovals and adhered them to the card. I adhered one on the card front, the other behind that one, and the third, to the card inside directly behind the first two.

I created a sentiment for the inside of the card using two sentiments from the Inside: Birthday Sentiments stamp set. I heat embossed one with gold embossing powder and die cut it with the coordinating die. I adhered that to the oval and stamped the other sentiment with Intense Black ink.

I die cut all of the pieces of the Lovely Layers: Peony Honey Cuts from white cardstock. Then I used some Copic markers to color each one. For the peony I used: Y13, Y00, RV02, and RV10. The leaves are colored with G28, G46, G24, and G43.

If you go to the Lovely Layers: Peony in the Honey Bee shop, there is a link for a downloadable layering guide to assist in getting those layers just right! You can use glue to adhere the layers together, or use foam tape, as I did, to create even more dimension!

I stamped the sentiment from the Squeeze The Day stamp set with clear embossing ink, sprinkled on gold embossing powder and heat set it. Then I used the coordinating Honey Cut to die cut it out. I used more foam to pop it up on the card.

I absolutely love how this turned out! Trying something new, like hot foiling onto acetate, just gets my creative mojo going! Thank you for stopping by and I hope you have a beautiful day!

Wednesday, May 19, 2021

Garden Apron Birthday Card | Honey Bee Stamps

 Happy Wednesday friends!  When Honey Bee released the awesome Apron A2 Card and the Apron: Garden Tools Add-on Honey Cuts, I couldn't wait to create with these!

I love all of the little gardening tools and the scalloped apron pocket that comes with the Apron Garden Tools Add-on!

First I created a white apron card base with the dies from the Apron A2 Card die set.  Next I die cut the pocket and two apron ties from gingham paper in the Sweet On You 6x6 paper pad.  Then I added the tie to the top of the apron and adhered the floral apron die cut to the card front.  The floral paper is from the Spring Fling 6x6 paper pad.  I adhered the second tie to the back of the card, making sure it lined up with the one on the card front.

Then I used the largest Scallop A2 Card Frames Honey Cut and die cut a few strips of the scallop edges.  I adhered them to the apron top and bottom with liquid glue.  To hide all of the pieces that were showing on the back of the card, I adhered another white apron die cut to cover it and give a clean look.

Next I stamped the sentiments on the inside in black ink.  I love all of the various sentiments found in the Inside: Birthday sentiments set!

Now it's time to add the adorable elements to the card front!  I die cut the gardening tools from some mat silver card stock.  Then I die cut them once more with coral and green card stock from my stash.  I trimmed off the handles and adhered them to the silver tools.  Next I adhered the apron pocket pieces together and glued it to the card front.  I only added glue around the curved edge so I could tuck the tools into the pocket.

I even created little paper flower buttons for the apron!  I die cut three flowers for each button and adhered the layers together.  Then I pulled out a needle and embroidery thread and added a French knot to each button.  

Next I used the Bitty Buzzwords stamp set and coordinating Honey Cuts and die cut "enjoy" three times from white card stock.  I adhered the layers together with glue and added them to the shadow.  I stamped "your day" with Mowed Lawn Distress Oxide to coordinate with the rest of the card.

I had a few extra pieces and added those to the inside of the card for that special touch!

I think the handwritten plant tags add a personal touch!

I hope you've enjoyed my card and have found some inspiration today!  Thanks so very much for stopping by!