Showing posts with label Squeeze The Day stamps & dies. Show all posts

Wednesday, March 20, 2024

Die Cut Spring Flowers Card

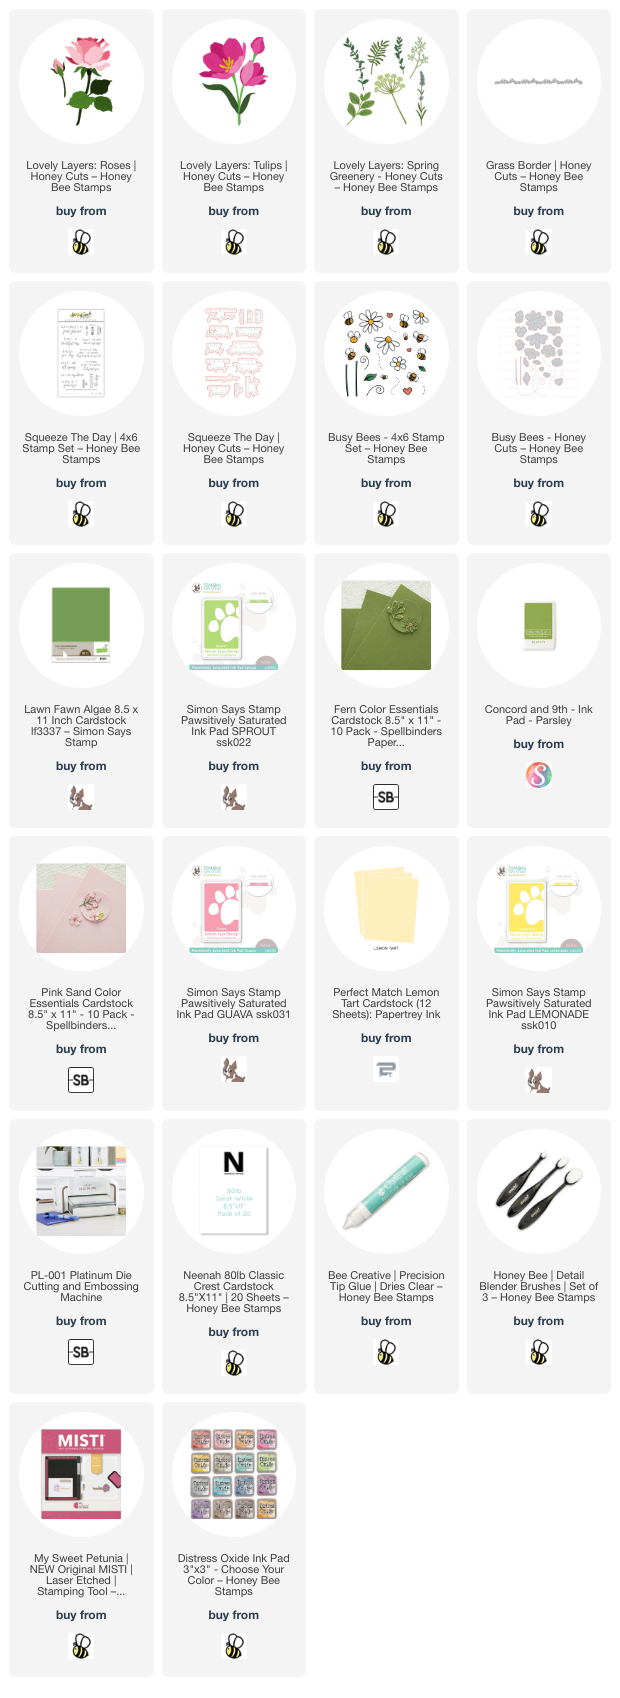
Happy spring crafty friends! I love springtime and we have beautiful tulips in bloom and bright green leaves showing now!  I was inspired to use some of my favorite floral Honey Bee Stamps Lovely Layers sets and make a springtime card! My card features three Lovely Layers sets:  Lovely Layers: TulipsLovely Layers: Roses, and Lovely Layers: Spring Greenery.

My tip for today is to die cut your flowers and greenery from colored cardstock, then use a few inks to add a bit of shading. This saves so much time! I used yellow, pink, and three shades of green cardstock to cut out the layers of the RosesTulipsSpring Greenery, and Grass Border. (Note: I only used the closed tulip and tulip bud and one die from the Spring Greenery for this card.)

Then I used blending brushes to blend on coordinating pink, yellow, and green inks to the layers. This detail adds so much depth and dimension! Then I used glue to adhere the layers together. Don't forget that the Lovely Layers sets have downloadable Layering Guides to help you layer the flowers.

Before I adhered the flowers to my card base, I added Tumbled Glass Distress Oxide ink to the card with a blending brush. I added the ink from the center out, but not all the way to the edges. Then I added water drops and used a paper towel to dry it.

I played around with various arrangements of the flowers and greenery. When I was happy, I used a piece of Press N Seal to pick up the arrangement and flip it over. I added glue to the back of the elements, then picked up the arrangement and adhered it to the card. I added a foam dot to the back of the tulip and rose buds. Then I used scissors to trim off the Spring Greenery that was hanging over the edges. I used foam dots to adhere the Grass Border at the bottom of the card.

Next I diluted a few drops of Bee Shimmery liquid shimmer watercolor with water. I used a paint brush to add splatters to the flowers and background.

The sentiment from the Squeeze The Day stamp set is stamped in black pigment ink and cut out with the coordinating die.

I just had to add some adorable little bees from one of my very early Honey Bee sets I bought:  Busy Bees stamp set. These were previously colored and cut out with coordinating dies. (I saved a bunch of these finished bees to have on hand to use when needed.)

I sure hope you are seeing signs of spring where you are! If not, I hope my card reminds you that it's not far away! I always appreciate your visit to see my cards! Thank you, and have a wonderful, crafty day!

Thank you so much for using my affiliate links to shop (never any additional cost to you)!
Wednesday, May 11, 2022

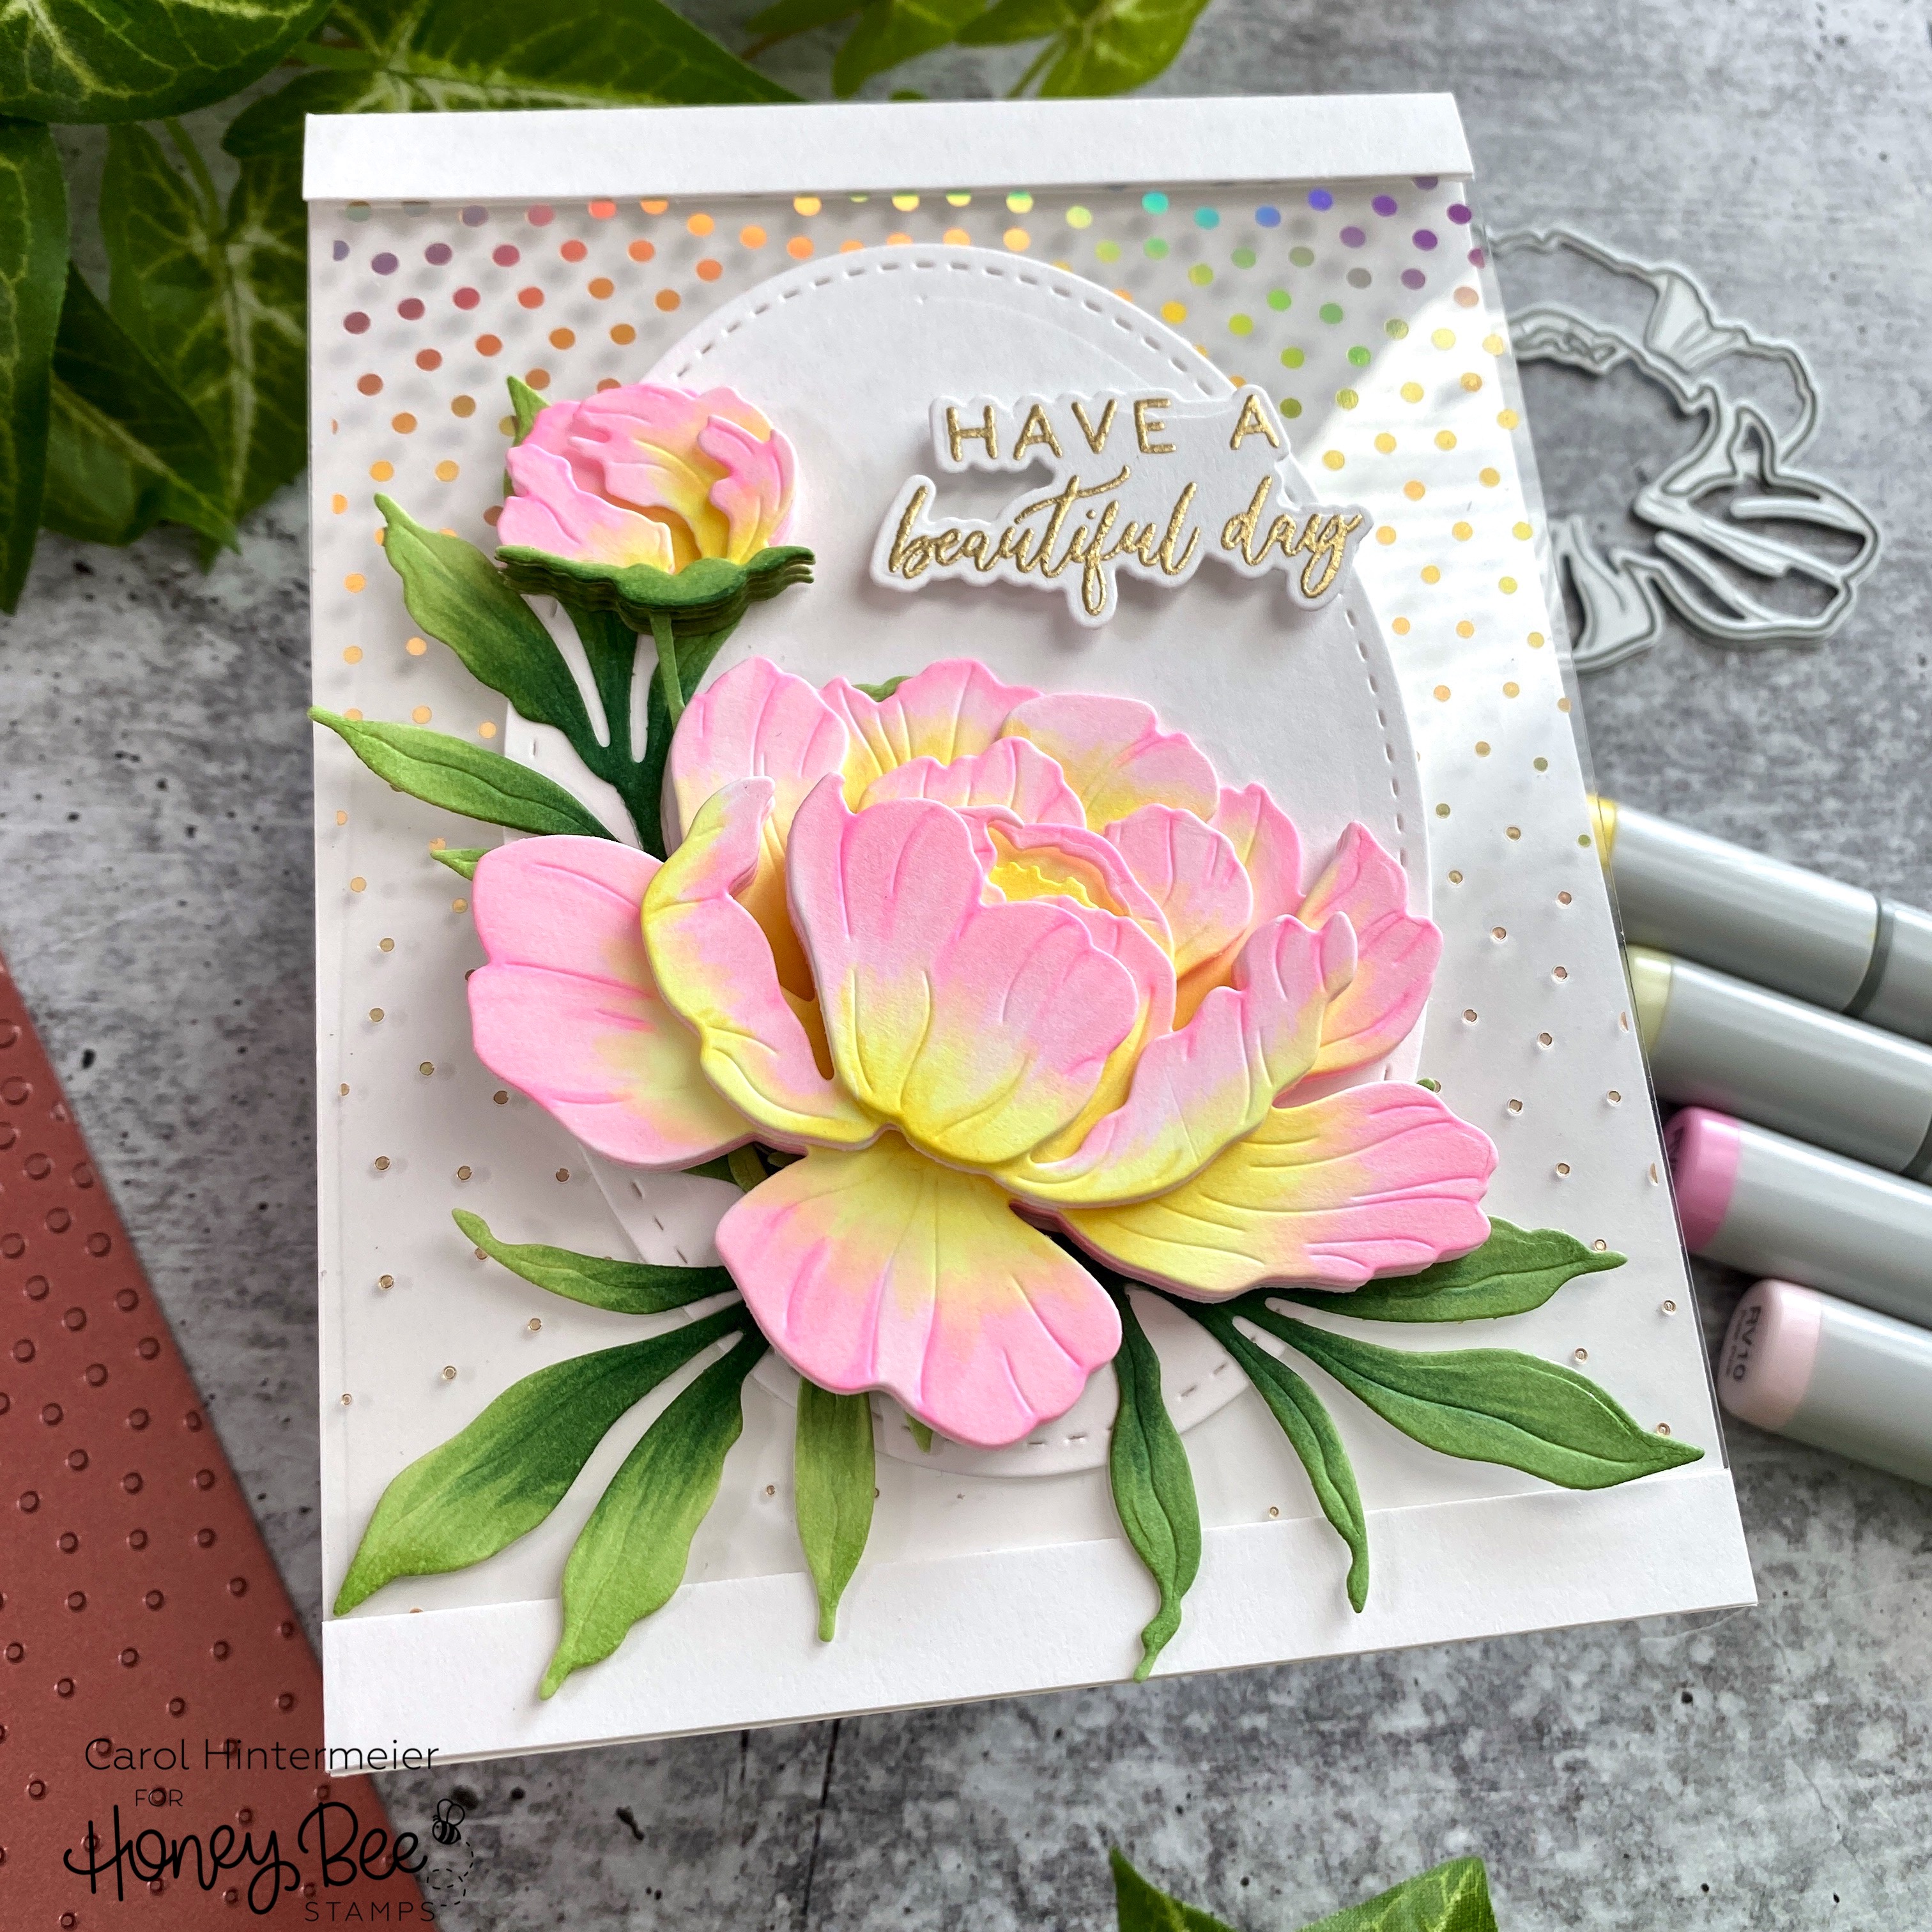
Hot Foiled See-Through Birthday Card with Peonies

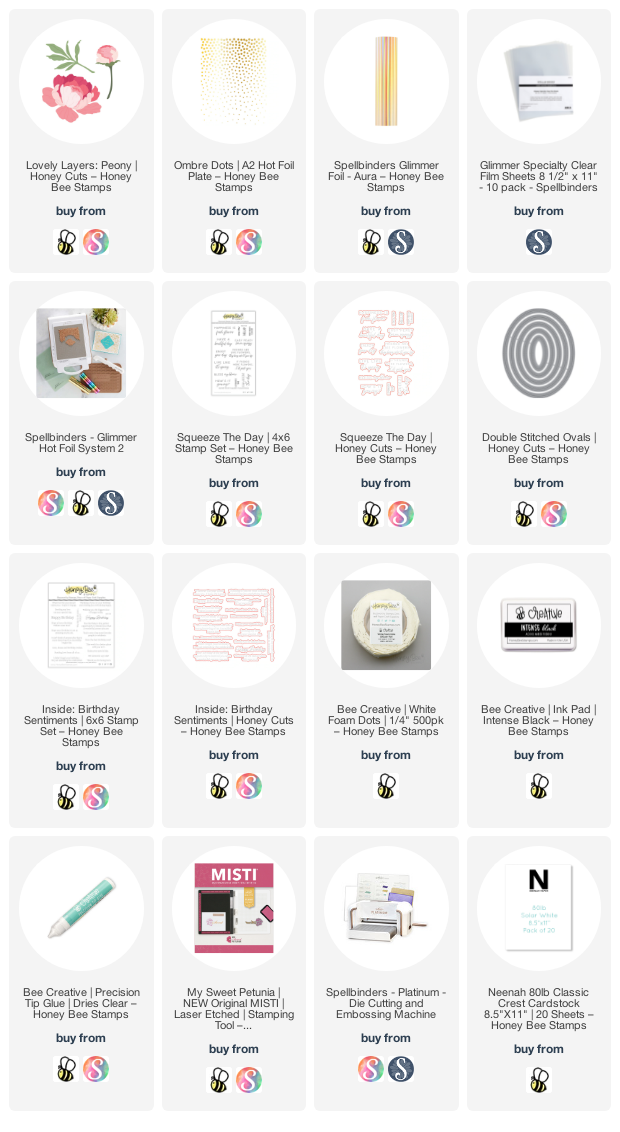
Hello crafty friends! Today I'm sharing a see-through birthday card with a foiled acetate front using Honey Bee Stamps Ombré Dots Hot Foil Plate.  I'm also using the gorgeous Lovely Layers: Peony Honey Cuts to create a very special birthday card. Keep reading for all the details!

I followed the directions for my hot foil machine (which is on sale, as of this blog post date, at a very good price HERE) to add Aura gold foil to my acetate with the Ombré Dots Hot Foil Plate. This acetate is a specialty product that is thicker than the acetate sold for creating windows for your shaker cards and it is called Spellbinders Glimmer Specialty Clear Film Sheets.  This product works beautifully with your hot foil plates!

Next I took an A2 card base and trimmed the front off, leaving about 3/8" at the top. On the inside of the flap, I added some double-sided adhesive and adhered the foiled acetate. Then I cut three 3/8" x 4-¼" strips of white cardstock and adhered two at the bottom of the acetate--one on the front and the other on the back. I adhered the other strip on the top inside edge. This gives a clean look with the card is opened.

Next I die cut three Double Stitched Ovals and adhered them to the card. I adhered one on the card front, the other behind that one, and the third, to the card inside directly behind the first two.

I created a sentiment for the inside of the card using two sentiments from the Inside: Birthday Sentiments stamp set. I heat embossed one with gold embossing powder and die cut it with the coordinating die. I adhered that to the oval and stamped the other sentiment with Intense Black ink.

I die cut all of the pieces of the Lovely Layers: Peony Honey Cuts from white cardstock. Then I used some Copic markers to color each one. For the peony I used: Y13, Y00, RV02, and RV10. The leaves are colored with G28, G46, G24, and G43.

If you go to the Lovely Layers: Peony in the Honey Bee shop, there is a link for a downloadable layering guide to assist in getting those layers just right! You can use glue to adhere the layers together, or use foam tape, as I did, to create even more dimension!

I stamped the sentiment from the Squeeze The Day stamp set with clear embossing ink, sprinkled on gold embossing powder and heat set it. Then I used the coordinating Honey Cut to die cut it out. I used more foam to pop it up on the card.

I absolutely love how this turned out! Trying something new, like hot foiling onto acetate, just gets my creative mojo going! Thank you for stopping by and I hope you have a beautiful day!