Showing posts with label hot foil. Show all posts

Friday, February 10, 2023

New Spellbinders Four Petals Collection

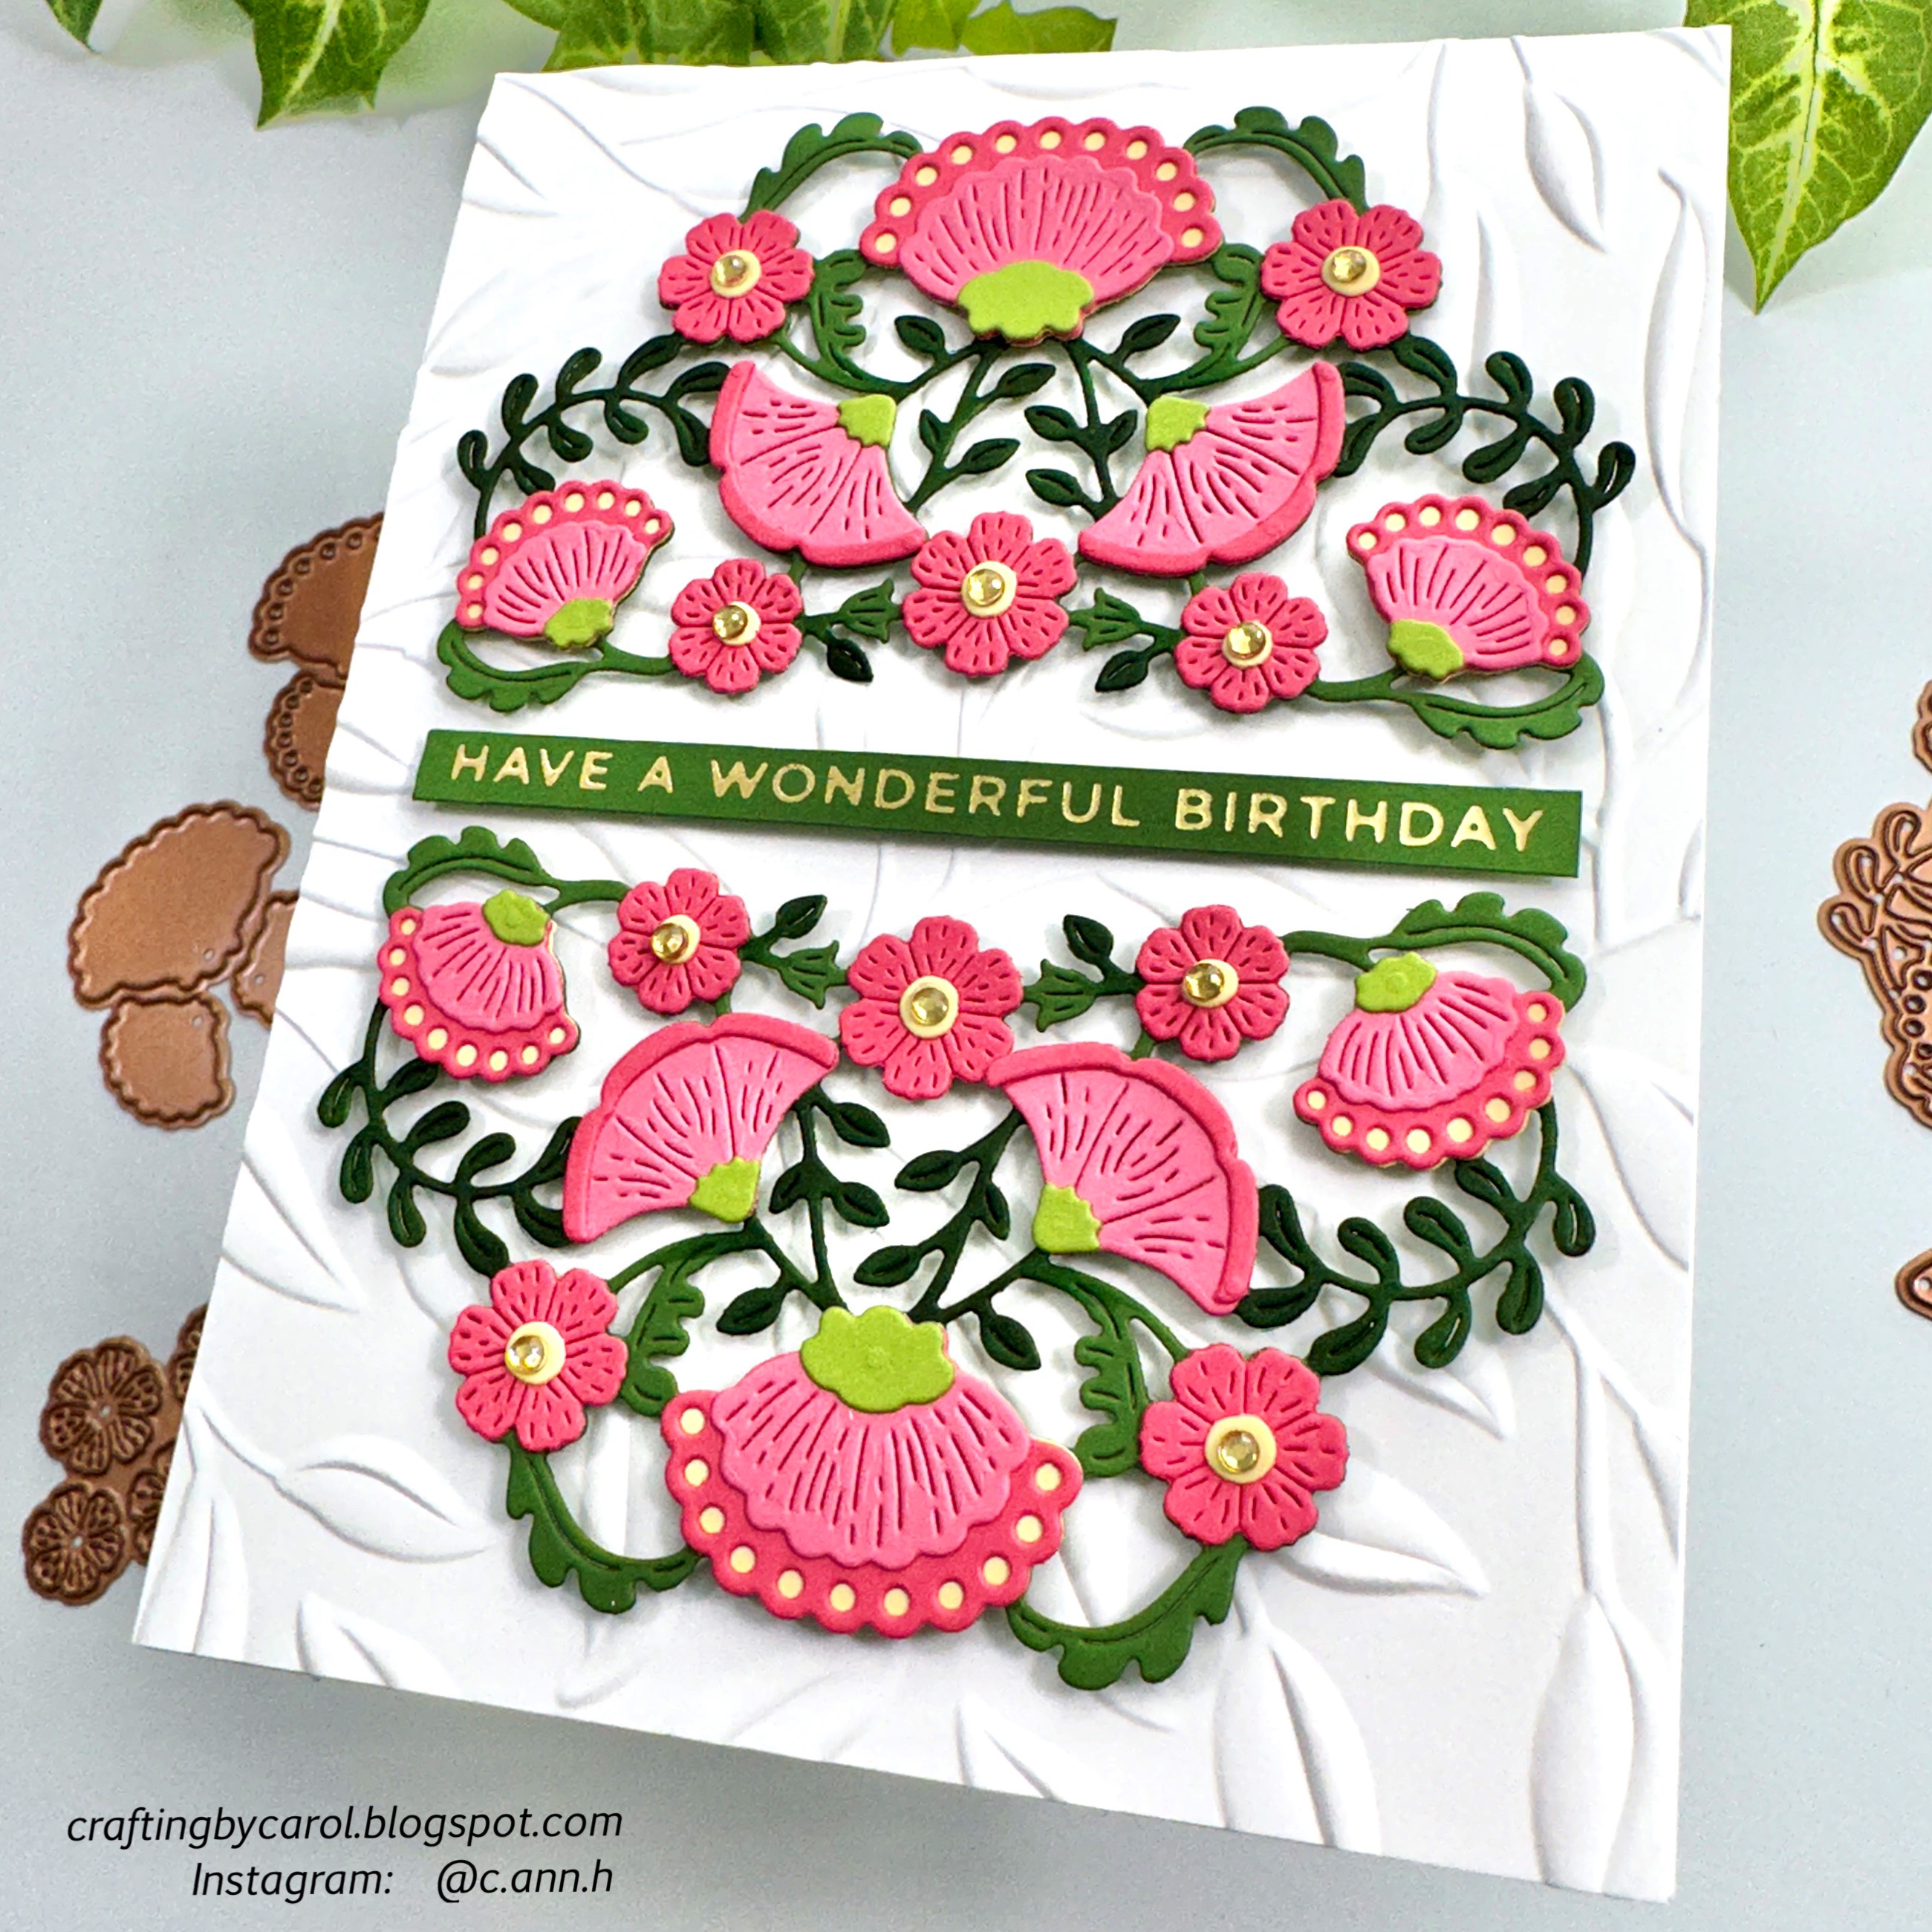
Today Spellbinders is releasing the gorgeous Four Petal Collection and my card features the Four Petal Blooms Reflection dies.  I have always loved die cut elements and this one is a beauty! 

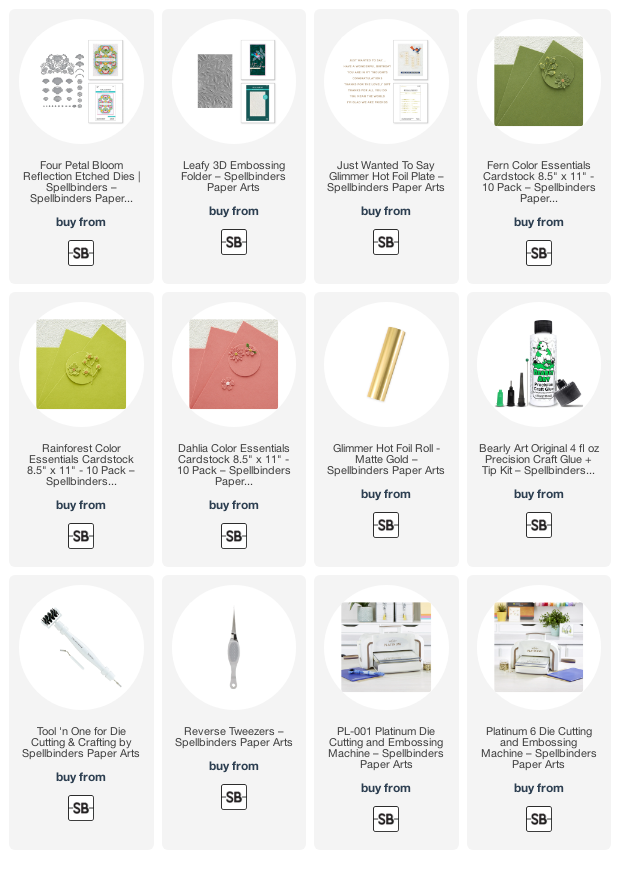
I used a few different colored cardstocks (in the list below) by Spellbinders.  I have recently tried their cardstock and really love the quality and variety of colors.

After I die cut the various elements from the Four Petal Reflection set two times each, I used reverse tweezers and a pick up tool to glue everything together.  I used glue that has a fine tip and the one in the list is my most favorite that I use!  Using these tools really makes the assembly very easy.

The photo above shows the pieces as they are partially assembled.  I used a darker green Copic marker to color some of the leaves to create more interest.

I adhered both complete pieces to my card base.  The background layer of the card is 80# Neenah embossed with the Leafy 3D Embossing  Folder.

I used my Glimmer Hot Foil System to foil matte gold foil onto Fern cardstock.  The sentiment is from the Just Wanted to Say Glimmer set.  After I trimmed it into a strip, I popped it up on the card with a foam tape strip.  A few sparkly gem stickers adds some pretty bling to the card!

Be sure to check out the complete Four Petal Collection--there are so many beautiful products!  Thank you so much for stopping by!!!

Thank you very much for using my affiliate links for shopping (never any additional cost to you).

Wednesday, September 7, 2022

Beautiful Blooms Autumn Card With Hot Foiled Sentiment

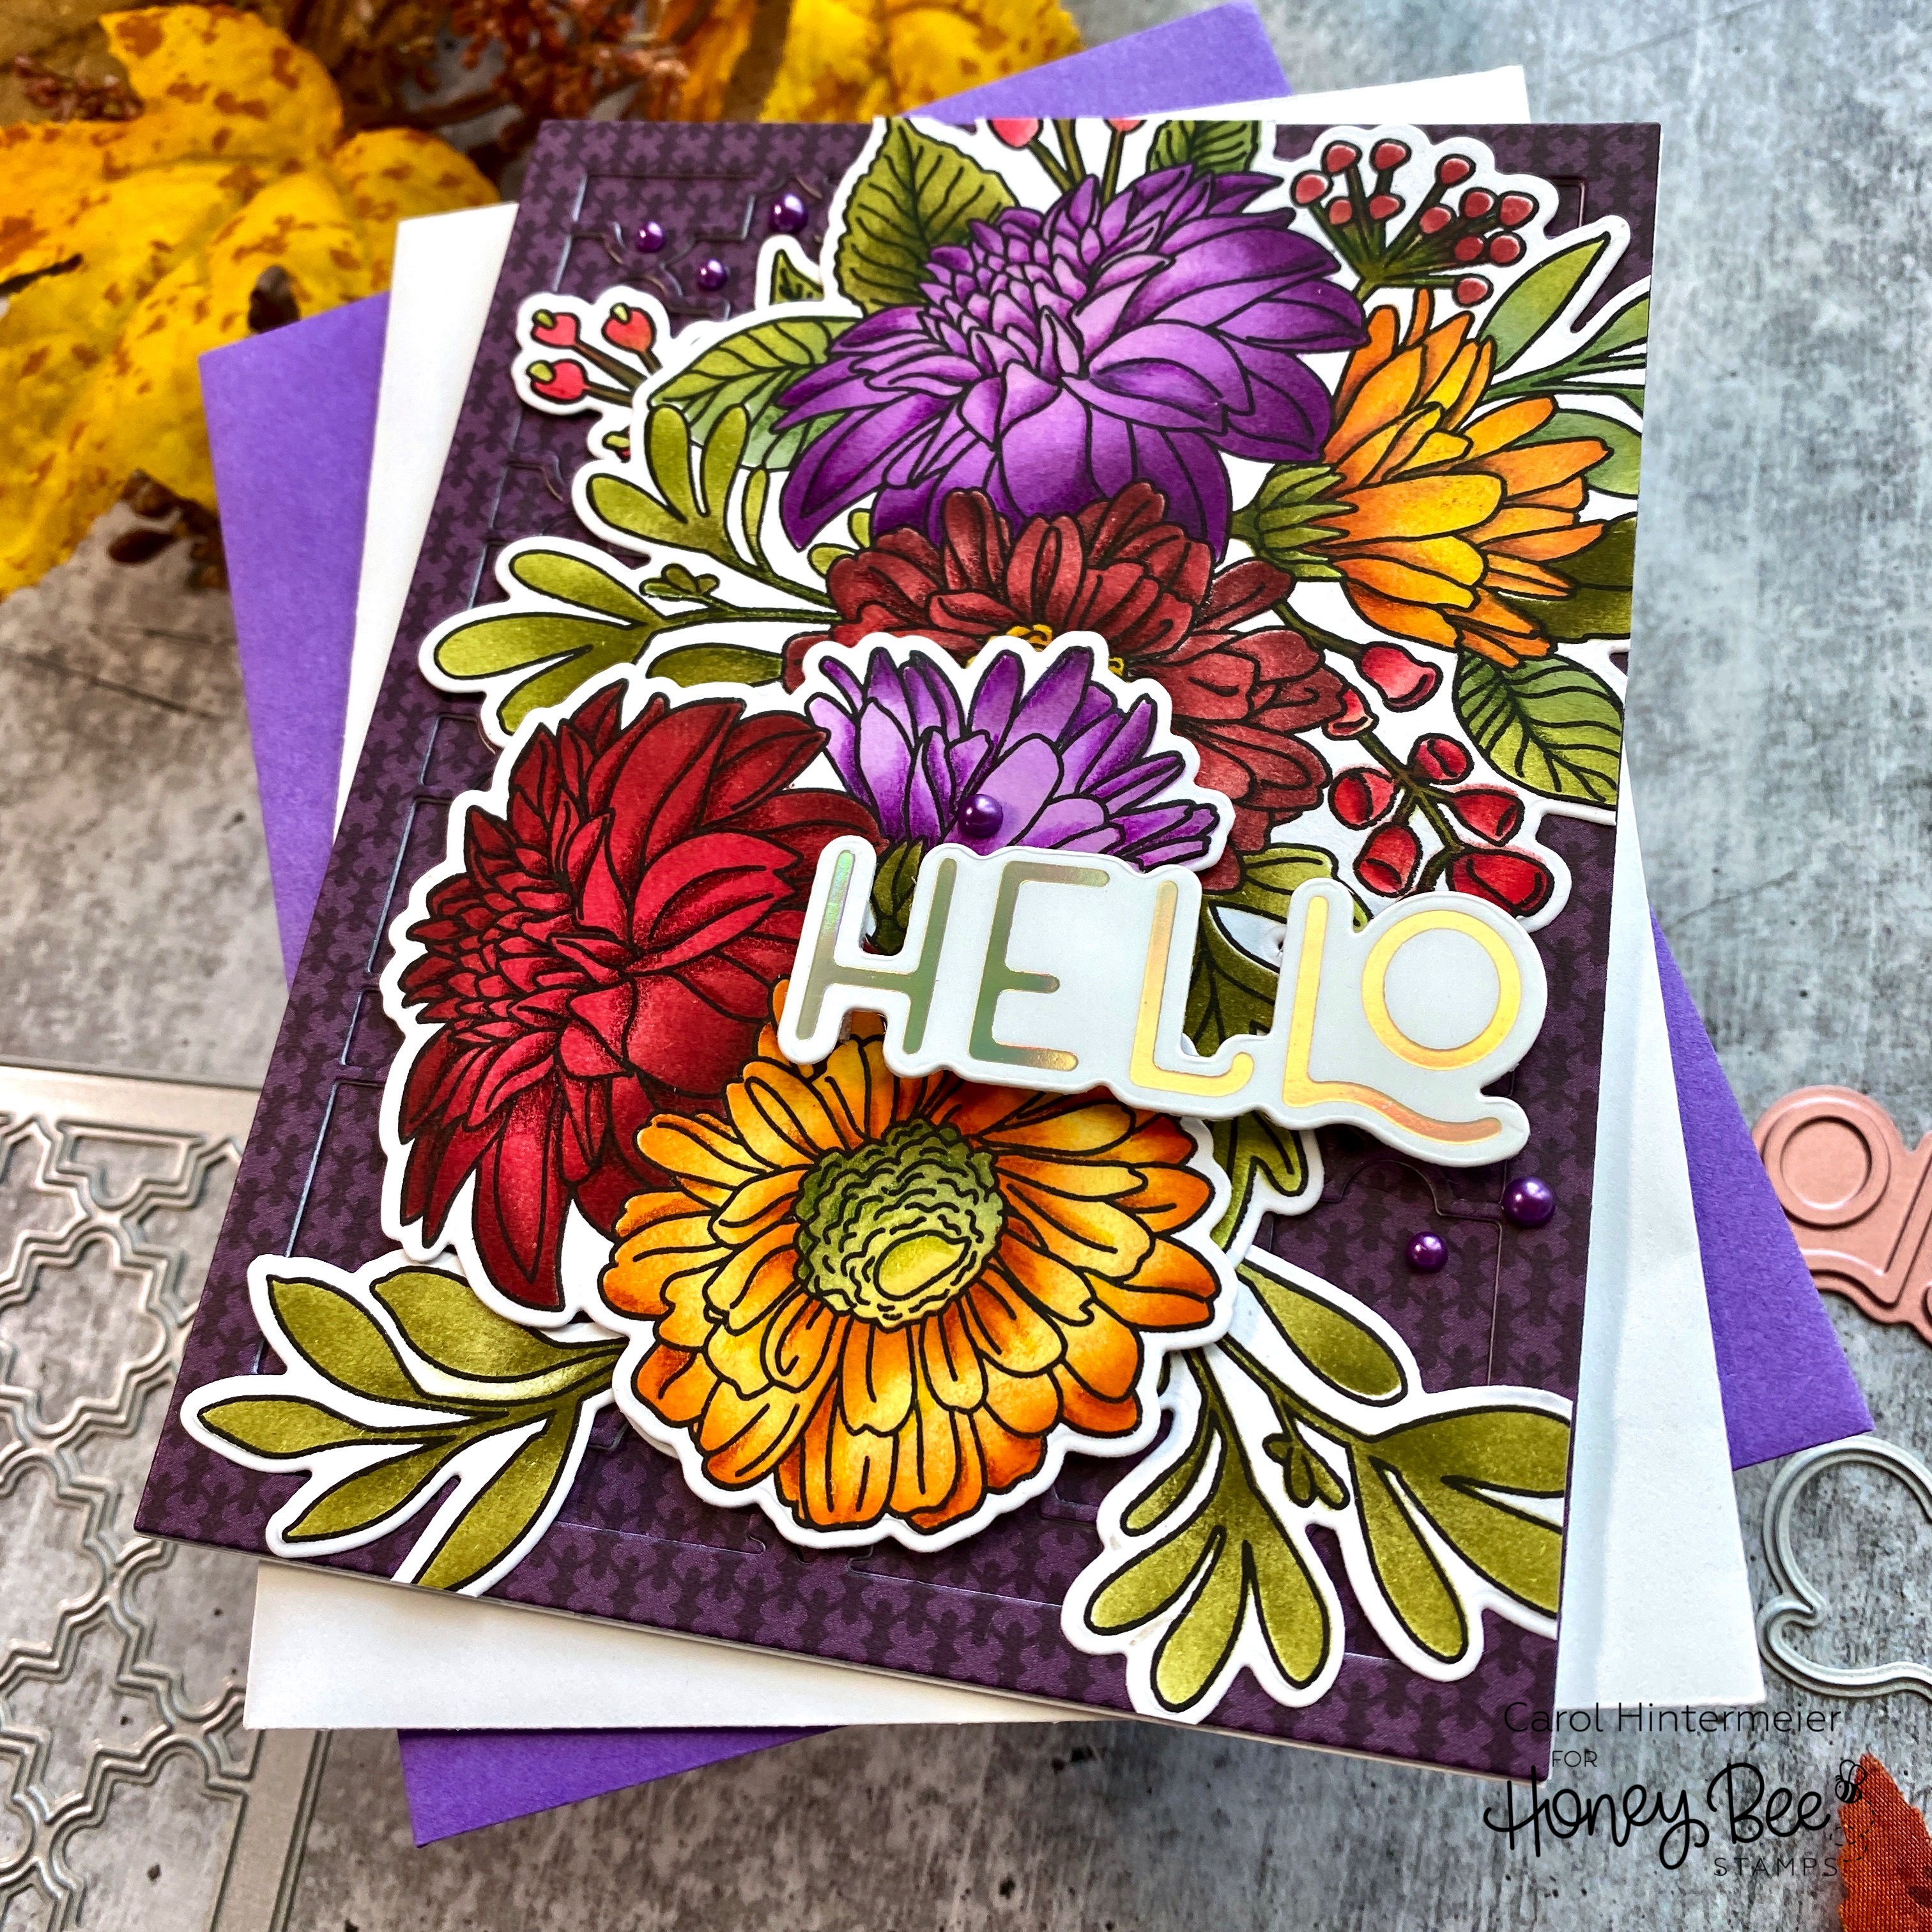
Today I'm sharing a card I made using the Beautiful Blooms stamps,  coordinating dies, and stencils that are in the Honey Bee Stamps Spooktacular Release that just became available. I used Distress Inks to color the flower images and a few colored pencils to create depth and shadows on the flowers. As much as I enjoy coloring this type of image with my Copic markers, using the stencils to get the base colors down first is a big time saver!!

First I created the A2 card base and layers by die cutting the top layer of the Ornate A2 Cover Plate die three times. Once from patterned paper in the new 6 x 8-½" Spooktacular paper pad, and twice from 80# Neenah.  (NOTE: Be sure to save the negative pieces of the purple paper die cut. I pressed a piece of Press N Seal over it to keep all of the pieces in place.)

Next I adhered all three die cut layers together with Bee Creative glue. Then I glued this piece to my card base. I added dots of glue in the open spaces of the Ornate A2 Cover Plate and added the reserved purple pieces into the opening.

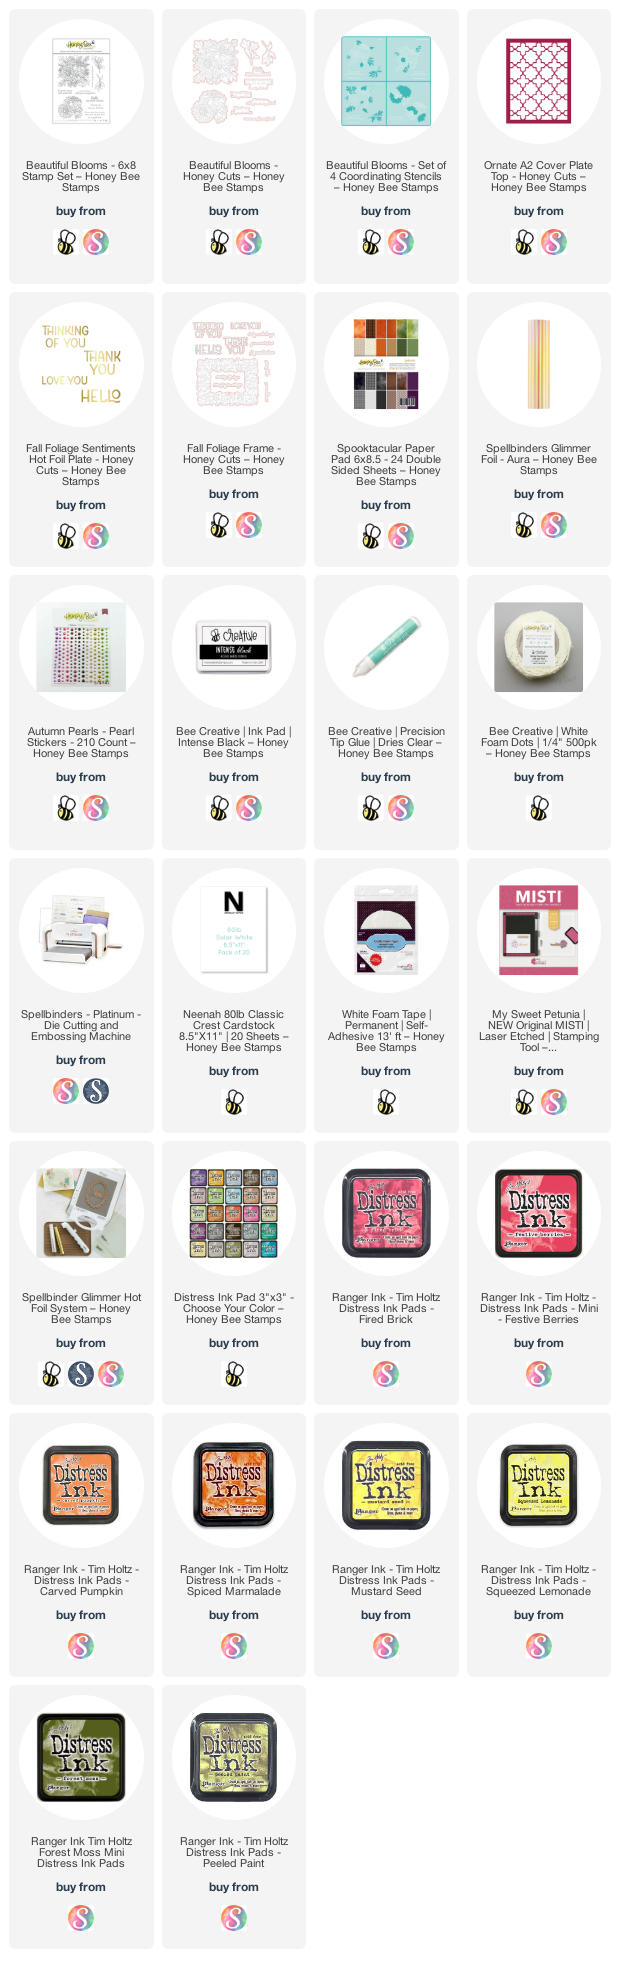
For the florals, I stamped the images from the Beautiful Blooms set with Intense Black ink. It's very important to make sure the ink is dry before you begin the stenciling! I used sponge daubers to add the ink through the stencil layers. There are four stencils in the Beautiful Bloom stencil set and are very easy to line up! I inked on the darker colors of Distress Ink where there would be more shadows. Here is a photo of the Distress Inks I used for your reference:

I did use two lighter color purple inks from my stash since I don't have Milled Lavender Distress Ink (that's on my wish list now). When I finished inking through the stencils, I felt that I wanted the flowers to have a bit more dimension. I accomplished that by choosing a few coordinating colored pencils to add shadows in certain areas. The trick here is to always use a light hand when coloring with the pencils. It doesn't take a lot to achieve the effect!  I cut the images out with the coordinating dies.


After I adhered the images to my card with glue and foam tape I trimmed the bits hanging off the card with my scissors. Then I used a sentiment form the Fall Foliage Sentiments hot foil plates and foiled it with Aura Glimmer Foil. I followed the directions for my Glimmer Machine to foil it onto Glimmer Specialty Cardstock. The coordinating dies for these hot foil plates are in the Fall Foliage Frame die set. I used the coordinating die cut out the sentiment. A few foam dots popped it up on the card.

I finished up by adding a bit of pretty bling from the new Autumn Pearl stickers set. I hope I've inspired you with my card today!  If you're on Instagram check out the REEL I made showing some of the card making process!  Thanks so much for stopping by. Have a wonderful, crafty day!

Thank you so much if you use my affiliate links (never any additional cost to you).

Wednesday, August 3, 2022

Floral Birthday Card with Hot Foiled See-through Window

Hello friends! Today I'm sharing my card featuring Honey Bee Stamps' beautiful Painted Blooms stamps and coordinating Honey Cuts. I've created a pink foiled, acetate window and framed it out with the Painted Blooms. Read on for the details, and to see how I dressed up the inside of the card!

First I worked on my flowers from the Painted Blooms set. As you can see by my photos, I have lots of extras! I almost always stamp extras to have ready to go for another creation. The way I got the gradient colors on the flowers and leaves is I set everything up in my MISTI. Then I used sponge daubers with Distress Oxides to add the lightest colors to the stamps first, stamped them onto 80# Neenah, and then sponged on the darker shades. Sometimes I would use my finger or a towel to lightly dab the edges to smooth them out. I stamped them, and repeated the colors until I was happy with the look.

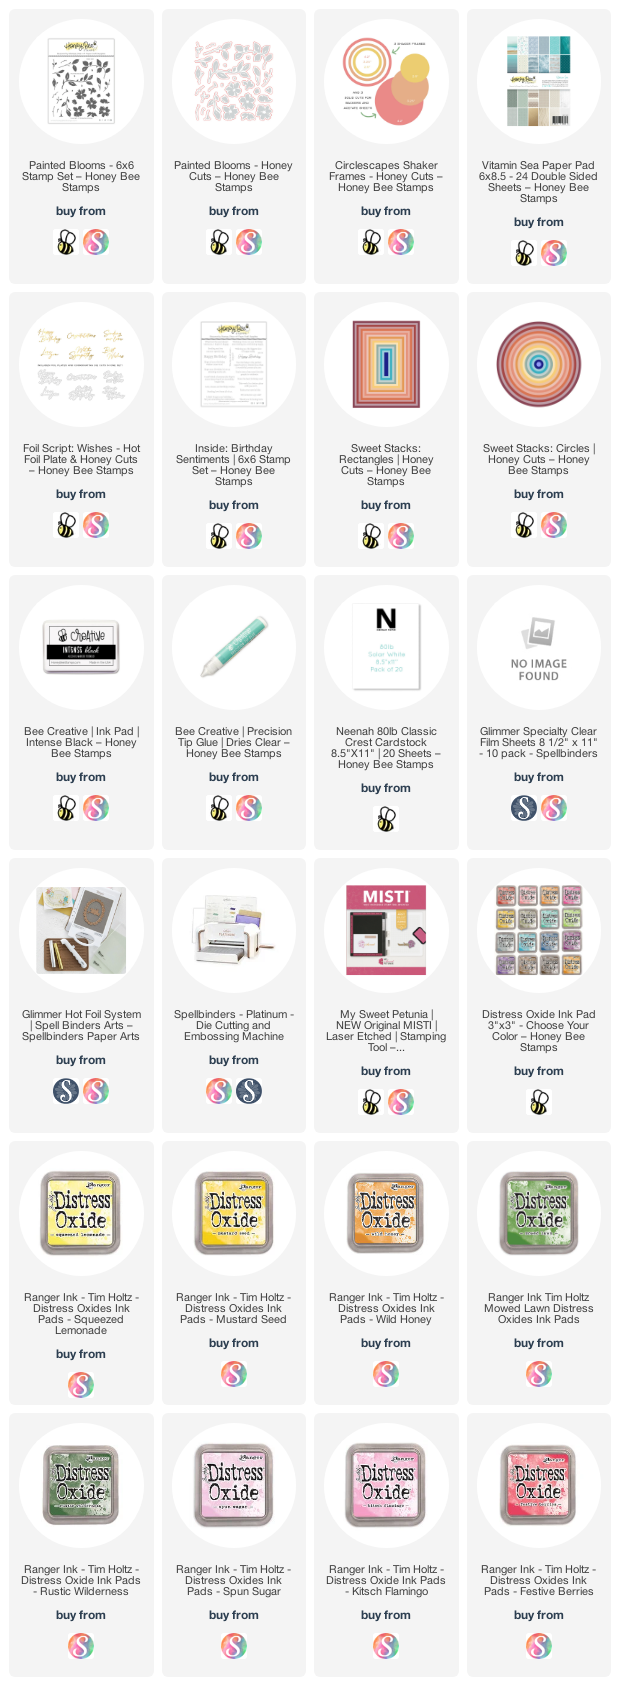
These are the Distress Oxide colors I used: flowers: Spun Sugar, Kitsch Flamingo, Festive Berries, Squeezed Lemonade, Mustard Seed, and Wild Honey. The leaves are colored with Mowed Lawn and Rustic Wilderness. I used the coordinating Painted Blooms Honey Cuts to die cut the pieces.

Now it's time to create the card base. First I used the middle sized Circlescape Shaker Frame die and die cut four from 80# Neenah. I used Bee Creative glue to stack and adhere three of them together. I chose a piece of patterned paper from the Vitamin Sea 6" x 8-½" paper pad and die cut it with the second larges Sweet Stacks: Rectangles die. I adhered that to an A2 card base.

Next I chose a circle die from the Sweet Stacks: Circles that is slightly larger than the opening of the Circlescape Shaker Frame stack. Then I opened up the card base and positioned the circle die on the card front and held it down with temporary tape. I ran that through my die cutting machine to cut the circle opening in the card front.

I used the plain circle die (middle size) from the Circlescape Shaker Frame set to die cut a piece of Glimmer Specialty Clear Film Sheet.  (NOTE: this is acetate made specifically for hot foiling and it's NOT the same as regular acetate.) I turned on my Glimmer Hot Foil machine to preheat. I prepped my pink foil by cutting a piece slightly larger than my sentiment from the Foil Script: Wishes hot foil plate set. I followed the layering directions that come with the machine to layer the foil plate, foil, and clear film circle. I adhered these in place with some temporary tape and put it die side down to heat it up. I followed my machines directions to complete the foiling. I wish foil was easier to photograph! It really is pink! Haha!

I used Bee Creative glue to adhere the foiled acetate circle over the opening of the card front. Then I used glue to adhere the stacked Circlescape Frame to the card. I adhered the extra circle frame on the inside of the card front.

Before I finished the card front with the flowers, I used my MISTI to stamp a sentiment from the Inside: Birthday Sentiments set near the bottom of the card inside. I adhered a few flowers and leaves with glue and trimmed the overhang off with my scissors.

To finish up, I arranged all of my flowers and leaves around the circle opening on the front of the card. Everything is adhered with Bee Creative glue.

Have you tried foiling on acetate? It's so fun and creates a beautiful and unique look for your card! Especially with the gorgeous Painted Blooms for a frame! Thank you so much for stopping by today! Have a wonderful, crafty week ahead!

Thank you so much for shopping with my links (I may earn a small commission at no extra cost to you)

Tuesday, July 19, 2022

Stitched Ornament Christmas Card

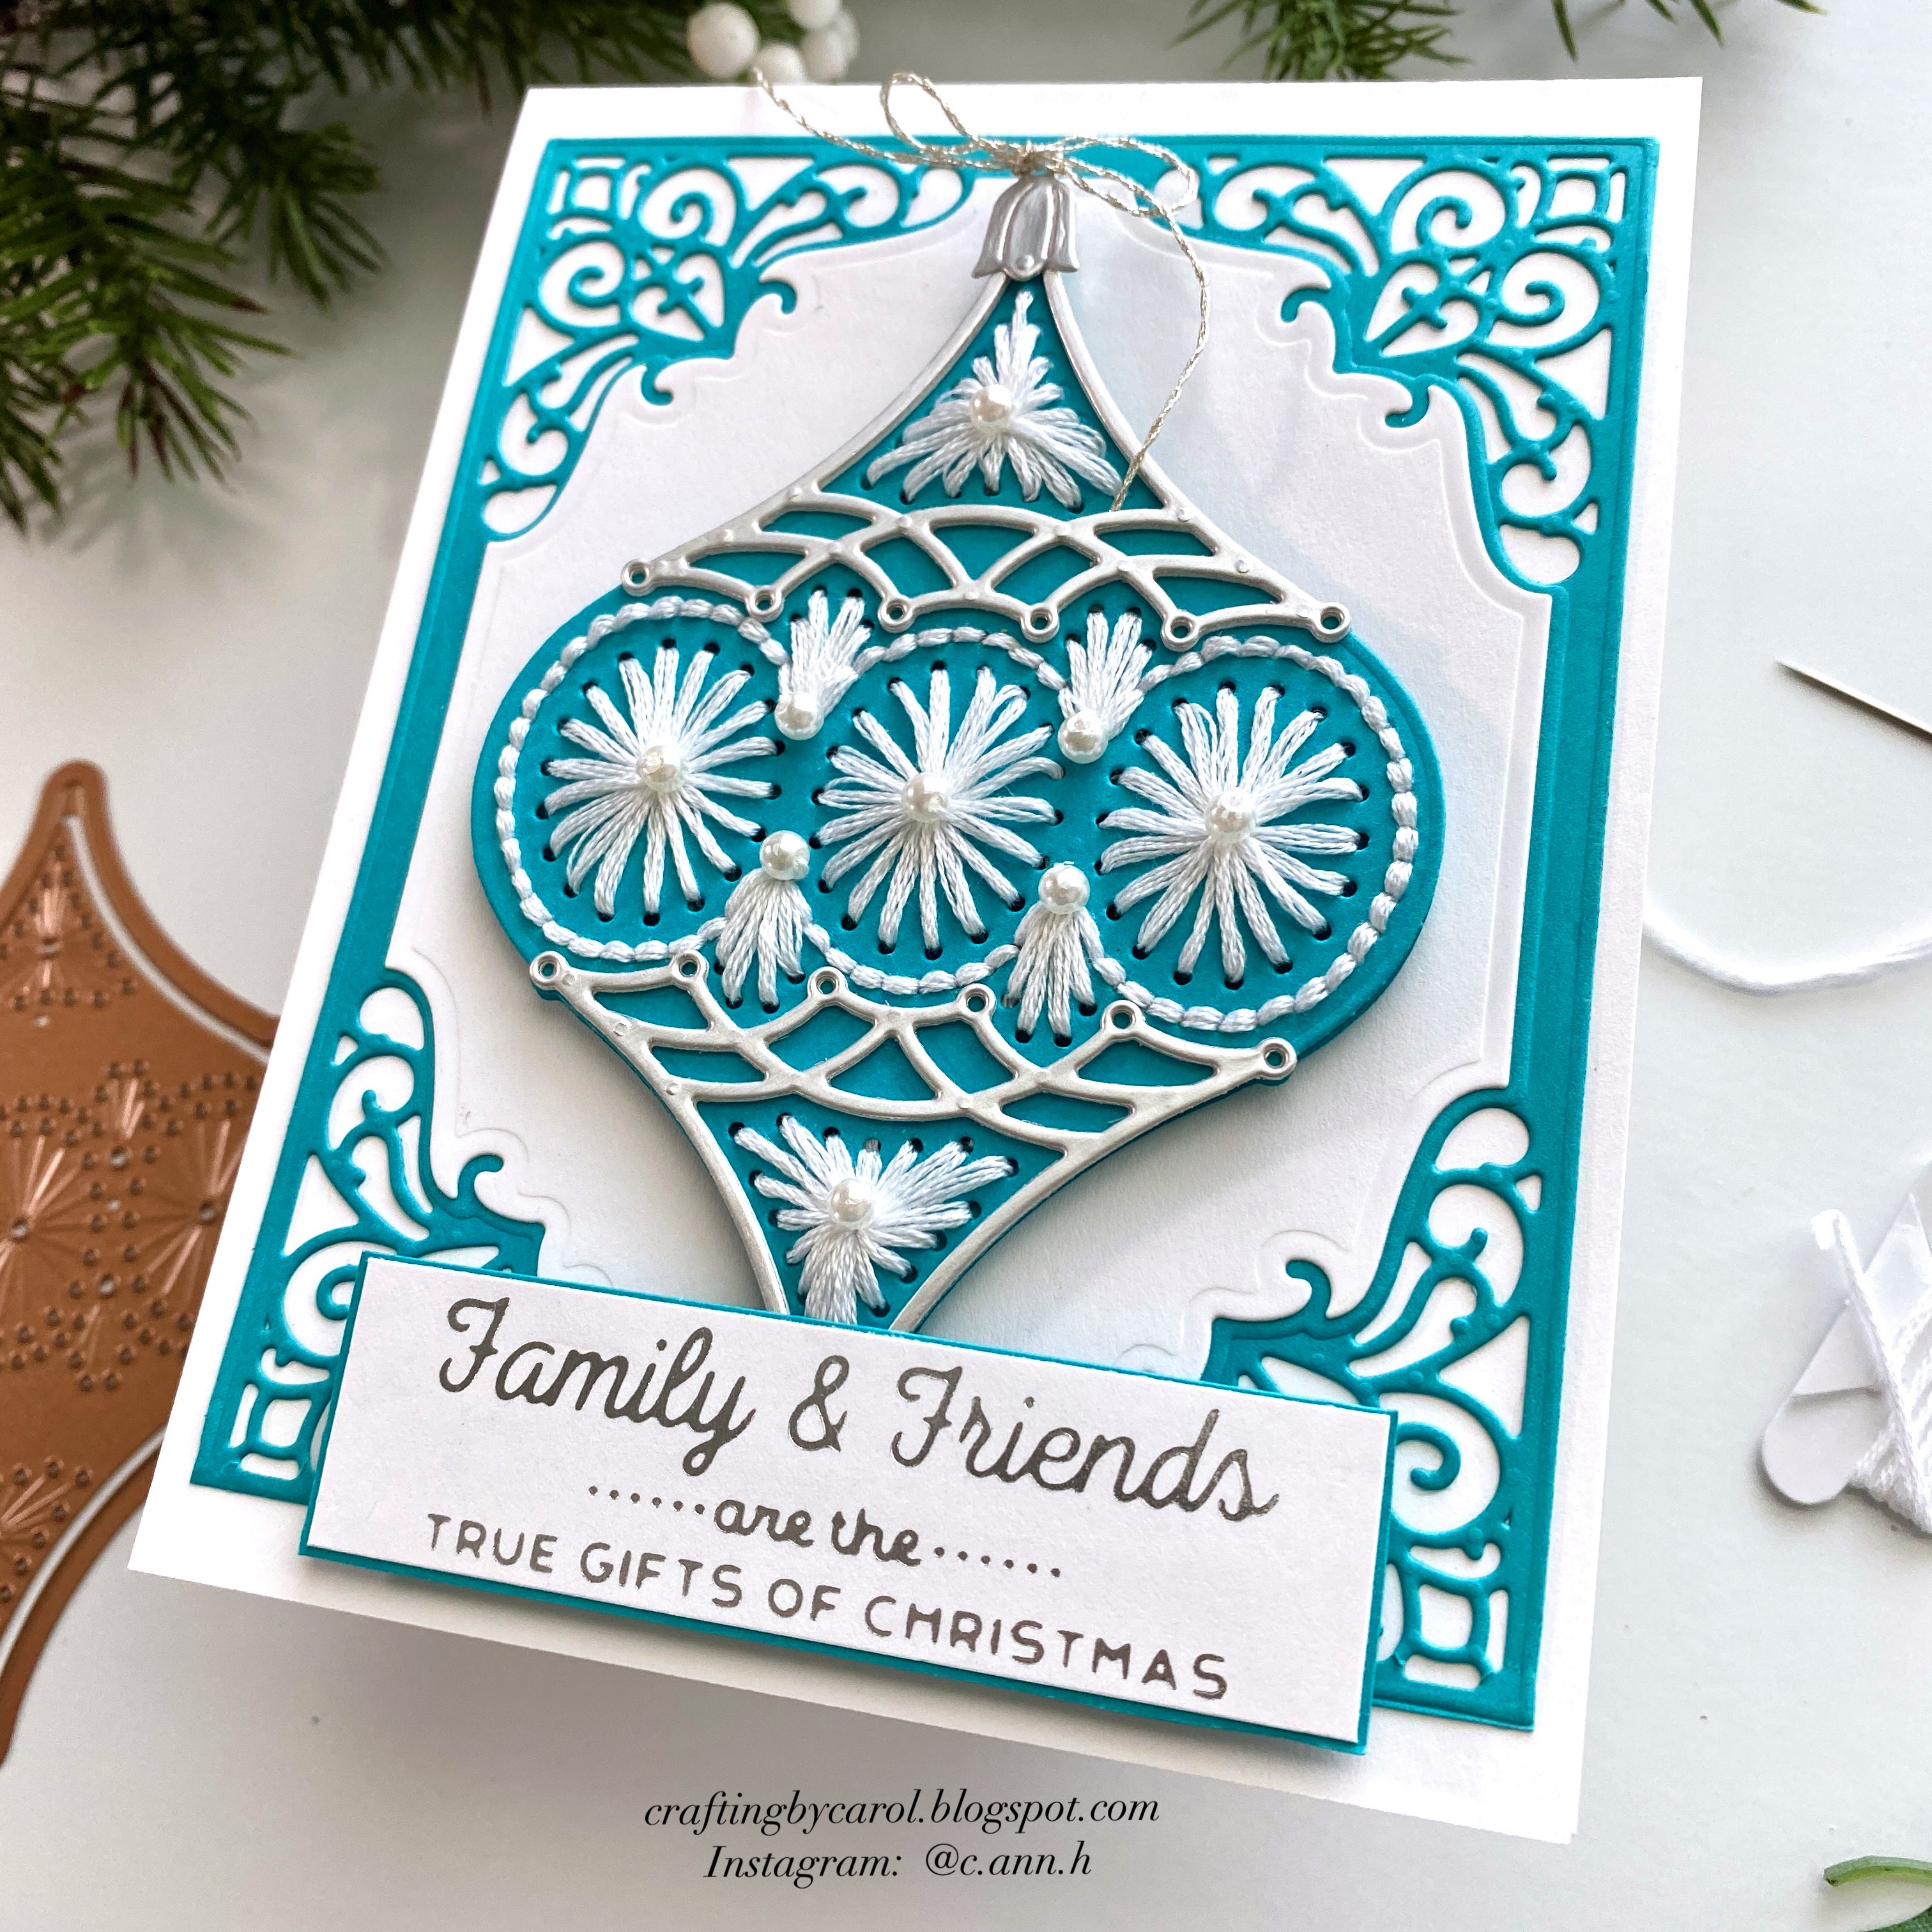
Hello friends!  I hope your week is off to a good start!  Today I'm excited to share my card using the new Stitched Ornament from Spellbinders new Stitchmas Christmas collection!  My ornament is also removable to be used as a keepsake ornament to hang.  Check out the details below!


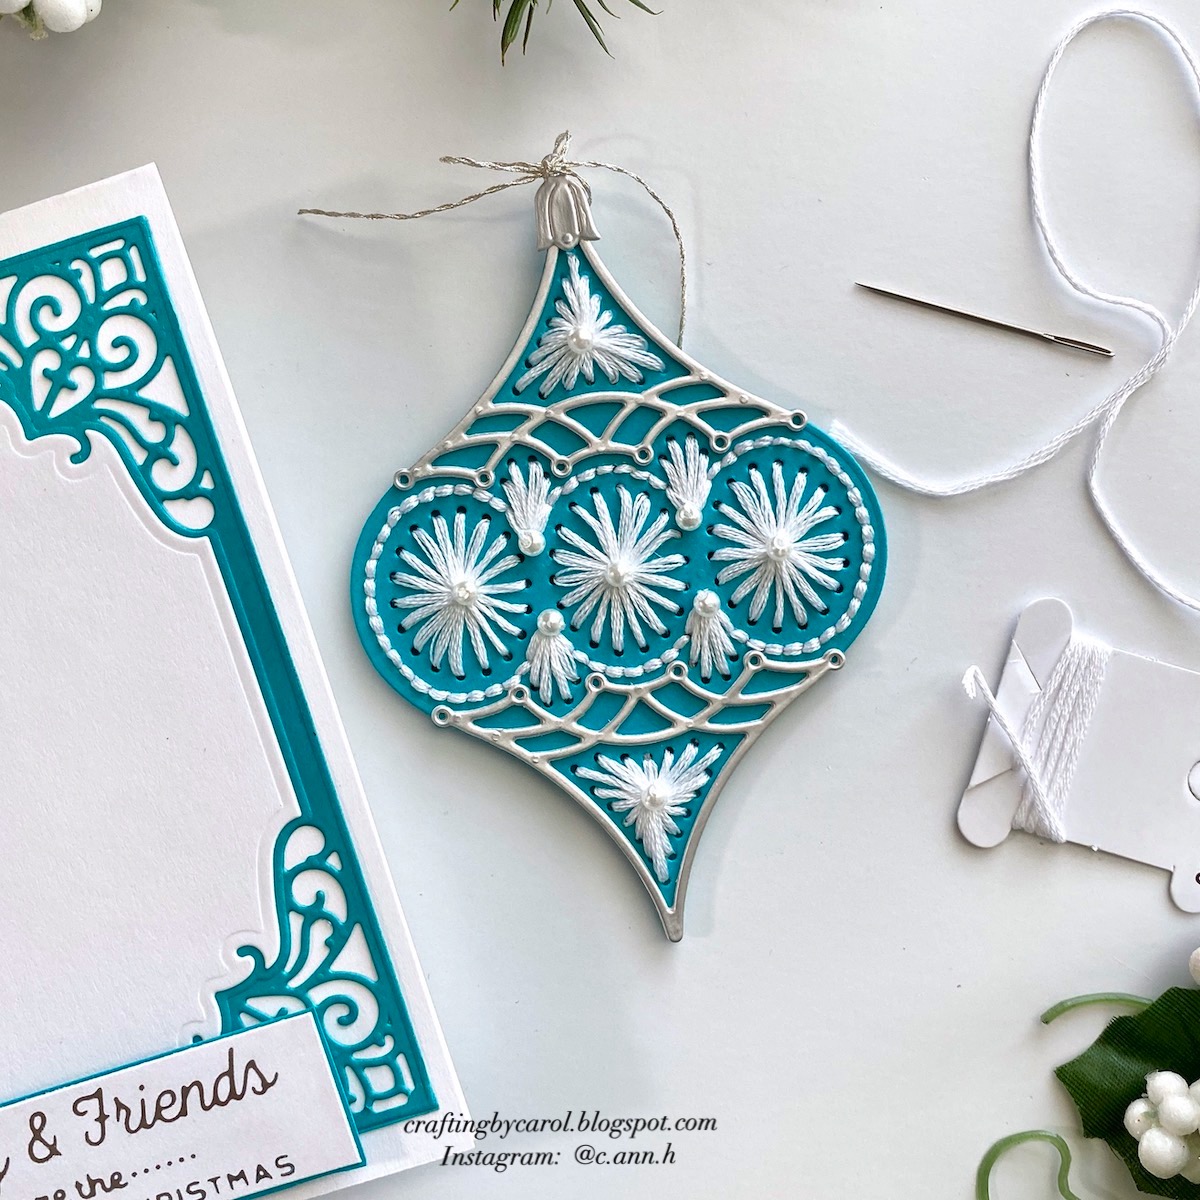
 First I die cut some Lagoon cardstock (links below) with the outline and stitching portion of the Stitched Ornament die.  I cut one more with just the outline die and set it aside for later.  I used all six strands of white DMC embroidery thread to add my stitches.  I just did basic stitching and made sure to always be stitching down into the center points of the sections.  I've had these pearl beads in my stash forever, and used two strands of the white thread to add several into the centers of the sections.

To finish up the ornament, I die cut the decorative ornament pieces from silver cardstock and adhered them to my ornament.  I tied some silver thread into a bow at the top.  Next I added glue to the extra die cut ornament and adhered it to the back of the stitched ornament and set it aside to dry.

For the card base I die cut more Lagoon cardstock with the two outer dies of the A2 Filigree Marquis die set.  I die cut the decorative center from white cardstock and adhered it to the blue filigree layer.  These were then adhered to an A2 card base.

I used my Glimmer Machine to silver foil the sentiment from the Gifts of Christmas Sentiments set.  I added a Lagoon mat layer and popped it up onto the card.

I wanted this ornament to be removable by the recipient so I added two removable glue dots to the back and adhered it to the card.

You could write the year and a message on the back of the ornament, or even use it alone as a gift tag!

Have you tried stitching dies?  I highly recommend them and you don't need any sewing skills at all to use them!  Thank you so much for stopping by!

Thank you for using my links for your shopping (affiliate links, never any extra cost for you)

Sunday, May 15, 2022

You Are Kind Hearted -- Stitching and Foiling on Cards

Happy Sunday friends!  Today I'm sharing a fun card featuring Spellbinders new Stitched Alphabet collection.  The collection includes every letter of the alphabet and die cuts holes for stitching!  Each letter is sold separately for you to choose just the ones you want.  I have quite a collection of embroidery thread as I used to do cross stitching and crewel embroidery, so it's fun to be able to use my thread again!

First I die cut the top layer of the letters Y, O, and U from 120# cardstock.  I like the heavier weight for stitching as the letters hold their shape easily while stitching.  I used DMC 445 to stitch the flowers and DMC 959 for the french knots in the centers.  I die cut the shadow layers from teal cardstock.  To adhere the letters to the shadow layer, I cut foam tape into very thin strips.

I used Moondust foil and the Essential Duo Lines Glimmer Rectangles hot foil plates to create the top layer of my card.  I adhered this and a teal cardstock layer to my card base.

Next I die cut flowers and leaves from the Forget-Me-Not and Ladybugs die set.  I used two shades of teal card stock and yellow for the flower centers.  I love adding dimension to die cut flowers and leaves and used tools from the Ultimate Tool Kit for shaping each one.

I chose a couple sentiments from the new Stitched Alphabet Glimmer Descriptors set and hot foiled them with Moonstone foil.  There 26 awesome words/phrases in this set to go along with all of the Stitched Alphabet letters.

Have you tried any of the stitching dies yet?  This is one of my first ones, and I have to say that I really enjoyed doing a bit of easy stitching to add an extra special touch to my card!  Thanks so very much for stopping by.  I hope you have a wonderful, and crafty, week!


Wednesday, May 11, 2022

Hot Foiled See-Through Birthday Card with Peonies

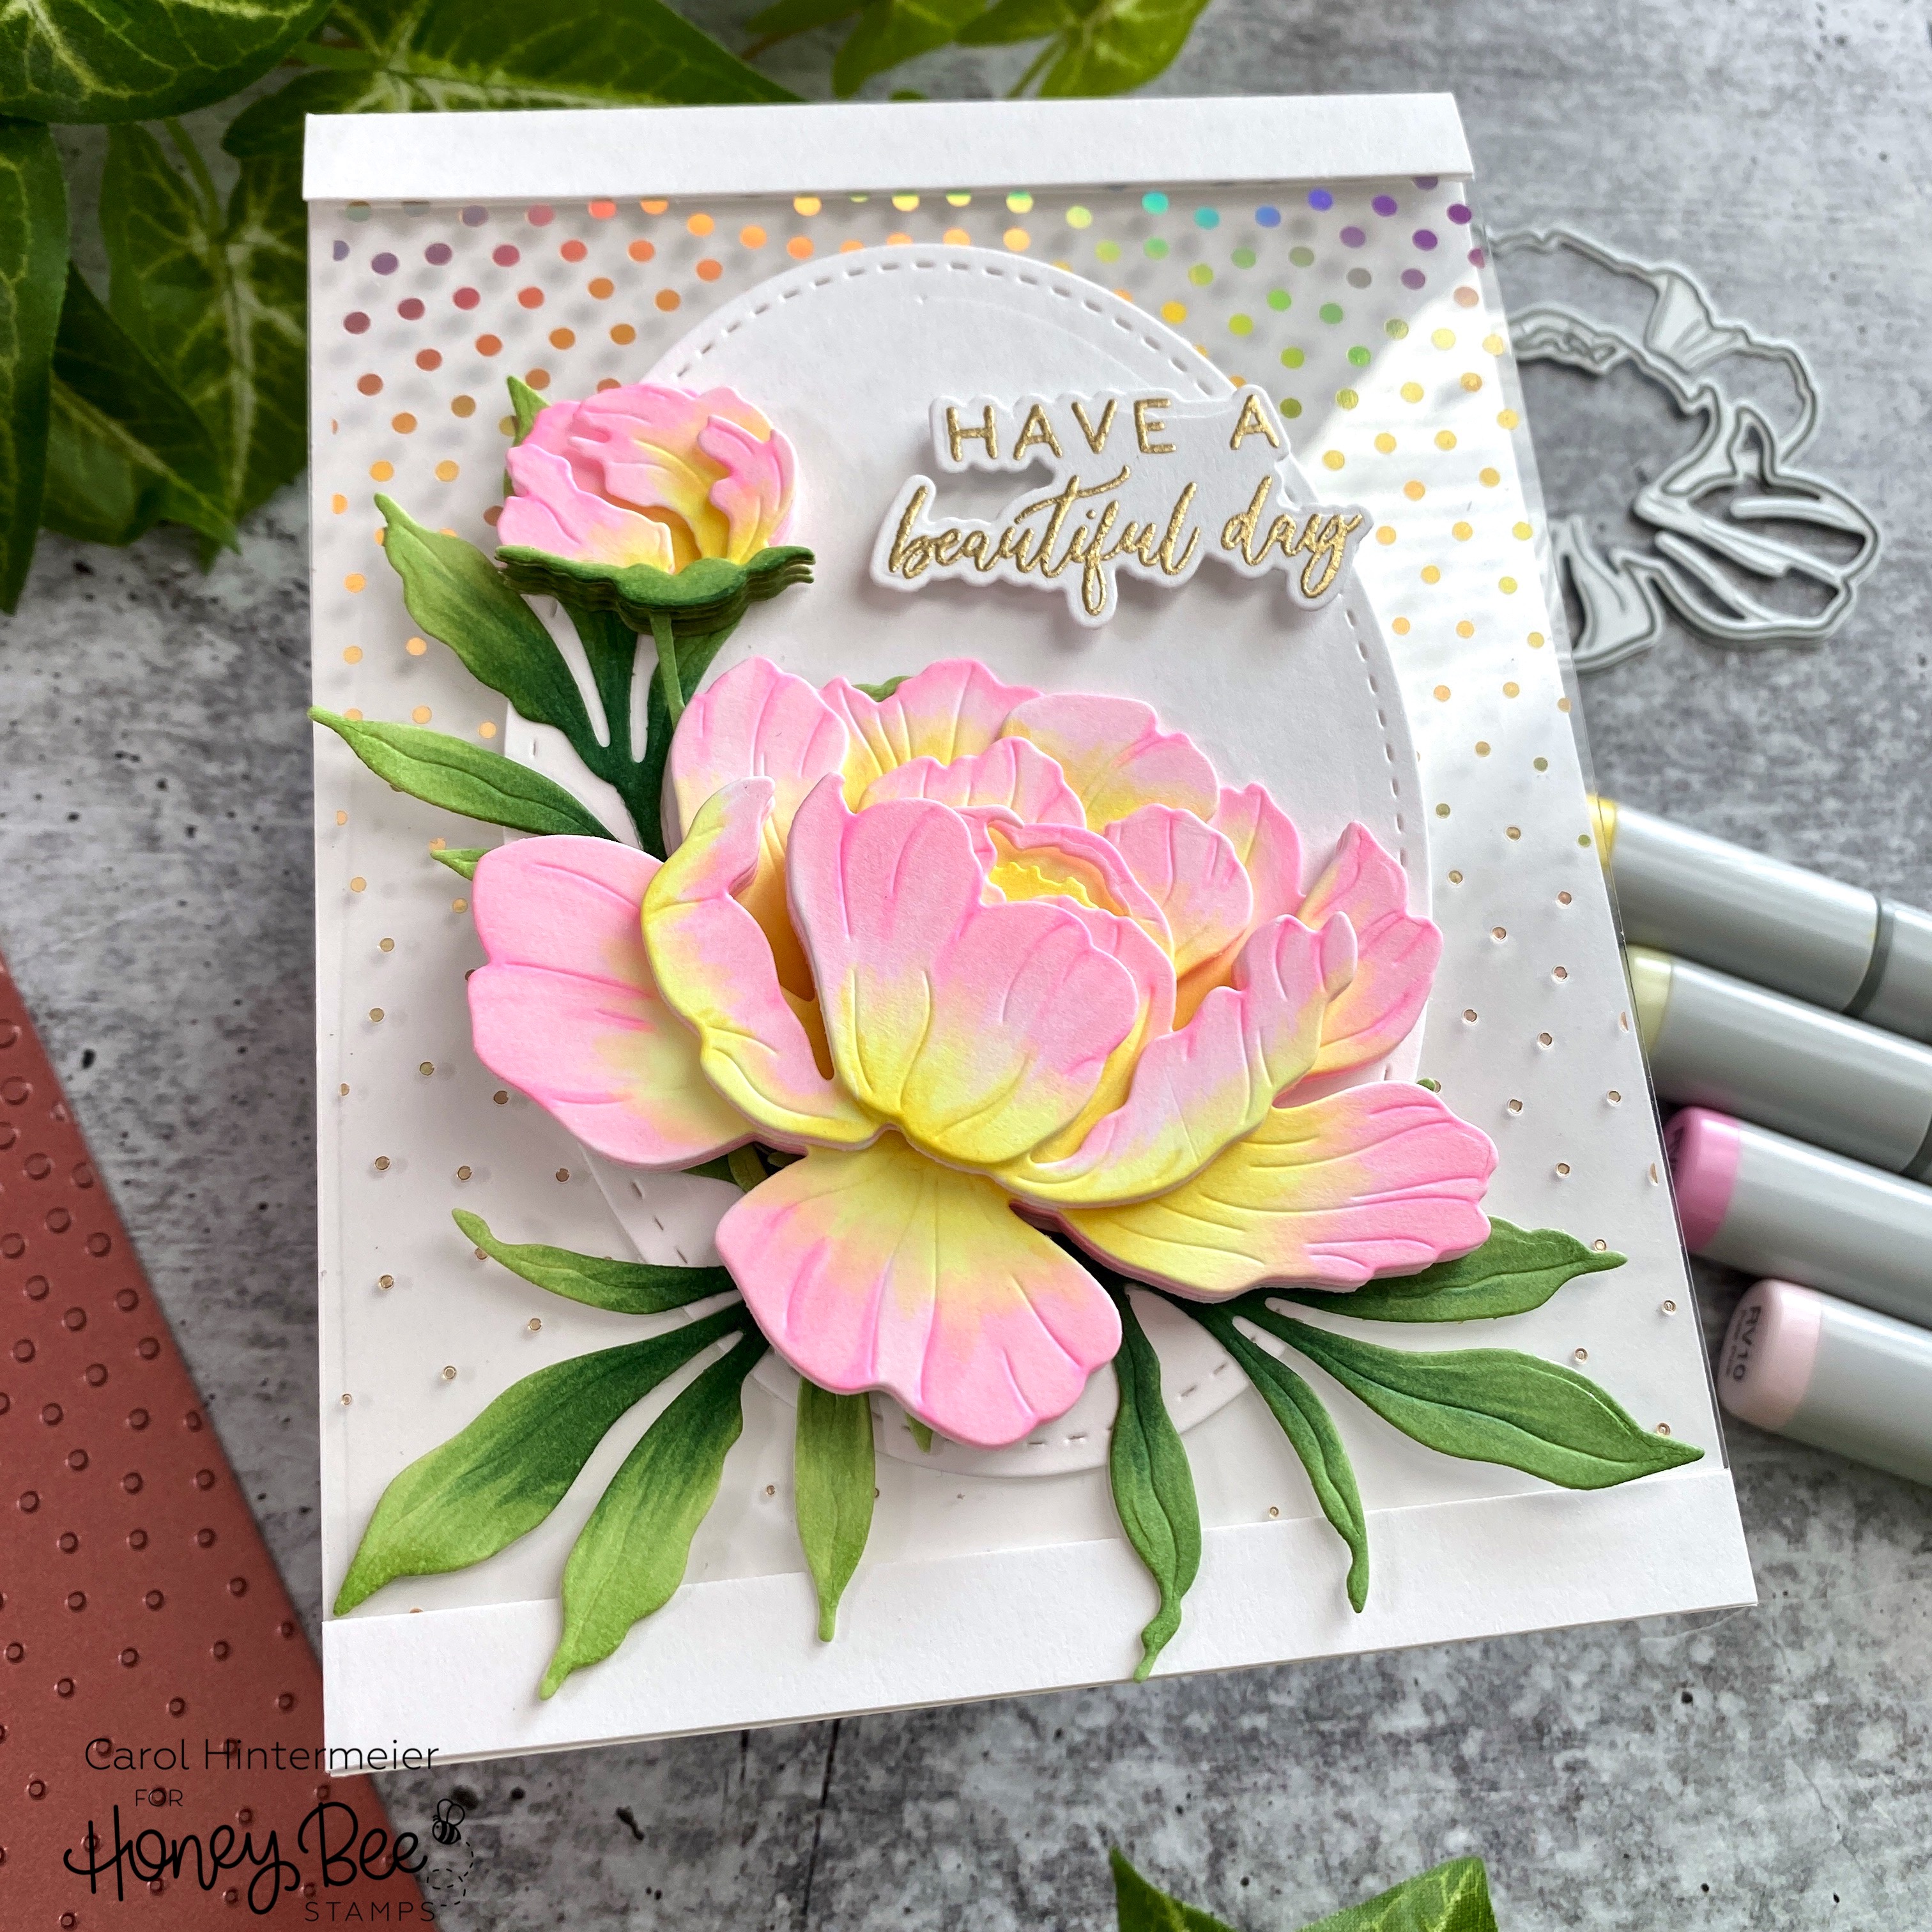
Hello crafty friends! Today I'm sharing a see-through birthday card with a foiled acetate front using Honey Bee Stamps Ombré Dots Hot Foil Plate.  I'm also using the gorgeous Lovely Layers: Peony Honey Cuts to create a very special birthday card. Keep reading for all the details!

I followed the directions for my hot foil machine (which is on sale, as of this blog post date, at a very good price HERE) to add Aura gold foil to my acetate with the Ombré Dots Hot Foil Plate. This acetate is a specialty product that is thicker than the acetate sold for creating windows for your shaker cards and it is called Spellbinders Glimmer Specialty Clear Film Sheets.  This product works beautifully with your hot foil plates!

Next I took an A2 card base and trimmed the front off, leaving about 3/8" at the top. On the inside of the flap, I added some double-sided adhesive and adhered the foiled acetate. Then I cut three 3/8" x 4-¼" strips of white cardstock and adhered two at the bottom of the acetate--one on the front and the other on the back. I adhered the other strip on the top inside edge. This gives a clean look with the card is opened.

Next I die cut three Double Stitched Ovals and adhered them to the card. I adhered one on the card front, the other behind that one, and the third, to the card inside directly behind the first two.

I created a sentiment for the inside of the card using two sentiments from the Inside: Birthday Sentiments stamp set. I heat embossed one with gold embossing powder and die cut it with the coordinating die. I adhered that to the oval and stamped the other sentiment with Intense Black ink.

I die cut all of the pieces of the Lovely Layers: Peony Honey Cuts from white cardstock. Then I used some Copic markers to color each one. For the peony I used: Y13, Y00, RV02, and RV10. The leaves are colored with G28, G46, G24, and G43.

If you go to the Lovely Layers: Peony in the Honey Bee shop, there is a link for a downloadable layering guide to assist in getting those layers just right! You can use glue to adhere the layers together, or use foam tape, as I did, to create even more dimension!

I stamped the sentiment from the Squeeze The Day stamp set with clear embossing ink, sprinkled on gold embossing powder and heat set it. Then I used the coordinating Honey Cut to die cut it out. I used more foam to pop it up on the card.

I absolutely love how this turned out! Trying something new, like hot foiling onto acetate, just gets my creative mojo going! Thank you for stopping by and I hope you have a beautiful day!

Wednesday, March 9, 2022

Lovely Layers: Tulips Card & Hot Foiling on Ribbon!!

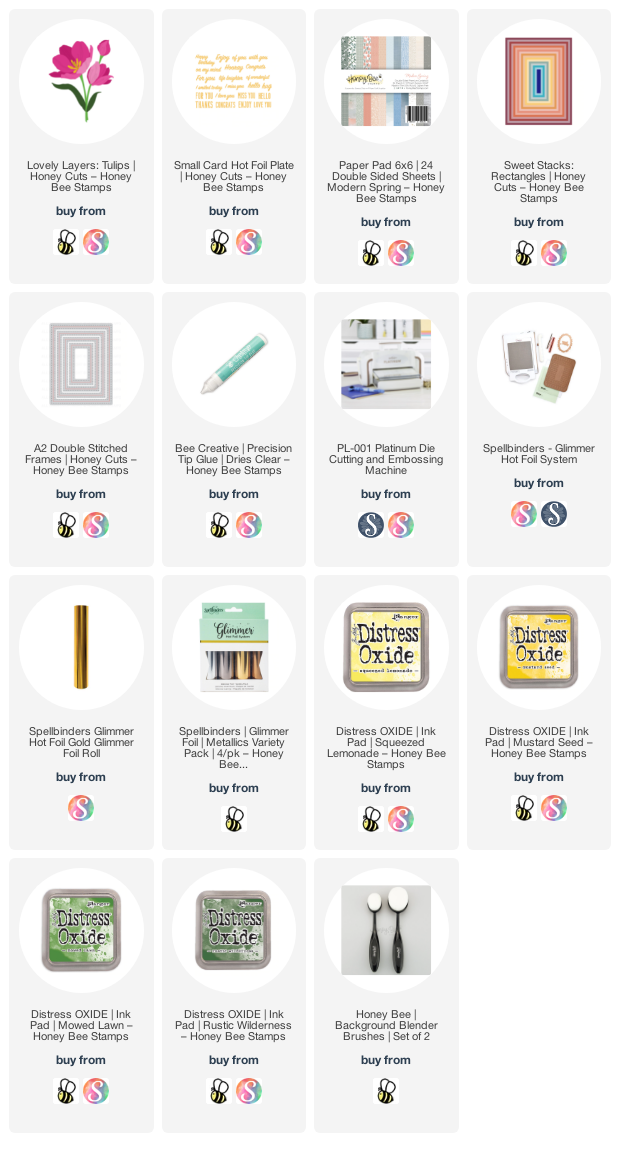
Today I'm sharing my card using the beautiful Lovely Layers: Tulips Honey Cuts by Honey Bee Stamps; and I added a bow that has foiling on it!!  I finally jumped on the hot foiling train and really love it!!  I had been wondering if the Small Card Hot Foil Plates would work on materials other than card stock, and much to my delight, they do! I tried out a few different types of ribbon and found I got the best results on the smooth satin type ribbon. I have some photos below to go along with my tutorial for the process.

First I die cut the Lovely Layers: Tulips from some coral, yellow, and green card stock. I added some shading to the pieces with Distress Oxide ink and a Detail Blender Brush. I used Mustard Seed, Squeezed Lemonade, Mowed Lawn, and Rustic Wilderness. I used a coral ink from my stash for the shading of the coral card stock pieces. I used pieces of foam strips between all of the layers for extra dimension. If you need help with the layers, check out this layering guide:

Before I adhered the leaves and stems to the assembled flowers, I spritzed a bit of white ink spray onto the flowers and set them aside to dry. I die cut some beautiful paper from the Modern Spring paper pad with the largest Sweet Stacks: Rectangles and adhered it to an A2 card base. Then I added a frame I die cut from white card stock where I taped together the two largest A2 Double Stitched Frames dies. I used Bee Creative glue to adhere the frame, tulips, stems and leaves.

As I mentioned above, I used the Small Card Hot Foil plates to experiment foiling on various types of ribbon. I wanted to foil on the bias tape type ribbon as that's what I have most of. The looser weave of that ribbon just didn't produce a very smooth foiling though. The tight weave of this satin ribbon is what has worked best for me. I didn't want to have to guess where to do my foiling, and then tie the bow, so I tied the bow first. These next photos show how I foiled it.

First, with the bow right side up, I laid down the foil (shiny side up) and then placed the sentiments from the Small Card Hot Foil Plates set face down onto the foil. I used small pieces of removable tape to hold it all in place.

You need the tape, because now you will turn it over so the plates are touching the heating plate of your machine. (If the ribbon is on the bottom, the plates will not get hot enough--ask me how I know!! LOL!) Following the directions for your machine, let the plates heat for the required amount of time. Leave the tied portion of the bow off the edge as you see below.

When the heating is finished, add the shims required for your machine, and run it through your die cutting machine with the tie bow hanging out. Like this:

I was SO thrilled that this worked! I think it adds such a unique touch to a project!

I trimmed the edges of the bow into a fishtail shape and adhered it with a glue dot. There are so many sentiments in the Small Card Hot Foil Plates set that provide lots of different options, depending on the width of your ribbon.

Oh, one last thing. In the photos you may have noticed that, yep, I foiled my plates! Evidently, just about everyone does that at some point, but good news: it does not affect the plates at all! You can remove the foil, but I just went ahead and used them and there's no difference in the results!

Foiling on ribbon? Yes, please!! This was lots of fun and has my wheels turning wondering what else can be foiled? I hope you’ve enjoyed my process and have found some inspiration too! Thank you so much for stopping by!

If you choose to use my affiliate links for shopping, thank you! 💗 (always at no extra cost to you)

<!