Showing posts with label Foil Script: Wishes. Show all posts

Wednesday, January 4, 2023

Fun Floral Gift Card Holder With A Felt Bow!

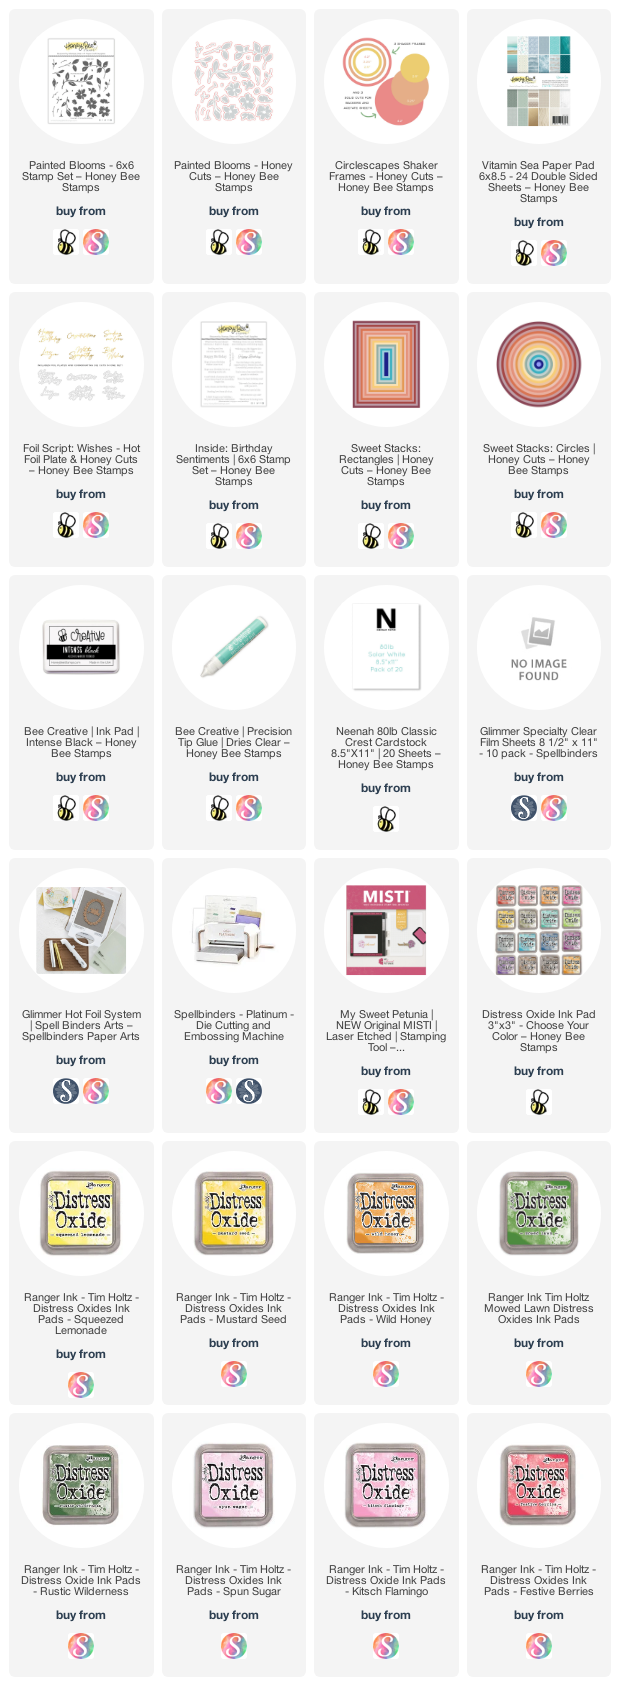
Hello crafty friends, and a very happy 2023 to you! Now that the holidays are over, I noticed that my birthday card stash is almost nonexistent! I've always adored the Honey Bee Stamps Gift Card Present Box Honey Cuts that was released a few holiday seasons ago. This set is absolutely perfect for any occasion and makes the most wonderful gift card holder too! I've made this look current by adding a hot foiled sentiment from the Foil Script: Wishes set. Check out the details!

I used some of my most favorite (and hoarded!) paper from the Summer Stems paper pad to die cut the pieces of the Gift Card Present Box. I used Bee Creative glue on the tabs to adhere the front and back together. I die cut the gift card insert from white cardstock. The box top is die cut with paper from the Gingham Galore Spring paper pad. I folded it at the score line and adhered the gift card holder inside the box top. (Note: just add glue to the top of the gift card holder to keep the box top open at the bottom.)

Here's a look at the gift card insert as it is opened. There is plenty of room on the back of the insert to write a greeting! (I attached the gift card with a small glue dot.)


Next I die cut the pieces of the box (also in the Gift Card Present Box die set) from coordinating felt. I have lots of this wonderful wool felt in my stash! I definitely recommend using the wool felt, if at all possible, as it die cuts beautifully and holds its shape well. I used glue dots and double sided sticky red tape to adhere the bow together and add the pieces to the box.

NOTE: Because of the bulk of the wool felt, I found that the die cut piece that wraps around the middle of the bow wouldn't reach around the bow. So I die cut another ribbon strip of felt and then wrapped that around the middle of the box and cut off the excess.

Now, if you do not have any wool, just use some coordinating cardstock for your bow! It will be just as beautiful!

I used rose gold Glimmer foil and my Glimmer Hot Foil System to foil the sentiment from the Foil Script: Wishes set. The cardstock I used is Glimmer Specialty Cardstock, which is ultra smooth, and foils like a dream! I used the coordinating die cut cut out the sentiment. Some thick foam dots popped it up for dimension. I added a few sparkly gem stickers from the Marvelous Moments gem stickers.

I hope you've enjoyed my post today and hope you are inspired to give this a try! Thank you for stopping by today. I hope you are having a wonderful, and crafty, 2023 so far!

Thank you so much for using my affiliate links (never any additional cost to you).
Wednesday, August 3, 2022

Floral Birthday Card with Hot Foiled See-through Window

Hello friends! Today I'm sharing my card featuring Honey Bee Stamps' beautiful Painted Blooms stamps and coordinating Honey Cuts. I've created a pink foiled, acetate window and framed it out with the Painted Blooms. Read on for the details, and to see how I dressed up the inside of the card!

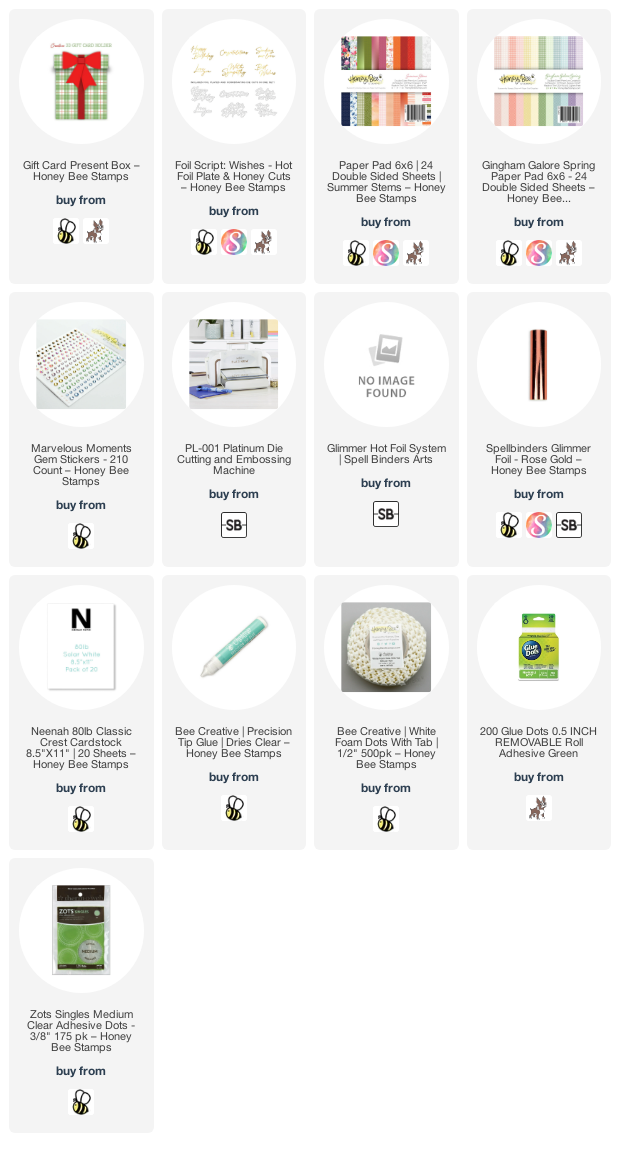
First I worked on my flowers from the Painted Blooms set. As you can see by my photos, I have lots of extras! I almost always stamp extras to have ready to go for another creation. The way I got the gradient colors on the flowers and leaves is I set everything up in my MISTI. Then I used sponge daubers with Distress Oxides to add the lightest colors to the stamps first, stamped them onto 80# Neenah, and then sponged on the darker shades. Sometimes I would use my finger or a towel to lightly dab the edges to smooth them out. I stamped them, and repeated the colors until I was happy with the look.

These are the Distress Oxide colors I used: flowers: Spun Sugar, Kitsch Flamingo, Festive Berries, Squeezed Lemonade, Mustard Seed, and Wild Honey. The leaves are colored with Mowed Lawn and Rustic Wilderness. I used the coordinating Painted Blooms Honey Cuts to die cut the pieces.

Now it's time to create the card base. First I used the middle sized Circlescape Shaker Frame die and die cut four from 80# Neenah. I used Bee Creative glue to stack and adhere three of them together. I chose a piece of patterned paper from the Vitamin Sea 6" x 8-½" paper pad and die cut it with the second larges Sweet Stacks: Rectangles die. I adhered that to an A2 card base.

Next I chose a circle die from the Sweet Stacks: Circles that is slightly larger than the opening of the Circlescape Shaker Frame stack. Then I opened up the card base and positioned the circle die on the card front and held it down with temporary tape. I ran that through my die cutting machine to cut the circle opening in the card front.

I used the plain circle die (middle size) from the Circlescape Shaker Frame set to die cut a piece of Glimmer Specialty Clear Film Sheet.  (NOTE: this is acetate made specifically for hot foiling and it's NOT the same as regular acetate.) I turned on my Glimmer Hot Foil machine to preheat. I prepped my pink foil by cutting a piece slightly larger than my sentiment from the Foil Script: Wishes hot foil plate set. I followed the layering directions that come with the machine to layer the foil plate, foil, and clear film circle. I adhered these in place with some temporary tape and put it die side down to heat it up. I followed my machines directions to complete the foiling. I wish foil was easier to photograph! It really is pink! Haha!

I used Bee Creative glue to adhere the foiled acetate circle over the opening of the card front. Then I used glue to adhere the stacked Circlescape Frame to the card. I adhered the extra circle frame on the inside of the card front.

Before I finished the card front with the flowers, I used my MISTI to stamp a sentiment from the Inside: Birthday Sentiments set near the bottom of the card inside. I adhered a few flowers and leaves with glue and trimmed the overhang off with my scissors.

To finish up, I arranged all of my flowers and leaves around the circle opening on the front of the card. Everything is adhered with Bee Creative glue.

Have you tried foiling on acetate? It's so fun and creates a beautiful and unique look for your card! Especially with the gorgeous Painted Blooms for a frame! Thank you so much for stopping by today! Have a wonderful, crafty week ahead!

Thank you so much for shopping with my links (I may earn a small commission at no extra cost to you)