Showing posts with label Glimmer Foiling. Show all posts

Sunday, December 21, 2025

Two Unique Heart Cards With A Bit Of Snark!

Hello friends!  Can you believe it's time to transition from making holiday cards?  I can't, but these two cards featuring three of the Spellbinders' Club Kits makes that change easy and so fun!  I really enjoy showing you how versatile and easy these kits coordinate together and also with non-club kit sets.

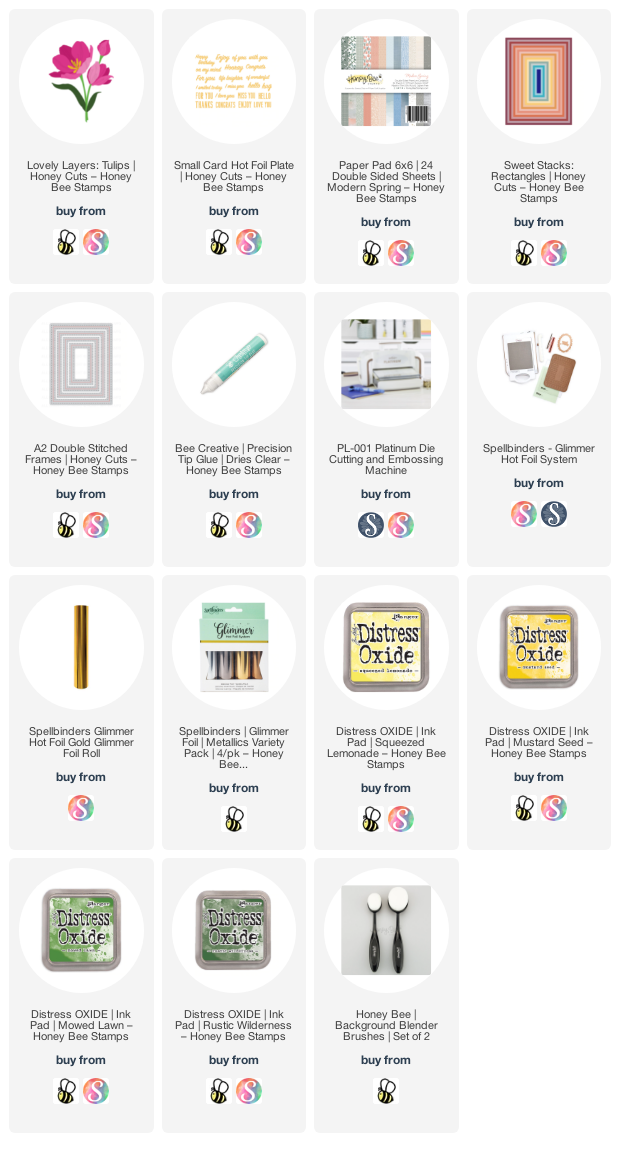
For both cards I've used December Club Kits for the 3D Embossing Folder, the Embossing Folder, and the Better Press kits.  This first card even has a clear acetate front!

For this card I used the December Betterpress, I'd Pick You, along with the Embossing Folder Of The Month, Sweet Stems.

First I embossed white cardstock with the Sweet Stems embossing folder and glued it to the front of an A2 card base.

Did you know that the Betterpress plates can also be hot foiled?  They can, and I did!  I cut a piece of a Specialty Glimmer Clear Film Sheet to A2 size.  After my Glimmer Machine warmed up, I placed the December press plate onto the base to warm up.  When it was ready I added a piece of pink Satin Pastel Glimmer Foil.

After running it through my Platinum die cutting machine, I adhered the top edge of the clear foiled piece to my card base with double-sided adhesive. 

Then I noticed that the beautiful embossed layer kind of interfered with seeing the foiling on the acetate.  To fix that I used the press plate as a guide to trace the shape onto white cardstock.  I cut it out with scissors and then adhered it to the embossed layer, behind the foiled heart.

The sentiment is one of three included with the I'd Pick You set.  I chose this one because my husband will think it's pretty funny.  I'll save this card for Valentine's Day!  After I pressed the sentiment plate (it presses all three at once) with black Betterpress ink used the included die to cut them all out.

I added a few gem stickers around the sentiment for just a touch of bling.

My second card is just as pretty and still different from the first!

First I embossed pink cardstock with the Unlock My Heart 3D embossing folder for from December's Club Kit.  I used a darker coordinating ink to add shading around the edges with the blending brush.  I used glue to adhere it to an A2 card base.

Next I used more of the pink Glimmer Foil with my Glimmer System to press the image onto Spellbinders Specialty Glimmer cardstock.  If you ever want the most perfectly foiled image, use this cardstock!!  Again, I used scissors to trim around the heart.  I adhered it to the card with some foam adhesive.

I thought the little pick with hearts (from the Love On The Rocks die set) was absolutely perfect to go with the "I'd pick you again" sentiment. What do you think?

There is still plenty of time for you to check out the Club Kits and find one you would like to join!  The terms are very flexible and you can cancel at any time.  Check it out here.

Thank you so much for stopping by today!  I hope you have a lovely week!

Thanks so very much for using my affiliate links to shop (never any additional cost to you)!
Wednesday, March 9, 2022

Lovely Layers: Tulips Card & Hot Foiling on Ribbon!!

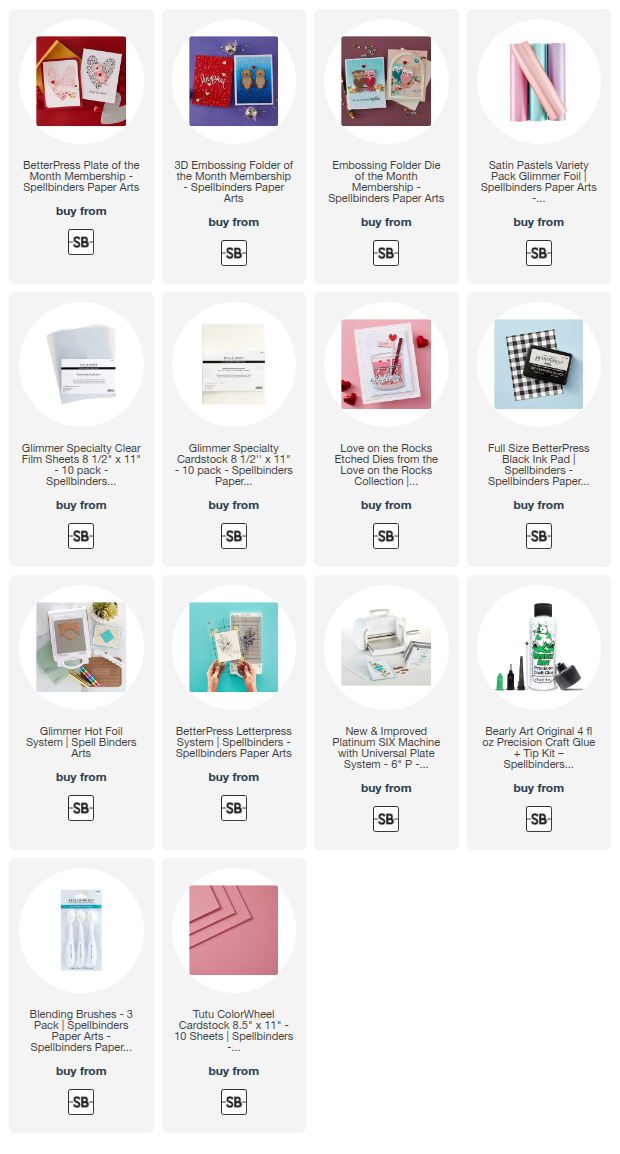
Today I'm sharing my card using the beautiful Lovely Layers: Tulips Honey Cuts by Honey Bee Stamps; and I added a bow that has foiling on it!!  I finally jumped on the hot foiling train and really love it!!  I had been wondering if the Small Card Hot Foil Plates would work on materials other than card stock, and much to my delight, they do! I tried out a few different types of ribbon and found I got the best results on the smooth satin type ribbon. I have some photos below to go along with my tutorial for the process.

First I die cut the Lovely Layers: Tulips from some coral, yellow, and green card stock. I added some shading to the pieces with Distress Oxide ink and a Detail Blender Brush. I used Mustard Seed, Squeezed Lemonade, Mowed Lawn, and Rustic Wilderness. I used a coral ink from my stash for the shading of the coral card stock pieces. I used pieces of foam strips between all of the layers for extra dimension. If you need help with the layers, check out this layering guide:

Before I adhered the leaves and stems to the assembled flowers, I spritzed a bit of white ink spray onto the flowers and set them aside to dry. I die cut some beautiful paper from the Modern Spring paper pad with the largest Sweet Stacks: Rectangles and adhered it to an A2 card base. Then I added a frame I die cut from white card stock where I taped together the two largest A2 Double Stitched Frames dies. I used Bee Creative glue to adhere the frame, tulips, stems and leaves.

As I mentioned above, I used the Small Card Hot Foil plates to experiment foiling on various types of ribbon. I wanted to foil on the bias tape type ribbon as that's what I have most of. The looser weave of that ribbon just didn't produce a very smooth foiling though. The tight weave of this satin ribbon is what has worked best for me. I didn't want to have to guess where to do my foiling, and then tie the bow, so I tied the bow first. These next photos show how I foiled it.

First, with the bow right side up, I laid down the foil (shiny side up) and then placed the sentiments from the Small Card Hot Foil Plates set face down onto the foil. I used small pieces of removable tape to hold it all in place.

You need the tape, because now you will turn it over so the plates are touching the heating plate of your machine. (If the ribbon is on the bottom, the plates will not get hot enough--ask me how I know!! LOL!) Following the directions for your machine, let the plates heat for the required amount of time. Leave the tied portion of the bow off the edge as you see below.

When the heating is finished, add the shims required for your machine, and run it through your die cutting machine with the tie bow hanging out. Like this:

I was SO thrilled that this worked! I think it adds such a unique touch to a project!

I trimmed the edges of the bow into a fishtail shape and adhered it with a glue dot. There are so many sentiments in the Small Card Hot Foil Plates set that provide lots of different options, depending on the width of your ribbon.

Oh, one last thing. In the photos you may have noticed that, yep, I foiled my plates! Evidently, just about everyone does that at some point, but good news: it does not affect the plates at all! You can remove the foil, but I just went ahead and used them and there's no difference in the results!

Foiling on ribbon? Yes, please!! This was lots of fun and has my wheels turning wondering what else can be foiled? I hope you’ve enjoyed my process and have found some inspiration too! Thank you so much for stopping by!

If you choose to use my affiliate links for shopping, thank you! 💗 (always at no extra cost to you)

<!