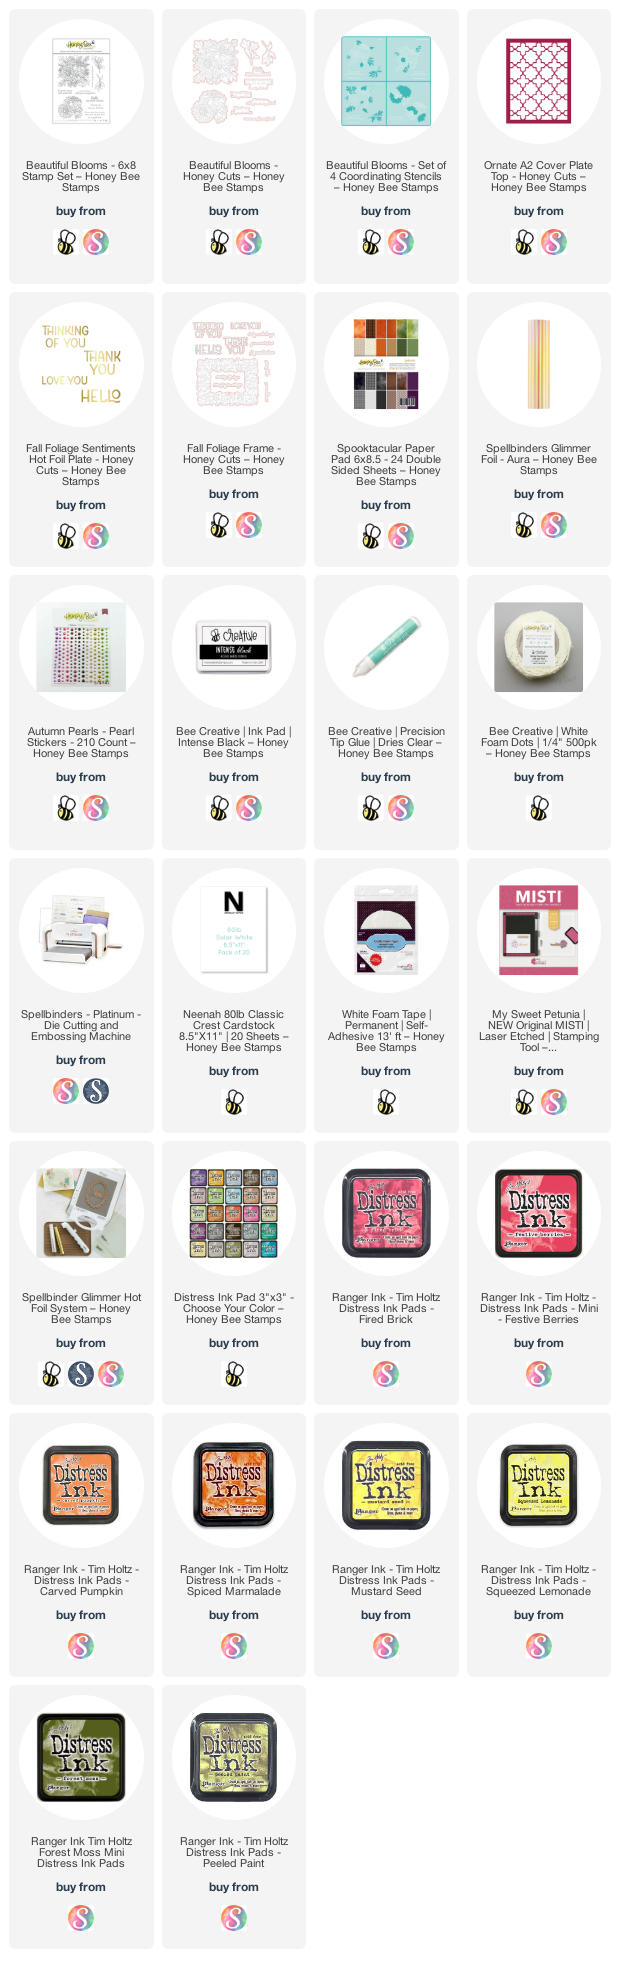
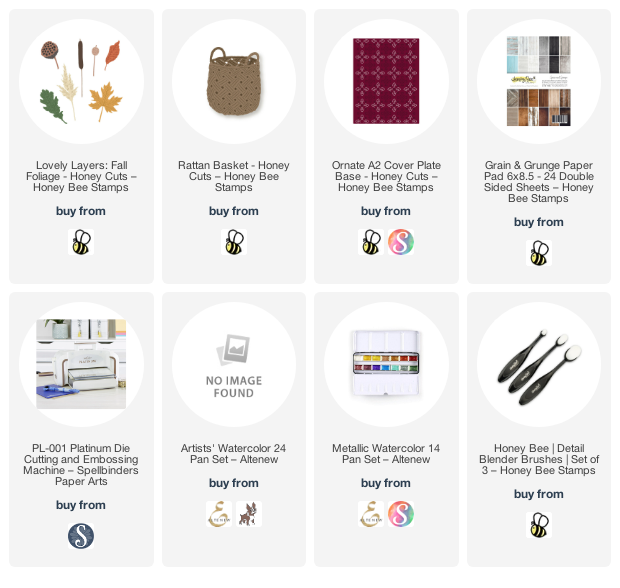
Today I'm sharing a card I made using the Beautiful Blooms stamps, coordinating dies, and stencils that are in the Honey Bee Stamps Spooktacular Release that just became available. I used Distress Inks to color the flower images and a few colored pencils to create depth and shadows on the flowers. As much as I enjoy coloring this type of image with my Copic markers, using the stencils to get the base colors down first is a big time saver!!

First I created the A2 card base and layers by die cutting the top layer of the Ornate A2 Cover Plate die three times. Once from patterned paper in the new 6 x 8-½" Spooktacular paper pad, and twice from 80# Neenah. (NOTE: Be sure to save the negative pieces of the purple paper die cut. I pressed a piece of Press N Seal over it to keep all of the pieces in place.)
Next I adhered all three die cut layers together with Bee Creative glue. Then I glued this piece to my card base. I added dots of glue in the open spaces of the Ornate A2 Cover Plate and added the reserved purple pieces into the opening.

For the florals, I stamped the images from the Beautiful Blooms set with Intense Black ink. It's very important to make sure the ink is dry before you begin the stenciling! I used sponge daubers to add the ink through the stencil layers. There are four stencils in the Beautiful Bloom stencil set and are very easy to line up! I inked on the darker colors of Distress Ink where there would be more shadows. Here is a photo of the Distress Inks I used for your reference:

I did use two lighter color purple inks from my stash since I don't have Milled Lavender Distress Ink (that's on my wish list now). When I finished inking through the stencils, I felt that I wanted the flowers to have a bit more dimension. I accomplished that by choosing a few coordinating colored pencils to add shadows in certain areas. The trick here is to always use a light hand when coloring with the pencils. It doesn't take a lot to achieve the effect! I cut the images out with the coordinating dies.

After I adhered the images to my card with glue and foam tape I trimmed the bits hanging off the card with my scissors. Then I used a sentiment form the Fall Foliage Sentiments hot foil plates and foiled it with Aura Glimmer Foil. I followed the directions for my Glimmer Machine to foil it onto Glimmer Specialty Cardstock. The coordinating dies for these hot foil plates are in the Fall Foliage Frame die set. I used the coordinating die cut out the sentiment. A few foam dots popped it up on the card.
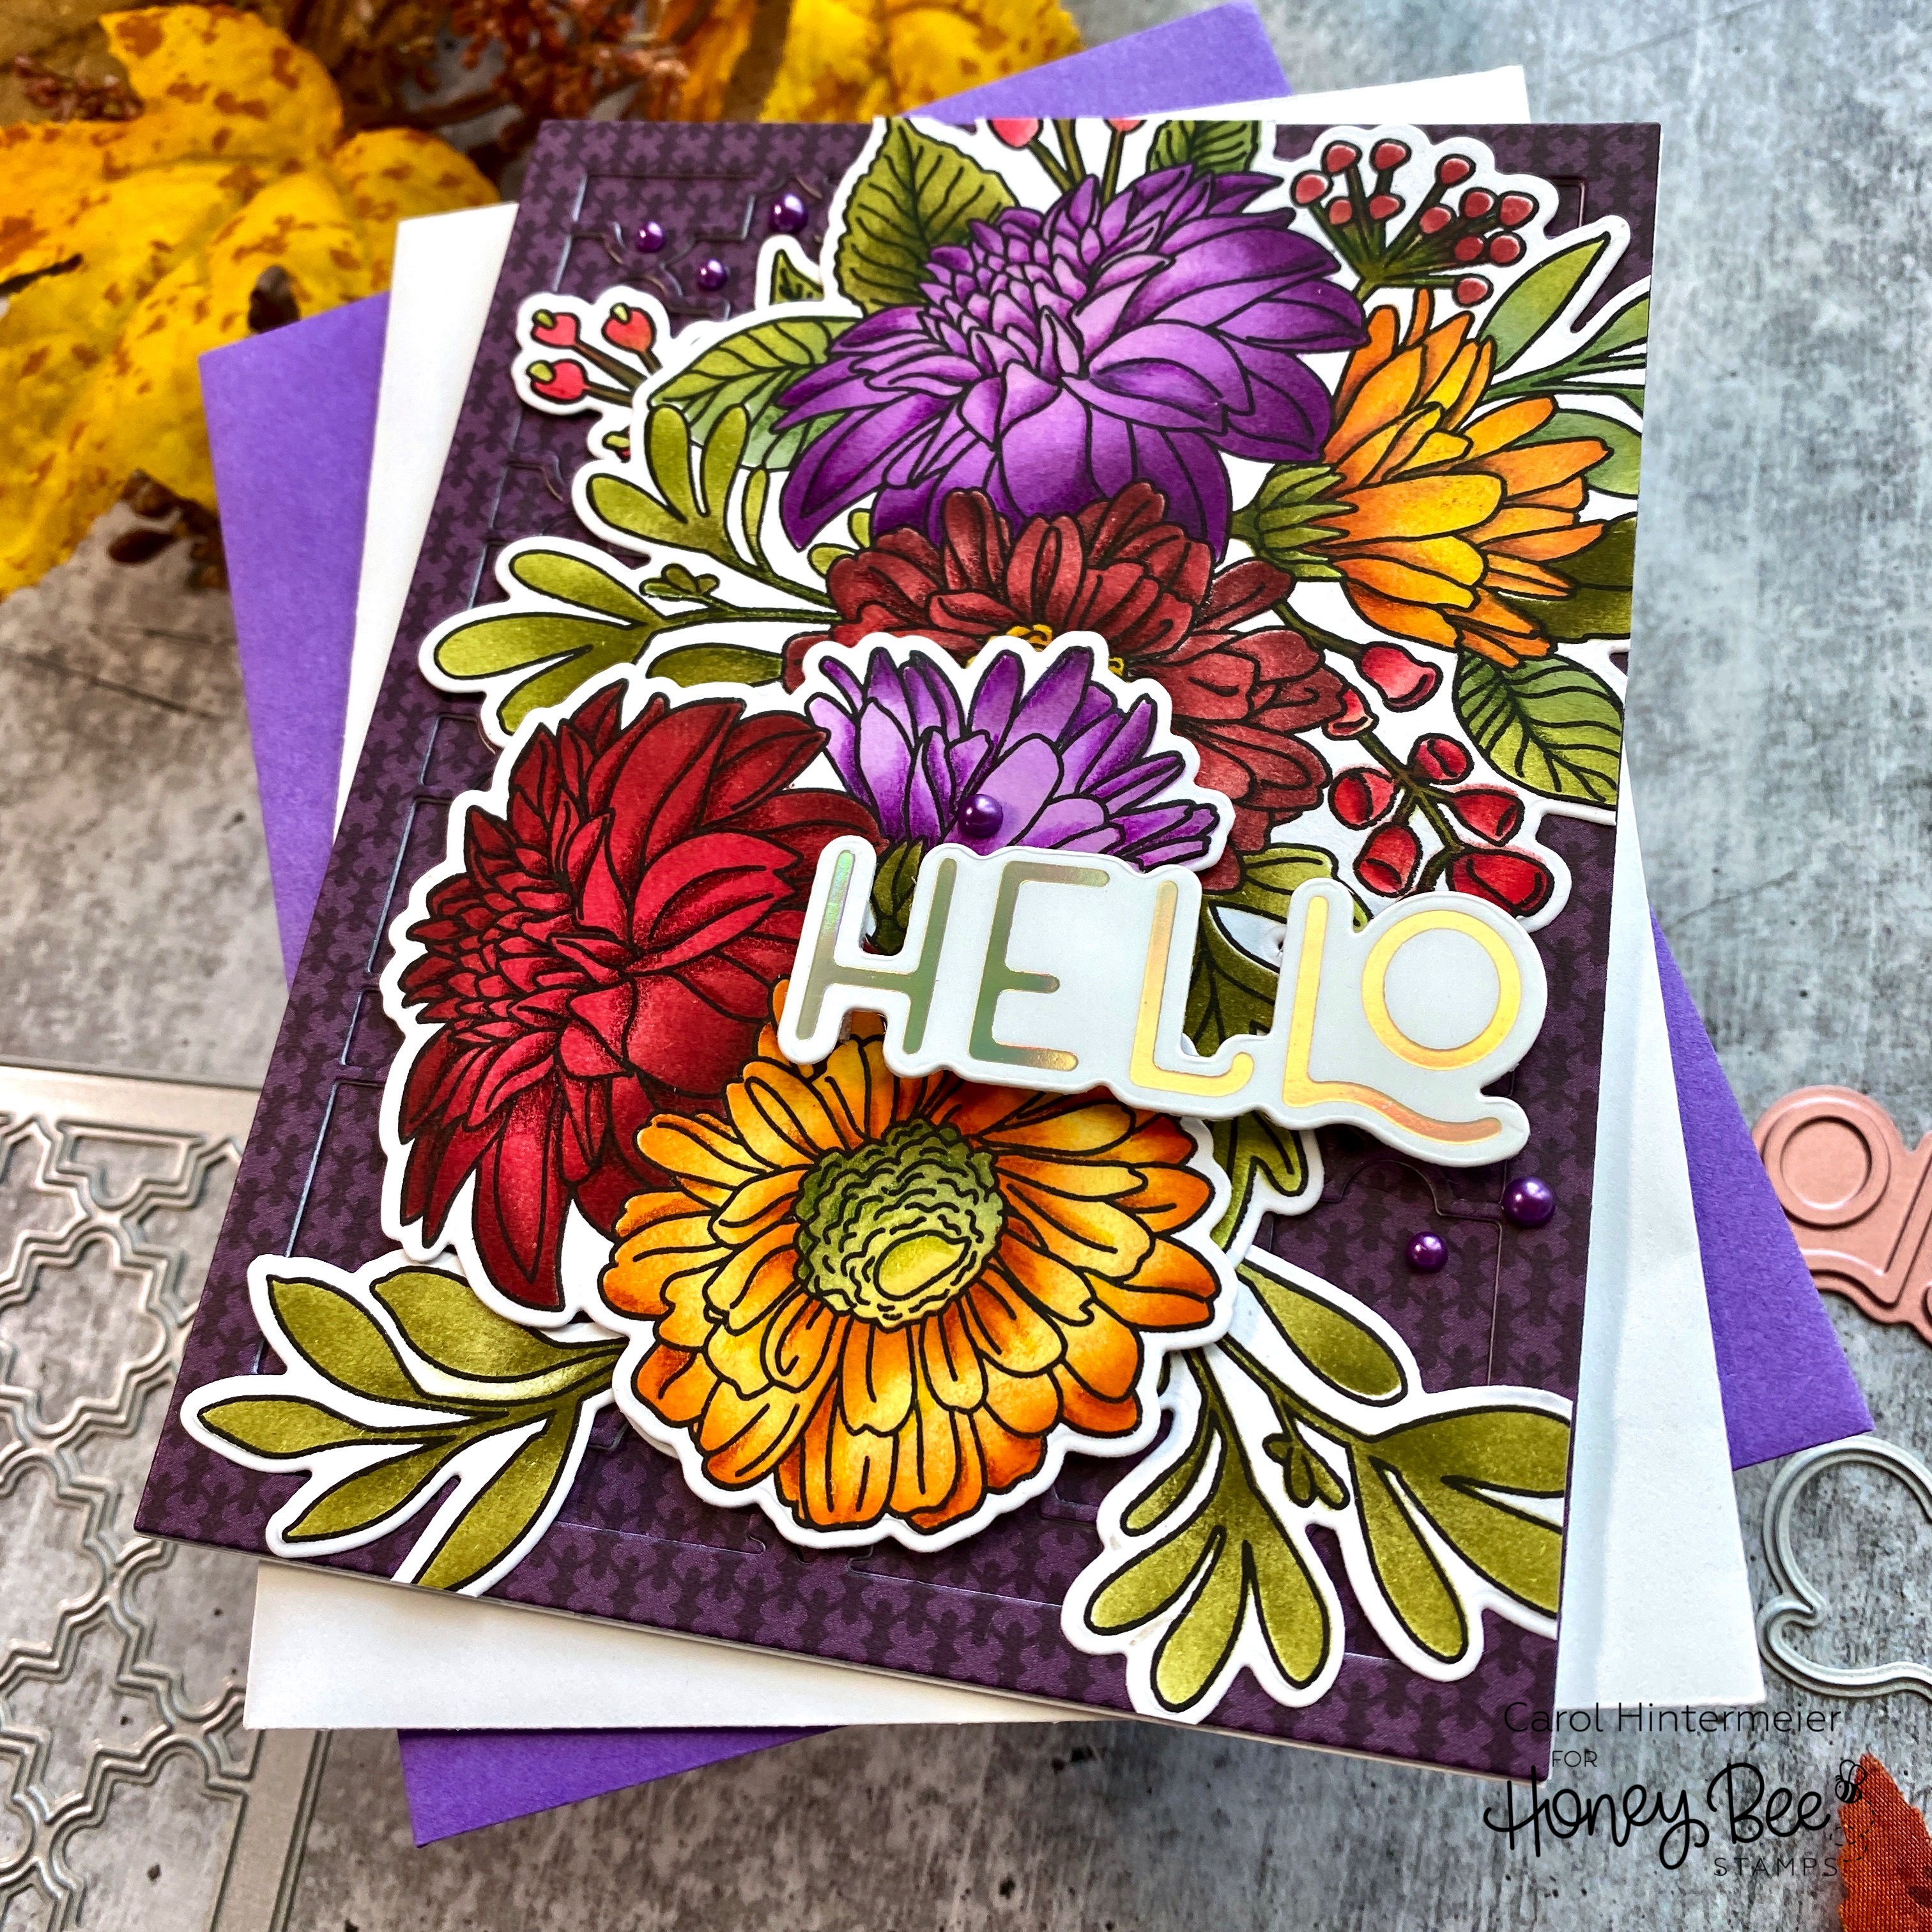
I finished up by adding a bit of pretty bling from the new Autumn Pearl stickers set. I hope I've inspired you with my card today! If you're on Instagram check out the REEL I made showing some of the card making process! Thanks so much for stopping by. Have a wonderful, crafty day!
Thank you so much if you use my affiliate links (never any additional cost to you).