Showing posts with label Garden Lattice Cover Plate. Show all posts

Wednesday, April 12, 2023

Enjoy Your Special Day -- Featuring Daisy Bouquet Coloring Stencils

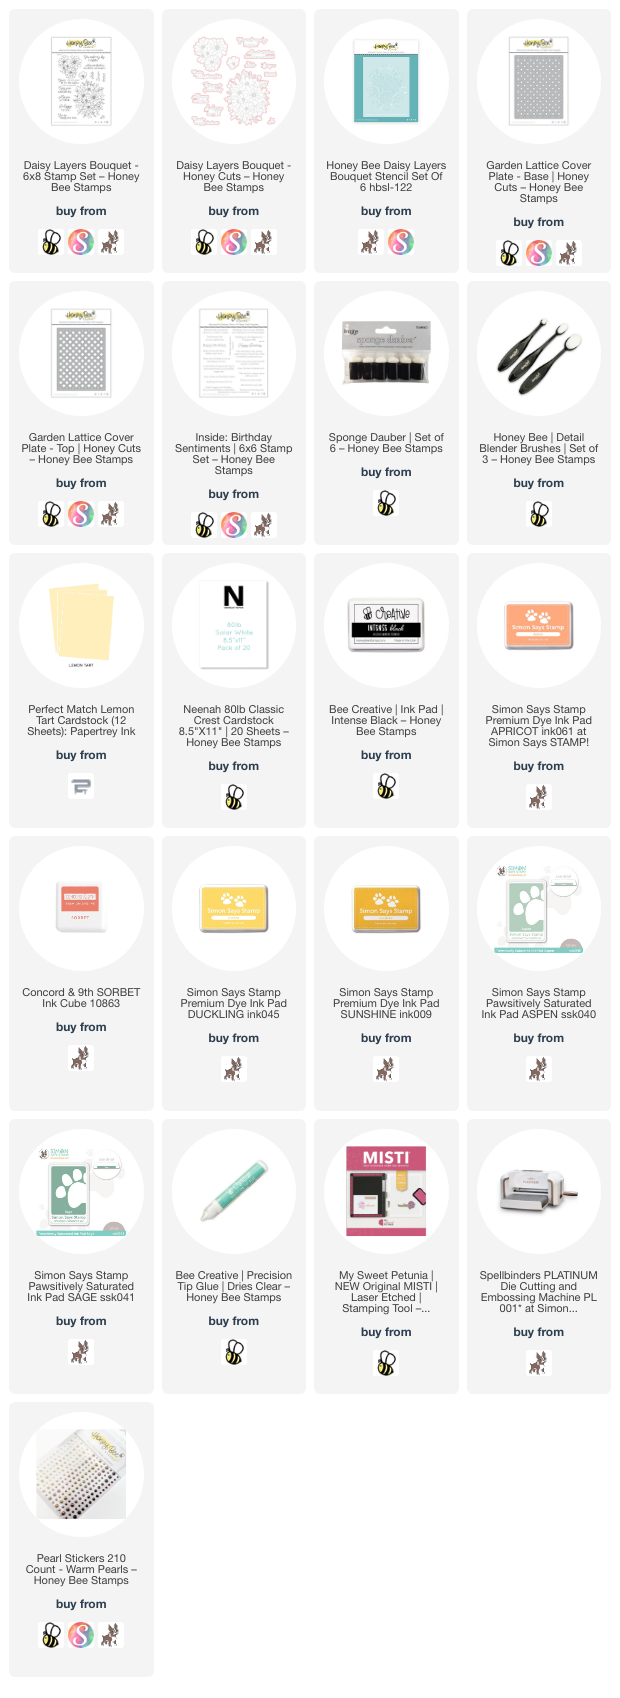
 Hello crafty friends! Today my card features Honey Bee Stamps beautiful Daisy Layers Bouquet along with the coordinating stencils and Honey Cuts! Have you ever been inspired by just a piece of colored cardstock? Well, that's what inspired these colors for this special birthday card!

The soft yellow cardstock that is behind the Garden Lattice cover plate layers was my color inspiration. I die cut both the Garden Lattice top and base from 80# Neenah. After adhering the layers together with Bee Creative glue, I glued them to the A2 sized yellow cardstock. Then I added the layer to a top-folding A2 card base.

Using the cardstock I held it up to various inks in my stash and found a yellow that blended with the cardstock, then a couple of coral oranges, and the sage greens.  Check out the supply list below for the specific inks.  I used the Daisy Layers Bouquet stencil set and sponge daubers to add my chosen ink colors. This is a set of six easy-to-line-up stencils where you can build your flowers and leaves. I used a lighter and darker ink of each color in order to create a bit of depth in the coloring.

When I was finished with all of the stencils, I placed the image in my MISTI. Then I lined up the Daisy Layers Bouquetoutline stamp with the colored image and stamped it with Intense Black ink. When possible, I always stamp the image after using coloring stencils. Maybe it's just me, but I always smear the ink otherwise! It's not hard to line it up and you can always test out your alignment by first stamping onto a piece of acetate that covers the stenciled image.

Next I cut it out with the coordinating Daisy Layers Bouquet Honey Cut. I added foam tape to the back to adhere it to the card base.

Check out this next photo to see the inside of the card! I stamped the smaller image in the Daisy Layers Bouquet stamp set in the yellow ink in two corners. Then I stamped a sentiment from the Inside: Birthday Sentiments set with Intense Black ink. (And yes, in spite of me using my MISTI to stamp the flowers, the card shifted so that flower in the bottom left corner isn't perfect. But it actually doesn't bother me. What do you think?)

For the sentiment on the card front, I chose one of the several in the Daisy Layers Bouquet stamp set. After stamping it with black ink, I cut it out with the coordinating Honey Cut.

I added a few pearls from the Warm Pearls sticker set for a touch of bling!

I really enjoy using stencils to color these images!  It's really fun too!  Have you tried coloring stencils?  I hope you've found my card to be your inspiration to give them a try.  Thank you so much for stopping by.  Have a wonderful day!

P.S.:  Check out my Instagram reel to see some of the card making process!

Thank you so much for using my affiliate links to shop (never any additional cost to you)!

Wednesday, March 30, 2022

Whimsical Spring Flowers Birthday Card

Happy Wednesday crafty friends!  Spring has sprung and I was in the mood for flowers!  I used Honey Bee Stamps Whimsical Spring Flowers Honey Cuts to create my card that's perfect for a very special person's spring birthday!

First I created my card base.  I die cut the Garden Lattice Cover Plate Top and Base from 80# Neenah and adhered them together and then to an A2 card base with Bee Creative glue.

Next, I took a piece of 80# Neenah and inked it up with Detail Blender brushes and Dried Marigold, Saltwater Taffy, and Abandoned Coral Distress Oxide inks.  I spritzed on some water drops, let it dry, then added white paint splatters.  While that was drying, I inked up another card panel with Rustic Wilderness, Mowed Lawn and Bundled Sage Distress Oxides.

I used all of the dies in the Whimsical Spring Flowers set and die cut my flowers and leaves.  There is a great guide of layering ideas for the flowers on Honey Bee's site HERE.  I adhered the flower layers together with Bee Creative glue.  Then I added a bit of shape to the flowers and leaves with the stylus tool from a flower shaping kit.

I played around for a bit with the arrangement of my flowers and leaves.  When I was happy with it, I took a photo to reference while I adhered them in place.  I used foam dots on some of the flowers and Bee Creative glue on the other flowers and the leaves.

Next I stamped the sentiment from the Miss You Big Time set with clear embossing ink.  I added black embossing powder and heat set it.  I die cut the sentiment with the coordinating Honey Cut.  Then I die cut two more from white cardstock and adhered them together.  I added it to the card with foam dots and some glue.

Birthday cards must have sparkle, at least I think so!  Haha!  So I added sparkle to the flowers and around the sentiment with gems from the Hugs and Kisses Gem Sticker set.

Thank you so much for stopping by--I appreciate it so very much!  Have a wonderful, crafty day!

(Affiliate links, no additional cost to you, ever.  Thank you for shopping with my links.)

Wednesday, July 29, 2020

Just A Tini Note Birthday Card with A Window | Honey Bee Stamps

Hi my friends!  Today I have a birthday card using several of Honey Bee Stamps' new stamps and dies.  I love Honey Bee's cover plate dies and the Garden Lattice Cover Plates are so beautiful!!  This sentiment from Sip Sip Hooray is so funny!  Keep reading to see the inside of card to see what I mean!


The most complicated part of this card is creating the card base, so I have the steps and a couple of photos to explain how to make this.  (All supply links are below.)
  • Die cut some 80# Neenah Solar White card stock with the Garden Lattice Base and Top cover plates.
  • Next I used a nesting circle die from my stash to die cut the circles in the Garden Lattice cover plate pieces.
  • I die cut the top layer first, then positioned this over the base layer and drew a pencil line on the base layer.  Die cut the circle from the base and repeat for your A2 top-folding card base.
  • Adhere the Garden Lattices to the card base, lining up the circle openings.
  • Next I die cut white card stock with the Circle Thin Frames die.  I picked two circles to fit over the openings of the card front and adhered them together with 1/8" Scor-Tape and attach to the card front.
  • I used a scrap piece of card stock that just fit the circles of the Circle Thin Frames that I chose and die cut those again.  Adhere together in the same way and use on the inside of the card front for a finished look.

Next I worked on the layer inside the card.
  • I didn't, but you could go ahead and die cut some card stock with the largest A2 Double Stitched Frames die.  (I just didn't think about it at the time. Haha!)
  • Now for the stenciling.  I used the Circle Spotlight stencils and positioned one with the card stock in my MISTI.
  • Next I created some masks with some full stick Post-It Notes so I could add the sand layer.
  • First I used a Blending Brush to add some Antique Linen Distress Oxide.
  • Now position the Sandy Shores background stamp and stamp it onto the sandy layer with Brushed Courduroy Distress Oxide.
  • Now I repositioned the mask from the sand to cover it.  I used Mermaid Lagoon and the Ocean Waves stencil to add the waves.  (Tip:  When you get this stencil, use your scissors to snip the various waves apart.)
  • Next I covered the waves with a mask and added the sun and sky.  I used Squeezed Lemonade, Mustard Seed, and Tumbled Glass Distress Oxides.

Now for the other fun elements!
  • I die cut the florals and greenery with the Topical Bouquets dies from colored card stock.  I added shading to some pieces with Distress Oxide ink and a couple of Copic markers.
  • Stamp and die cut the martini glass in the Raise A Glass stamp set and coordinating dies twice.  I used the solid stamp to color in the glasses.  I added some clear sparkle pen to add a bit of bling.
  • Once I had these finished I adhered them to the card front and inside.
  • I stamped the sentiments from the Sip Sip Hooray stamp set and die cut them with the coordinating dies.  I popped up the one on the card front with foam and adhered the inside sentiment with glue.
  • I LOVE these little lemons from the Lemon Drop sequin mix and just had to add them to my martinis!

Now I want to buy the ingredients for some Lemon Drop martinis!  Haha!  I sure hope that my instructions help explain how to make a card like this!  If you have any questions, you can always use the "contact me" form in the left column.  Thank you so much for stopping by!!


Supplies:
Garden Lattice cover plate: Top & Base
Distress Oxides:  Antique Linen, Brushed Corduroy, Squeezed Lemonade, Mustard Seed, Mermaid Lagoon, Tumbled Glass