Showing posts with label Summer Picnic paper pad. Show all posts

Wednesday, August 19, 2026

Hello, Sweet Friend -- Honey Bee Stamps

Hello, crafty friends!   Today I'm sharing my card that features the Picked With Love stampsHoney Cuts, and coordinating stencils.  I love strawberry lemonade drinks with crushed ice and that was my inspiration for my card.  It is incredibly hot here in Texas (106ยบ today) and I wish I had a nice delicious and cold one right now!

First I started with the Picked With Love stencil set.  I chose a few red ink shades, and some greens and yellow inks.  This set is a seven-stencil set and is filled with awesome details to add to your images!

I used ink blending brushes to add my colors through each of the stencils.  I decided to also make a few of the small blueberry clusters.  I was very happy at how I achieved the bluish/purple color for the berries.  First I blended a fairly dark blue for the berries.  Before I removed that stencil, I also blended a dark reddish purple over it.  Perfect color!  I used the dark purple ink to finish the two other layers of the berries.

Before I die cut any of the images, I needed to stamp the Picked With Love stamp for each one.  Using my MISTI, I put the stamps over each stenciled image, carefully lining it up.  I almost always stencil first, then stamp the images.  You can double check your stamp alignment by placing acetate over the stenciled piece.  I inked up my stamps with Intense Black ink and stamped them onto the acetate.  If you are satisfied with the alignment, remove the acetate and stamp again onto the stenciled panel.

I cut the images out with the coordinating Picked With Love Honey Cuts.  I set these aside to create my card base and layers.

I started with a white cardstock A2 card base.  Then I chose paper from the Summer Picnic paper pad, trimmed it to 4" x 5-¼".  Before I used glue to adhere it to the card, I wrapped a piece of yellow gingham ribbon around the panel and tied it into a bow.

Next I die cut white cardstock with the largest Stacking Art Deco Labels die, and embossed it with the Wood Planks embossing folder.

The white-cardstock die-cut heart is from the Lace Heart Layering Frames.  I used Bee Creative Foam Tape to adhere it and the remaining images to the card.

I stamped a sentiment from the Picked With Love stamp set in black pigment ink. After I cut it out with the coordinating Picked With Love die, I glued it to the heart.

I love this fun summery and so very cheerful card!  Now I need to go get me some strawberry lemonade!!  LOL!

Thank you so much for stopping by today!  If you are also in this awful heat wave, I hope you stay cool, stay inside, and craft your heart out!

I so appreciate that you use my affiliate links to shop! (Never any additional cost to you.)  It helps me with the expenses of posting my creative content, thank you!

Wednesday, July 29, 2026

Sweet Summer Memories -- Honey Bee Stamps

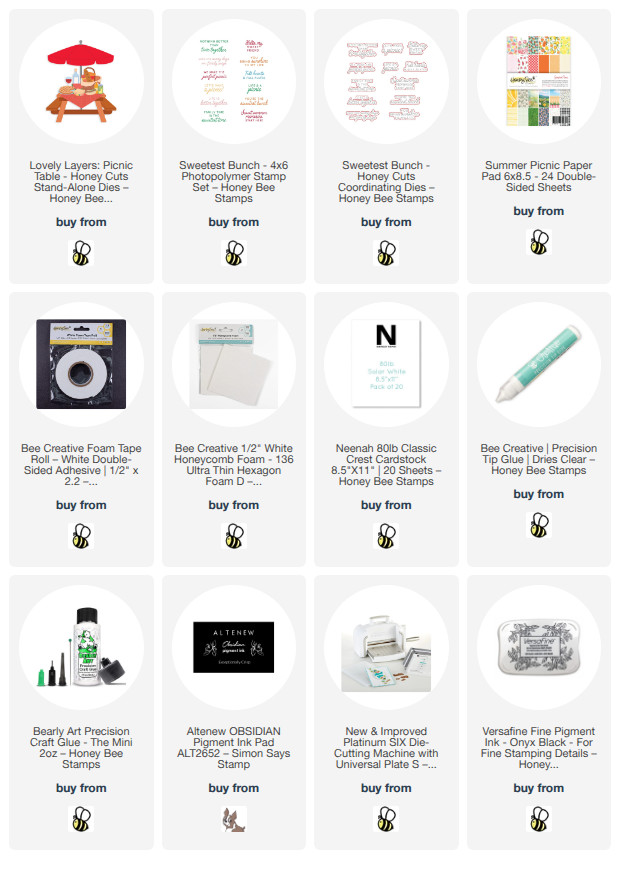
Hello, crafty friends!!  Today I'm sharing this fun card that features Honey Bee Stamps' wonderful Lovely Layers: Picnic Table die set and some pretty papers from the Summer Picnic paper pad.

I started out by die cutting the pieces I chose from the Lovely Layers: Picnic Table dies.  I cut the pieces from brown cardstock (for the table) and white cardstock for the others.  I used my Copic markers to color the white cardstock and to add shading to the brown cardstock for the picnic table.

Next I chose two more papers from the Summer Picnic paper pad and cut out the tablecloth and the umbrella.  I cut the umbrella once more from white cardstock.  Just like I did on my previous blog post, I cut apart the patterned paper umbrella with my scissors and glued three of the patterned paper pieces to the white umbrella.  Paper piecing is so fun!

For the A2 card base, I cut one of the Summer Picnic papers into 4-¼" x 5-½".  It's really nice to be able to get two card layers from one sheet of paper!  I used Bee Creative Glue to adhere this to my A2 card base.

Next I played around arranging my Lovely Layers: Picnic Table pieces.  When I found an arrangement I like, I used glue and foam adhesive to adhere the pieces to the card base.

The sentiment is from the Sweetest Bunch stamp set.  I stamped it with black pigment ink and cut it out with the coordinating Sweetest Bunch die.

This was such a fun summer card to make, and I hope you are having a fantastic summer so far!  Thanks so much for stopping by!

Thank you, always, for using my affiliate links to shop (never any additional cost to you)!

Wednesday, July 1, 2026

Sneak Peek of the Perfect Picnic Release by Honey Bee Stamps

Hello crafty friends, and happy July 1!  Today I'm super excited to be sharing with you a sneak peek of Honey Bee Stamps' available now, Perfect Picnic release!  The Perfect Picnic products will be available on July 6, after the end of the release party on Honey Bee's YouTube channel.  This release is filled with all things yummy for summer, plus a gorgeous floral stamp set and a summer fruit stamp set.  Stayed tuned--I think you're going to love it!!

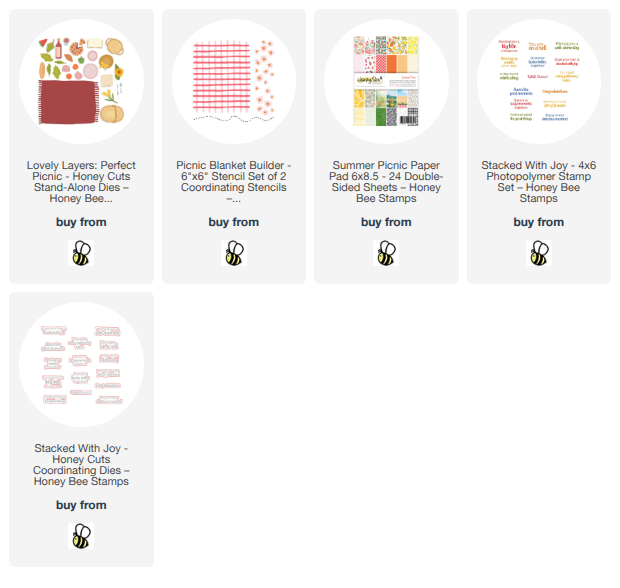
These are the new products I've used on my card:

As you can see from my photo, I've used some paper from the new Summer Picnic paper pad to add a grass layer underneath my picnic scene.  Trust me, you will love the gorgeous papers in this pad!  I will certainly be ordering another paper pad for my stash!!

The Lovely Layers: Perfect Picnic Honey Cuts not only has a die for the blanket, but also dies for all of the yummy picnic food you see + more!  I started out by die cutting my chosen pieces from white cardstock.

Next I used the Picnic Blanket Builder stencils and used blender brushes to ink on Spun Sugar and Kitsch Flamingo Distress Oxide inks.

I also used the flower section of the Picnic Blanket Builder stencils to add flowers to the napkin die cut layers.

For all of the other fun pieces I used my Copic markers to color them.  It was fun choosing what colors to used for the breads and the basket!  Of course, you could also die cut your pieces from colored cardstock and/or use your ink blending brushes too.

For the wine bottle label and the book pages, I really wanted to have a hint of words.  I thought about handwriting on them, but, I truly didn't think I'd be pleased with that!  Can you relate?  I searched through all of my Honey Bee sets and found the perfect stamp!  It's in the Postmarked: Holiday stamp set (retiring and at a great price!) to lightly stamp a hint of words with Hickory Smoke Distress ink.  I really like how it turned out!

After I assembled the layers with Bee Creative glue (there's an awesome layering guide, of course) I adhered a few things to the basket and plate with foam adhesive and/or some glue.

I added some awesome patterned paper from the Summer Picnic paper pad to my A2 card base.

Next I glued the Picnic Blanket to the card.  Then I used my scissors to trim off the parts hanging beyond the edges of the card.  Then I used ½" x ¼" Honeycomb Foam pieces to adhere the other items to the blanket.

The sentiments are from the Stacked With Joy stamp set.  After I stamped them with black pigment ink, I cut them out with the coordinating Stacked With Joy Honey Cuts.

This was SUPER fun to make and it makes me want to go on a picnic.  However, it is SO hot where I am and it's not so fun to be outdoors, haha!  I'll just stay inside and make more fun picnic cards with the new Perfect Picnic release!

Keep your eye out for more sneak peeks this week!  If you'd like to see some of the process of me making this card, please join me on my Instagram where, later today, I'll have a fun reel for you.

Thanks so much for stopping by!  Have a wonderful and crafty day!

Here's all the links to the new products.  Thank you so much for using my affiliate links to shop!