Showing posts with label friendship cards. Show all posts

Wednesday, July 15, 2026

Hello My Sweet Friend, You Bring Sunshine To My Life

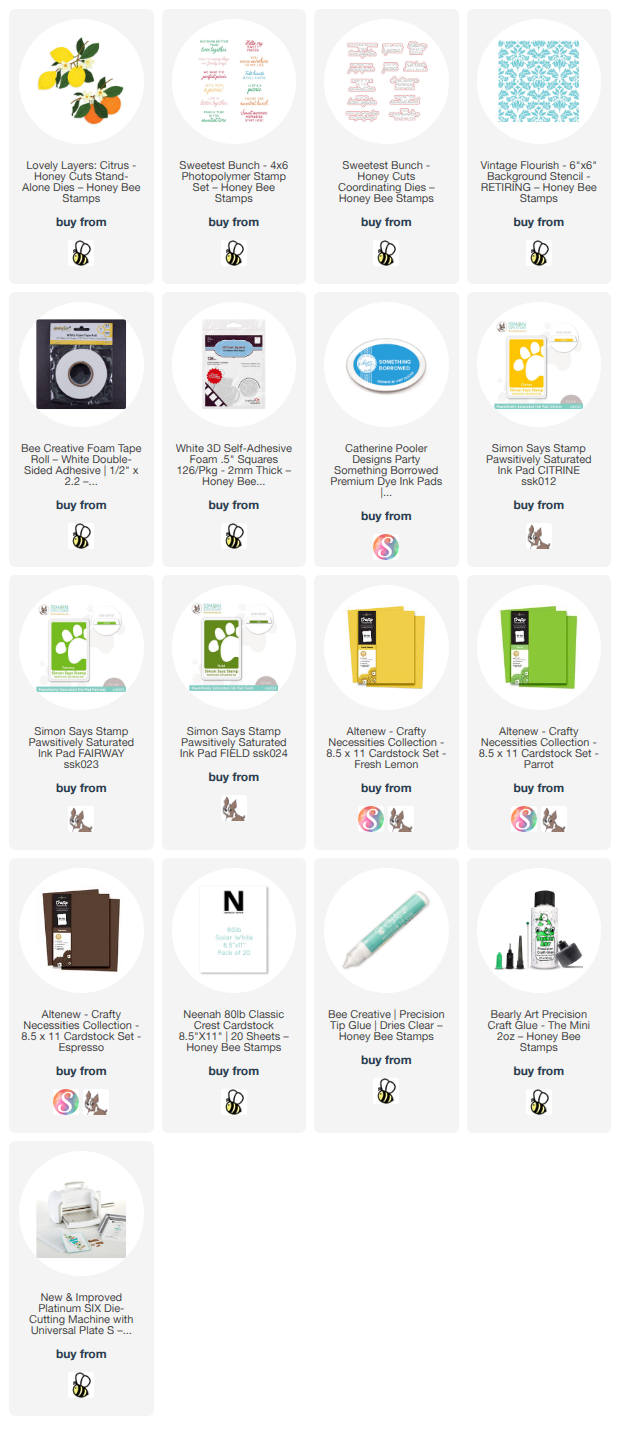
Hello, crafty friends!  Today I'm sharing this sweet card that features Honey Bee Stamps new Lovely Layers: Citrus!  I love just about everything lemon flavored and also the color yellow, so I paired the yellow with two more of my favorite colors: blue and green!!

First I cut out lemons from the Lovely Layers: Citrus dies from some bright lemony yellow cardstock.  I chose a pretty green for the leaves and stems and brown cardstock for the branch.  The flowers are from white cardstock.

I cut two of the Lovely Layers: Citrus branches, just mainly for more dimension, from brown cardstock and glued the two layers together.

Next I used blending brushes to add coordinating green and yellow inks to add some shading to the lemons and leaves.  I used the leftover ink of the yellow brush to color the flower centers. Then I used Bee Creative glue to adhere the lemons, leaves, and flowers to the Lovely Layers: Citrus branch.

For the background, I used one of my favorite stencils, the Vintage Flourish stencil!  I noticed that this stencil is in the retiring section (sad face, haha) and is at a reduced price!  I used a beautiful and vibrant blue to color through the stencil with a blending brush onto white cardstock.

I trimmed the stenciled panel to 4-¼" x 5-½" and glued it to an A2 card base.  To adhere the Lovely Layers: Citrus lemon branch to my card I used various foam adhesives including Bee Creative Foam tapeBee Creative Honeycomb Foam, and foam squares. I used different adhesives because it just depended on where I was putting the adhesive and what size I needed.  Do you use different adhesives too?

Next I stamped two of the sentiments from the Sweetest Bunch stamp set with black pigment ink.  Then I cut out both sentiments with the coordinating Sweetest Bunch Honey Cuts.  I added most flower and leaf die cuts (Lovely Layers: Citrus) to tuck under the left edge of one sentiment.  Both sentiments are popped up with foam squares.

I love the Amalfi Coast vibes I achieved with the beautiful blue Vintage Flourish stenciled background and the Citruslemons!  

I hope you've enjoyed my bright and summer card using the beautiful Lovely Layers: Citrus set!  I really appreciate you stopping by!  See you back here next week with more inspiration from the Perfect Picnic release!

I so appreciate your using my affiliate links to shop (never any additional cost to you)!
Wednesday, June 24, 2026

You're So Tweet Friend!

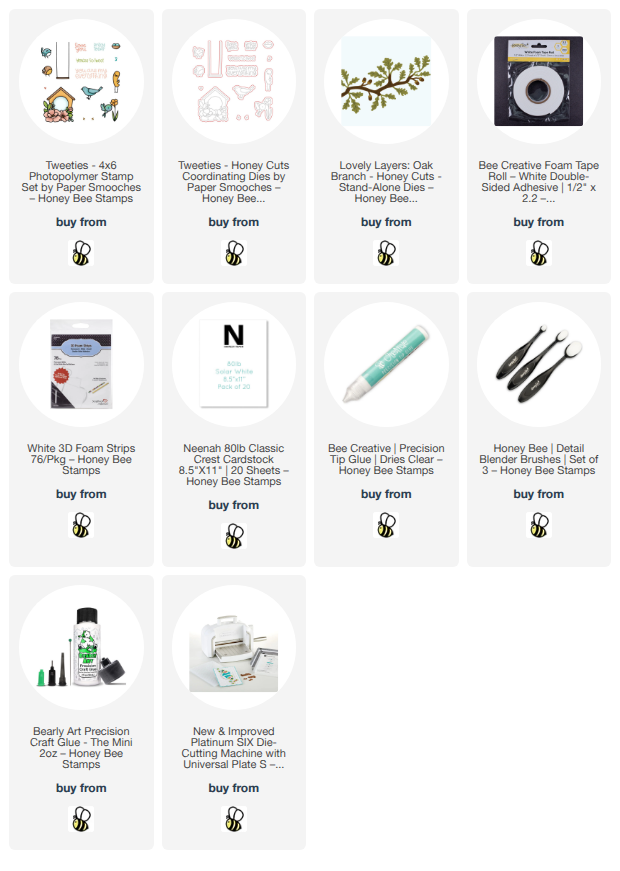
Happy Wednesday, friends!!  Today I'm sharing this sweet card that features Honey Bee Stamps adorable Tweeties stamp set and coordinating Tweeties dies.  I've nestled the bird house in this set into branches from the Lovely Layers: Oak Branch dies.  Read on for the details!

First I stamped the images from the Tweeties stamp set onto white cardstock with Intense black ink, an alcohol marker safe ink.  After I colored them with my Copic markers I cut them out with the coordinating Tweeties dies.

I used a white gel pen to add a few white highlights to the birds and birdhouse.

Next I die cut white cardstock with the dies in the Lovely Layers: Oak Branch set.  I cut each piece twice.  Then I colored them with some Copic markers.  I used Bee Creative Glue to adhere the layers together.

Before I adhered the images to my A2 card base I used a couple of blending brushes to add blue ink to the card.  I like to leave some open white spaces when I do this so it will have the appearance of light clouds in the sky.  I added just a bit of green ink to the bottom of the card.  There was enough green ink on my blending brush that I didn't even need to pull out an ink pad!

I used foam tape and glue to adhere all of the images to the card.  I did not add glue to the leaves of the Oak Branch with the bird house.  I like the easy dimension you get by not gluing everything down!

I stamped the sentiment from the Tweeties stamp set with black pigment ink.  After I cut it out with the coordinating die, I popped it up with a foam strip.

This card is so adorable and totally perfect to let someone know how sweet you think they are!  Bonus:  it was super easy to make!!

I sure do appreciate you stopping by!  I hope you have a wonderful and crafty day!

Thank you so much for using my affiliate links to shop (never any additional cost to you)!

Friday, June 19, 2026

You're Always In Style -- Alex Syberia Designs

Hey, friends!  Did you hear??  Earlier this month the announcement was made that I'm now on the amazing Alex Syberia Designs design team!  I'm so thrilled!  She is an individual owner of this company and has the most gorgeous designs!  Please check out her fabulous designs here.

I'll be sharing reels over on my Instagram a few times a month, and when I can, I'll have a corresponding blog post, like today!

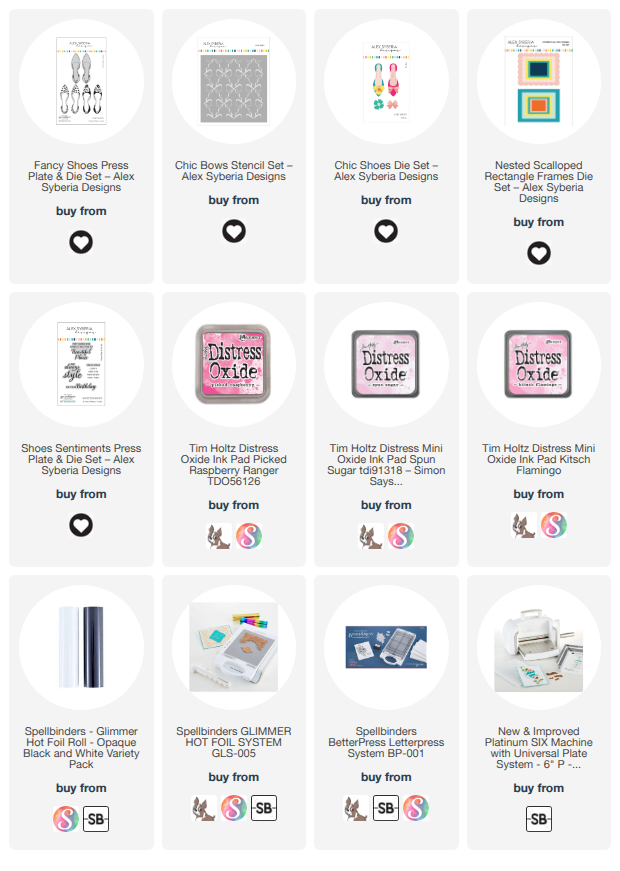
This sweet card features these awesome products:

I used Distress Oxide inks with the Chic Bows stencils and blending brushes to create a pretty pink ombre effect.

After I trimmed the panel to 4" x 5-¼" I glued it to an A2 card base.

Next I used some opaque black foil and the Fancy Shoes Press Plates.  These can be used with both the BetterPress Letterpress System and the Glimmer Hot Foil System (or other similar foiling machines).

I added pretty stripes and dark pink color to the shoes' insides with two Copic markers.  Then I cut them out with the included dies.

The cute bows are from the Chic Shoes Die Set.  I blended Picked Raspberry and Spun Sugar Distress Oxide inks onto the pieces and then glued the layers together.

The shoes are adhered to a die cut vellum Nested Scallop Frames piece with thin foam squares.  I added more thin foam squares onto the vellum, behind the shoes to adhere the piece to the card.

I hot foiled the sentiments from the Shoes Sentiments Press Plate & Die Set, cut them out with the coordinating dies, and then popped the sentiments up with foam adhesive.

Thanks so much for stopping by today!  I hope you have a fabulous weekend and lots of crafty time too!

Thank you for using my affiliate links to shop (never any additional cost to you)!

Friday, November 7, 2025

Life Is Better With Girlfriends

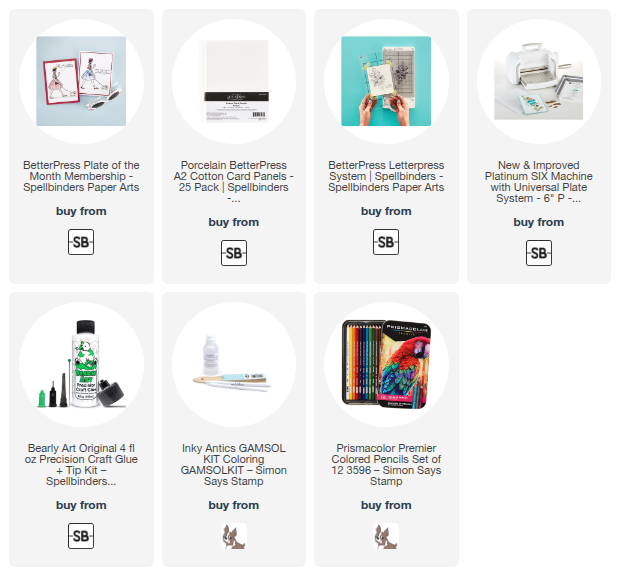
Hello crafty friends!  Today I'm sharing my card that features Spellbinders' November BetterPress Club Kit called Paws In The City.  I love this sweet and simple image!  This set also includes five different sentiments to choose from.

I inked up the Paws In The City press plate with BetterPress black ink onto Porcelain cotton cardstock.  After I pressed the image onto the cardstock, I colored the image with my Prismacolor pencils.  I used Gamsol and paper stumps to blend and smooth out the pencil coloring.  I haven't used this technique in a LONG time!  I really like the look that can be achieved!

There are five sentiments included with November's BetterPress of the Month.  I chose one to press onto Porcelain cardstock with black ink.  I love that there are coordinating dies included in the set to cut out each sentiment!

I trimmed the pressed image panel to 3-¾" x 4-¾" and added pink and black matting layers behind it.  The sentiment is popped up with foam strips.

This card is so easy and quick to make while still being a very special card to send to a friend!  I hope you've been inspired to check out the Club Kits!  Thank you for stopping by!  Have a wonderful and crafty Friday!

Thank you for choosing to use my affiliate links to shop (never any additional cost to you)!