Showing posts with label Lovely Layers: Oak Branch. Show all posts

Wednesday, June 24, 2026

You're So Tweet Friend!

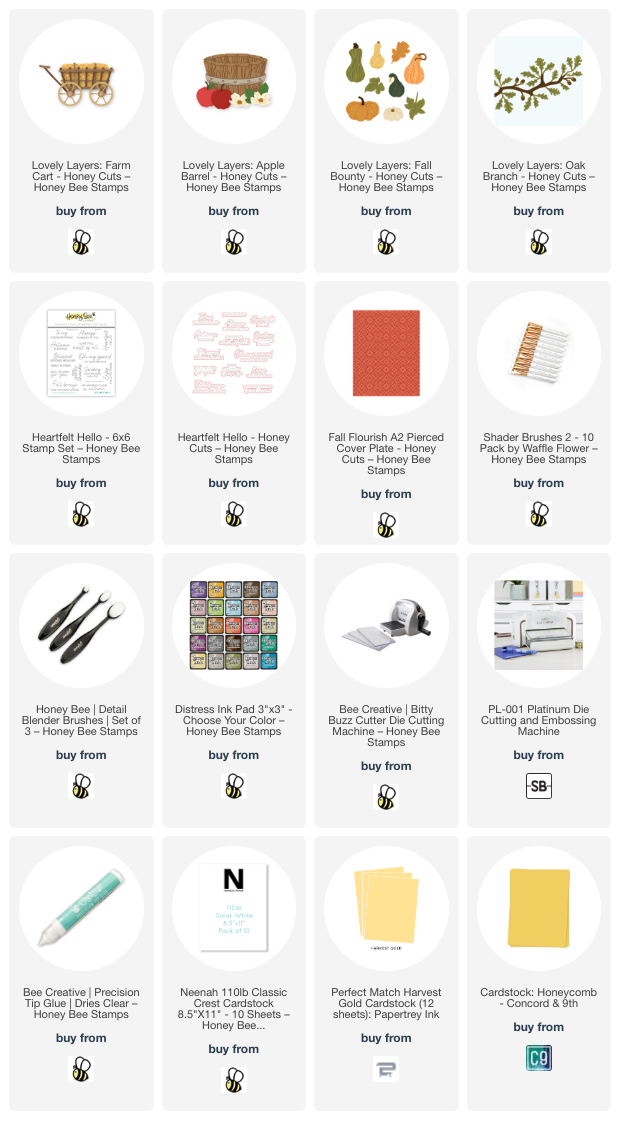
Happy Wednesday, friends!!  Today I'm sharing this sweet card that features Honey Bee Stamps adorable Tweeties stamp set and coordinating Tweeties dies.  I've nestled the bird house in this set into branches from the Lovely Layers: Oak Branch dies.  Read on for the details!

First I stamped the images from the Tweeties stamp set onto white cardstock with Intense black ink, an alcohol marker safe ink.  After I colored them with my Copic markers I cut them out with the coordinating Tweeties dies.

I used a white gel pen to add a few white highlights to the birds and birdhouse.

Next I die cut white cardstock with the dies in the Lovely Layers: Oak Branch set.  I cut each piece twice.  Then I colored them with some Copic markers.  I used Bee Creative Glue to adhere the layers together.

Before I adhered the images to my A2 card base I used a couple of blending brushes to add blue ink to the card.  I like to leave some open white spaces when I do this so it will have the appearance of light clouds in the sky.  I added just a bit of green ink to the bottom of the card.  There was enough green ink on my blending brush that I didn't even need to pull out an ink pad!

I used foam tape and glue to adhere all of the images to the card.  I did not add glue to the leaves of the Oak Branch with the bird house.  I like the easy dimension you get by not gluing everything down!

I stamped the sentiment from the Tweeties stamp set with black pigment ink.  After I cut it out with the coordinating die, I popped it up with a foam strip.

This card is so adorable and totally perfect to let someone know how sweet you think they are!  Bonus:  it was super easy to make!!

I sure do appreciate you stopping by!  I hope you have a wonderful and crafty day!

Thank you so much for using my affiliate links to shop (never any additional cost to you)!
Wednesday, September 20, 2023

To My Cherished Friend -- An Autumn Card Featuring Lovely Layers Dies

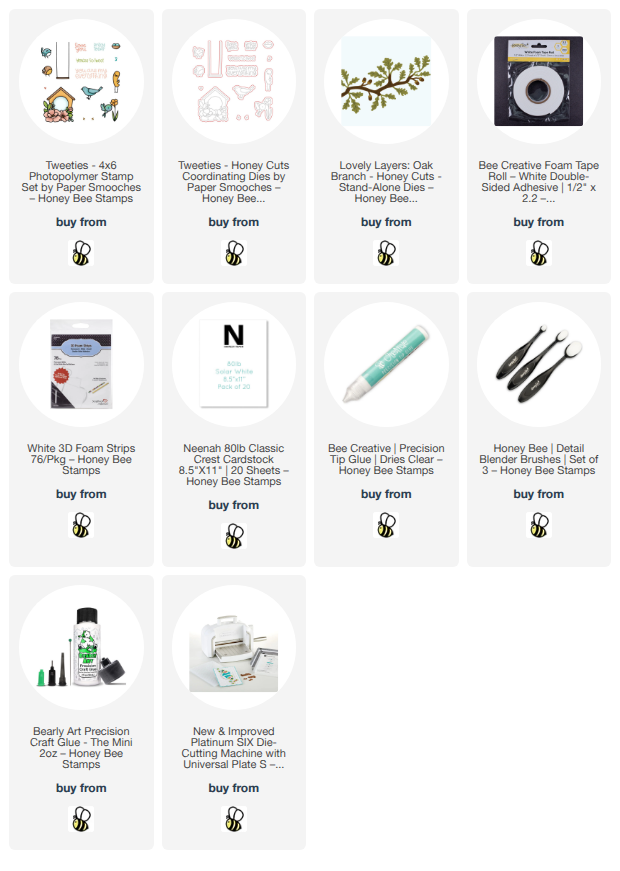
Happy Wednesday my friends! Today I'm sharing an autumn card that features several of the newest Lovely Layers sets from Honey Bee Stamps' Heartfelt Harvest release! Although we do not have the colorful autumn where I live, I still love the colors of leaves changing!

First I die cut the hay bale pieces from the Lovely Layers: Farm Cart from two shades of yellow cardstock and the wire from white (colored with Lost Shadow and Pumice Stone Distress inks). Next I die cut these Lovely Layers from white cardstock: I used the Lovely Layers: Apple BarrelLovely Layers: Fall Bounty, and Lovely Layers: Oak Branch. As you can see from my photo, I had pieces I did not use on the card, but will save for another project. I like to have lots of pieces to chose from when designing the layout.

I used ink blending brushes and a lot of Distress Inks to color the images.  I tried these flat blending brushes for the first time too.  I have to say that these brushes make adding shading to the edges quite easy! I hope you will find this list of the Distress Inks I used for each of the images helpful!

  • apples and leaves: Candied Apple, Fired Brick, Mowed Lawn
  • apple barrel: Antique Linen, Brushed Corduroy, Fired Brick, Lost Shadow, Pumice Stone
  • large pumpkin: Scattered Straw, and a touch of Carved Pumpkin on the edges
  • small pumpkin: a very light beige ink from my stash
  • autumn leaves: Aged Mahogany, Scattered Straw, Mowed Lawn
  • gourds: Shabby Shutters, Peeled Paint, Crackling Campfire, Dried Marigold
  • oak branch: Gathered Twigs, Ground Espresso and same colors as used on the leaves above

I used glue to assemble the hay baleOak Branch and Apple Barrel with the apples inside. Next I used the Fall Flourish Cover Plate to create the background layer and added it to an A2 card base.

After I glued the Oak Branch to the card, I used my scissors to clip off the overhanging bit. Then I played around arranging the pieces until I had them to my pleasing. I used a piece of Press N Seal to pick them all up and turn over. I worked in layers, back to front, first gluing the back pieces and then adding foam dots to the bottom front three pieces.

I stamped the sentiment from the Heartfelt Hello stamp set in Ground Expresso Distress ink. Then I cut it out with the coordinating Honey Cut and popped it up with foam strips.

I really do enjoy coloring die cuts with inks and blender brushes!  The ink colors can be layered to get so many different combinations!

Thank you for stopping by today!  I hope it's a good one with lots of crafty time!

Thank you so much for using my affiliate links to shop (never any additional cost to you)!