Showing posts with label layering stencils. Show all posts

Tuesday, September 19, 2023

Altenew September 2023 Marvelous Monthly Series Release Blog Hop & Awesome Giveaway!

Hello, and welcome to my stop on the September 2023 Marvelous Monthly Series Blog Hop.  Be sure to keep reading until the end to hear about the awesome prizes and to leave a comment for another chance to win!

You should have arrived here from the blog of Agnieszka Malyszek.  If you would like to start at the beginning, you can head to the Altenew Blog, or check the list at the end of my post.

Before I get to my cards, be sure to check out the Marvelous Monthly Series!  Just click this image.

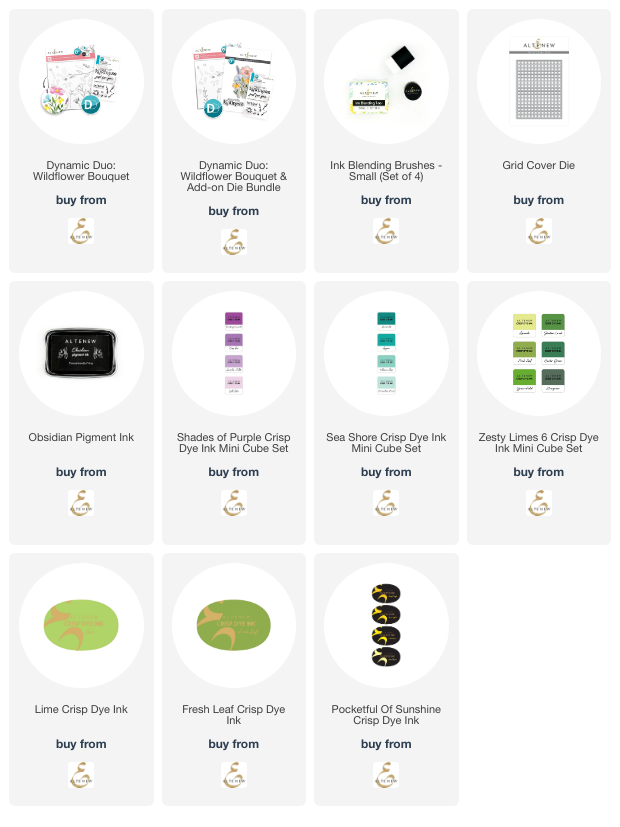
Or check out the Dynamic Duo: Wildflower Bouquet bundle here:

I have to say that I have become a huge fan of layering stencils and the beautiful Dynamic Duo: Wildflower Bouquet is now at the top of my favorites!  For my first card, I used cool, soothing colors that I feel worked well with the sentiment.

I used ink blending brushes to add various Distress Oxide inks through the Dynamic Duo: Wildflower Bouquet Layering Stencil Set.  These are the colors I used:  Tumbled Glass, Broken China, Uncharted Mariner, Mowed Lawn, Rustic Wilderness, Scattered Straw, and Shaded Lilac.  Altenew's blending brushes are so awesome to get the smooth blending!

The sentiment from the Dynamic Duo: Wildflower Bouquet Sentiment Stamp Set is stamped in a coordinating blue ink.  I just love the little :) that is part of the stamp!

I went with bright and vibrant colors for my next card.   Don't you think it makes the very same stencil look totally different?  I love the versatility!

This time I used several Crisp Dye inks to blend the colors through the Wildflower Bouquet Layering Stencil Set.  I used Fresh Leaf, Olive, Citrus Burst, Fresh Lemon, Pink Pearl, Coral Bliss, Purple Wine, Cosmic Berry, Volcano Lake, and Lagoon.

I die cut the florals with the coordinating Wildflower Bouquet Add-on Die Set.  I popped it up with foam tape onto a background I die cut with the Grid Cover Die.

This sentiment is also from the Wildflower Bouquet Sentiment Stamp set and is stamped with Obsidian ink and die cut with the coordinating die from the Add-on Set.

Thank you for stopping here along the hop!  Be sure to leave a comment before heading to the next stop!

Check out these awesome Giveaway Prizes!

$300 in total prizes! To celebrate this release, Altenew is giving away a $100 gift certificate to 1 lucky winner and a $40 gift certificate to 5 winners! Please leave a comment on the Altenew Card Blog and/or each designer’s blog post on the blog hop list below by 09/25/2023 for a chance to win. Altenew will draw 6 random winners from the comments left on each stop of this blog hop and announce the winners on the Altenew Winners Page on 09/27/2023.

*The winner of the $100 gift certificate will be chosen from comments left on the Altenew blog. 

You are invited to the Inlinkz link party!

Click here to enter
Thank you for using my affiliate links (never any additional cost to you)!

Wednesday, December 22, 2021

Can't Thank You Enough! | Honey Bee Stamps

Hello crafty friends! Today I'm sharing a thank you card I made using the beautiful new Hello Sweetheart stamps, coordinating Honey Cuts and layering stencils! These are all part of the awesome Sealed With Love release! I used the stencils to color the flowers and then stepped it up a bit by adding shading and depth with a few Copic markers. Keep reading for the details!

First I created my card base and layers. I used the Mod A2 Cover Plate die to dry emboss a piece of A2-sized purple card stock. Just use the die with your rubber embossing mat in the sandwich for your die cutting machine! (TIP: spritz a fine spray of water on your card stock before dry embossing to help eliminate cracks in the paper.) I inked Villainous Potion Distress Oxide around the edges and added spatters of diluted white gauche. I trimmed a bit around the edges and adhered it to a top-folding A2 card base.

Next I stamped the floral heart onto 80# Neenah with some Bee Creative No-line Coloring ink. The reason I used no-line ink is that I've found that when inking Distress Oxides over black ink, it really dulls the black stamped lines. So I left the stamp in my MISTI and re-stamped the image with Intense Black ink after I finished the stenciling.

The no-line ink shows just enough to easily line up the stencils!

I almost didn't re-stamp this in black--I think it's kind of pretty like this too!

I used these Distress Oxides through the layered stencils: Villainous Potion, Rustic Wilderness, Mowed Lawn, Squeezed Lemonade, and Mustard Seed. To be able to add shading with the inks, I used sponge daubers. Then I created more dimension to the flowers and leaves with some Copic markers. When you already have your flowers stenciled, this such a quick and easy way to add a bit of Copic coloring! I used these Copic markers: V17, V15, V09, V01, Y19, Y15, Y08, YG17, and YG25.

I stamped the sentiment from the Hello Sweetheart set in Intense Black ink. Next I die cut it with the coordinating Honey Cut. I added some foam tape to the back of the sentiment and heart to pop them up onto the card. For a touch of bling I added a few gems from the new Back To Basics Gem Stickers. I love how there are different sizes of gems in these new sets!!

I really love these coloring, layering stencils! They are really lots of fun to use! I hope you have the Merriest Christmas, if you celebrate; and if not, I'm wishing all the best for you during this season! Thank you so much for stopping by today!

Thank you so very much should you choose to shop with my links 💗