
Hello crafty friends! How is is at the end of May already?!! It's already getting hot where I'm at so my birthday card I'm sharing today has those warm sunshiny colors! I had lots of fun layering the colors for Rubbernecker Stamps beautiful Like A Wildflower stencil. I have a couple of good tips for stenciling first, then getting your outline stamp lined up just right. Read on for the details!

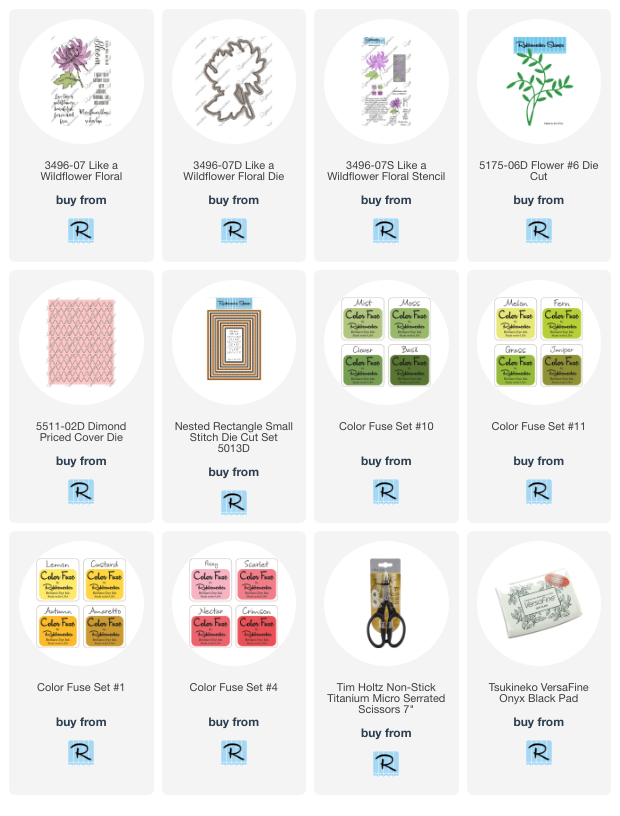
The card base is A2 size and has a 3-¾" x 5" piece that was die cut with the Diamond Pierced Cover die.
I went ahead and stamped the sentiment from the Like A Wildflower stamp set and then die cut it with the smallest Nested Rectangle Small Stitch die. I added foam tape to the back and set it aside while I worked on the flower.
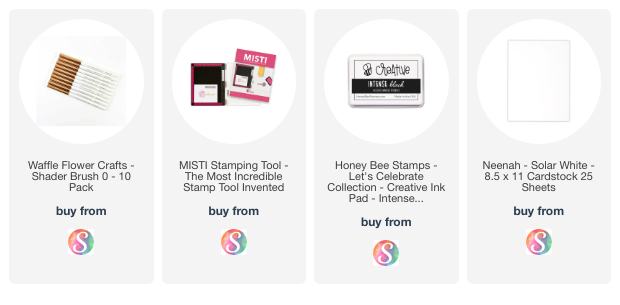
First I followed the layering guide on the Like A Wildflower stencil package to add Posey, Scarlet, Lemon, and Custard inks through the stencil. (Color Fuse set numbers 4 and 1.) I used small round ink blending brushes that I've linked below along with links for the Color Fuse inks.
I added Posey and Lemon for layer 1. Then I switched to the slightly darker Scarlet and Custard inks for layers 2 and 3. I let the pinks and oranges overlap to add small touches of orange to the petals. The leaf and stem are colored with Grass and Basil inks (set numbers 10 and 11).
Die cut the image with the coordinating Like A Wildflower die. Save that negative from your die cutting!
Next I set up my MISTI to stamp the outline by first stamping the outline image of the Like A Wildflower onto a piece of printer paper. DO NOT move the stamp or the image stamped on the printer paper! Then I took the negative die cut and positioned it over the stamped flower and secured with removable tape. Like this:

Now all you need to do is pop in the die cut image, re-ink your stamp, and then stamp it onto the stenciled flower. Look at what a difference it makes!

This is the easiest way ever to get a perfectly aligned outline on your stenciled pieces! I love this because it seems that if I stamp the image first, then stencil, the ink always smears no matter how long I've let it dry. I also love how the black ink looks so crisp!

I cut out a few of the Flower #6 die and used the same green inks to color them. Then I assembled the elements and sentiment onto the card front. I did trim a branch or two from one of the Flower #6 die cuts to tuck in to fill a spot or two.

I hope I've given you some good tips for stenciling, then stamping. If you have any questions, please use the "contact me" box in the left column of my blog.
Thank you so much for stopping by! Have a wonderful and crafty week!
I so appreciate it if you choose to use my affiliate links for shopping (never any additional cost to you).
What a gorgeous card!!! Love the bright colors, pretty background die and the sweet sentiment - so sweet! And thank you, thank you, thank you for the technique for stenciling first, and then stamping -- I have always struggled with lining these up, so what a great help
ReplyDelete