
Hello crafty friends! Today I'm sharing how you can make three cards with one stenciled piece that features Honey Bee Stamps beautiful Folk Art Daisy Stencil set! There are so many possibilities for different card types by adding whatever sentiments fit the occasions.

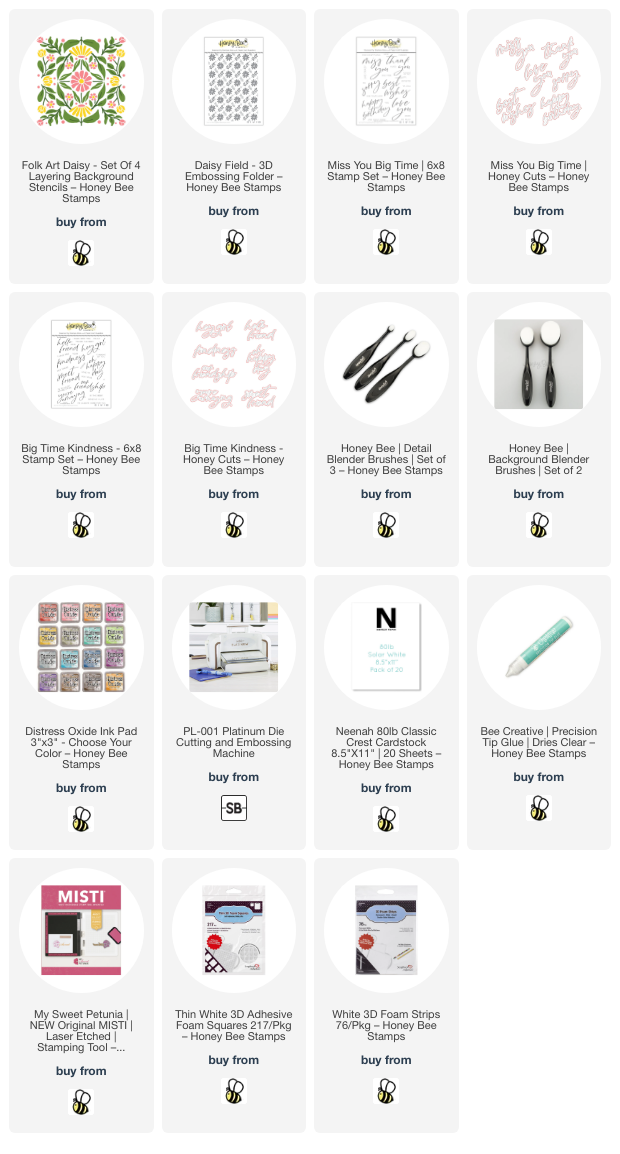
First I taped the Small Flowers stencil of the Folk Art Daisy stencils to a 6" x 6" piece of 80# Neenah. (The names for the stencils are etched on each stencil.) I used a Detail Blender brush to add Tumbled Glass and Blueprint Sketch through each opening of this stencil. (Distress Oxide inks were used for all of the stenciling.)

I replaced the first stencil with the Large Flowers stencil. This time I just added Blueprint Sketch ink. The next layer I stenciled with Rustic Wilderness was the Stems layer. Then finally, the Leaves were inked with Mowed Lawn.

I used my paper trimmer to trim the extra paper around the edges. Then I cut that piece into three strips measuring 1-¾" x 5-½". I inked up a piece of scrap white cardstock with Blueprint Sketch and cut three narrow strips.

Then I adhered each stenciled strip to three A2 sized pieces of cardstock that I had embossed with the Daisy Field 3D embossing folder. Next I adhered the narrow blue strip. I used Bee Creative glue for these steps and also to adhere the panel to top-folding A2 card bases.
Next I chose three different sentiments. Two from the Big Time Kindness stamp set and one from the Miss You Big Time stamp set. I used my MISTI to stamp each sentiment with Blueprint Sketch Distress Oxide ink. Then I cut them out with the coordinating Big Time Kindness and Miss You Big Time Honey Cuts.

I cut the sentiments dies two more times each from 80# Neenah. I used Bee Creative glue to adhere the layers together. I also stamped three sub-sentiments with Blueprint Sketch and trimmed each one into a strip. I added foam tape to the back of these for dimension.

I did add some thin foam tape to the large sentiments. I use these foam squares and cut them into strips to use! Makes it so easy to add dimension to your sentiments. I thought about adding some gem stickers for some sparkle, but decided that with the stenciling and embossed background that was enough. What do you think?

I love how these turned out! Now that you've seen how easy it is to make three beautiful cards, I hope I've inspired you to give it a try. Thank you so much for stopping by! Have a wonderful and crafty day!
Thank you for using my affiliate links to shop (never any additional cost to you)!
You're so right! Three terrific cards -- love the colors and fun texture!
ReplyDelete