Showing posts with label Big Time Kindness. Show all posts

Wednesday, June 18, 2025

You're The Best, Sweet Friend!

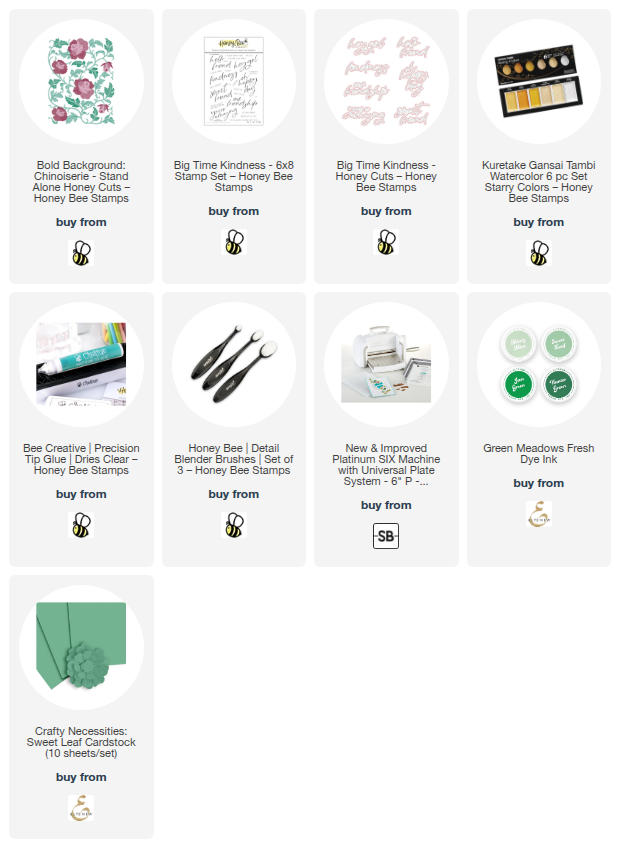
Happy Wednesday crafty friends!  Today I'm sharing my card that requires just two dies sets and one stamp set!  I've used Honey Bee Stamps' new Bold Background: Chinoiserie with the older Big Time Kindness stamp set and Honey Cuts.

To make the coloring easier, I started by die cutting green and light coral colored cardstocks with the Bold Background: Chinoiserie dies.  Then I used a blending brush to add a coordinating green ink color to the layers for shading.  I used a couple of Copic markers to shade the flowers.  Don't forget to die cut the flowers two times each!

Next I referred to the Layering Guide while I used glue to adhere the layers.  Then I glued the piece to an A2 white cardstock card base.

For more detail and interest I added some pretty metallic Champagne Gold paint splatters and set it aside to dry.

I pulled out the Big Time Kindness stamp set, one of my favorite sentiment sets!  I stamped the sentiments with clear embossing ink and then added Princess Gold embossing powder.  I used my heat tool to set the powder.  I cut out the large sentiment with the coordinating Big Time Kindness die and used my paper trimmer for the other.

I added foam tape strips to the sentiments to adhere each one to the card.

I love this card with its sweet flowers and metallic sentiment!  Perfect for many occasions  to send to a friend!  Thanks so much for stopping by!  Stay crafty!

Thank you very much for using my affiliate links to shop (never any additional cost to you)!

Wednesday, July 26, 2023

Birthday Card with Layered Coneflowers

Happy Wednesday friends! The coneflowers still happily growing here in this heat is what inspired my card today!  I've used the beautiful Honey Bee Stamps Lovely Layers: Coneflower Honey Cuts for this card I plan to use as a birthday card.  The coneflowers are the only thing happy about this heat!  Haha!

The A2 card base is made from 80# Neenah with a purple cardstock layer.  I topped this with the beautiful Delicate Daisy Cover Plate Base and Top also die cut from 80# Neenah.  FYI, I didn't realize I would be totally covering the little die cut openings that would show the purple cardstock!  If I were to remake this, I'd just skip that purple cardstock layer!

Next I die cut all of the pieces of the Lovely Layers: Coneflower from light purple, green, and yellow cardstock I have in my stash. I chose some inks I haven't used in a while to color the pieces with Detail Blender Brushes. I first used two shades of purple ink to color the flower petals, but I wasn't quite happy with them. So I used a fairly dark, bright pink ink to go over it, and now I love it!  Starting with colored cardstock makes the ink blending lots faster!  (The cardstock and inks I used are linked below.)

To add splatters to the petals and leaves, I smooshed the green ink and the purple ink I used onto my craft mat. I diluted them just a bit with water and used a paintbrush to add the splatters. I repeated the same steps with white acrylic paint to add the white drops.

When the pieces were dry, I used Bee Creative glue to adhere the layers and to glue the pieces to the card. For the top flower, I did use a few foam squares to adhere it instead of glue.

I stamped the sentiment from the Big Time Kindness stamp set in Intense Black ink and cut it out with the coordinating die. It only took a small piece of a narrow foam strip at the bottom of the sentiment and a few dots of glue at the top to adhere it to the card.

I added a bit of bling with purple pearls from the Autumn Pearl Sticker set placed around the flowers.

I hope you're staying cool wherever you are and that you've enjoyed my card making process today! Thank you so much for stopping by.

Thank you for using my affiliate links (never any additional cost to you)!

Wednesday, May 17, 2023

Make Three Easy and Beautiful Cards from One Stencil!

Hello crafty friends! Today I'm sharing how you can make three cards with one stenciled piece that features Honey Bee Stamps beautiful Folk Art Daisy Stencil set! There are so many possibilities for different card types by adding whatever sentiments fit the occasions.

First I taped the Small Flowers stencil of the Folk Art Daisy stencils to a 6" x 6" piece of 80# Neenah. (The names for the stencils are etched on each stencil.) I used a Detail Blender brush to add Tumbled Glass and Blueprint Sketch through each opening of this stencil. (Distress Oxide inks were used for all of the stenciling.)

I replaced the first stencil with the Large Flowers stencil. This time I just added Blueprint Sketch ink. The next layer I stenciled with Rustic Wilderness was the Stems layer. Then finally, the Leaves were inked with Mowed Lawn.

I used my paper trimmer to trim the extra paper around the edges. Then I cut that piece into three strips measuring 1-¾" x 5-½".  I inked up a piece of scrap white cardstock with Blueprint Sketch and cut three narrow strips.

Then I adhered each stenciled strip to three A2 sized pieces of cardstock that I had embossed with the Daisy Field 3D embossing folder. Next I adhered the narrow blue strip. I used Bee Creative glue for these steps and also to adhere the panel to top-folding A2 card bases.

Next I chose three different sentiments. Two from the Big Time Kindness stamp set and one from the Miss You Big Time stamp set. I used my MISTI to stamp each sentiment with Blueprint Sketch Distress Oxide ink. Then I cut them out with the coordinating Big Time Kindness and Miss You Big Time Honey Cuts.

I cut the sentiments dies two more times each from 80# Neenah. I used Bee Creative glue to adhere the layers together. I also stamped three sub-sentiments with Blueprint Sketch and trimmed each one into a strip. I added foam tape to the back of these for dimension.

I did add some thin foam tape to the large sentiments. I use these foam squares and cut them into strips to use! Makes it so easy to add dimension to your sentiments. I thought about adding some gem stickers for some sparkle, but decided that with the stenciling and embossed background that was enough. What do you think?

I love how these turned out! Now that you've seen how easy it is to make three beautiful cards, I hope I've inspired you to give it a try. Thank you so much for stopping by! Have a wonderful and crafty day!

Thank you for using my affiliate links to shop (never any additional cost to you)!

Wednesday, April 26, 2023

Hey There Sweet Friend -- A Gatefold Card!

Happy Wednesday friends!  In my area, the magnolia trees are just beginning to bloom and are the inspiration for my springtime gatefold card! I used Honey Bee Stamps beautiful Lovely Layers: Magnolia and Spring Blooms Background stamp with the new Big Time Kindness set!

For the gatefold card base I cut 80# Neenah to 11" x 4-¼" and then scored from the ends at 2-¾". Next I stamped the Spring Blooms Background stamp with Clear Embossing Ink onto some Neenah Desert Storm cardstock. (Note: I used an anti-static tool before stamping.) I sprinkled on white embossing powder and heat set it. Then I trimmed it into two pieces measuring 2-½" x 4" and adhered the layers to the card front with Bee Creative glue.

Next I die cut all of the pieces of the Lovely Layers: Magnolia from 80# Neenah. I used sponge daubers to color the flower and leaves with Distress Oxide inks. I used Picked Raspberry, Spun Sugar, Rustic Wilderness, Mowed Lawn, Twisted Citron, Fossilized Amber, and Scattered Straw.

After I adhered the flower layers together with Bee Creative glue, I added glue ONLY to the left back of the flower. I adhered it to the left side of the gatefold. I trimmed off the little stem of the leaves and tucked them under the flower with glue.

I stamped the sentiment from Big Time Kindness with clear embossing ink and heat set white embossing powder. I used the coordinating Honey Cut to die cut the large sentiment and trimmed the small one into a strip.

I decided that the sentiment on the inside looked really lonely. LOL! So I stamped the Spring Blooms Background again onto 80# Neenah with Spun Sugar Distress Ink. I cut it into two 2-¾" x 4-¼" pieces. After I adhered them inside the card, I added two thin strips of the Neenah Desert Storm cardstock.

I don't always decorate the inside of a card, but I do love the look! I think it adds another surprise element for the recipient. There's still plenty of room to write your sentiment too!

All of the details makes this look like a complicated card to make, but it really isn't! I hope I've inspired you to make your own gatefold card! Thank you so much for stopping by!

Thank you for shopping with my affiliate links (never any additional cost to you)!