Showing posts with label Lovely Layers: Coneflower. Show all posts

Wednesday, July 26, 2023

Birthday Card with Layered Coneflowers

Happy Wednesday friends! The coneflowers still happily growing here in this heat is what inspired my card today!  I've used the beautiful Honey Bee Stamps Lovely Layers: Coneflower Honey Cuts for this card I plan to use as a birthday card.  The coneflowers are the only thing happy about this heat!  Haha!

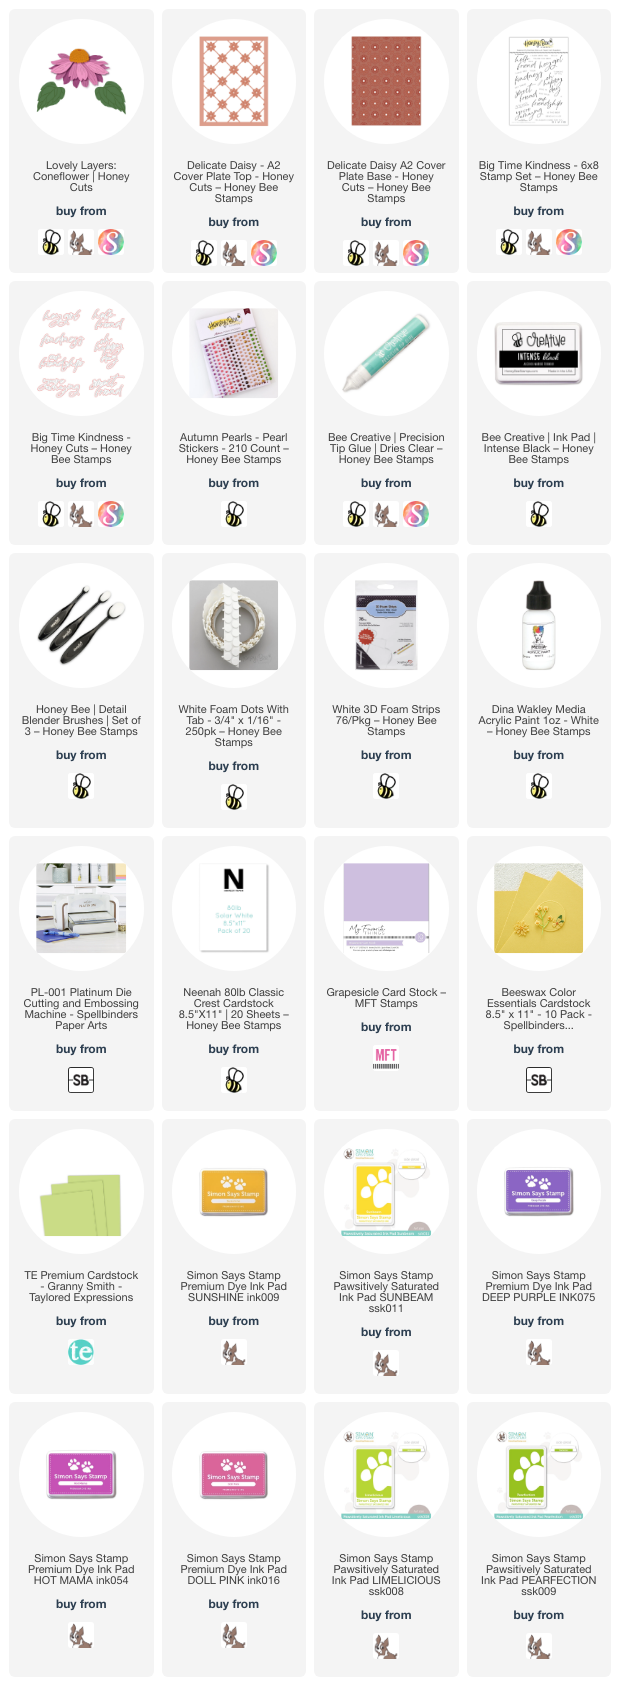
The A2 card base is made from 80# Neenah with a purple cardstock layer.  I topped this with the beautiful Delicate Daisy Cover Plate Base and Top also die cut from 80# Neenah.  FYI, I didn't realize I would be totally covering the little die cut openings that would show the purple cardstock!  If I were to remake this, I'd just skip that purple cardstock layer!

Next I die cut all of the pieces of the Lovely Layers: Coneflower from light purple, green, and yellow cardstock I have in my stash. I chose some inks I haven't used in a while to color the pieces with Detail Blender Brushes. I first used two shades of purple ink to color the flower petals, but I wasn't quite happy with them. So I used a fairly dark, bright pink ink to go over it, and now I love it!  Starting with colored cardstock makes the ink blending lots faster!  (The cardstock and inks I used are linked below.)

To add splatters to the petals and leaves, I smooshed the green ink and the purple ink I used onto my craft mat. I diluted them just a bit with water and used a paintbrush to add the splatters. I repeated the same steps with white acrylic paint to add the white drops.

When the pieces were dry, I used Bee Creative glue to adhere the layers and to glue the pieces to the card. For the top flower, I did use a few foam squares to adhere it instead of glue.

I stamped the sentiment from the Big Time Kindness stamp set in Intense Black ink and cut it out with the coordinating die. It only took a small piece of a narrow foam strip at the bottom of the sentiment and a few dots of glue at the top to adhere it to the card.

I added a bit of bling with purple pearls from the Autumn Pearl Sticker set placed around the flowers.

I hope you're staying cool wherever you are and that you've enjoyed my card making process today! Thank you so much for stopping by.

Thank you for using my affiliate links (never any additional cost to you)!
Wednesday, August 11, 2021

Lovely Layers: Coneflower Birthday Card

 Hello friends!  Today my card features the oh, so popular Honey Bee Stamps Lovely Layers: Coneflower die set.  I decided to kind of transition the look of my card into autumn with some warm Distress Ink colors.

To begin, I had lots of inky fun with several of the yellow Distress Ink colors.  I smooshed the ink pads onto my craft mat, spritzed a bit of water onto the ink with my Distress Sprayer.  I like this sprayer because you can either mist the water or get larger drops, depending on how fast you squeeze the trigger.  Then I took watercolor paper and smooshed it into the ink.  The key to getting the layers is to be sure to use your heat tool and dry the layer before smooshing again.  I went for darker inks for the bottom layers of the flower.

Some of the Distress Ink colors I used are Mustard Seed, Rusty Hinge, Wild Honey, Crackling Campfire, and Squeezed Lemonade.  For the leaves I used Mowed Lawn, Peeled Paint Distress Ink and Twisted Citron Distress Spray.  After the panels were totally dry, I used the Lovely Layers: Coneflower dies to cut the parts of the flower and leaves.  (see photo above)  Next I used Bee Creative glue to adhere the flower layers together.  (Tip: For the petal layers, just add glue to the center so you can give the petals a little fluffing by using your fingers to curl the tips a bit.)

Then I used the Buffalo Plaid background stamp, inked it up with some beige ink and stamped it onto some Neenah Desert Storm card stock.  I added white spatters by diluting a dab of white gouache water using my paint brush.  When it was dry, I trimmed it to 4" x 5-1/4" and glued it to an A2 card base with Bee Creative glue.

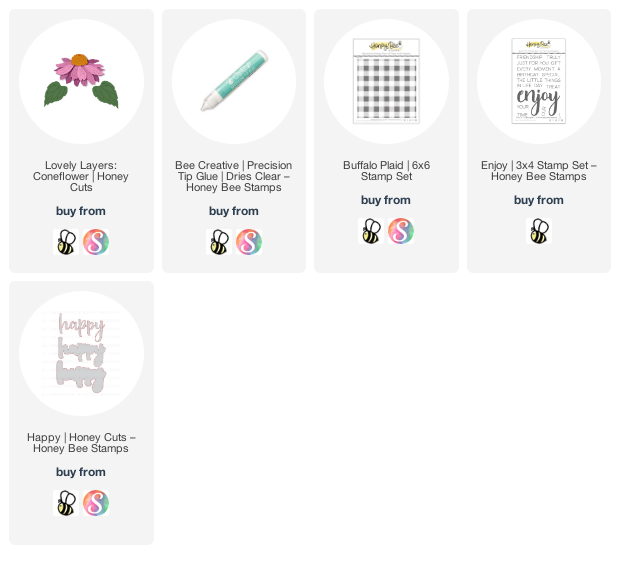
For the sentiment I die cut the bottom layer of the Happy Honey Cuts from some of the lighter colored ink smooshed panel.  The middle layer is Neenah Desert Storm and the top layer is 80# Neenah Solar Crest card stock.  Then I used the "birthday" stamp I found in the Enjoy stamp set and stamped it onto Neenah Desert Storm with Bee Creative Intense Black ink.  I used my paper trimmer to cut it to a rectangle shape.

I used Bee Creative Glue to adhere the layered sentiment, leaves and flower.  I added a couple of small foam squares to the remaining sentiment strip and added it to my card.

I hope you enjoyed my version of this fabulous die set and have been inspired today!  Thank you so much for stopping by!