Showing posts with label Delicate Daisy A2 Cover Plate. Show all posts

Wednesday, July 26, 2023

Birthday Card with Layered Coneflowers

Happy Wednesday friends! The coneflowers still happily growing here in this heat is what inspired my card today!  I've used the beautiful Honey Bee Stamps Lovely Layers: Coneflower Honey Cuts for this card I plan to use as a birthday card.  The coneflowers are the only thing happy about this heat!  Haha!

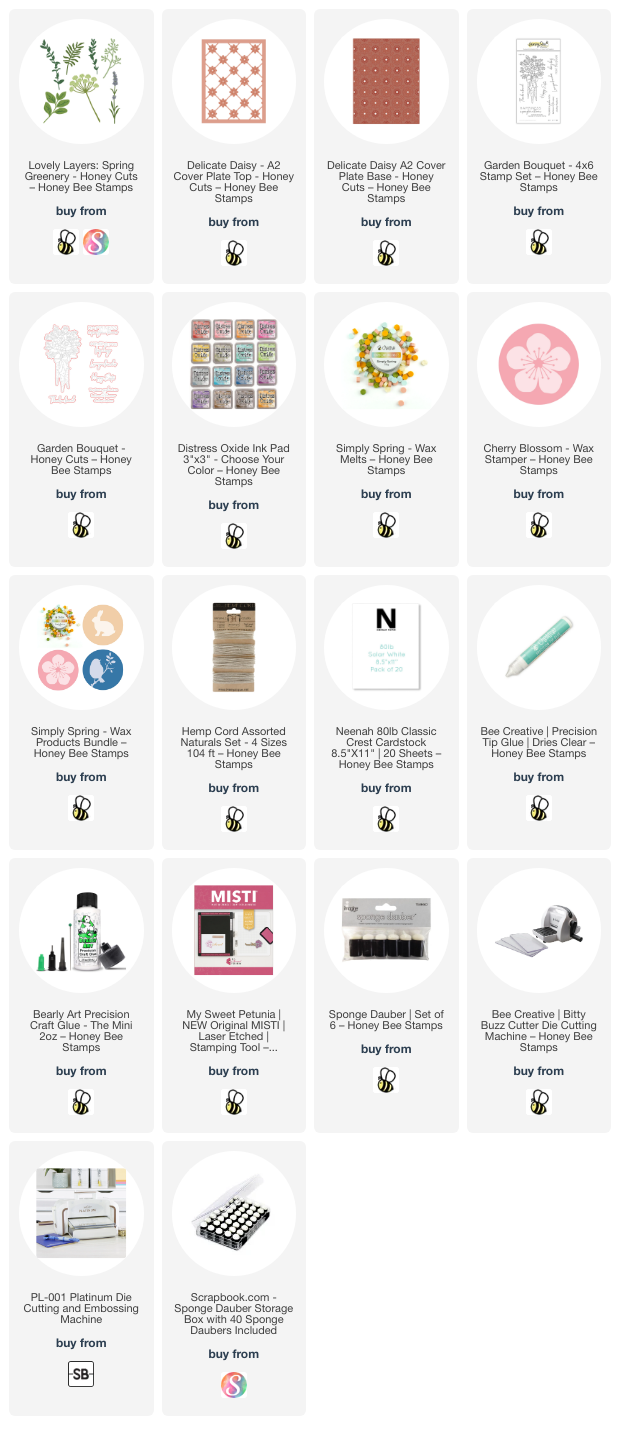
The A2 card base is made from 80# Neenah with a purple cardstock layer.  I topped this with the beautiful Delicate Daisy Cover Plate Base and Top also die cut from 80# Neenah.  FYI, I didn't realize I would be totally covering the little die cut openings that would show the purple cardstock!  If I were to remake this, I'd just skip that purple cardstock layer!

Next I die cut all of the pieces of the Lovely Layers: Coneflower from light purple, green, and yellow cardstock I have in my stash. I chose some inks I haven't used in a while to color the pieces with Detail Blender Brushes. I first used two shades of purple ink to color the flower petals, but I wasn't quite happy with them. So I used a fairly dark, bright pink ink to go over it, and now I love it!  Starting with colored cardstock makes the ink blending lots faster!  (The cardstock and inks I used are linked below.)

To add splatters to the petals and leaves, I smooshed the green ink and the purple ink I used onto my craft mat. I diluted them just a bit with water and used a paintbrush to add the splatters. I repeated the same steps with white acrylic paint to add the white drops.

When the pieces were dry, I used Bee Creative glue to adhere the layers and to glue the pieces to the card. For the top flower, I did use a few foam squares to adhere it instead of glue.

I stamped the sentiment from the Big Time Kindness stamp set in Intense Black ink and cut it out with the coordinating die. It only took a small piece of a narrow foam strip at the bottom of the sentiment and a few dots of glue at the top to adhere it to the card.

I added a bit of bling with purple pearls from the Autumn Pearl Sticker set placed around the flowers.

I hope you're staying cool wherever you are and that you've enjoyed my card making process today! Thank you so much for stopping by.

Thank you for using my affiliate links (never any additional cost to you)!
Thursday, March 16, 2023

Happiness is Springtime Blooms

Hello crafty friends!  If you are here from the Instagram hop, thank you!  If not, I hope you will check it out.  We are celebrating Honey Bee Stamps Simply Spring release today, and if you leave a comment on the stops, you will have a chance at an awesome gift card from Honey Bee!

I had so much fun inking up the die cuts from the Lovely Layers: Spring Greenery Honey Cuts!  I'm keeping this post super brief, but if you have any questions, please use the "contact me" form in the left column here.

For the card layers, I used the gorgeous Delicate Daisy - A2 Cover Plate Top & A2 Cover Plate Base!  I have had this cardstock in my stash forever!  I never thought I'd use it, but you know what they say: "never say never"!  LOL!  I die cut the top and bottom layers from it, then die cut the top layer three more times from 80# Neenah.  After glueing the layers together, I adhered them to an A2 card base.

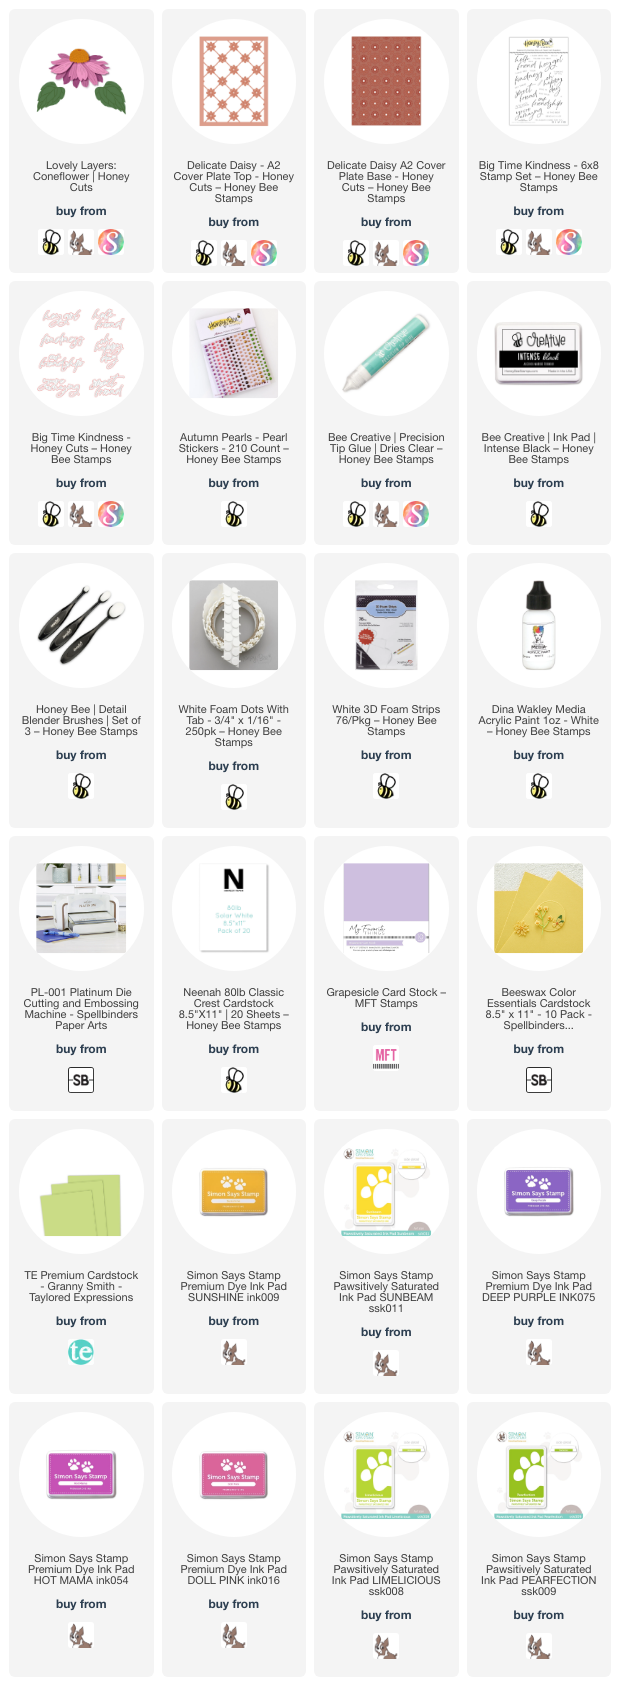
Next I die cut all of the pieces in the Lovely Layers: Spring Greenery from 80# Neenah.  I used these Distress Oxide inks and sponge daubers to color the pieces (colors are also linked below):

  • Bundled Sage 
  • Shabby Shutters
  • Peeled Paint
  • Forest Moss
  • Victorian Velvet
  • Tattered Rose
  • Milled Lavender
  • Seedless Preserves

Press N Seal was my assist to glue the layers to the card.  (Note:  I did not glue down the flower and greenery tops to add dimension.)  Then I stamped a sentiment from the Garden Bouquet stamp set with Forest Moss Distress Ink.  I cut it out with the coordinating die.

I added some foam squares behind some of the leaves and flowers at the top for dimension.  Yes, I love dimension on my cards!!!

To top off the bouquet, I added a wax seal from the new Cherry Blossom Wax Stamper and the Simply Spring Wax melts.  I added some twine below the wax melt for fun!

I sure do thank you for stopping by today!  If you join me on the Instagram hop, please be sure to say hello, and that you came from here.  Have a wonderful and crafty day!

Thank you so much if you use my affiliate links for shopping (never any additional cost to you)!