Showing posts with label new release. Show all posts

Wednesday, September 24, 2025

Hope Your Birthday Is Tea-rrific! A New Release By Honey Bee Stamps

Hello crafty friends!  Are you ready for Honey Bee Stamps newest release?  It's available now and is called Hello Harvest and is filled with so many awesome products including the Life's Sweet Moments stamp set and coordinating dies that I've used on this card.

Do you enjoy creating backgrounds with masked images?  If so, this one's for you!

First I created the background.  You will need a stamp positioning tool like the MISTI to do this technique.

Place a 4-¼" x 5-½" piece of white cardstock into a corner of your stamping tool.  Ink up the cup from the Life's Sweet Moments stamp set with Intense black ink and then stamp the ink off onto scrap paper once.  Next I stamped it onto my 80# white cardstock piece.  (I didn't want the lines to be too dark as I plan to come back and gold heat emboss the image.)

Very important:  DO NOT remove the stamp from the lid of the stamping tool.

Next I stamped the cup onto masking paper and cut it out with my scissors.  Set aside the cup portion of the masking paper.  Adhere the negative portion of the mask onto the cardstock panel around the stamped cup.  I placed one of the flower stamps from the Life's Sweet Moments set onto a stamp block.  I inked it up with Intense black ink and stamped it near the edge of the coffee cup.  I repeated these steps with one more flower.

I stamped a mask for the upper right flower, cut it out, and placed it over the stamped image.  Then I stamped a leaf and removed the mask.  Next I colored the cup with Copic markers.  I used the warm grays of W3, W1, and W00 to color the cup.

Place the panel back into the stamp positioning tool.  Add some anti-static powder and stamp the cup again with clear embossing ink.  Add gold embossing powder and set with a heat tool.

Next I placed the mask for the cup over the cup.  After I sprayed the back of the NEW Swirl & Flourish Stencil with Pixie Spray I put on onto the masked panel.  Then I added a strip of masking tape about 2" above the bottom edge of the panel.  Then I carefully spread some pearl texture paste through the stencil with a palette tool.

Carefully remove the stencil, masking tape, and cup mask and set the piece aside to dry.

While panel is drying, I stamped more flowers, the saucer, and cupcake from the Life's Sweet Moments stamp set with Intense Black Ink.  I colored the images with my Copic markers and cut them out with the coordinating dies.  (NOTE:  I also added gold embossing powder to the saucer using the same technique as described above.)

When the texture paste was dry, I added a piece of masking tape to mask off the bottom of the stenciled area and inked on brown ink with a blender brush.  I used a brown pencil and t-square ruler to draw lines to emulate wood planks.

I adhered the images with foam tape.  The sentiments are from the Hello Sweet Tea stamp set, stamped in black ink, and cut out with the coordinating dies.  I popped them up with foam strips.

I really enjoyed making this scene!  It is really fun to mask off images and creates a unique card!  Be sure to check out all of the NEW Hello Harvest products to see what you like.

Thank you so much for stopping by!

Thank you for using my affiliate links to shop (never any additional cost to you)!
Wednesday, July 23, 2025

Stitched With Love

Hello crafty friends!  Honey Bee Stamps has another release coming called Maker's Mix!  Today I am sharing a sneak peek card with two of the new products.  This next wonderful release by Honey Bee will be available tomorrow evening after their Release Party.

This card gives you a sneak peek of this beautiful set called Stitched With Love.  It's illustrated by the oh, so talented Kelly Taylor, and of course, has coordinating Stitched With Love dies too!

I stamped one of the three florals from the set and the embroidery hoop onto white cardstock with Intense Black ink.  I colored the images with my Copic markers and then die cut them with the coordinating dies.

I die cut three more of the embroidery hoop from 110# white cardstock and glued all of the layers together with Bee Creative Glue.  NOTE:  There are two dies for the embroidery hoop and you can die cut a solid one, or also use the inner oval die to cut out the center.

Next I used just the outer die for the embroidery hoop and die cut it from white cardstock.  I placed the die cut into the Burlap 3D embossing folder and ran it through my die cutting machine.  Then I glued the layered Copic colored hoop to this piece.

For the background layer on my A2 card base, I used one of the 12 patterned papers from the "FreeBee" double-sided cardstock.  This is available, while supplies last, with a qualifying $100 or more purchase and will be added automatically to your cart.  These are such pretty papers!!!

I stamped one of the three sentiments in the Stitched With Love set in black ink.  I cut it out with the coordinating die.  To adhere the sentiment I added a few pieces of foam tape and some glue.

To finish up, I used some pink gingham ribbon from my stash to tie a bow.  A glue dot keeps it nice and secure at the top of the hoop.

I hope you've enjoyed this sneak peek of the Maker's Mix release!  Trust me, you won't want to miss the release party to see it all!

Thanks so much for stopping by!

Friday, August 30, 2024

Altenew September 2024 Release Blog Hop + Giveaway ($300 in Total Prizes!)

Welcome, crafty friends, to the blog hop celebrating all of the awesome new products in Altenew's September 2024 Release!  This release is filled with beautiful florals that Altenew is so well known for, gorgeous cardstock colors, inks, and holiday products too!  Be sure to keep reading as there are some awesome prizes to be chosen from the commenters.

The complete hop list is below.  If you would like to start at the beginning, start at the Altenew blog!

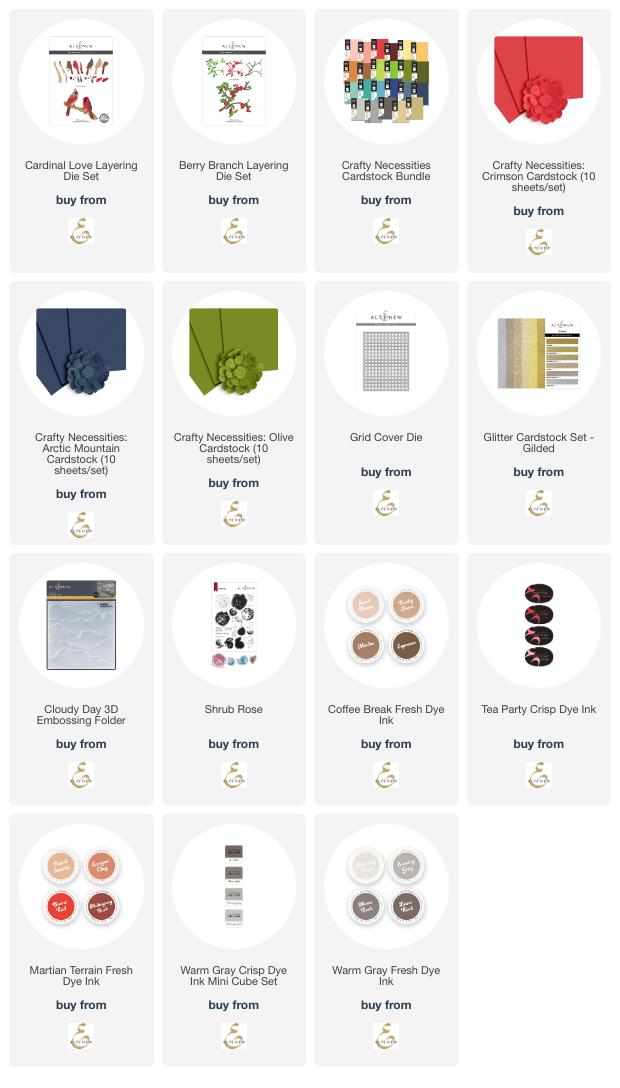
For the hop today, I have created two holiday cards featuring the Berry Branch Layering Die Set and the gorgeous Cardinal Love Layering Die Set.  These products, and all the others are available now in the Altenew shop!

This card features the beautiful Berry Branch Layering Die Set and the Timeless Sentiments Die Set: Holiday Edition.

I die cut the Berry Branch Layering Die Set from some of the new Crafty Necessities Cardstock colors.  I used Crimson and Olive colored cardstocks.  The brown cardstock is from my stash.

I layered a piece of Arctic Mountain cardstock with layer die cut with the Grid Cover Die.  Then I added opaque white paint splatters to the card layers and the Berry Branch die cut.

The sentiment is from the Timeless Sentiments Die Set: Holiday Edition.  I cut the shadow layer from more Arctic Mountain cardstock and the top layer from Topaz glitter cardstock.


I love cardinals, my most favorite bird!

This card features the so beautiful Cardinal Love Layering Die Set, and again, the Berry Branch Layering Dye Set.  The Berry Branch works wonderfully with the branch that is included with the Cardinal Love dies.

All of the Cardinal dies were cut from white cardstock.  I used the following Crisp dye inks (linked below) to color these beautiful birds:  Clay Canyon, Burnt Red, Heart Beat, Rocky Shore, Mocha, Expresso, Jet Black

I added a white panel that I embossed with the Cloudy Day 3D embossing folder onto a panel that I color coordinated with Heart Beat ink.

The sentiment is from the Shrub Rose stamp set and popped up with foam tape.  For more dimension and interest, I added Ruby Slippers Nuvo drops (yes, I still have those--LOL!).

I hope you've been inspired by my cards today!  Keep hopping along to see much more beautiful inspiration for this release!

Giveaway Prizes

$300 in total prizes! To celebrate this release, Altenew is giving away a $100 gift certificate to 1 lucky winner and a $50 gift certificate to 4 winners! Please leave a comment on the Altenew Card Blog and/or each designer’s blog post on the blog hop list below by September 5th for a chance to win. Altenew will draw 5 random winners from the comments left on each stop of this blog hop and announce the winners on the Altenew Winners Page on September 7th, 2024.

*The winner of the $100 gift certificate will be chosen from comments left on the Altenew blog.

You are invited to the Inlinkz link party!

Click here to enter
Thank you for using my affiliate links to shop (never any additional cost to you)!

Wednesday, August 28, 2024

Autumn Scene Card With The New Lovely Layers: Scarecrow

Hello crafty friends! Have you see the awesome new Honey Bee Stamps "Falloween release"?  It is filled with beautiful autumn stamps, dies, stencils and more!  Also there are some sweet and not too spooky Halloween items too!  I can't even begin to choose a favorite, but this adorable Lovely Layers: Scarecrow is definitely one I love!

Also, I don't want to forget to tell you about an awesome Instagram hop we are having today to celebrate Honey Bee's new release! When you are done here, be sure to join me on Instagram and leave a comment on each stop for your chance to win! Two winners, drawn from the comments, will each win a $50 gift certificate!

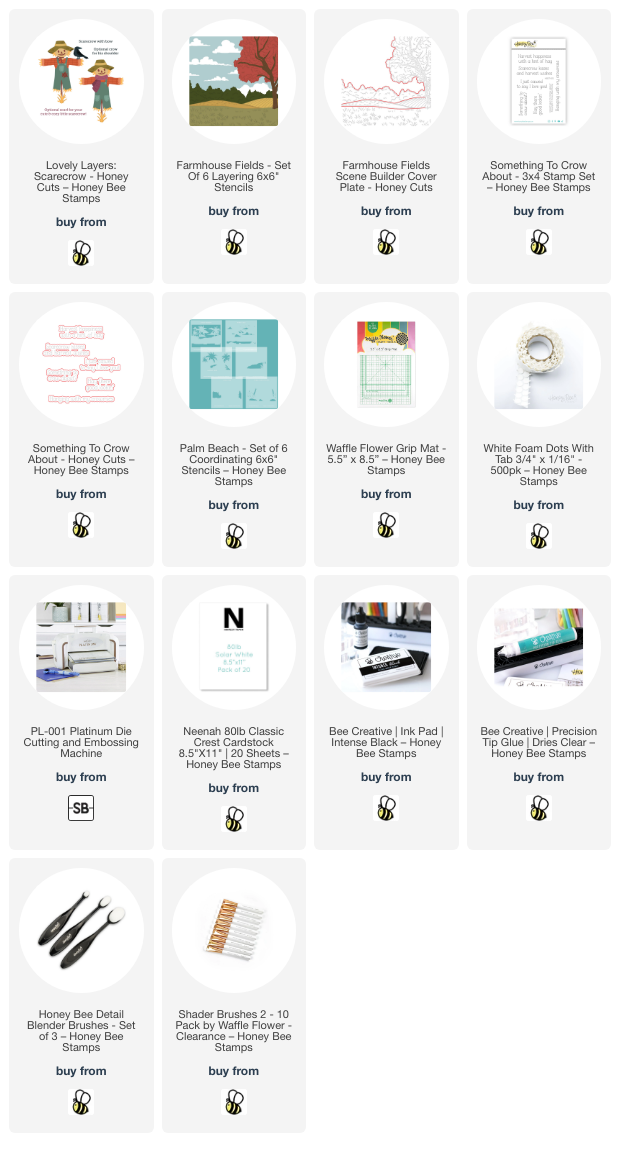
I created my autumn background for the adorable Scarecrow with the Farmhouse Fields Scene Builder die and the coordinating stencils. I used ink blending brushes and a lot of my favorite autumn color Distress Inks. I used Peeled Paint, Faded Jeans, Tumbled Glass, Scattered Straw, Carved Pumpkin, Aged Mahogany, Antique Linen, Gathered Twigs, and Black Soot.

I stenciled the black birds in the sky by using a stencil from the Palm Beach stencil set. But I think these could easily be hand drawn too.

Next I die cut the Lovely Layers: Scarecrow dies from 80# white cardstock. I used blending brushes and Distress Inks to color the layers. Using a sticky mat to hold the small pieces while inking is so helpful! I used the Layering Guide for assistance in assembling the scarecrow for the first time. After I glued the layers together, I added a few foam dots to the back of the scarecrow to adhere it to the card.

The sentiment is from the new Something To Crow About stamp set and stamped in black ink. I love that Honey Bee has coordinating dies to cut out the sentiments!

I thought the crow would look super cute perched on the sentiment so I popped him up with a small piece of foam tape.


Thank you so much for using my affiliate links to shop (never any additional cost to you)!  Note: In order for me to receive credit, you need to have your browser set to allow cookies.

Wednesday, April 17, 2024

Rainbow Balloons Congratulations Card

 The Simon Says Stamp Celebrate release is available now!  Check out the Celebrate release graphic below to see the awesome variety of products included in this release.

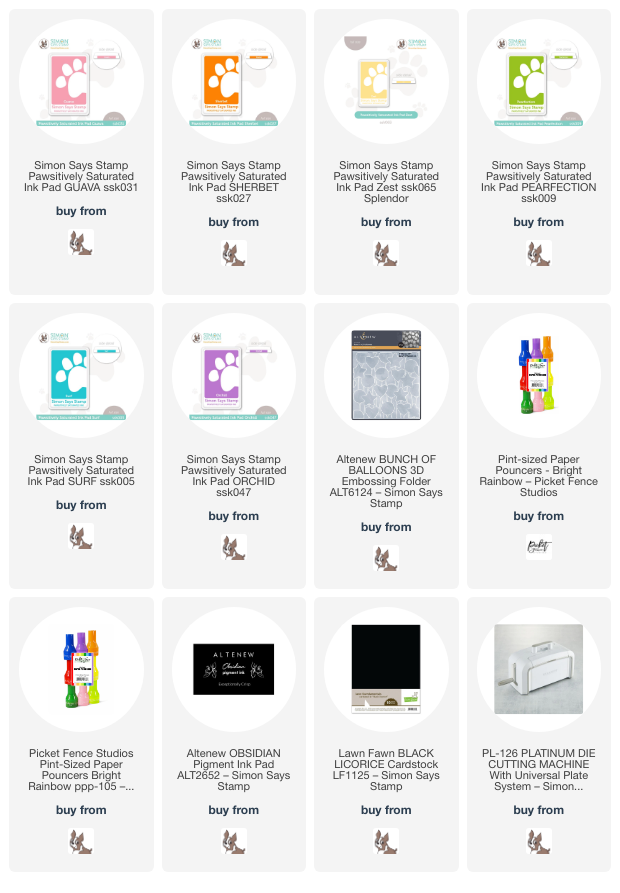
My fun card features the new Grad Balloons stamp set.  I used Pint-sized Paper Pouncers to add the ink to the stamp.  Using my MISTI allowed me to ink up and stamp one color at a time for the rainbow colors.  All of the Pawsitively Saturated Inks I used are in the list below.

When I finished stamping, I used my scissors to cut out the image.  I went digging through my stash of ribbons and twines and found bits of bakers twine in a variety of colors to use for the balloon strings.  This is why we hoard those little bits, right?!  LOL!

I popped up the Grad Balloons image with foam tape and adhered it to the panel I embossed with Altenew's Bunch of Balloons 3D embossing folder.  Then I gathered the strings together and adhered the sub sentiment over it.

This stamp set has two graduation cap images that could be added for the upcoming graduations.  I made mine more generic to be able to use for multiple occasions.


Click the image to check out the entire collection included in Simon's celebrate release!  Thanks so much for stopping by!

Thank you for using my affiliate links to shop (never any additional cost to you)!

Friday, June 9, 2023

Teacup Blooms Card & Trinity Stamps 5th Birthday Celebration

I’m thrilled to be celebrating Trinity’s 5th Birthday and New Release.  My card features the beautiful new Teacup Blooms and Punny Cup of Tea sentiments and is part of today's Instagram hop.  And WOW, Trinity is giving away a $100 gift card to one commenter that joins us in the hop!!


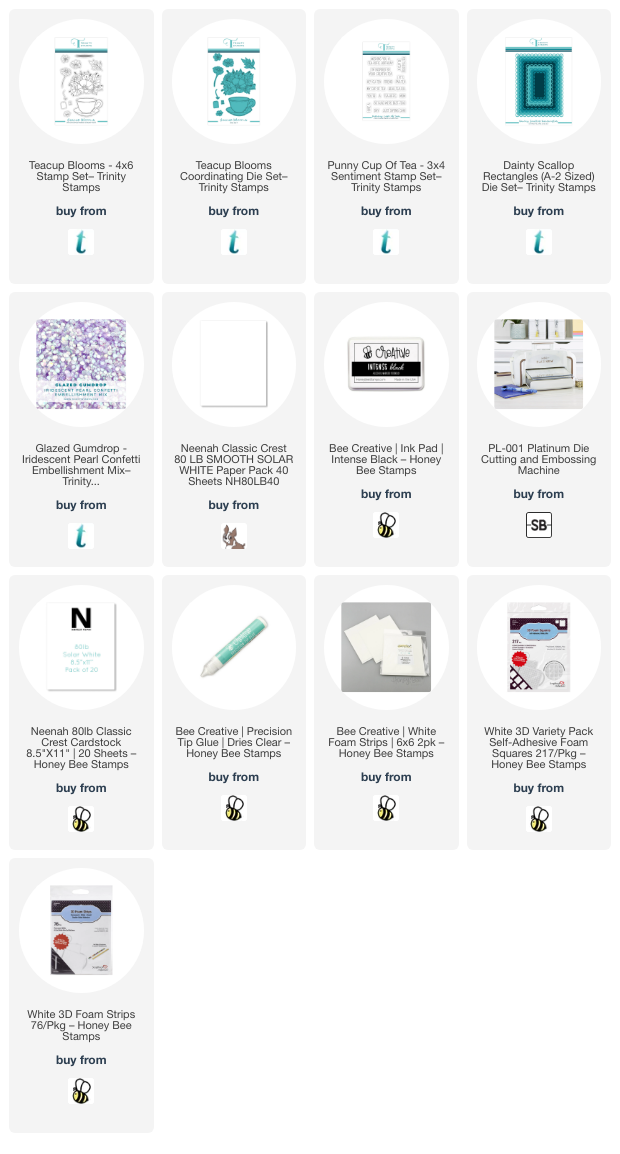
I used Trinity Stamps' new Teacup Blooms stamp set for my card today.  I stamped all of the images in Copic safe black ink onto 80# Neenah.

After I colored the images with my Copic markers, I cut them out with the coordinating Teacup Blooms dies.  For the A2 card, I die cut the second largest Dainty Scallop Rectangles from 80# Neenah.  I added some thin foam tape to the back and adhered it to my card base.

I stamped the sentiment from the new Punny Cup of Tea stamp set after the card was fully assembled!  Don't do that!! LOL! Stamp it onto the die cut panel before assembly!  I got luck and was able to stamp it a few times by using my MISTI!

I added thin foam tape to the back of the teacup to adhere it to the card.  Then I added a double layer of the foam tape to the upper back of the flowers.  The other elements are tucked behind with a few flowers on top.  Thin foam tape and squares make adding dimension to your card and you'll still be able to mail the card.

Added a few of sequins from the new Glazed Gumdrop Iridescent Pearl Confetti mix around the flower cluster for a bit of sparkle.

Be sure to join me over on the Instagram hop!!  Trinity Stamps has lots of wonderful card making products that you could get with the amazing prize!!

Thank you so much for stopping by!

Thank you for using my affiliate links to shop (never any additional cost to you)!

Thursday, May 18, 2023

Simon Says Stamp Dear Friend 2023 Release - A Set of Three Cards with the Caring Thoughts Stamp Set

It's time for Simon Says Stamp's new release!  I'm sharing three sweet cards I made with the oh so adorable Caring Thoughts stamp set.  This sweet set is part of the Dear Friend release and is filled with lots of sentiments for many occasions along with two additional images!

Y'all, the images in the Caring Thoughts are all so sweet, and I couldn't choose just one!  So I made a set of three cards with three of the five adorable images!

I stamped all of the images with black Copic safe ink and colored them with Copic markers.  I have the markers I used listed below for most of the colors I used.  Where I could, I used the same colors throughout each card for a cohesive look for the set.

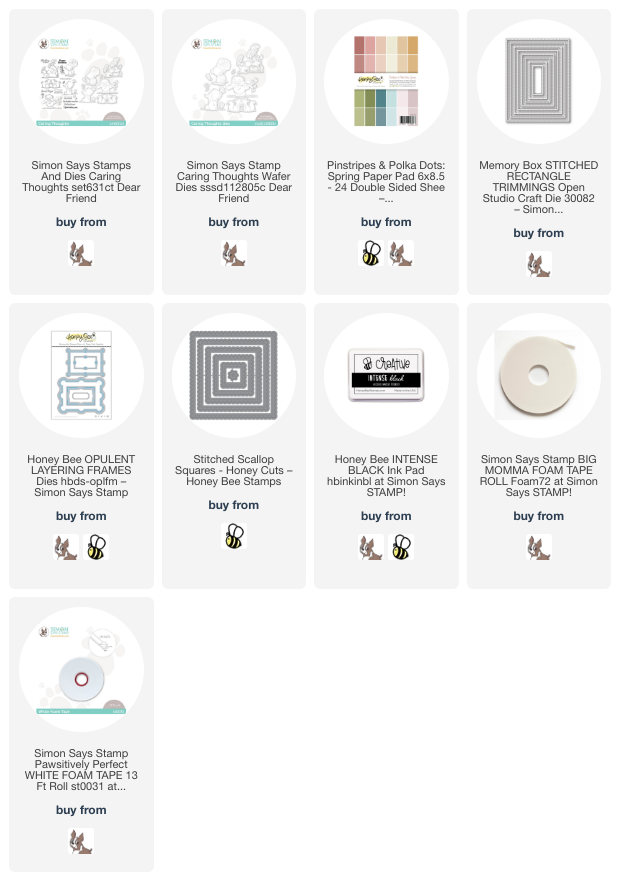
All three images were die cut with the same scallop square die (all products listed below) and mounted with foam tape.  I added a panel of soft purple dotted patterned paper to A2 card bases.

All of the sentiments are from the Caring Thoughts stamp set and were die cut with various dies to fit.  I also popped up the sentiments with foam tape.

There are lots of other styles of stamp sets and other products in the Dear Friend release.  Be sure to check  it out by clicking this graphic:

Thank you so much for stopping by!  Have a wonderful day!

These are the Copic markers I used:

  • purple:  V17, V15, V12, V01, V000
  • green:  G85, G94, G24, G43, YG61
  • blue sky:  B0000
  • brown: E23, E55, E31, E42
Thank you for using my affiliate links to shop (never any additional cost to you)!

Thursday, March 16, 2023

Happiness is Springtime Blooms

Hello crafty friends!  If you are here from the Instagram hop, thank you!  If not, I hope you will check it out.  We are celebrating Honey Bee Stamps Simply Spring release today, and if you leave a comment on the stops, you will have a chance at an awesome gift card from Honey Bee!

I had so much fun inking up the die cuts from the Lovely Layers: Spring Greenery Honey Cuts!  I'm keeping this post super brief, but if you have any questions, please use the "contact me" form in the left column here.

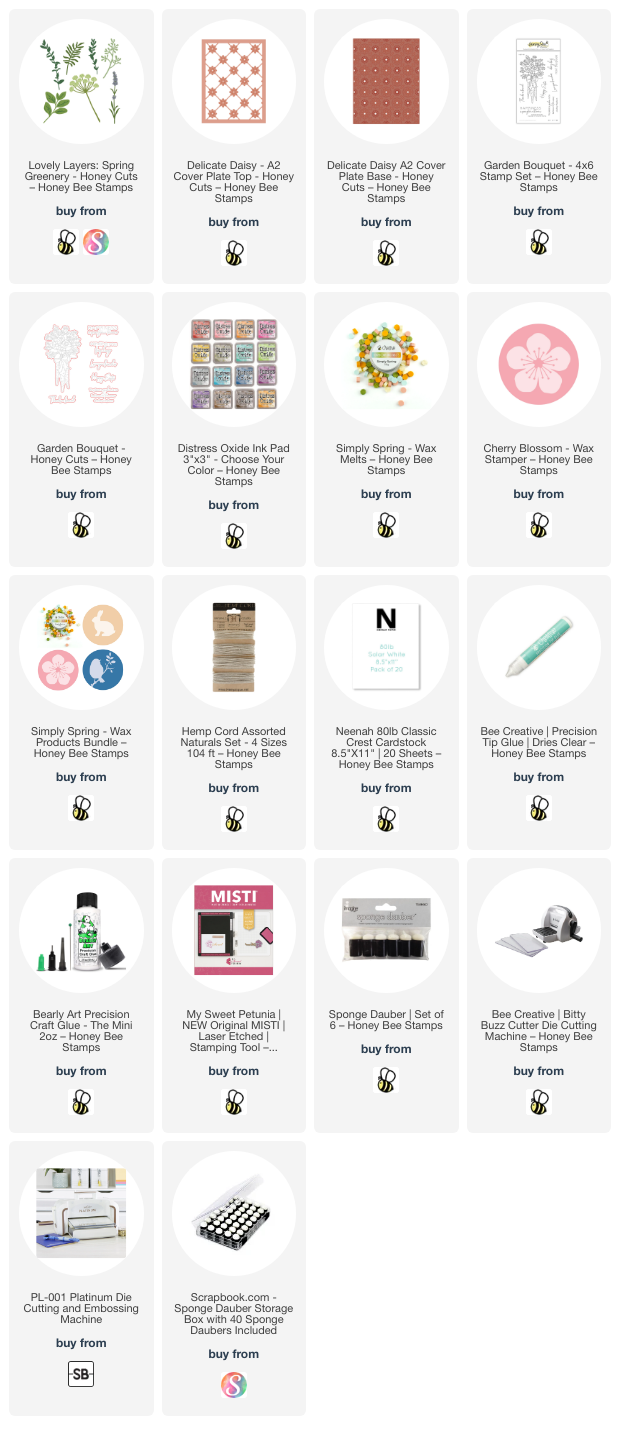
For the card layers, I used the gorgeous Delicate Daisy - A2 Cover Plate Top & A2 Cover Plate Base!  I have had this cardstock in my stash forever!  I never thought I'd use it, but you know what they say: "never say never"!  LOL!  I die cut the top and bottom layers from it, then die cut the top layer three more times from 80# Neenah.  After glueing the layers together, I adhered them to an A2 card base.

Next I die cut all of the pieces in the Lovely Layers: Spring Greenery from 80# Neenah.  I used these Distress Oxide inks and sponge daubers to color the pieces (colors are also linked below):

  • Bundled Sage 
  • Shabby Shutters
  • Peeled Paint
  • Forest Moss
  • Victorian Velvet
  • Tattered Rose
  • Milled Lavender
  • Seedless Preserves

Press N Seal was my assist to glue the layers to the card.  (Note:  I did not glue down the flower and greenery tops to add dimension.)  Then I stamped a sentiment from the Garden Bouquet stamp set with Forest Moss Distress Ink.  I cut it out with the coordinating die.

I added some foam squares behind some of the leaves and flowers at the top for dimension.  Yes, I love dimension on my cards!!!

To top off the bouquet, I added a wax seal from the new Cherry Blossom Wax Stamper and the Simply Spring Wax melts.  I added some twine below the wax melt for fun!

I sure do thank you for stopping by today!  If you join me on the Instagram hop, please be sure to say hello, and that you came from here.  Have a wonderful and crafty day!

Thank you so much if you use my affiliate links for shopping (never any additional cost to you)!

Thursday, January 19, 2023

Simon Says Stamp Damask Hot Foil Plate from the new "Kisses" Release

Today's the day for Simon Says Stamps' newest release called "Kisses" and I'm so happy to share this card with you today!  There are so many awesome new crafty products in this release, including this Damask Hot Foil Plate I've used on my card today!

I've used the new Damask Hot Foil Plate with foil, as expected, but I also used the plate to dry emboss additional details on the card layer!  Check out the details

For the dry embossing, I positioned the Damask Hot Foil Plate at one corner of a 4" x 5-¼" piece of cardstock.  I used the tan rubber embossing mat with the sandwich for embossing on my die cutting machine.  I repeated the steps for the other three corners.  Before I adhered the panel to an A2 card base I used an ink blending brush to add some coordinating ink around the edges of the piece.

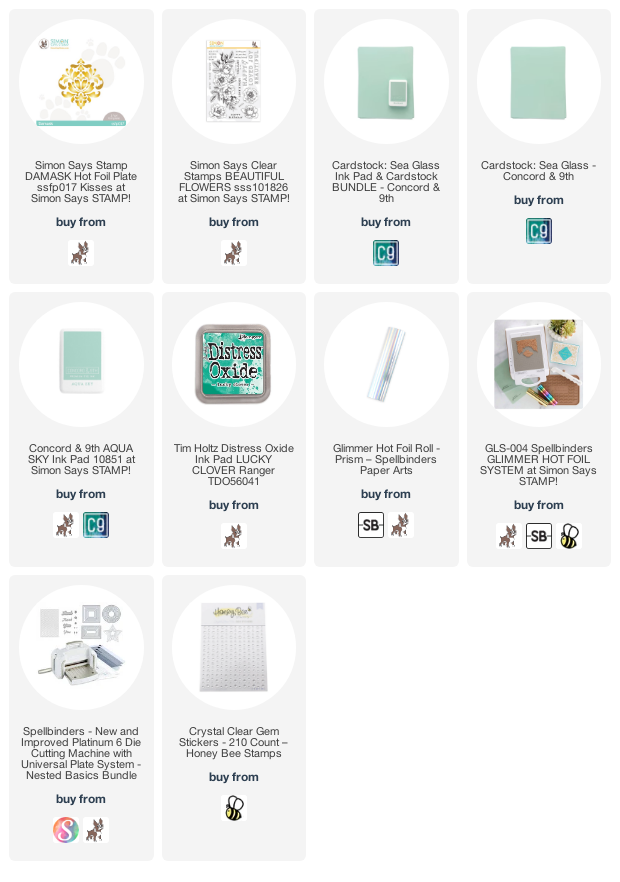
Next I used my Glimmer Hot Foil System to foil the Damask Hot Foil Plate onto white cardstock with Prism Glimmer hot foil.  Then I just used my scissors to fussy cut it out.  I added some foam tape to the back to pop it up on the card front.

The sentiment is from the Beautiful Flowers stamp set.  I stamped it with Lucky Clover Distress Oxide ink, trimmed it into a strip, and popped it up on the card.  I decided to add a bit more bling by placing some Crystal Clear gem stickers on the base layer--I do love my bling!  Haha!

This was certainly the easiest and fastest card I've made in a while, yet is so beautiful with the gorgeous Damask Hot Foil Plate!  Be sure to check out all of the other products and inspiration for the Kisses release over at Simon Says Stamp!

Thank you for stopping by today!  I hope it is a good and crafty one!

Thank you for shopping with my affiliate links (never any additional cost to you).

Friday, January 13, 2023

Spellbinders & Simon Hurley Birthday Basics Card

 Hey crafty friends!  I'm thrilled to be sharing a new release by Simon Hurley for Spellbinders that's part of the January Stamps & Dies Collection!  Not only is there this fun Birthday Basics stamp set and dies, but many other types of sets!

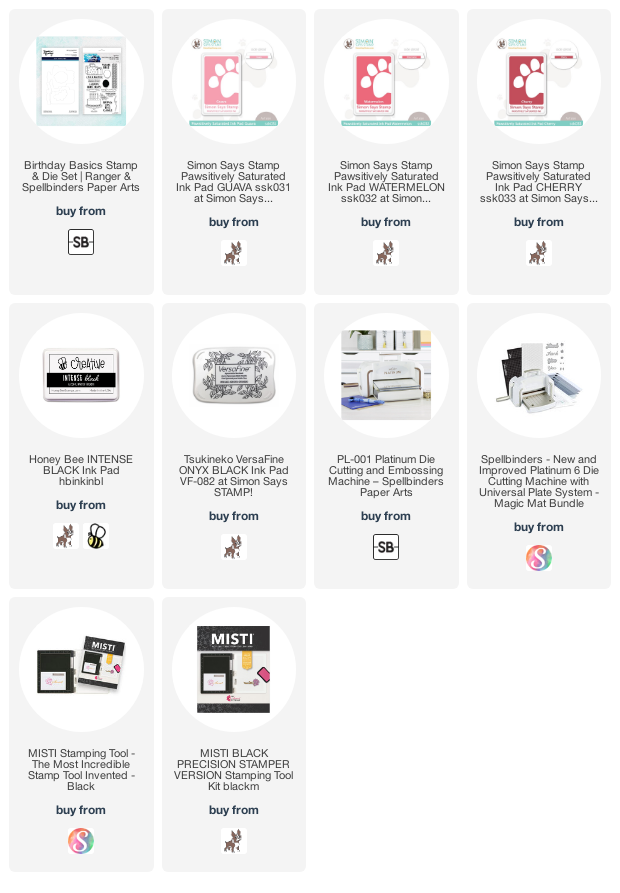
I began my card by stamping the "confetti strip" stamp from the Birthday Basics stamp set with three pink shades of ink along the bottom of my A2 card base.  (The ink colors are in the supply list below.)  I used sponge daubers to add each shade of pink ink to the stamp.  Having the stamp in my MISTI let me repeat each color until I liked the results.  Then I used a t-square ruler and a Copic Multiliner to draw a line across the top.  I have all of the ink colors in the supply list below.

Next I stamped out the cake and flower image with a black Copic safe ink.  Then I colored it with some pink, green, and yellow Copic markers and cut them out with the coordinating dies.

Before I added anything to the card front, I used two of the included sentiments in the set and the flower stamp to stylize the inside of the card.  I used the same Copic markers to color up the flowers and leaves.

I added foam tape to the back of the cake to pop it up on my card.  I also used a thin foam square to add the flower to the cake.

Then I placed the card into my MISTI and stamped the sentiment with Versafine Onyx black ink.  This is one of six awesome sentiments included in the set!

A few pink rhinestones on the cake stand add a bit of sparkle!

Thanks so very much for stopping by!  Be sure to check out the rest of the release over at Spellbinders!

Thank you for using my affiliate links (never any additional cost to you).

Wednesday, November 9, 2022

Simon Says Stamp Holiday Sparkle Release

 Hello crafty friends!  I'm happy to be sharing my card and coordinating gift tag I made featuring Simon Says Stamp's new So Many Presents stamp set!  This is part of their Holiday Sparkle release that is available now!

What's really fun about the So Many Presents stamp set is that the center is removable and it stamps the three presents you see on my tag!

These were super easy to make and I stamped the images onto 80# Neenah Solar White cardstock with Versamark clear embossing ink.  Then I sprinkled on some red glitter embossing powder (that I've had forever!) and heat set it.

I die cut the tag and trimmed red glitter cardstock to layer behind it.  I stamped and heat embossed "to" and "from" using a set from Honey Bee.  Then  I tied on red and gingham ribbons from my stash.

I trimmed the main panel to 4" x 5-¼" and wrapped red grosgrain ribbon around it twice.  Then I added foam tape to the back and adhered it to a red glitter A2 panel.

Next I stamped the sentiment from the Inside Christmas Greetings with Versamark onto red cardstock.  I heat set the white embossing powder and added a glitter cardstock layer behind it.  Of course, I had to pop it up with foam tape!

Super easy card and tag to make!  I hope you'll check out all of the wonderful Holiday Sparkle release over in Simon's shop.  Thanks so much for stopping by!

Thank you for using my affiliate links (never any additional cost to you).