Showing posts with label Hello Harvest release. Show all posts

Tuesday, September 30, 2025

So Thankful For You -- Hello Harvest Release Inspiration

Hello, friends!  I'm sharing a quick post for my card featuring some of Honey Bee Stamps' new Hello Harvest release products.  I'm part of an Instagram hop where you will get to see lots of awesome ideas for many of the new products!  There's always a prize too!  So be sure to check it out!

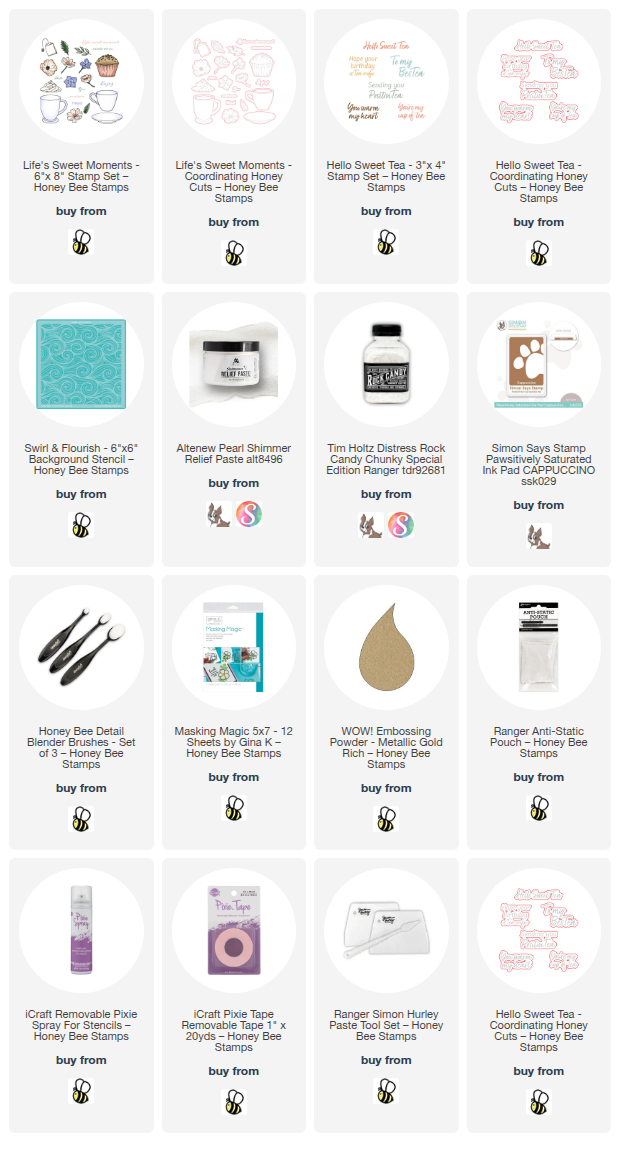
I've made a beautiful Thanksgiving card using the new Lovely Layers: Boho Leaves.  First I made some lovely watery autumn colored panels.  I used watercolor cardstock and painted on various green, golden yellow, and warm red watercolors from my stash.  I have all of the available products in the list below.

I tore a strip of brown cardstock and then inked it up with Walnut Stain Distress ink.  Do you still have one of those crimping tools?  I do, and pulled it out and crimped the strip of cardstock.  Then I used my finder to add Gilded Foundry Wax to the edge of the strip and used my heat tool to set it.  Love how it turns to a beautiful shiny gold!

I added some patterned paper to the card base that is part of a "Free Bee" that is automatically added to any Honey Bee order over $100.  The brown crimped stripped is popped up with foam tape.

Before I adhered the Boho Leaves with glue and foam tape, I inked the edges with Peel Paint Distress ink.  Then I tied a bow with some twine I have in my stash and adhered it with a Glue Dot.

I used sentiments that are in the Forever Grateful stamp set.  After I stamped them with clear embossing ink, I added gold embossing powder and set it with my heat tool.  I cut them out with the coordinating dies and adhered them to the card with foam strips.

I love the grungy chic style of this card!  I hope you will join me over on Instagram for the hop!  I know you will love all of the inspiration for the Hello Harvest release!  Thanks so much for stopping by!

Thank you for using my affiliate links to shop (never any additional cost to you)!
Wednesday, September 24, 2025

Hope Your Birthday Is Tea-rrific! A New Release By Honey Bee Stamps

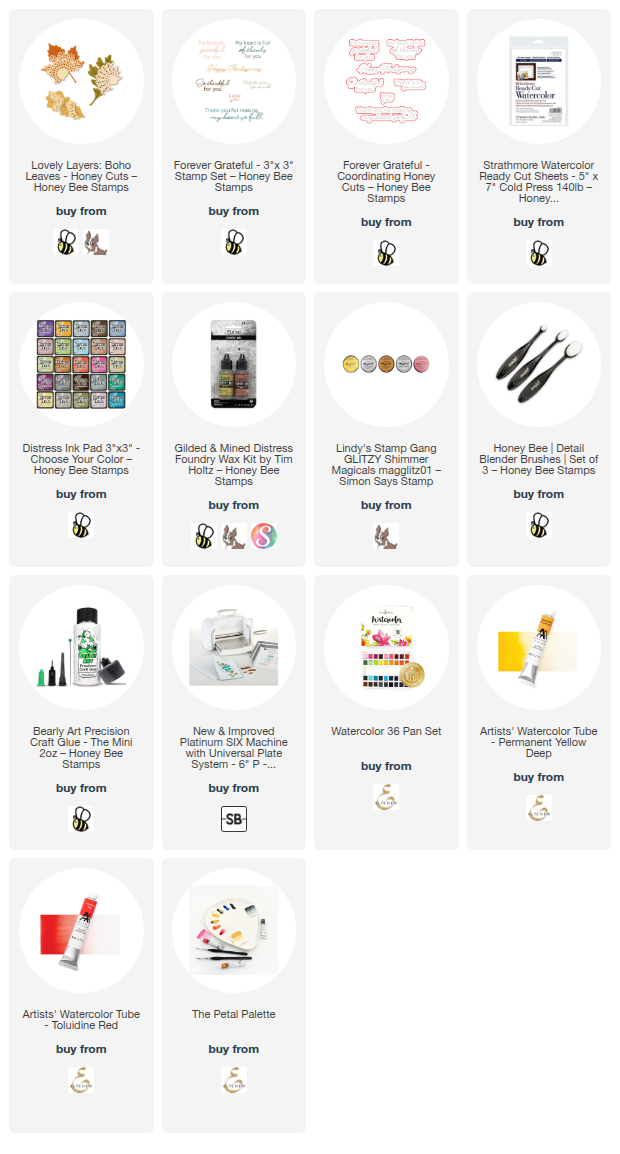
Hello crafty friends!  Are you ready for Honey Bee Stamps newest release?  It's available now and is called Hello Harvest and is filled with so many awesome products including the Life's Sweet Moments stamp set and coordinating dies that I've used on this card.

Do you enjoy creating backgrounds with masked images?  If so, this one's for you!

First I created the background.  You will need a stamp positioning tool like the MISTI to do this technique.

Place a 4-¼" x 5-½" piece of white cardstock into a corner of your stamping tool.  Ink up the cup from the Life's Sweet Moments stamp set with Intense black ink and then stamp the ink off onto scrap paper once.  Next I stamped it onto my 80# white cardstock piece.  (I didn't want the lines to be too dark as I plan to come back and gold heat emboss the image.)

Very important:  DO NOT remove the stamp from the lid of the stamping tool.

Next I stamped the cup onto masking paper and cut it out with my scissors.  Set aside the cup portion of the masking paper.  Adhere the negative portion of the mask onto the cardstock panel around the stamped cup.  I placed one of the flower stamps from the Life's Sweet Moments set onto a stamp block.  I inked it up with Intense black ink and stamped it near the edge of the coffee cup.  I repeated these steps with one more flower.

I stamped a mask for the upper right flower, cut it out, and placed it over the stamped image.  Then I stamped a leaf and removed the mask.  Next I colored the cup with Copic markers.  I used the warm grays of W3, W1, and W00 to color the cup.

Place the panel back into the stamp positioning tool.  Add some anti-static powder and stamp the cup again with clear embossing ink.  Add gold embossing powder and set with a heat tool.

Next I placed the mask for the cup over the cup.  After I sprayed the back of the NEW Swirl & Flourish Stencil with Pixie Spray I put on onto the masked panel.  Then I added a strip of masking tape about 2" above the bottom edge of the panel.  Then I carefully spread some pearl texture paste through the stencil with a palette tool.

Carefully remove the stencil, masking tape, and cup mask and set the piece aside to dry.

While panel is drying, I stamped more flowers, the saucer, and cupcake from the Life's Sweet Moments stamp set with Intense Black Ink.  I colored the images with my Copic markers and cut them out with the coordinating dies.  (NOTE:  I also added gold embossing powder to the saucer using the same technique as described above.)

When the texture paste was dry, I added a piece of masking tape to mask off the bottom of the stenciled area and inked on brown ink with a blender brush.  I used a brown pencil and t-square ruler to draw lines to emulate wood planks.

I adhered the images with foam tape.  The sentiments are from the Hello Sweet Tea stamp set, stamped in black ink, and cut out with the coordinating dies.  I popped them up with foam strips.

I really enjoyed making this scene!  It is really fun to mask off images and creates a unique card!  Be sure to check out all of the NEW Hello Harvest products to see what you like.

Thank you so much for stopping by!

Thank you for using my affiliate links to shop (never any additional cost to you)!