Showing posts with label Pearl Shimmer Relief Paste. Show all posts

Wednesday, February 19, 2025

Let's Make A Card For Our Friend With New and Older Sets!

Hello crafty friends! It is SO cold here, and a lot of other places, I know!  I've been staying warm in my craft room and making another card my favorite way!  I love using new products with older ones, and I've made a card that features two of the products from the Honey Bee Stamps Perfect Match release and two products that are older, but still favorites!

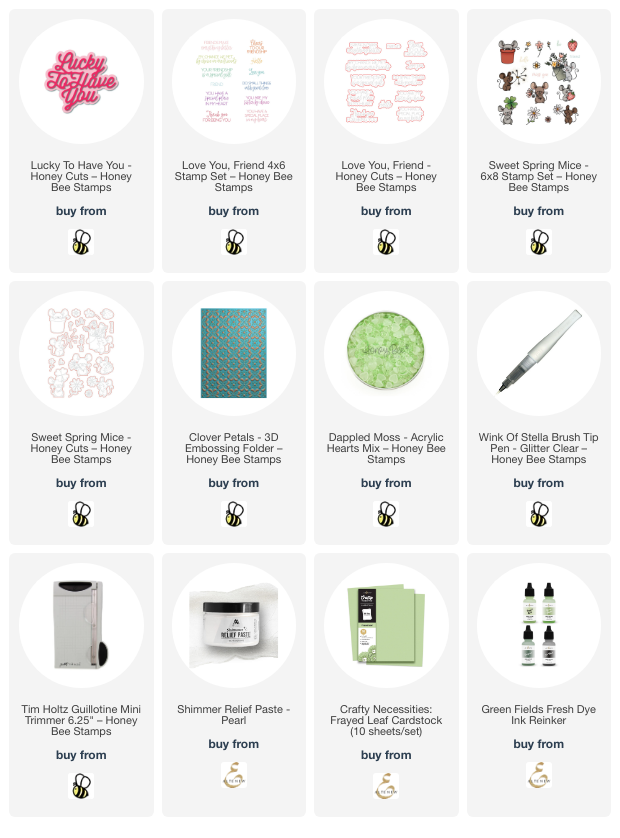
If you follow me, you may have noticed that I don't make a lot of cards that have critters on them. It's not that I dislike them, I just don't seem to reach for them often. However, this Sweet Spring Mice stamp set is one that I have used multiple times!! I stamped this cute mouse with Copic safe black ink and did some simple coloring with a few Copic markers. I cut it out with the coordinating Sweet Spring Mice Honey Cut and set it aside to work on the other card elements.

The second older product I used is the Clover Petals 3D embossing folder. I embossed light green cardstock with the embossing folder. Then I custom dyed some pearl shimmer paste with a couple drops of light green reinker that coordinates with the cardstock. Once I had the paste mixed I used my finger to rub the paste onto the raised areas of the embossed cardstock. I set it aside to dry.

Next I die cut white cardstock three times with the top layer of the Lucky To Have You die. I die cut the layer once more from more light green cardstock. I used glue to adhere the layers together and then glued it to the white layer I die cut with the bottom layer of the Lucky To Have You die. I swiped a clear glitter pen over the sentiment for some subtle sparkle.

Then I stamped "friend" from the Love You, Friend stamp set with light green ink and cut it out with the coordinating die. I adhered it to the middle of the Lucky To Have You sentiment with thin foam tape.

After making sure the embossed panel was dry, I trimmed it to 3-¾" x 5" and glued it to an A2 card base. Then I glued the sentiment to the card.

I adhered the cute Sweet Spring Mouse with foam dots. I wanted a bit more bling and was happy to find that the Dappled Moss acrylic hearts coordinated perfectly! I used little dots of glue to adhere the hearts to my card.

While this card has a bit of a St. Patricks Day vibe to it, I think it is good to send to a special friend at any time! Thank you so much for stopping by! Have a wonderful and crafty day!

As always, I sure appreciate you when you use my affiliate links to shop (never any additional cost to you)!

Friday, February 7, 2025

Altenew February 2025 Release Blog Hop + Awesome Giveaway

Hello friends!  I'm so happy to be a part of Altenew's Blog Hop to celebrate their amazing February 2025 Release.

By leaving a comment below, and on each stop of this hop, you will be entered to win an awesome prize!  Keep reading for the details below.  If you would like to start at the beginning, please head over to the Altenew Blog.  There are so many talented creators on this hop, so please go visit them all!  I have the list below.

For my card today, I've used several new products including the gorgeous Craft-A-Flower: Bearded Iris!  Bearded Iris are one of my most favorite flowers and my colors are inspired by a variety I have grown in my garden!

Can you believe that I colored these gorgeous Bearded Iris with ONE ink color and ONE Detailed Blending Brush?!!  It is true!  I used a size 10 Detailed Blending Brush (angled) and Midnight Violet Fresh Dye Ink to color each petal of the Craft-A-Flower: Bearded Iris.

By turning the angled Detailed Blending Brush and just using the tip of the angle, you can get some amazing effects with your ink blending!  To get more coverage of ink at the base of the petals I used a Mini Blending Brush.

I colored the leaves with three of the inks in the Tropical Forest Fresh Dye Ink collection and a Mini Blending Brush.

I added these gorgeous flowers to a background I made with a panel of Deep Iris Crafty Necessities Cardstock.  Have y'all tried the new Shimmer Relief Pastes?  If not, let me just say that these pastes are truly the best because they spread like butter and have so much gorgeous shimmer!!

I used stencil 3 in the Patterned Petals Builder Stencil Set and spread Pearl Shimmer Relief Paste through it with a pallet knife.  Once the paste was dry, I used a Mini Blending Brush with Deep Iris ink and the stencil 4 Patterned Petals stencil to add more detail.  Then I blended more Deep Iris ink around the edges of the panel

I used glue and Instant Dimension Foam Tape to adhere the Bearded Iris flowers and leaves to the card.  The stencil is from the Craft Your Life Project Kit: Garden Whispers stamp set and stamped with Obsidian black ink.  I cut it out with the coordinating die.

I hope you've seen some inspiration at my stop for using this beautiful Craft-A-Flower: Bearded Iris set!  Be sure to comment here and at each stop along the way to increase your chances of winning one of these fabulous prizes!!

Blog Hop List:

You are invited to the Inlinkz link party!

Click here to enter
Here are the supplies I've used for my card (affiliated links-never any additional cost to you).