Showing posts with label Sweet Spring Mice. Show all posts

Wednesday, February 19, 2025

Let's Make A Card For Our Friend With New and Older Sets!

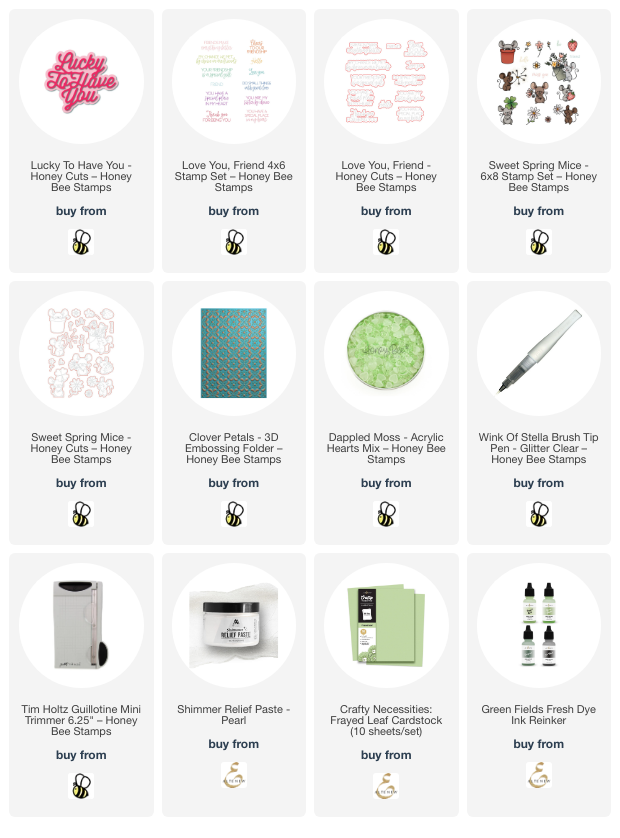
Hello crafty friends! It is SO cold here, and a lot of other places, I know!  I've been staying warm in my craft room and making another card my favorite way!  I love using new products with older ones, and I've made a card that features two of the products from the Honey Bee Stamps Perfect Match release and two products that are older, but still favorites!

If you follow me, you may have noticed that I don't make a lot of cards that have critters on them. It's not that I dislike them, I just don't seem to reach for them often. However, this Sweet Spring Mice stamp set is one that I have used multiple times!! I stamped this cute mouse with Copic safe black ink and did some simple coloring with a few Copic markers. I cut it out with the coordinating Sweet Spring Mice Honey Cut and set it aside to work on the other card elements.

The second older product I used is the Clover Petals 3D embossing folder. I embossed light green cardstock with the embossing folder. Then I custom dyed some pearl shimmer paste with a couple drops of light green reinker that coordinates with the cardstock. Once I had the paste mixed I used my finger to rub the paste onto the raised areas of the embossed cardstock. I set it aside to dry.

Next I die cut white cardstock three times with the top layer of the Lucky To Have You die. I die cut the layer once more from more light green cardstock. I used glue to adhere the layers together and then glued it to the white layer I die cut with the bottom layer of the Lucky To Have You die. I swiped a clear glitter pen over the sentiment for some subtle sparkle.

Then I stamped "friend" from the Love You, Friend stamp set with light green ink and cut it out with the coordinating die. I adhered it to the middle of the Lucky To Have You sentiment with thin foam tape.

After making sure the embossed panel was dry, I trimmed it to 3-¾" x 5" and glued it to an A2 card base. Then I glued the sentiment to the card.

I adhered the cute Sweet Spring Mouse with foam dots. I wanted a bit more bling and was happy to find that the Dappled Moss acrylic hearts coordinated perfectly! I used little dots of glue to adhere the hearts to my card.

While this card has a bit of a St. Patricks Day vibe to it, I think it is good to send to a special friend at any time! Thank you so much for stopping by! Have a wonderful and crafty day!

As always, I sure appreciate you when you use my affiliate links to shop (never any additional cost to you)!
Wednesday, March 6, 2024

What A Blessing You Are To Me!

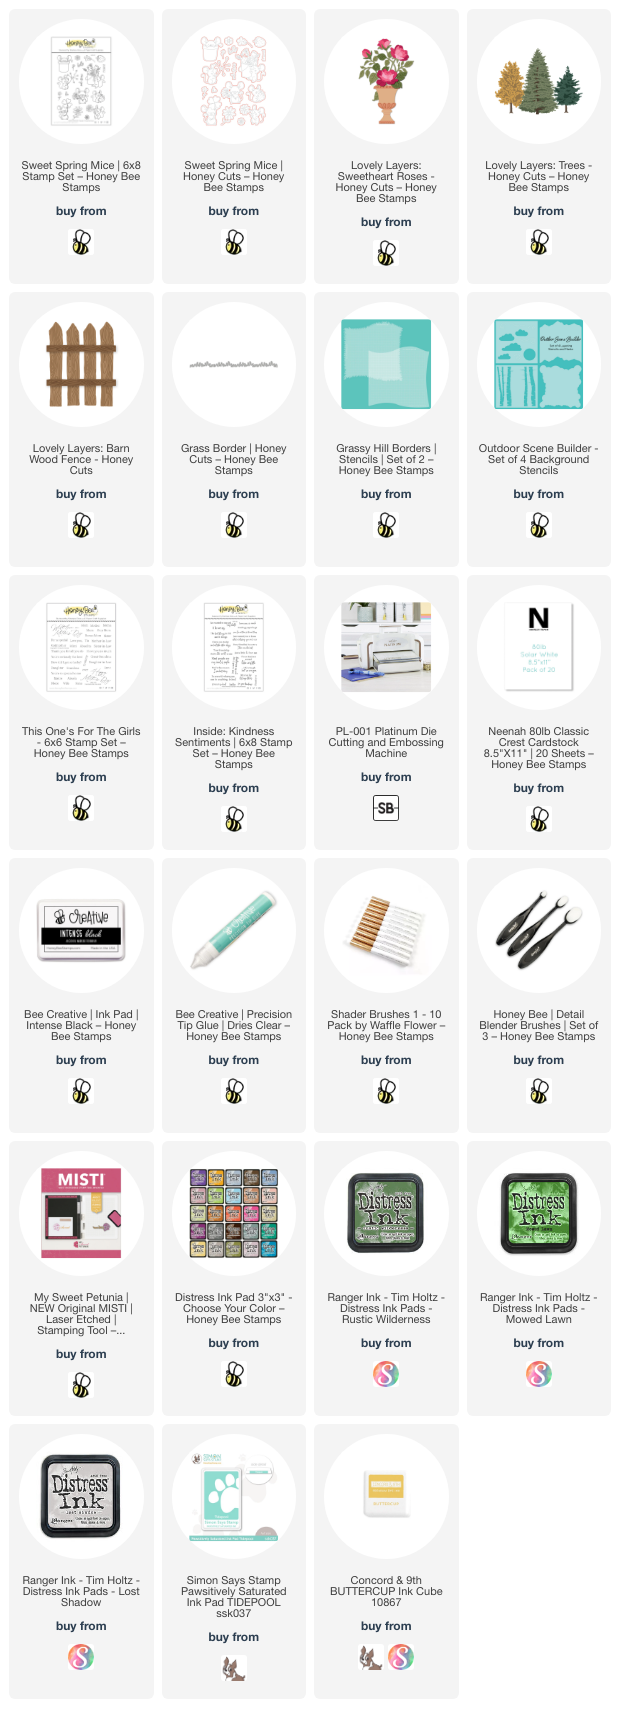
 Hello friends!  Since the official start of spring is so close, I've created this card with that in mind and have included a tiny touch of St. Patrick's Day!  I used new and older favorites from Honey Bee Stamps including the Lovely Layers: Sweetheart Roses and the Sweet Spring Mice stamps and dies.

First I stamped the sweet mouse from the Sweet Spring Mice set with Copic safe ink.  After I colored it with my Copic markers, I cut it out with the coordinating die. These are the markers I used: G19, G09, YG09, YG07, R30, R00, R000, C7, C5, C3, and C1. I used a Cream Prismacolor pencil to add the details to the clover.

I die cut the Lovely Layers: Barn Wood Fence dies from white cardstock and used an ink blending brush to add some Lost Shadow Distress ink for shading. I used glue to adhere the fence pieces together. Then I die cut white cardstock with the Grass Border die blended on Mowed Lawn and Rustic Wilderness Distress inks.

Next I created a hill and cloud background by inking up a 4-¼" x 5-½" white card panel using the Grassy Hill Borders stencils and the clouds stencil from the Outdoor Scene Builder Stencils. I used Mowed Lawn, Rustic Wilderness, and Tumbled Glass Distress inks.

I glued the stenciled panel to an A2 card base. Before I added any more elements to the card front, I stamped a sentiment from the Inside: Kindness Sentiments stamp set on the inside of the card. I think this sentiment goes perfectly with the one I will add to the card front!

Next I glued the fence and the grass border to the front of the card.

The final element is the Lovely Layers: Sweetheart Roses die set. I really do think this is one of my very favorites in the Lovely Layers line! I colored the die cuts using ink blending brushes and yellow and green inks. Then I adhered all of the layers together with glue.

Next I die cut the container in the Sweetheart Roses. Before I inked on some teal ink, I trimmed the container to make it into a more standard type of flower pot! It's a gorgeous die as is, but it's just a bit more formal than I wanted for this scene. After I glued the trim pieces onto the flower pot I glued the Sweetheart Roses to the pot. Then I added foam tape dots to the back of the flowers, the pot and the mouse to pop them up on the card.

The sentiment on the front is from the This One's For The Girls stamp set. I stamped it in black ink, trimmed it into a strip, and popped it up with foam strips.

I think you can tell by now how much I love the Sweetheart Roses die set! Haha! But this is just another example of how new Honey Bee products work so well with previously release sets!!! I hope you've found some inspiration for your card making today. Thank you so much for stopping by!

Wednesday, March 23, 2022

Get Your Bunny Ears On and Have An Egg-stra Special Easter

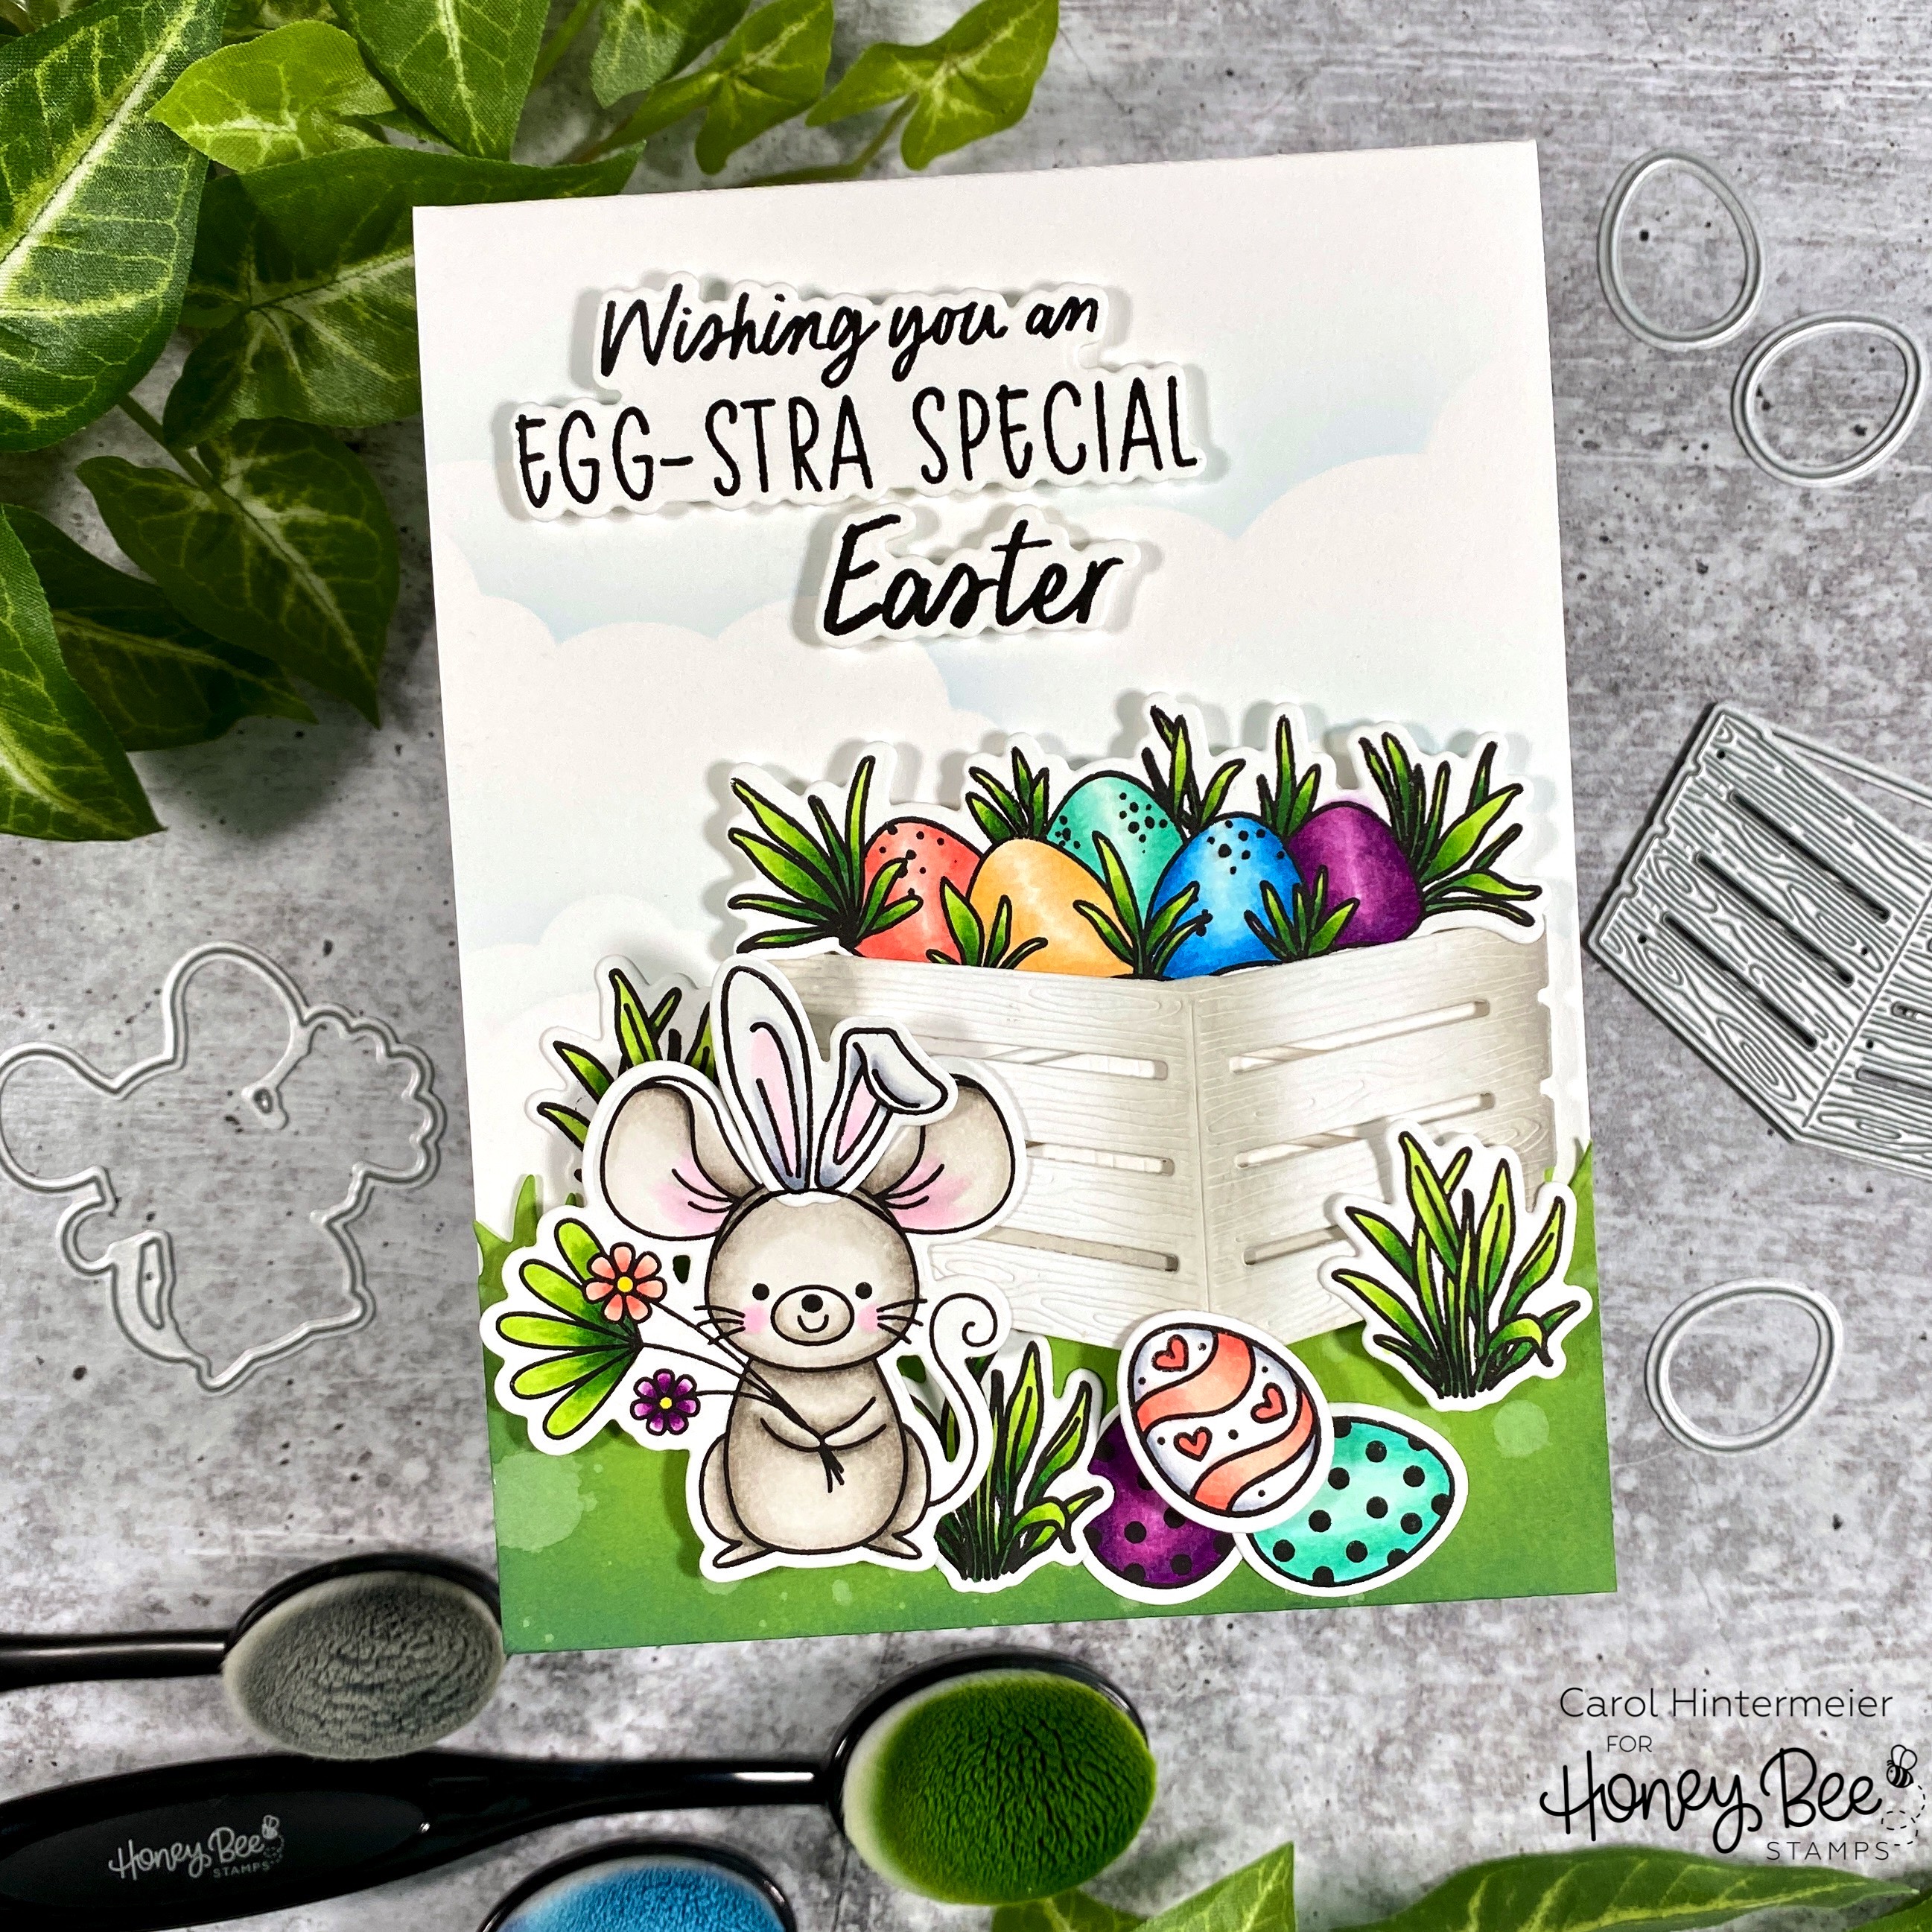
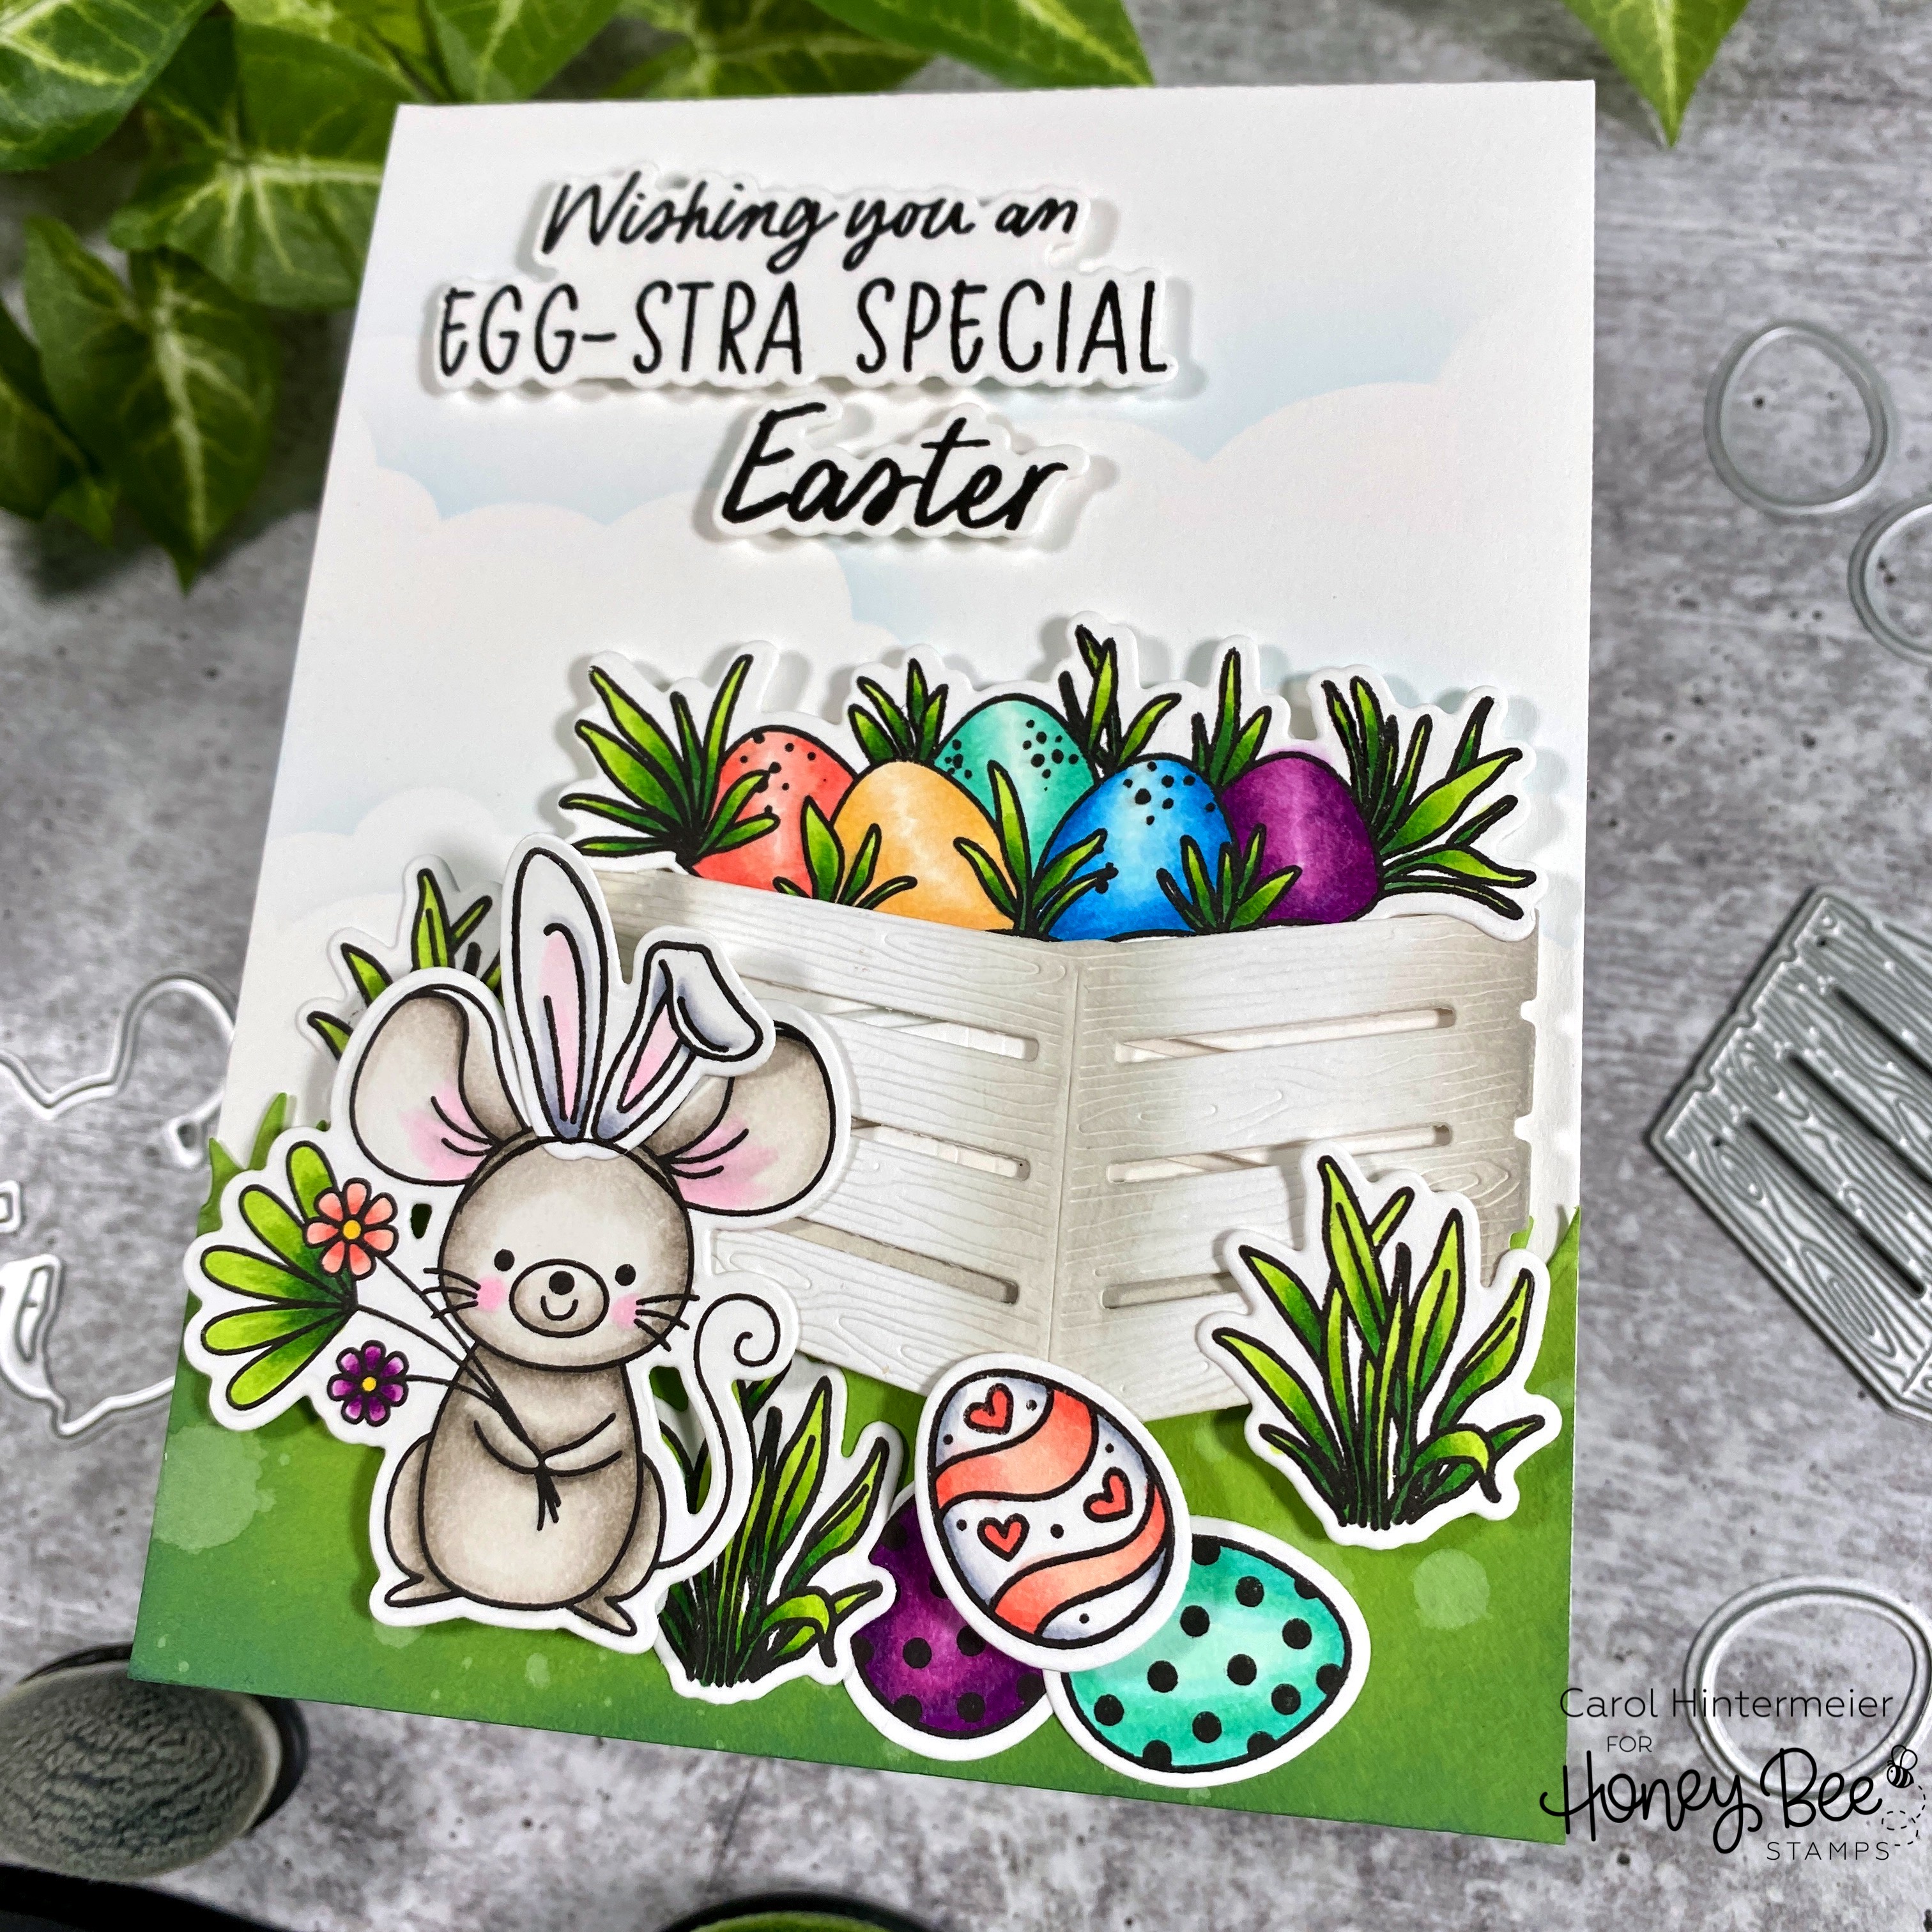
Hello Honey Bee friends! Easter is three weeks from this next Sunday, and this sweet mouse is all ready! I used one of the mice in the Sweet Spring Mice sets and added bunny ears from the Easter Basket Builder set that was released last year. The new Wooden Crate is filled with Easter eggs from that same set too!

I was super excited to see that the eggs in the Easter Basket Builder set (intended for the basket in that set) fit perfectly in the new Wooden Crate! I stamped it, the bunny ear, the extra eggs, and grass from that set in Intense Black ink. Then I stamped the mouse from the Sweet Spring Mice stamp set in the black ink. I colored them all with my Copic markers and die cut them with the coordinating Easter Basket Builder and Sweet Spring Mice Honey Cuts.

I used a pencil to sketch a line to "tie" the bunny ears onto the mouse. When I had my line how I wanted it, I used a black Micron pen to draw it in. Then I used Bee Creative glue to attach the ears to the mouse.

Next I die cut the Wooden Crate and the Grass Border Honey Cuts from white cardstock. I used some Detail Blender Brushes to add Mowed Lawn and Rustic Wilderness Distress Oxides to the grass strip. Then I sprinkled on some water drops and set it aside to dry. I used another Blender Brush to add Pumice Stone Distress Oxide ink to the wooden crate on the sides and the center. I adhered the two pieces together with foam strips.

Before I adhered anything to my A2 card base, I used the cloud stencil from the Outdoor Scene Builders Stencil set and blended on some Tumbled Glass Distress Oxide over it for the clouds.

After I adhered the grass strip to the card base, I added some foam strips to the back of the crate and adhered it to my card. Then I added some foam dots to the back of the mouse, one of the grass bunches, and one egg to adhere and used glue to adhere the other items.

I stamped the sentiment from the Hoppy Easter set with Intense Black ink and used the coordinating Honey Cuts to cut them out. I added foam strips to the back for dimension.

This little mouse with the bunny ears just makes me smile; and I hope it makes you smile too! Thank you so much for stopping by! Have a wonderful, crafty week!

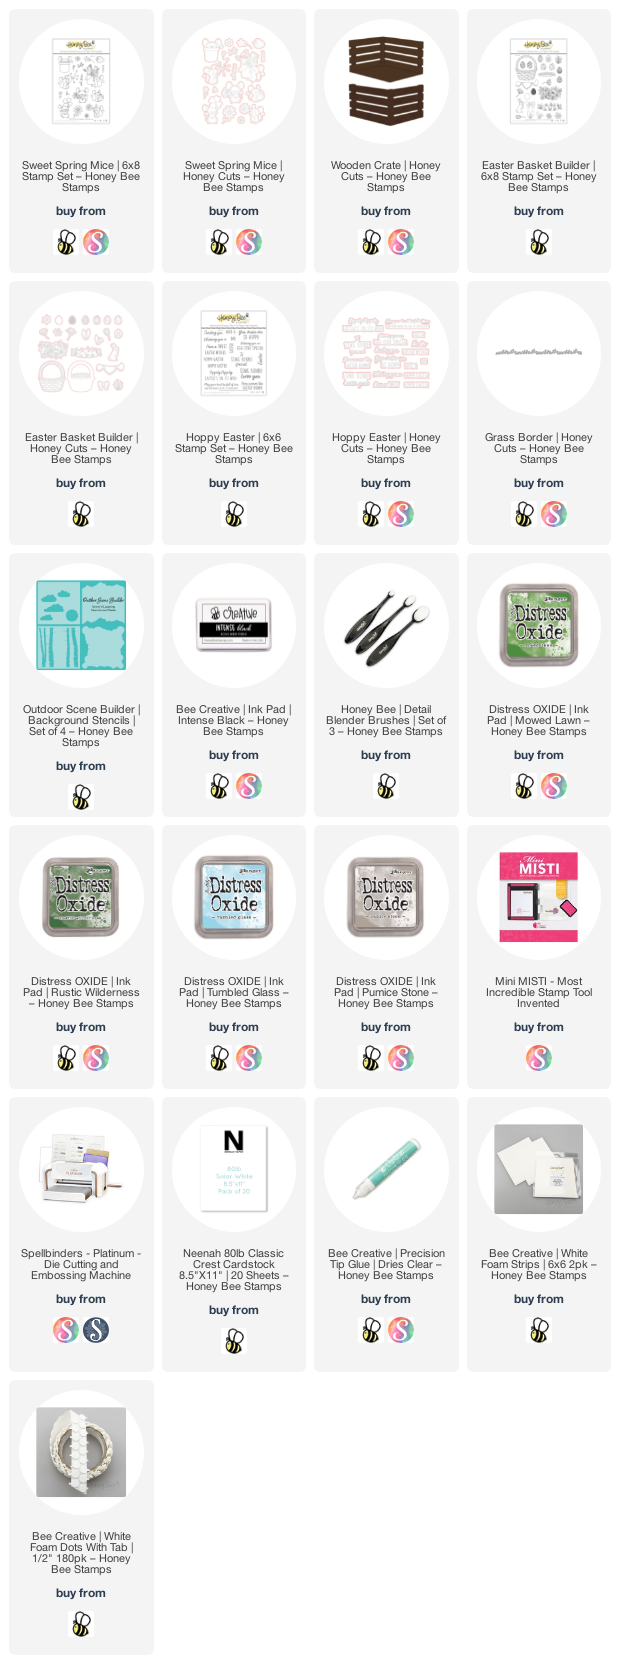
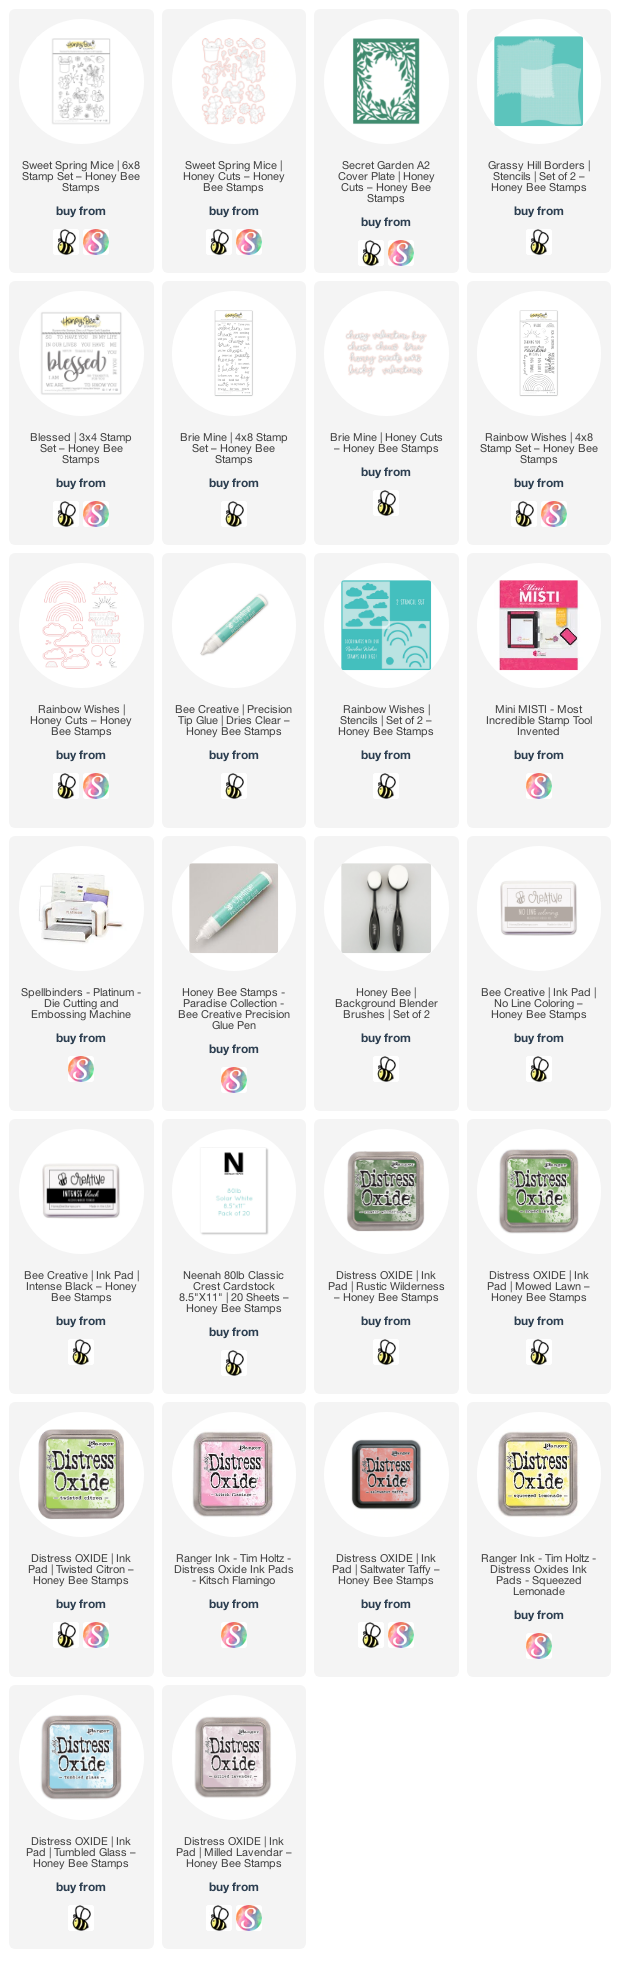
Click the image to check out the supplies I used:

Wednesday, March 16, 2022

Lucky To Know You Card with Lots of Distress Oxide Ink Blending

Hello Honey Bee friends! In keeping with Honey Bee Stamps' "green theme" for this week, I have an adorable card with the Sweet Spring Mice stamps and coordinating Honey Cuts with the Secret Garden A2 Cover Plate. This adorable mouse is peaking through the "secret garden" where he (or she) has found a lucky four leaf clover and a rainbow!

Before I get to my card details, have you checked out the Green Week sale going on over in Honey Bee's shop? Click the image to see all of the lovely green related products that will be automatically discounted by 15% in your cart!

Now, on to my card and the details!

I began by creating my card base by die cutting the rainbows from the Rainbow Wishes Honey Cuts from white cardstock. I colored them using the Rainbow Wishes stencils and Distress Oxides. I used Detail Blender brushes to add these Oxides: Kitsch Flamingo, Saltwater Taffy, Squeezed Lemonade, Mowed Lawn, Salvaged Patina, and Milled Lavender. I adhered the rainbow pieces onto a double-sided adhesive sheet, trimmed away the excess, and set them aside.

I blended some Mowed Lawn, Twisted Citron, and Rustic Wilderness Distress Oxide inks at the bottom of an A2 card using the Grassy Hill Borders stencil set. Next I blended on Tumbled Glass Oxide above the hill for a sky background. Then I adhered the rainbow pieces and trimmed off the excess from the side of the card. Before I added the Secret Garden die cut, I swiped a clear glitter pen over the rainbow for some subtle sparkle!

I inked up an A2 card with Rustic Wilderness, Mowed Lawn, and Twisted Citron Oxides in an ombré pattern and die cut it with the Secret Garden A2 Cover Plate die. Next I die cut two more from white card stock. I adhered all the layers together with Bee Creative glue. I placed narrow foam strips on the back to pop it up on the card. 

I stamped the mouse from the Sweet Spring Mice set with No Line Coloring Ink. I used these Copic markers to color him: C3, C2, C1, C0, and C00. The clover is colored with RV55, G24, and G21. (Yes, RV55! Use it to deepen the shadows of G24.) I used a black Micron pen to fill in his eyes, nose, mouth, and whiskers. Next I used the coordinating Honey Cut to cut it out.

I stamped the sentiment Lucky from the Brie Mine set with Intense Black ink and cut it out with the coordinating die. I used a stamp from the Blessed Buzzword set to complete my sentiment.  I used foam strips to adhere both sentiments to my card.

I do love my sparkles, so I added a bit more to the card with some green gems from the Hugs & Kisses Gem Sticker set!

I do adore the mice in this sweet set!  Thank you much for stopping by and I hope the rest of your week is fabulous!

Thank you should you choose to use my affiliate links (always no additional cost to you!) 💗