Showing posts with label Lovely Layers: Sweetheart Roses. Show all posts

Wednesday, April 2, 2025

A Sweet Garden Scene With Kitties!

Hello crafty friends! Today I'm sharing details of how to make this sweet kitty card that features the new Honey Bee Stamps Lovely Layers: Cats along with another favorite, Lovely Layers: Sweetheart Roses. I can just visualize these sweet kitties prowling around in a beautiful springtime garden and was inspired to make this card!

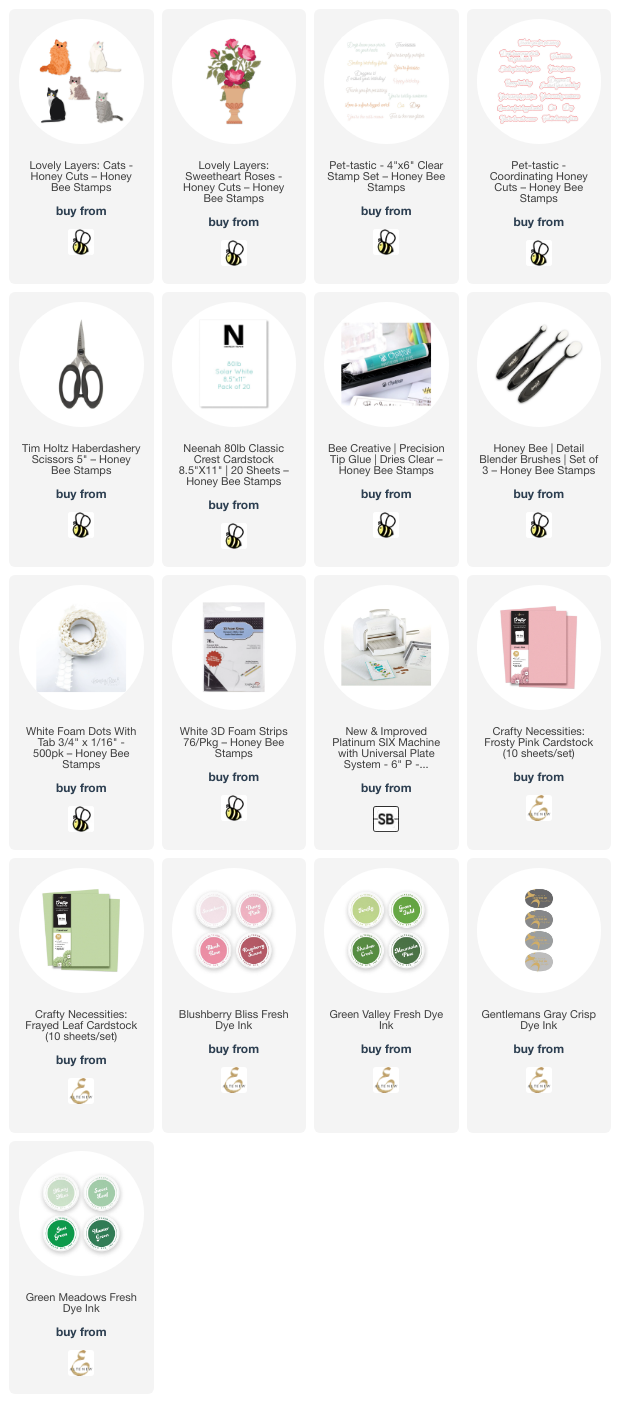
To create my garden scene I chose light pink and light green cardstocks and die cut the roses, bush, and leaves from the Lovely Layers: Sweetheart Roses. I die cut the planter pot from white cardstock. Then I used blender brushes and coordinating inks to shade the flower layers, the shrub and leaves to add a bit of depth. I used glue to adhere the layers together. (Be sure to download the Layering Guide found in the product description on the website.)

To add shading to the planter, I used three gray Copic markers: C3, C1, and C00. After I glued the layers of the planter together, I added glue to the bottom of the Sweetheart Roses to adhere it to the planter.

Next I chose two of the kitties from the Lovely Layers: Cats and die cut them from white and a light gray cardstock. For the gray kitty I added shading with a blender brush and gray ink. I colored parts of the other cat with an E40 Copic marker. Again, I used glue to adhere the layers together.

Now that I had the card elements all colored and ready for the card, I was really stuck on what to do for a background!!! Does that happen to you?

After much muddling through ideas, I thought that a soft inked background would pair best with the focal images. I used a blending brush to lightly add green ink for the "grass". This was the same light green ink I used on the Sweetheart Rose bush. Then I inked on a very light blue ink for the sky. I really like how this turned out!!!

I used foam dots to pop up the Sweetheart Roses and the gray cat.  Tip: I love these foam dots and only used these! I just use my non-stick scissors to cut them into smaller pieces!

I glued on the white cat and adhered the Sweetheart Roses and the gray cat. The sentiment is from the Pet-tastic Stamp Set and stamped in black pigment ink. I cut it out with the coordinating die. To adhere it over the Sweetheart Rose bush, I added a small piece of a foam strip on the left side and glue to the rest.

I'm actually shocked that I made a card with softer colors that I like! Hahaha!! I hope you like it too! Thank you so much for stopping by! Have a wonderful and crafty day! ðŸ©·

I so appreciate you using my affiliate links (never any additional cost to you)!
Wednesday, February 12, 2025

Love You Card for Anyone!!

Hello friends! Today I'm sharing my card that features new products from the Perfect Match release along with a couple of older (and favorite) product! This could be used as a Valentine card, but also for other occasions to say "Love You"!

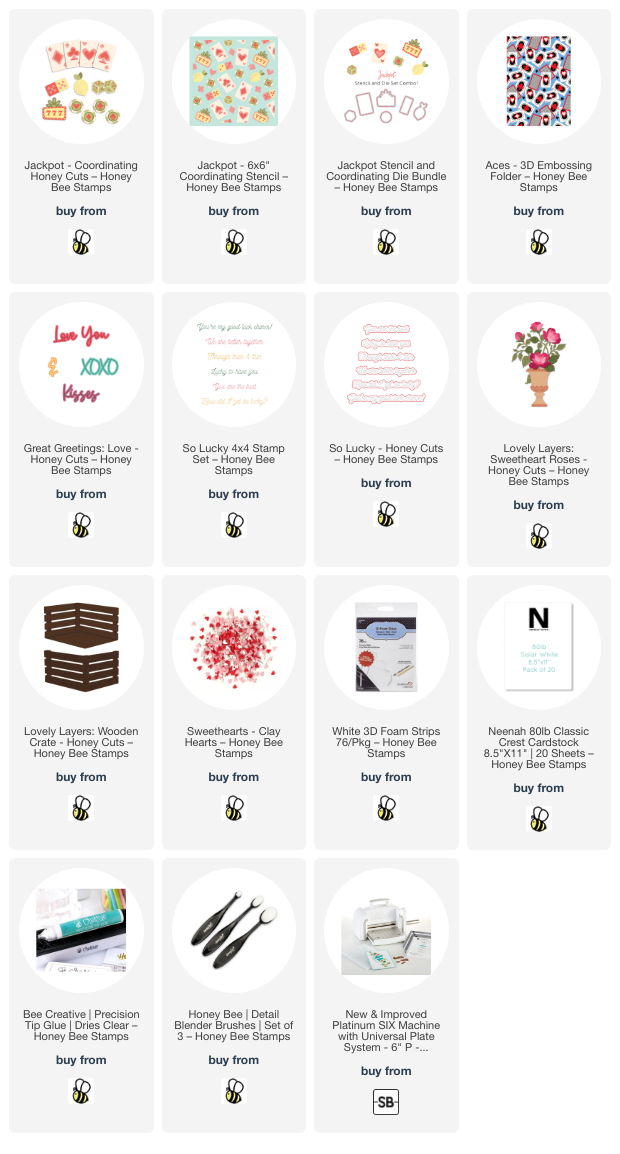
First I used the Jackpot stencil set. I stenciled each layer onto an A2 sized piece of Neenah cardstock. I used blending brushes to add various shades of pink, green, yellow, teal, and apricot inks through the stencils. You can use any colors you want to match the theme of your card!

Did you know that there is a small little coordinating Jackpot Honey Cuts set? It has six dies that will cut out six of the stenciled images. I used the die to cut out three of the cards from the stenciled piece. There was still a good sized piece of the stenciled panel left and I trimmed that to 2" tall.

I embossed more white cardstock with the Aces 3D Embossing Folder. After I glued it to an A2 card base, I glued the 2" stenciled piece at the bottom of the card front. I added a narrow strip of coordinating pink cardstock just above the stenciled piece.

Next I die cut from white cardstock the Lovely Layers: Wood Crate and the flowers and leaves from the Lovely Layers: Sweetheart Roses. I used blending brushes and the same pink and green inks I previously used to color the flowers and leaves. The crate was colored with a couple shades of brown ink.

I glued the layers of the colored pieces together. For the Sweetheart Roses to go into the Wood Crate, I trimmed a portion from the bottom of the stems. If you take care and trim it neatly, you can use those extra leaves to tuck into the top of the rose bush like I did.

I blended more pink ink onto a scrap piece of white cardstock. Then I die cut the top layer of the Love You sentiment from the new Great Greetings: Love dies. I die cut those twice more from white cardstock and glued the layers together. Then I glue the sentiment to the white die cut shadow layers.

The sentiment from the So Lucky stamp set helps to tie the florals with the Aces embossing folder and the Jackpot stenciled pieces. I stamped it with black ink, cut it out with the coordinating die, and popped it up on the card with a foam strip.

I added a few pink hearts that are from the Sweethearts Clay Hearts for a little something extra!

I love how so much of Honey Bee's products can be used together, no matter how new or old! Thanks so much for stopping by! I hope you have a wonderful, and crafty, day!

Wednesday, March 6, 2024

What A Blessing You Are To Me!

 Hello friends!  Since the official start of spring is so close, I've created this card with that in mind and have included a tiny touch of St. Patrick's Day!  I used new and older favorites from Honey Bee Stamps including the Lovely Layers: Sweetheart Roses and the Sweet Spring Mice stamps and dies.

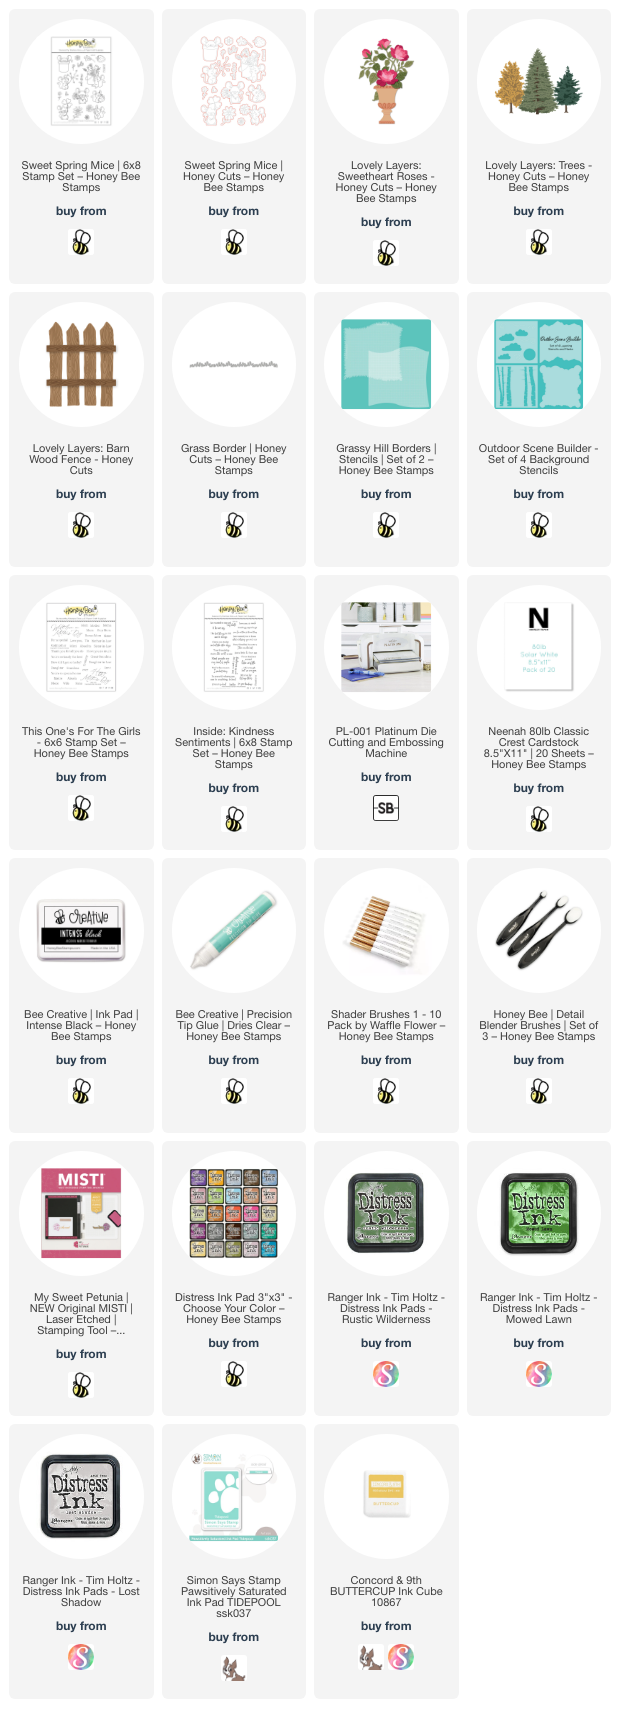
First I stamped the sweet mouse from the Sweet Spring Mice set with Copic safe ink.  After I colored it with my Copic markers, I cut it out with the coordinating die. These are the markers I used: G19, G09, YG09, YG07, R30, R00, R000, C7, C5, C3, and C1. I used a Cream Prismacolor pencil to add the details to the clover.

I die cut the Lovely Layers: Barn Wood Fence dies from white cardstock and used an ink blending brush to add some Lost Shadow Distress ink for shading. I used glue to adhere the fence pieces together. Then I die cut white cardstock with the Grass Border die blended on Mowed Lawn and Rustic Wilderness Distress inks.

Next I created a hill and cloud background by inking up a 4-¼" x 5-½" white card panel using the Grassy Hill Borders stencils and the clouds stencil from the Outdoor Scene Builder Stencils. I used Mowed Lawn, Rustic Wilderness, and Tumbled Glass Distress inks.

I glued the stenciled panel to an A2 card base. Before I added any more elements to the card front, I stamped a sentiment from the Inside: Kindness Sentiments stamp set on the inside of the card. I think this sentiment goes perfectly with the one I will add to the card front!

Next I glued the fence and the grass border to the front of the card.

The final element is the Lovely Layers: Sweetheart Roses die set. I really do think this is one of my very favorites in the Lovely Layers line! I colored the die cuts using ink blending brushes and yellow and green inks. Then I adhered all of the layers together with glue.

Next I die cut the container in the Sweetheart Roses. Before I inked on some teal ink, I trimmed the container to make it into a more standard type of flower pot! It's a gorgeous die as is, but it's just a bit more formal than I wanted for this scene. After I glued the trim pieces onto the flower pot I glued the Sweetheart Roses to the pot. Then I added foam tape dots to the back of the flowers, the pot and the mouse to pop them up on the card.

The sentiment on the front is from the This One's For The Girls stamp set. I stamped it in black ink, trimmed it into a strip, and popped it up with foam strips.

I think you can tell by now how much I love the Sweetheart Roses die set! Haha! But this is just another example of how new Honey Bee products work so well with previously release sets!!! I hope you've found some inspiration for your card making today. Thank you so much for stopping by!

Wednesday, February 28, 2024

You Make My Heart Sing -- Layered Love Birds!

Hello crafty friends! Today I'm sharing my card that features three of Honey Bee Stamps beautiful new Lovely Layers sets--Love BirdsBirdcage, and Sweetheart Roses! I chose some cheerful springtime colors for this card since spring is just around the corner!

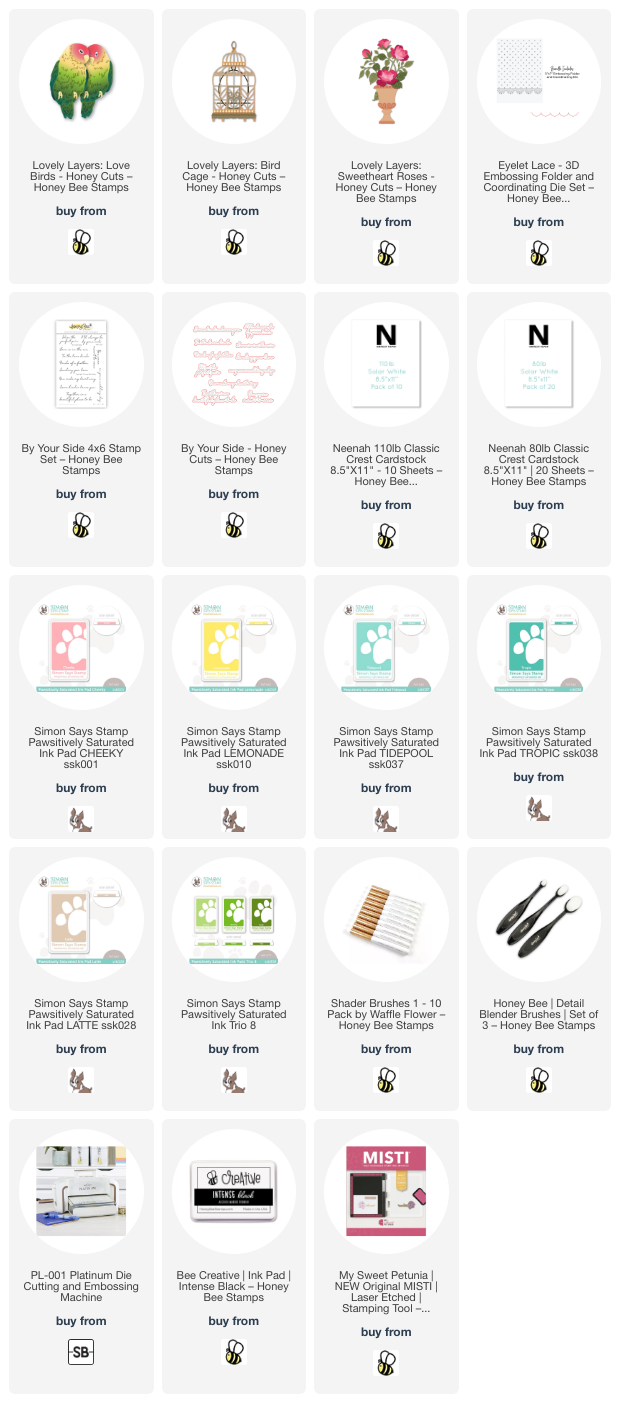
The card base is 5" x 7" and topped with a layer embossed with the Eyelet Lace 3D embossing folder. I used the coordinating die to cut the bottom edge.

The sentiment is stamped in black ink and is from the By Your Side stamp set. Since I stamped it directly onto the card base, I didn't need the wonderful coordinating die.

I created the white Lovely Layers: Birdcage by cutting the dies with white cardstock except for the round portion of the perch and the top piece which are cut from silver cardstock. I die cut another of the perch (just the horizontal piece) from scrap white cardstock. I trimmed it and used a light brown Copic marker to color it to resemble wood. Then I used glue to adhere it to the silver portion of the perch.

I used the handy Layering Guide to assist my assembly since this was the first time using the Birdcage set. After I glued the pieces together, I set it aside to work on the birds. I die cut all of the Lovely Layers: Love Birds from white cardstock. Using ink blending brushes, I colored the birds in a coral, yellow, and teal ink shades that I have in my stash.

Again, I used the Love Birds Layering Guide to adhere my layers together with glue. When I glued their claws on I made sure to just add a dot of glue to the top. This allowed me to lift the base of the claws to adhere them over the perch. Once I had the birds and perch finished, I glued them behind the birdcage. I made sure to position the birds so the eyes were in an open area of the cage.

I added a few strips of foam tape to the back of the birdcage to adhere it to the card. For the decorative flowers, I die cut the Lovely Layers: Sweetheart Roses from white cardstock. I did not die cut the large branch piece as the flowers and leaves can be used alone making this set even more versatile!

The roses are colored with the same coral and yellow inks that we used on the birds for a cohesive look. After I adhered the Sweetheart Roses layers, I arranged them on the bird cage and adhered with glue.

I really love how this card turned out and hope you do too!  Be sure to check out my reel that I will be sharing over on Instagram to see some of the process to make my card.  Thanks so much for stopping by!

Thank you for shopping with my affiliate links (never any additional cost to you)!

Friday, February 2, 2024

You're Simply The Best -- 3D Embossing Folder, Stencils & More

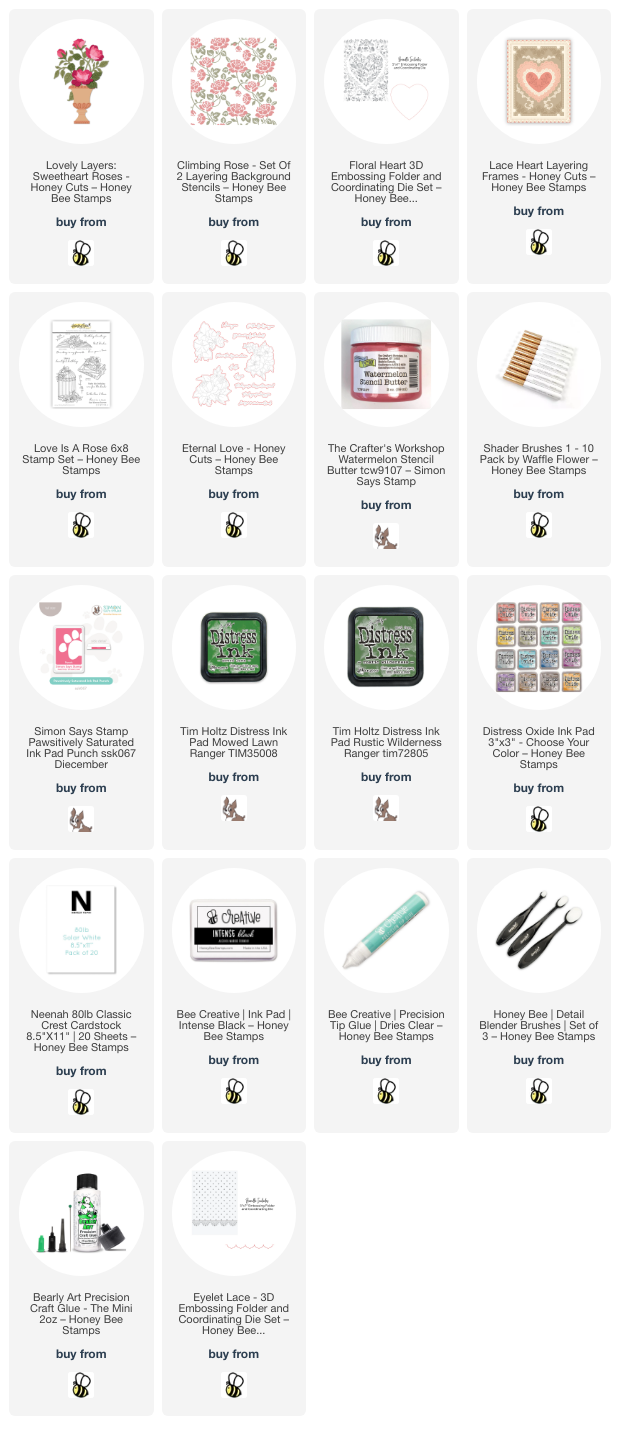
Hello friends!  Today I'm doing a quick post for my card that is part of the Honey Bee Stamps Vintage Love Instagram hop.  I can't even pick a favorite from this release but the Lovely Layers: Sweetheart Roses and the Floral Heart 3D embossing folder are surely amongst the top favorites!

The two new embossing folders in this release are different in that they will embossing a panel for a 5" x 7" card and both have a coordinating die!  Underneath the beautiful stenciled background is a heart that could be die cut with the die that coordinates with the Floral Heart 3D embossing folder.

I hated to cover that heart up, but the stenciled panel I made with the Climbing Rose stencil set makes up for that.  I used some beautiful Stencil Butter for the second layer after coloring the first layer using blender brushes and two green Distress Oxide inks.

You may think that the Lovely Layers: Sweetheart Roses are too fiddly, but I can tell you, the layers are SO worth the bit of extra time it may take to assemble them.  These are absolutely gorgeous!!!  Using the layering guide in the product description is so helpful too.

I cut the Sweetheart Roses layers from 80# Neenah and used small ink blending brushes to color them.  Just one shade of pink ink was used here!  I just blended some layers darker than others.  I added foam tape squares behind the top three roses to adhere them to the die cut heart.  This heart is part of the Lace Heart Layering Frames die set.  I love the details around the edges!

Honey Bee is giving away two $50 gift cards to be chosen from commenters on the hop!  I hope you'll join me on my Instagram and hop along with us for lots of amazing inspiration for the Vintage Love release!  

Thank you for using my affiliate links to shop (never any additional cost to you)!

Wednesday, January 31, 2024

Birthday Card Featuring New Lovely Layers: Sweetheart Roses

 Hello crafty friends! Today I'm sharing my card featuring some of the gorgeous new products from Honey Bee Stamps Vintage Love release that is available now!!

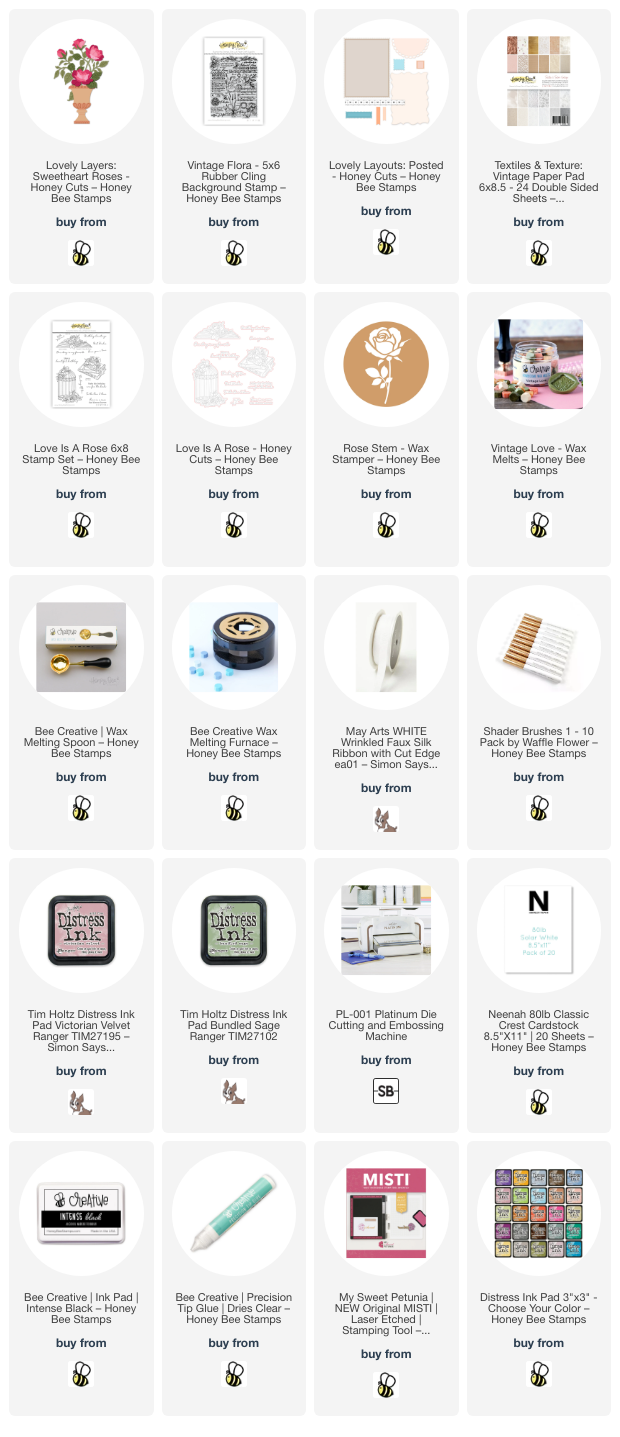
This card features the gorgeous Lovely Layers: Sweetheart Roses set along with the Vintage Flora background stamp, the Lovely Layouts: Posted dies, Love Is A Rose stamps (for the sentiment) and the Textiles & Texture: Vintage paper pad. As you can see in the photo background, I've also used some new Vintage Love wax melts and the Rose Stem Wax Stamper to create a pretty seal for the envelope.

First I stamped the Vintage Flora background stamp with light brown ink onto paper from the Textiles & Texture: Vintage paper pad. Then I die cut the piece with a die from the new Lovely Layouts: Posted die set. I set that aside to work on the other card elements.

I die cut the Lovely Layers: Sweetheart Roses from 80# Neenah. Then I used ink blending brushes to color the rose layers and stems with dusty pink ink and some green inks from my stash.

As this was my first time to use these gorgeous dies, I printed the layering guide to assist me in assembling the flower layers with glue. You can view, and download for printing, this layering guide found in the product description.

Next I created my perfectly coordinated ribbon by dying it with the same dusty pink ink I used on the flowers. I smooshed the ink pad onto my craft mat, spritzed the ink with a bit of water, and the pressed the ribbon into the ink. You can repeat the steps until you're happy with it. Then I dried the ribbon with my heat tool by holding it with my reverse tweezers. Be careful to not hold the heat tool too closely to the ribbon so it doesn't scorch!

I tied the ribbon around the Vintage Flora background panel and added foam tape to the back. I adhered it to a coordinating pink A2 card base.

Next I adhered the Sweetheart Roses to the card front with glue. I chose a sentiment from the Love Is A Rose stamp setand stamped it with black ink. I cut it out with the coordinating die and popped it up with foam tape strips.

Next I used the Vintage Love wax melts and the Rose Stem wax stamper to create the seal. Honey Bee has a wax melting spoon and a wax melting furnace in their shop to create these pretty seals with.  I actually use my heat tool to melt the wax in the spoon--I'm kind of impatient.  LOL!   I really like to use this silicone mat when making seals as it is extra thick and you can pour the hot wax onto it and set the hot spoon on it to protect your crafting surface.

This was the first time I tried this two-tone seal. I saw someone on Instagram make them this way and have been wanting to try it. Your wax stamper needs to be very warm and then you pour the melted wax from the spoon directly into the rose portion. Having it warm allows you to use a straight edge to scrape off the excess and level it to just leave wax in the rose. Then melt another color, pour it onto your surface and press the stamper into the wax. Wait a half minute or so and you will have a beautiful two-color seal!

Be sure to check out all of the other beautiful new products of the Vintage Love release over on Honey Bee's website.  Thanks so much for stopping by!

Thank you for using my affiliate links to shop (never any additional cost to you)!