Showing posts with label Pet-tastic stamps. Show all posts

Wednesday, April 2, 2025

A Sweet Garden Scene With Kitties!

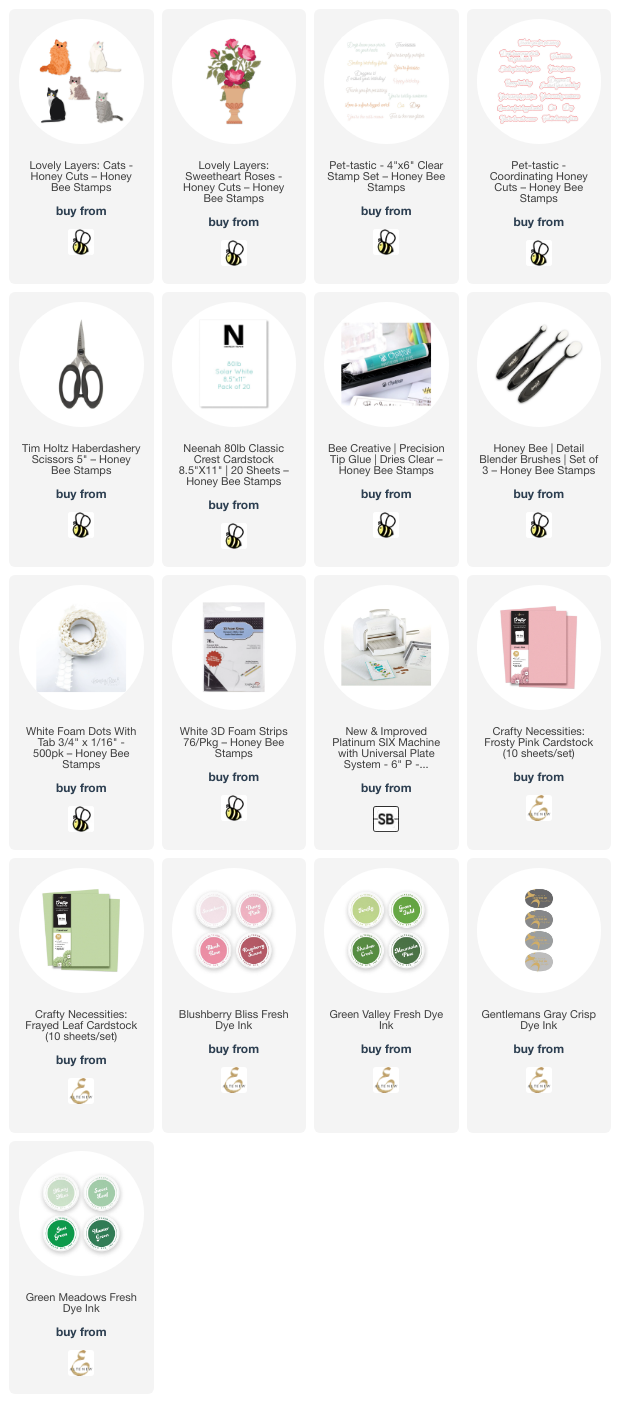
Hello crafty friends! Today I'm sharing details of how to make this sweet kitty card that features the new Honey Bee Stamps Lovely Layers: Cats along with another favorite, Lovely Layers: Sweetheart Roses. I can just visualize these sweet kitties prowling around in a beautiful springtime garden and was inspired to make this card!

To create my garden scene I chose light pink and light green cardstocks and die cut the roses, bush, and leaves from the Lovely Layers: Sweetheart Roses. I die cut the planter pot from white cardstock. Then I used blender brushes and coordinating inks to shade the flower layers, the shrub and leaves to add a bit of depth. I used glue to adhere the layers together. (Be sure to download the Layering Guide found in the product description on the website.)

To add shading to the planter, I used three gray Copic markers: C3, C1, and C00. After I glued the layers of the planter together, I added glue to the bottom of the Sweetheart Roses to adhere it to the planter.

Next I chose two of the kitties from the Lovely Layers: Cats and die cut them from white and a light gray cardstock. For the gray kitty I added shading with a blender brush and gray ink. I colored parts of the other cat with an E40 Copic marker. Again, I used glue to adhere the layers together.

Now that I had the card elements all colored and ready for the card, I was really stuck on what to do for a background!!! Does that happen to you?

After much muddling through ideas, I thought that a soft inked background would pair best with the focal images. I used a blending brush to lightly add green ink for the "grass". This was the same light green ink I used on the Sweetheart Rose bush. Then I inked on a very light blue ink for the sky. I really like how this turned out!!!

I used foam dots to pop up the Sweetheart Roses and the gray cat.  Tip: I love these foam dots and only used these! I just use my non-stick scissors to cut them into smaller pieces!

I glued on the white cat and adhered the Sweetheart Roses and the gray cat. The sentiment is from the Pet-tastic Stamp Set and stamped in black pigment ink. I cut it out with the coordinating die. To adhere it over the Sweetheart Rose bush, I added a small piece of a foam strip on the left side and glue to the rest.

I'm actually shocked that I made a card with softer colors that I like! Hahaha!! I hope you like it too! Thank you so much for stopping by! Have a wonderful and crafty day! ðŸ©·

I so appreciate you using my affiliate links (never any additional cost to you)!

Wednesday, March 5, 2025

An Adorable Stenciled Doggy Card

Happy Wednesday, my friends! Today I'm sharing details of my sweet card that features three of the new products from Honey Bee Stamps new Pet-tastic release!

I wanted to try a technique that I've seen, but have never actually tried. It involves taking dark colored cardstock, like this dark blue I've used, and adding white pigment ink through stencils first. So I started with each of the six stencils in the Pet Friends stencil set. I used Bee Creative Brilliant White pigment ink and a blending brush to add the ink.

When the white pigment ink had dried for a bit (I did use my heat tool to help it) I pulled out lots of Distress Oxide Inks in various colors. I repeated coloring through each of the Pet Friends stencils with my Detail Blender brushes.

I trimmed the panel to 3-¾" x 2-¾". Then I glued that to a card base I made with a Scallop A2 Card Frames Honey Cut. There is a "FreeBee" paper pack you can get with a purchase over $100 that has 12 two-sided sheets of adorable patterned paper. I chose one piece and trimmed it to 3-¾" x 2" and glued it to the card base. I added a narrow strip of cardstock I inked up with Vintage Photo Distress Oxide ink.

I used the Pet Friends stencils again, but just for two of the dogs. I added the Distress Oxide colors onto white cardstock with blender brushes. Then I cut them out with the coordinating Pet Friends Honey Cuts. I used foam dots to pop them up on the card.

The sentiment is from the Pet-tastic stamp set and stamped with black ink. After I cut it out with the coordinating die, I popped it up with a foam strip.

I really wasn't sure if this stenciling on dark cardstock would work, but I really like it, and hope you do too! I always so appreciate you stopping by! Have a fabulous day!

Thank you for using my affiliate links to shop (never any additional cost to you)!

Wednesday, February 26, 2025

A Birthday Fishes Card -- A Sneak Peek of Honey Bee Stamps Pet-Tastic Release

Hello crafty friends! Today I have a sneak peek of Honey Bee Stamps' upcoming (NOW availablePet-tastic release You may think it's all about dogs and cats (that we all love), but if you love other types of pets, you will not be disappointed!! I've used four new sets for my card today. 

These are the now available products I've used for this card: Lovely Layers: Fish, Lovely Layers: Tank, Lovely Layers: Tank Aquarium Add-On.

First I die cut the Lovely Layers: Tank about five times from white cardstock. I die cut the wood-grain top and bottom pieces once. This set will die cut the frame for the tank, two wood grain strips, and the center.)  I glued the layers of the tank together and set it aside to dry. I used a brown ink from my stash to color the wood layers with a Detail Blender brush. Next I glued those pieces to the tank.

I used one of the die cut tank center pieces and added some blue ink with a blender a blender brush. To make this have a watery look I spritzed on some water drops, let it sit several seconds, then used a clean paper towel to blot up any excess water. I set it aside to dry.

All of the following elements are die cut from white cardstock and inked up with various inks in my stash with blender brushes. I also die cut several pieces from the Lovely Layers: Tank Aquarium Add-On Honey Cuts. Then I chose three of the several fish from the Lovely Layers: Fish Honey Cuts to die cut and color. Be sure to print off the Layering Guides to store with your sets--these are SO helpful in creating your elements. I've never had a fish tank, so I just did a quick search of types of home aquarium fish. I couldn't believe how many colorful fish there are!

Next I made a shaped card base for the fish Tank by taking a top folding 5-½" x 4-¼" card base and trimming the top folded edge just a bit. I drew a cutting line by placing the tank on the card base and tracing a link with a pencil where the top edge of the base extended beyond the tank. Then I glued the Tank to the base.

I decided on an arrangement for the elements and used glue and some foam dots to adhere them to the card. I stamped a sentiment from the new Pet-tastic stamp set with Intense Black ink. I used the coordinating Pet-tastic die to cut out the sentiment and popped it up with a foam strip.

For a bit of bling, I glued on some pretty clear Dew Drops.

I hope you've enjoyed seeing this sneak peek of the upcoming Pet-Tastic Release! Be sure to pop over here later Friday evening to grab the links to the products I've used here and the other awesome sets! Thank you for stopping by today!

Thank you for using my affiliate links to shop (never any additional cost to you)!