Showing posts with label Eternal Love stamps. Show all posts

Wednesday, March 13, 2024

Loving Memories -- Spring Flowers, Stenciling, and Die Cut Layers

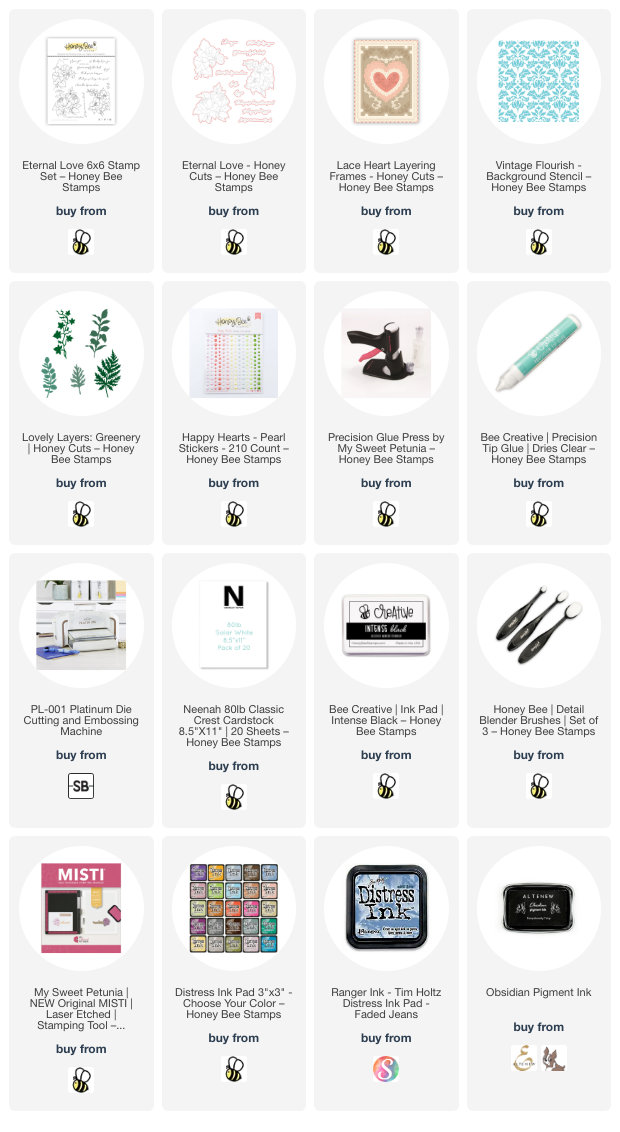
Hello crafty friends! Today I am sharing my card that features the beautiful Eternal Love stamps and Honey Cuts. While this card is a sympathy card, I think that it would work as many other types of cards with a quick change of the sentiment.

First I stamped the morning glory image from the Eternal Love stamp set in a black Copic marker safe ink. I love blue morning glories so that's why I chose this color! The Copic marker colors I used are:

  • Blue morning glories: B37, B34, B23, B21, B000, B000, YG01, YG03
  • leaves: G28, YG67, YG17, YG25, YG25, YG03

Next I cut them out with the coordinating die. I added foam dots to the back and set them aside to work on the other card elements.

I die cut the following from 80# Neenah white cardstock with the following sets: two frames from Lace Heart Layering Frames, two pieces of ivy from Lovely Layers: Greenery.

I adhered the largest Lace Heart Layering Frame to an A2 card base with glue. Then I used the Vintage Flourish stencil and an ink blending brush to add Faded Jeans Distress Ink to two corners of the other die cut frame. I faded off the ink to leave the center of the frame white.

After I adhered the stenciled frame to the card with foam tape I trimmed the two pieces of Lovely Layers: Greenery ivy to fit the design of my card and tucked one under each of the colored images.

Next I stamped the sentiment found in the Eternal Love stamp set with black pigment ink and cut it out with the coordinating die.

For a touch of subtle bling, I added some pretty coordinating pearls from the Happy Hearts Pearl Stickers.

It was quite enjoyable to spend a bit of time with my neglected markers to color these beautiful images. I find coloring very relaxing--do you? I hope you've enjoyed my card today and that you have a wonderful day!

Thank you so much for shopping with my affiliate links (never any additional cost to you)!

Tuesday, February 20, 2024

You're Simply The Best -- Create A Card With Die Cuts!

Hello crafty friends! Today I'm sharing my card that features the gorgeous Honey Bee Stamps Bold Backgrounds: Vintage Roses die set. As beautiful and intricate as this set appears, it was so quick to create a card with! I love that the roses can be used alone too!

First I die cut the all of the pieces of the Bold Background: Vintage Roses dies. I cut the base of leaves from 100# white cardstock and used small blending brushes to add two shades of green ink. The flower layers are die cut from two shades of peachy toned cardstock. I used a coordinating peach ink to add shading to the petals with my ink blending brush.

Be sure to die cut two each of the large flower and three each of the medium and small flowers. I used the handy Layering Guide found in the product description to help in assembling the flowers. Next I used glue to adhere all of the layers together. I added glue to the base to adhere the piece to a top-folding A2 card base.

I chose a sentiment from the Eternal Love stamp set and stamped it with black in. I cut it out with the coordinating die and added foam tape to the back to adhere the sentiment.

I decided to add a bit of sparkle and found the perfect color of coordinating gems in the Simply Spring Gem Stickers! I think all cards are better with a bit of bling, right?

This card was really just that easy! I absolutely love the Bold Background: Vintage Roses! Thank you so much for stopping by today! 

Thank you for using my affiliate links to shop (never any additional cost to you)!

Friday, February 2, 2024

You're Simply The Best -- 3D Embossing Folder, Stencils & More

Hello friends!  Today I'm doing a quick post for my card that is part of the Honey Bee Stamps Vintage Love Instagram hop.  I can't even pick a favorite from this release but the Lovely Layers: Sweetheart Roses and the Floral Heart 3D embossing folder are surely amongst the top favorites!

The two new embossing folders in this release are different in that they will embossing a panel for a 5" x 7" card and both have a coordinating die!  Underneath the beautiful stenciled background is a heart that could be die cut with the die that coordinates with the Floral Heart 3D embossing folder.

I hated to cover that heart up, but the stenciled panel I made with the Climbing Rose stencil set makes up for that.  I used some beautiful Stencil Butter for the second layer after coloring the first layer using blender brushes and two green Distress Oxide inks.

You may think that the Lovely Layers: Sweetheart Roses are too fiddly, but I can tell you, the layers are SO worth the bit of extra time it may take to assemble them.  These are absolutely gorgeous!!!  Using the layering guide in the product description is so helpful too.

I cut the Sweetheart Roses layers from 80# Neenah and used small ink blending brushes to color them.  Just one shade of pink ink was used here!  I just blended some layers darker than others.  I added foam tape squares behind the top three roses to adhere them to the die cut heart.  This heart is part of the Lace Heart Layering Frames die set.  I love the details around the edges!

Honey Bee is giving away two $50 gift cards to be chosen from commenters on the hop!  I hope you'll join me on my Instagram and hop along with us for lots of amazing inspiration for the Vintage Love release!  

Thank you for using my affiliate links to shop (never any additional cost to you)!