Showing posts with label Hoppy Easter. Show all posts

Wednesday, March 25, 2026

Masculine Easter Basket Card

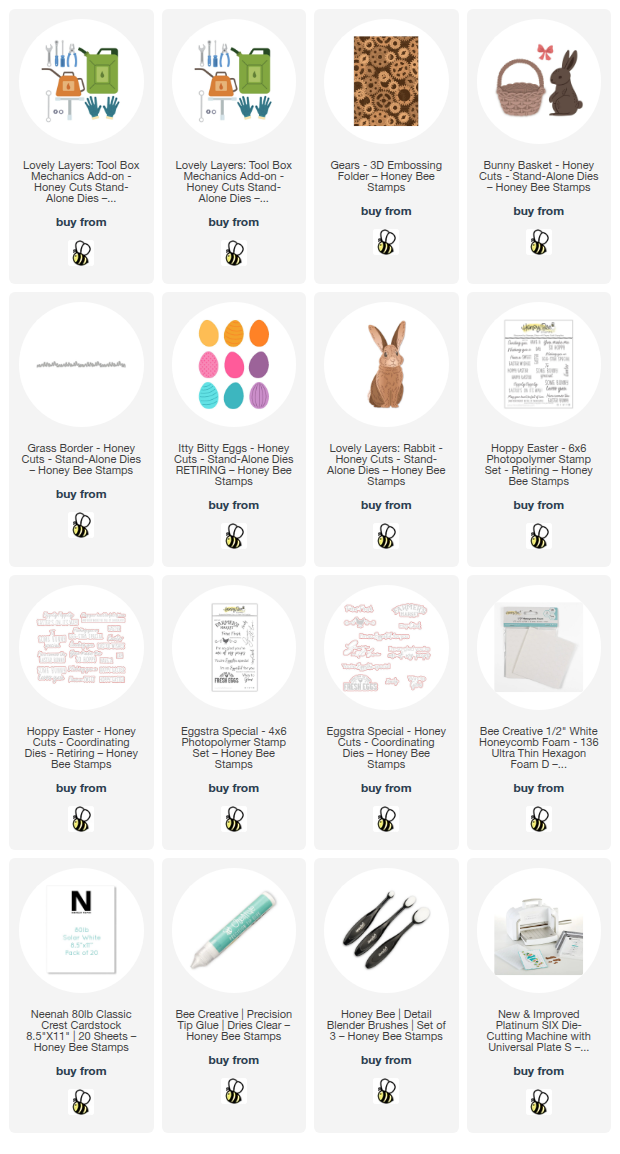
Hello crafty friends!  Have you noticed that I sometimes enjoy finding unexpected ways to use crafty products?  Haha!  Well today, that's what I've done!  How about using some of the tools from the Honey Bee Stamps new Mechanic Tool Box Add-On to make an Easter Basket for the guys?  This was fun to make combining new products with some older favorites!

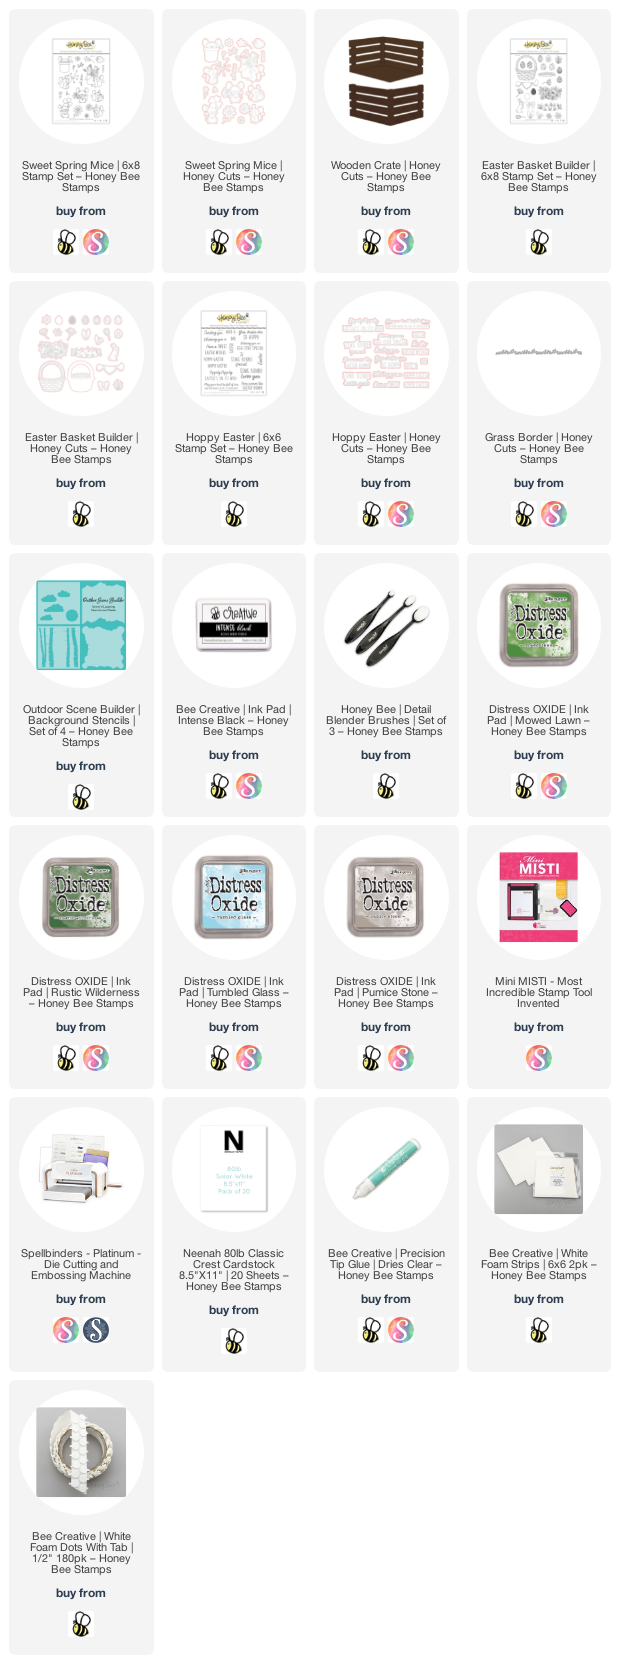
Here is a list of the featured products I've used:

To begin, I inked blue ink onto 80# Neenah with a blending brush.  Then I put it into the Gears 3D embossing folder to add some fun and manly texture.  I glued this to an A2 card base.

Next I die cut the basket from the Bunny Basket set from blue cardstock.  I added a bit of dimension with a shade darker coordinating ink.

The next step was to cut two pieces of white cardstock with the Grass Border die.  I used a few green Copic markers to color the grass.  Then I hand trimmed one piece into two pieces of grass to layer into the basket.  When I glued these to the basket layers, I made sure to just add glue at the sides so I can tuck the basket goodies into the grass.  The second grass piece is glued to the bottom front of the card.

I die cut white cardstock with the egg dies in the Itty Bitty Eggs (retiring).  I did some quick coloring of each egg with my Copic markers.  Then I used a white gel pen to add details to a few of the eggs.

I die cut the tools in the Mechanic Tool Box Add-On from white and matte silver cardstocks.  I colored the tool handles with two red shades and then glued the layers together.

One more element I wanted to go with the basket is a rabbit!  I die cut white cardstock with the dies from the Lovely Layers: Rabbit set.  I used a couple shades of brown inks and blending brushes to color the layers.  I used a pink Copic marker for the ears and cheeks.  I used my favorite Bee Creative glue to adhere the layers.

I used two different sets for the sentiments and stamped both with black pigment ink.  The top sentiment is from the retiring Hoppy Easter stamp set and coordinating dies.  The other is from the Eggstra Special stamp set and cut out with the coordinating die.

After I assembled the Bunny Basket, I used the NEW ½" White Hexagon Ultra Thin Foam Dots to assemble it and the Rabbit

I hope you've enjoyed seeing my version of a masculine Easter basket card!  Before I go, I just want to remind you that the retiring sets are gone once they're gone.  I was really surprised to see SO MANY new items (and some of my favorites) in the retiring category!  Be sure to check it out HERE!

Thank you so much for stopping by.  I hope your day is awesome!

Thank you very much for using my affiliate links to shop (never any additional cost to you)!
Wednesday, March 23, 2022

Get Your Bunny Ears On and Have An Egg-stra Special Easter

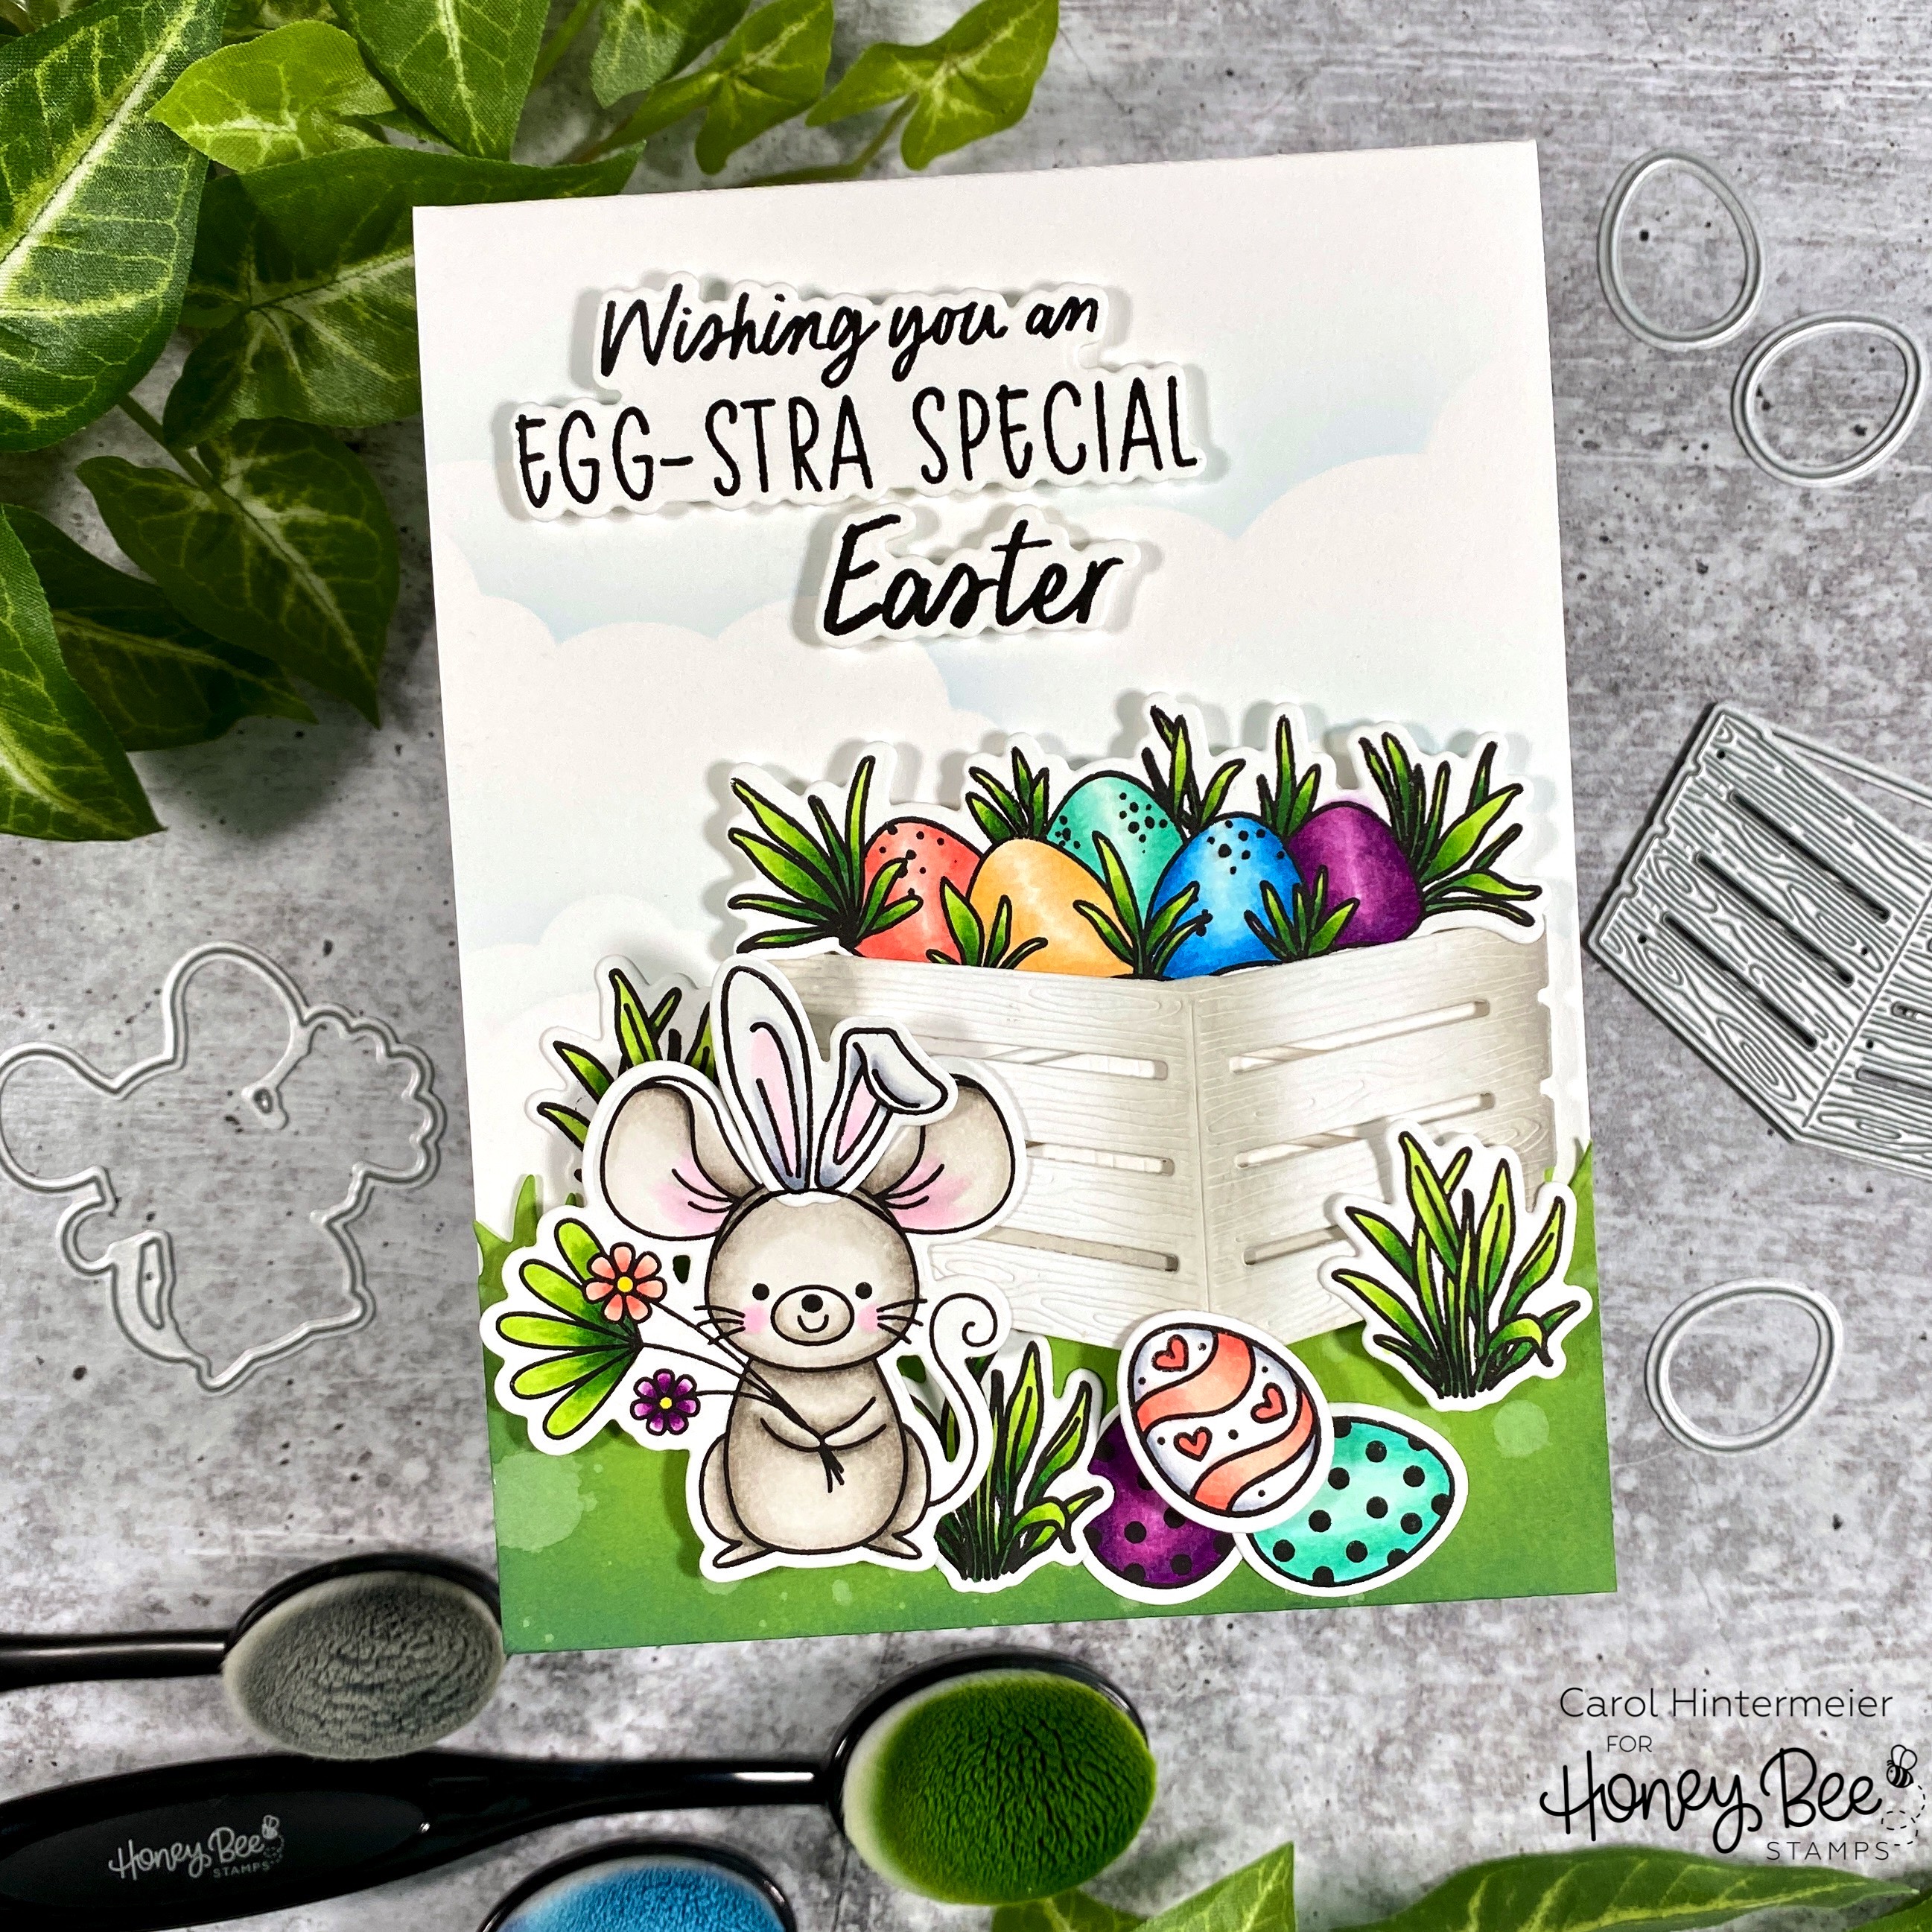
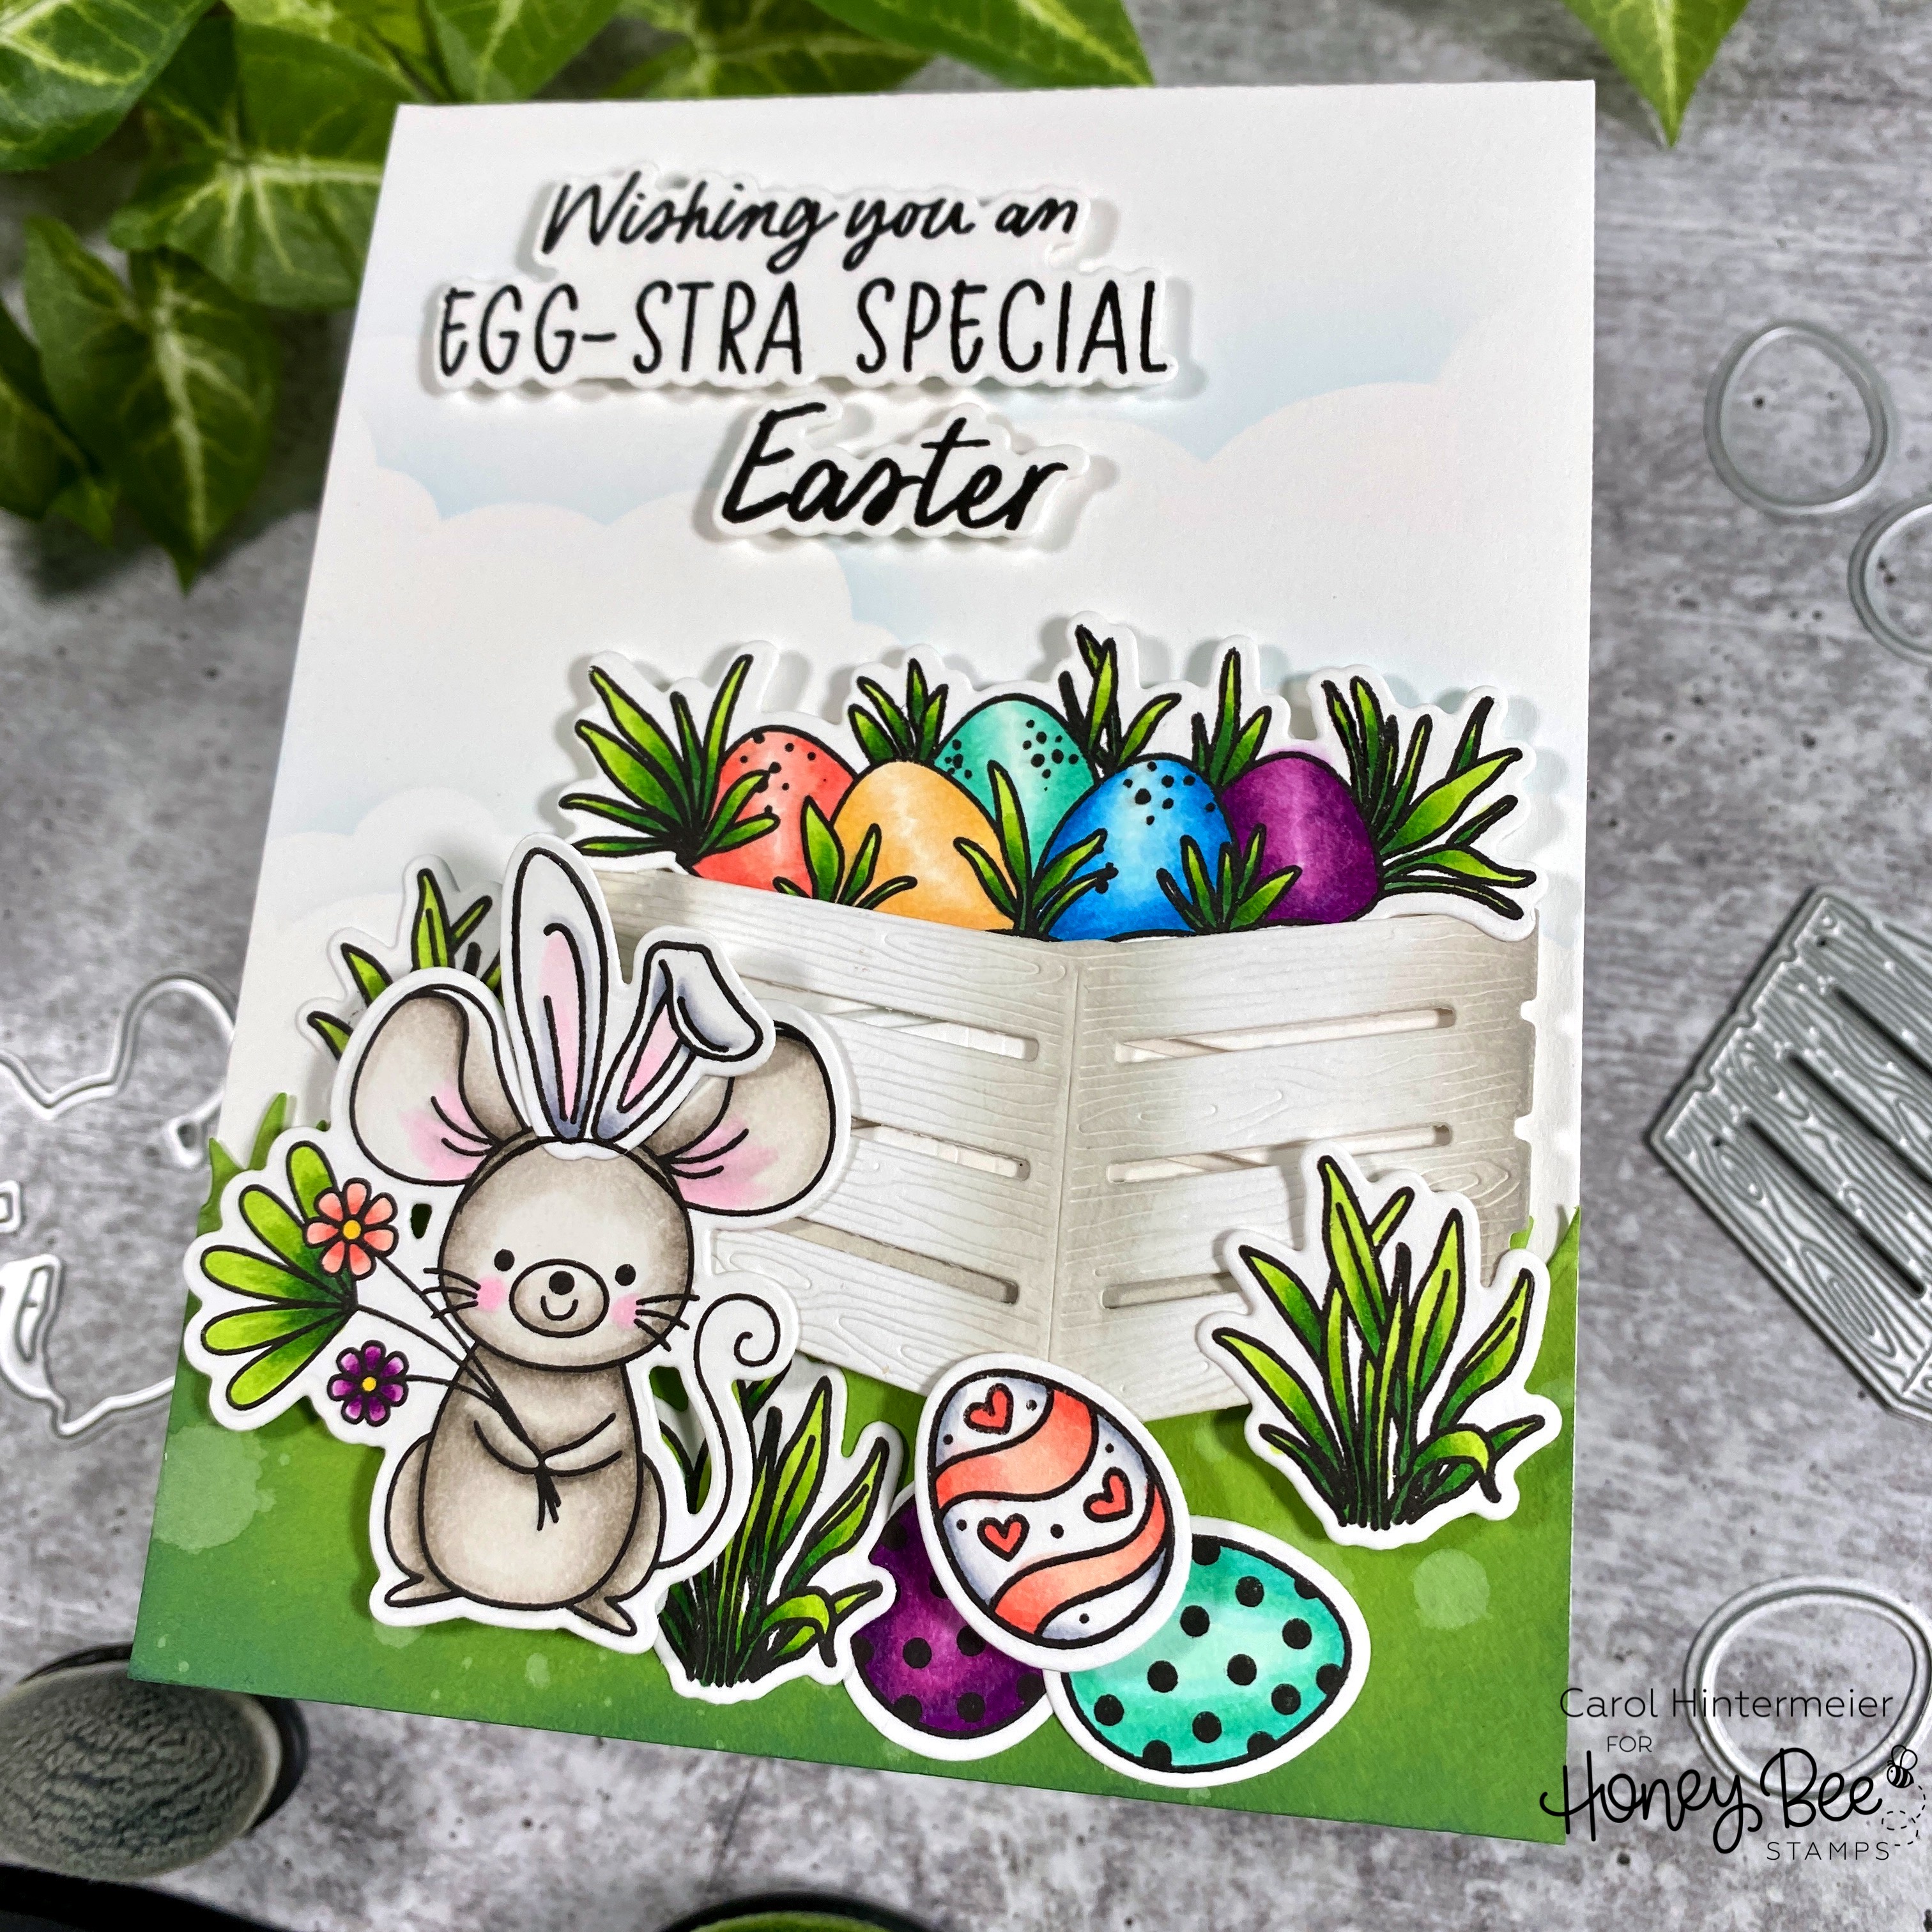
Hello Honey Bee friends! Easter is three weeks from this next Sunday, and this sweet mouse is all ready! I used one of the mice in the Sweet Spring Mice sets and added bunny ears from the Easter Basket Builder set that was released last year. The new Wooden Crate is filled with Easter eggs from that same set too!

I was super excited to see that the eggs in the Easter Basket Builder set (intended for the basket in that set) fit perfectly in the new Wooden Crate! I stamped it, the bunny ear, the extra eggs, and grass from that set in Intense Black ink. Then I stamped the mouse from the Sweet Spring Mice stamp set in the black ink. I colored them all with my Copic markers and die cut them with the coordinating Easter Basket Builder and Sweet Spring Mice Honey Cuts.

I used a pencil to sketch a line to "tie" the bunny ears onto the mouse. When I had my line how I wanted it, I used a black Micron pen to draw it in. Then I used Bee Creative glue to attach the ears to the mouse.

Next I die cut the Wooden Crate and the Grass Border Honey Cuts from white cardstock. I used some Detail Blender Brushes to add Mowed Lawn and Rustic Wilderness Distress Oxides to the grass strip. Then I sprinkled on some water drops and set it aside to dry. I used another Blender Brush to add Pumice Stone Distress Oxide ink to the wooden crate on the sides and the center. I adhered the two pieces together with foam strips.

Before I adhered anything to my A2 card base, I used the cloud stencil from the Outdoor Scene Builders Stencil set and blended on some Tumbled Glass Distress Oxide over it for the clouds.

After I adhered the grass strip to the card base, I added some foam strips to the back of the crate and adhered it to my card. Then I added some foam dots to the back of the mouse, one of the grass bunches, and one egg to adhere and used glue to adhere the other items.

I stamped the sentiment from the Hoppy Easter set with Intense Black ink and used the coordinating Honey Cuts to cut them out. I added foam strips to the back for dimension.

This little mouse with the bunny ears just makes me smile; and I hope it makes you smile too! Thank you so much for stopping by! Have a wonderful, crafty week!

Click the image to check out the supplies I used:

Wednesday, March 31, 2021

Wishing You A Hoppy Easter | Honey Bee Stamps

 Hello crafty friends!  It's almost Easter and I just had to use Honey Bee Stamps' adorable Easter Buddies set for one last Easter card!  I had lots of stencil fun creating my background!  Keep reading for the details!


First I created my background.  I have a few photos below showing my steps.  All of my inks are Distress Oxide inks and I used Honey Bee's Blender Brushes for my stenciling, which makes it really easy!  First I laid out the Oak Tree and Grassy Hill Borders stencil sets and placed them on my A2 80# Neenah card stock to kind of make a plan for my stenciling.  I used Gathered Twigs and Ground Espresso for the tree trunk.  Next I stenciled the tree and leaves with Mowed Lawn, Twisted Citron, and Rustic Wilderness.  The grass and hills are Mowed Lawn with a touch of Twisted Citron.

When I was finished, I realized I had a white sky!  So I used my Blender Brush for blue Oxides (without adding more ink) and lightly stenciled in some clouds with the cloud stencil that's in the Outdoor Scene Builder stencil set.  (TIP:  I keep one Blender Brush for each Oxide color family.  I just wipe it off on a clean, dry paper towel between each shade of that color and it works great!)


I decided to add a few water splatters to the grassy area and covered up the other parts before sprinkling on the water drops.  I took a clean paper towel and blotted it dry.  I wanted to add water drops to the tree, but I was too afraid of messing it up!  LOL!  I die cut the panel with the largest Deckle Edge A2 Honey Cuts.

Next I stamped all of the adorable little images from the Easter Buddies set in Copic safe ink and colored them with my Copic markers.  Then I cut them out with the coordinating Honey Cuts.  As I was planning on where to put everything on the card, I thought that the tree looked like it needed something more.  I remembered the cute little birdhouse and bird in the Birds and The Bees set and stamped, colored and die cut them with their coordinating Honey Cuts.


I decided to fussy cut the little grass pieces so they wouldn't cover up the eggs as much.  I added foam tape to the back of the birdhouse, bunny, chick and flower group and adhered them to the card front.  I adhered the other images with Bee Creative Glue.


I had a hard time choosing from all of the fabulous sentiments in the Hoppy Easter stamps, but finally decided on two.  I stamped them in Onyx Black ink and die cut them with the coordinating Honey Cuts.  I LOVE having dies for sentiments and Honey Bee does them so well!


I had so much fun creating this card!  The stencils sure do make creating backgrounds so easy!  I hope you have a wonderful weekend and a very blessed "Hoppy" Easter!  Thank you so much for stopping by!

Supplies:
Distress Oxides:  Mowed Lawn, Twisted Citron, Rustic Wilderness, Ground Espresso, Gathered Twigs


Wednesday, March 3, 2021

Bunny Shenanigans & Easter Egg Hiding at the House! | Honey Bee Stamps

 Hello friends!  Today I've used Honey Bee Stamps House Builder Card Base Honey Cuts to create my Easter themed card!  I've paired this with some of the products from the awesome Spring Bliss new release!  The bunnies have been having lots of fun hiding the Easter eggs all around!

Create the card base:

I die cut the other card elements from dies in the House Builder set.  Mostly I die cut them from white card stock and then colored them with my Copic markers.  The curtains are from gingham paper that's in my stash.  You can also use colored card stock as I did for the door and tiny flowers.

I die cut the Itty Bitty Eggs Honey Cuts from various colors of card stock from my scrap pile.  I added sparkle to them all with a clear glitter pen and Glossy Accents to four of the eggs.  I set these aside to dry.

Next I stamped the bunny face and backside in Copic safe ink.  These images are also in the Loads of Spring stamp set.   I colored them with Copic markers and die cut them with the coordinating Honey Cuts   However!  I decided to fussy cut them because none of the other images had a white border and I really like how it makes the bunny really stand out!

I began planning the placement of all of the cute images for the front of the house.  I used Bee Creative glue and foam squares to pop up some of the images.  I was careful to use the glue just along the bottom and/or sides of the shrubs so I could easily tuck the eggs and flower stems here and there.

Die cut the hinge in the House Builder die set and adhered the two house bases together.  I used 1/8" double-sided adhesive for a strong hold.


Here's a look at the inside of the card!  The sentiments in the Hoppy Easter set are just so fun!

The card looks so cute displayed standing up!


Did you notice the fluffy bunny tail?  I have some of those tiny pompoms in my stash, but they were still too large.  So I used some sharp scissors to trim one down and then attached it with glue.  A bit more cute factor!


How many eggs did you find?  I hope you found them all!  Haha!  Thanks so very much for stopping by!

Friday, February 19, 2021

So Hoppy - Honey Bee Stamps Spring Bliss Instagram Hop

Hello friends!  I'm so happy you've hopped over here from the Honey Bee Stamps Spring Bliss Instagram hop!  For my card today, I've used the new Loads of Spring stamps and coordinating Honey Cuts that were created to coordinate with the Big Pickup Cab and Big Pickup Tailgate sets.  I love these and, as you can see, they are so versatile for any occasion!


I'm going to keep my card descriptions brief so you can get back to the hop!  I made my card using both the Big Pickup Cab and the Big Pickup Tailgate for a double-sided card!  When you die cut the two, they are mirror images that can be adhered at the top by creating a simple little hinge.


I stamped all of the images with Copic safe ink onto 80# Neenah solar white card stock.  Then I colored them with my Copic markers.  I used the coordinating Honey Cuts to cut them out.  I have all of the supplies listed below with links for you to check them out!


I stamped the sentiment from the Hoppy Easter set onto 80# Neenah, first with Carved Pumpkin Distress Oxide, then with Versamark clear ink.  I sprinkled on clear embossing powder and heat set it.  Next I die cut it with the coordinating Honey Cuts.


Here are the views of the front and back (or is it the back and front? Haha) of the card.


There are so many awesome new sets in the Spring Bliss release!  You can click that link to see it all.  I sure thank you for stopping by and hope you will leave a comment for me over on Instagram!  Be sure to check out all of the hop links and comment for your chance to win one of two $25 Honey Bee gift cards!

Supplies:
Versamark clear ink
WOW Clear embossing powder