Showing posts with label Outdoor Scene Building stencils. Show all posts

Friday, June 18, 2021

Honey Bee Stamps Instagram Hop Card Featuring the BEE Young: Blooms

 Thank you friends for stopping over to check out my card!  I've using the adorable BEE Young: Blooms stamp and die set.  This special set is free with a qualifying purchase in the Honey Bee store.  This is part of the gorgeous Summer Stems release by Honey Bee Stamps!

I think this BEE Young: Blooms set is just totally adorable and had to make a card with her while she is still available with that qualifying purchase!

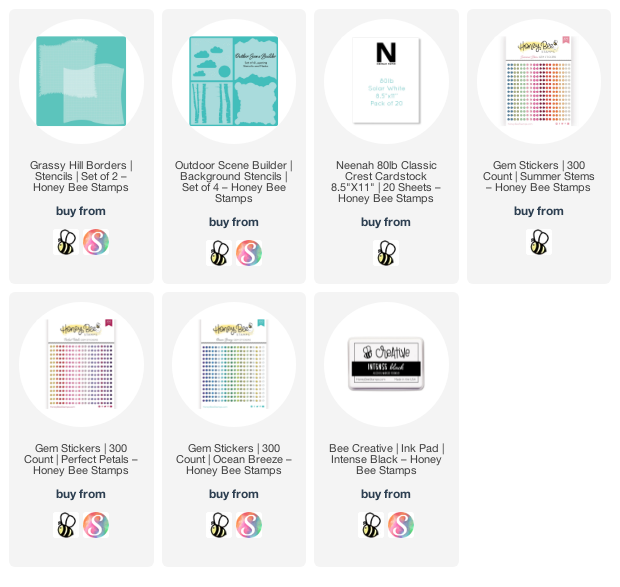
I began by stamping her in Intense Black ink (all product links are below) onto 80# Neenah, and then once more onto masking paper.  I fussy cut the mask and placed it onto the stamped image.  I also stamped several of the larger flowers.

Then I used the cloud stencil from the Outdoor Scene Builder stencil set to ink in some clouds with Tumbled Glass Distress Oxide ink.  I used the grass stencil found in the Grassy Hill Borders stencil set to add grass with Mowed Lawn Oxide ink.  Next I used the largest A2 Double Stitched Frames die to cut the panel out.

I colored her and the flowers with a rainbow selection of Copic markers and used BG01 to dot in some water droplets from the watering can.  I stamped the sentiment from the set in Intense Black ink and die cut it with the coordinating die.  I popped up the sentiment and the flowers with foam tape.  For a bit of bling, I added some pretty gem stickers to the flower centers.

I so appreciate you stopping by for a look today!  I hope you will join us over on the Instagram hop for lots more inspiration from this wonderful Summer Stems release!

Wednesday, March 31, 2021

Wishing You A Hoppy Easter | Honey Bee Stamps

 Hello crafty friends!  It's almost Easter and I just had to use Honey Bee Stamps' adorable Easter Buddies set for one last Easter card!  I had lots of stencil fun creating my background!  Keep reading for the details!


First I created my background.  I have a few photos below showing my steps.  All of my inks are Distress Oxide inks and I used Honey Bee's Blender Brushes for my stenciling, which makes it really easy!  First I laid out the Oak Tree and Grassy Hill Borders stencil sets and placed them on my A2 80# Neenah card stock to kind of make a plan for my stenciling.  I used Gathered Twigs and Ground Espresso for the tree trunk.  Next I stenciled the tree and leaves with Mowed Lawn, Twisted Citron, and Rustic Wilderness.  The grass and hills are Mowed Lawn with a touch of Twisted Citron.

When I was finished, I realized I had a white sky!  So I used my Blender Brush for blue Oxides (without adding more ink) and lightly stenciled in some clouds with the cloud stencil that's in the Outdoor Scene Builder stencil set.  (TIP:  I keep one Blender Brush for each Oxide color family.  I just wipe it off on a clean, dry paper towel between each shade of that color and it works great!)


I decided to add a few water splatters to the grassy area and covered up the other parts before sprinkling on the water drops.  I took a clean paper towel and blotted it dry.  I wanted to add water drops to the tree, but I was too afraid of messing it up!  LOL!  I die cut the panel with the largest Deckle Edge A2 Honey Cuts.

Next I stamped all of the adorable little images from the Easter Buddies set in Copic safe ink and colored them with my Copic markers.  Then I cut them out with the coordinating Honey Cuts.  As I was planning on where to put everything on the card, I thought that the tree looked like it needed something more.  I remembered the cute little birdhouse and bird in the Birds and The Bees set and stamped, colored and die cut them with their coordinating Honey Cuts.


I decided to fussy cut the little grass pieces so they wouldn't cover up the eggs as much.  I added foam tape to the back of the birdhouse, bunny, chick and flower group and adhered them to the card front.  I adhered the other images with Bee Creative Glue.


I had a hard time choosing from all of the fabulous sentiments in the Hoppy Easter stamps, but finally decided on two.  I stamped them in Onyx Black ink and die cut them with the coordinating Honey Cuts.  I LOVE having dies for sentiments and Honey Bee does them so well!


I had so much fun creating this card!  The stencils sure do make creating backgrounds so easy!  I hope you have a wonderful weekend and a very blessed "Hoppy" Easter!  Thank you so much for stopping by!

Supplies:
Distress Oxides:  Mowed Lawn, Twisted Citron, Rustic Wilderness, Ground Espresso, Gathered Twigs


Thursday, January 9, 2020

Pocket Full Of..... | Honey Bee Stamps

Hello my friends!  Have you seen the new Honey Bee Stamps Bee Mine release?  There are SO many awesome stamps and dies in the release.  It's not just for Valentine's Day as you can see from my card today.  I've used one of my very first Honey Bee Stamps purchases with several of the new products.  I'll always be amazed at how timeless Honey Bee's products are!

My card today features the Stacking Pocket Honey Cuts and the sweet pig from the Bad Influence set.  I used a couple of these dies to create a pocket with an insert.  Here is what it looks like when you take it out of the envelope.


Start pulling the insert out of the pocket card:


Fully opened reveals the most adorable piggy ever:


I think the easiest way to describe how I made this is to list the steps for you.
  1. Using the largest Stacking Pocket die, cut one piece of denim paper (from the Sweet On you 6x6 paper pad) and one from white card stock.  The white piece will be the back of the pocket.
  2. Use the flap die from the Pocket Full of Love die set and cut one flap from denim paper that's about 2-½" wide.  Use the coordinating stitched die to add the stitching detail.  Use a white gel pen to add stitching along the pocket and flap.
  3. Stamp and color a bunch of flowers and leaves from the Busy Bee set and cut out with the coordinating Honey Cuts.  The petals are Y15 and Y11 Copic markers.  The centers are YR18, YR16, and Y18.  The leaves are YG17, YG25, YG03.  Stamp, die cut and color several bees.  Stamp and color the pig from the Bad Influence set and cut it out with the coordinating die.
  4. Stamp, in black ink, and die cut the sentiment from the Pocket Full of Love.
  5. Stamp, color and die cut the button (same colors as the leaves.)  I used two strands of white DMC embroidery thread to add stitching on the button.
  6. Adhere the denim pocket to the white pocket back.  I used just a thin line of liquid glue along the edges--do NOT glue the top edge. :)
  7. Arrange the flowers to your liking.  I used foam squares to pop some of them up.


Pocket insert:
  1. Die cut  a 6" x 5" white card stock with the second largest Stacking Pocket die.  NOTE:  I did a partial die cut by not cutting the top edge.  Then trim the sides to match the die cut piece.  For my little scene I needed this to be about 5-½" tall.
  2. Stencil Tumbled Glass Distress Ink using the cloud stencil from the Outdoor Scene Builder stencil set.  I used a Background Blender brush to keep the ink light.
  3. Adhere the denim flap to the top of the insert.  Glue ONLY the top edge!
  4. Stamp the Happy Birthday sentiment (from Pocket Full of Love) with black ink.  I did some "stamp surgery" to the sentiment to be able to fit it where I wanted it.
  5. Arrange the flowers, button, bee, piggy and sentiment along the bottom and pocket flap.  I used liquid glue to stick all of these on. I did use foam squares to pop up the sentiment.


It barely shows in the photos, but I did add some sparkle with a clear glitter pen to the flowers and bees' wings.


I totally love this Little pig and I know this won't be the last time it's on a card!  Thank you so much for stopping by!  I appreciate you!  Happy crafting!


Supplies:
Honey Bee Stamps:
Stacking Pocket Honey Cuts