
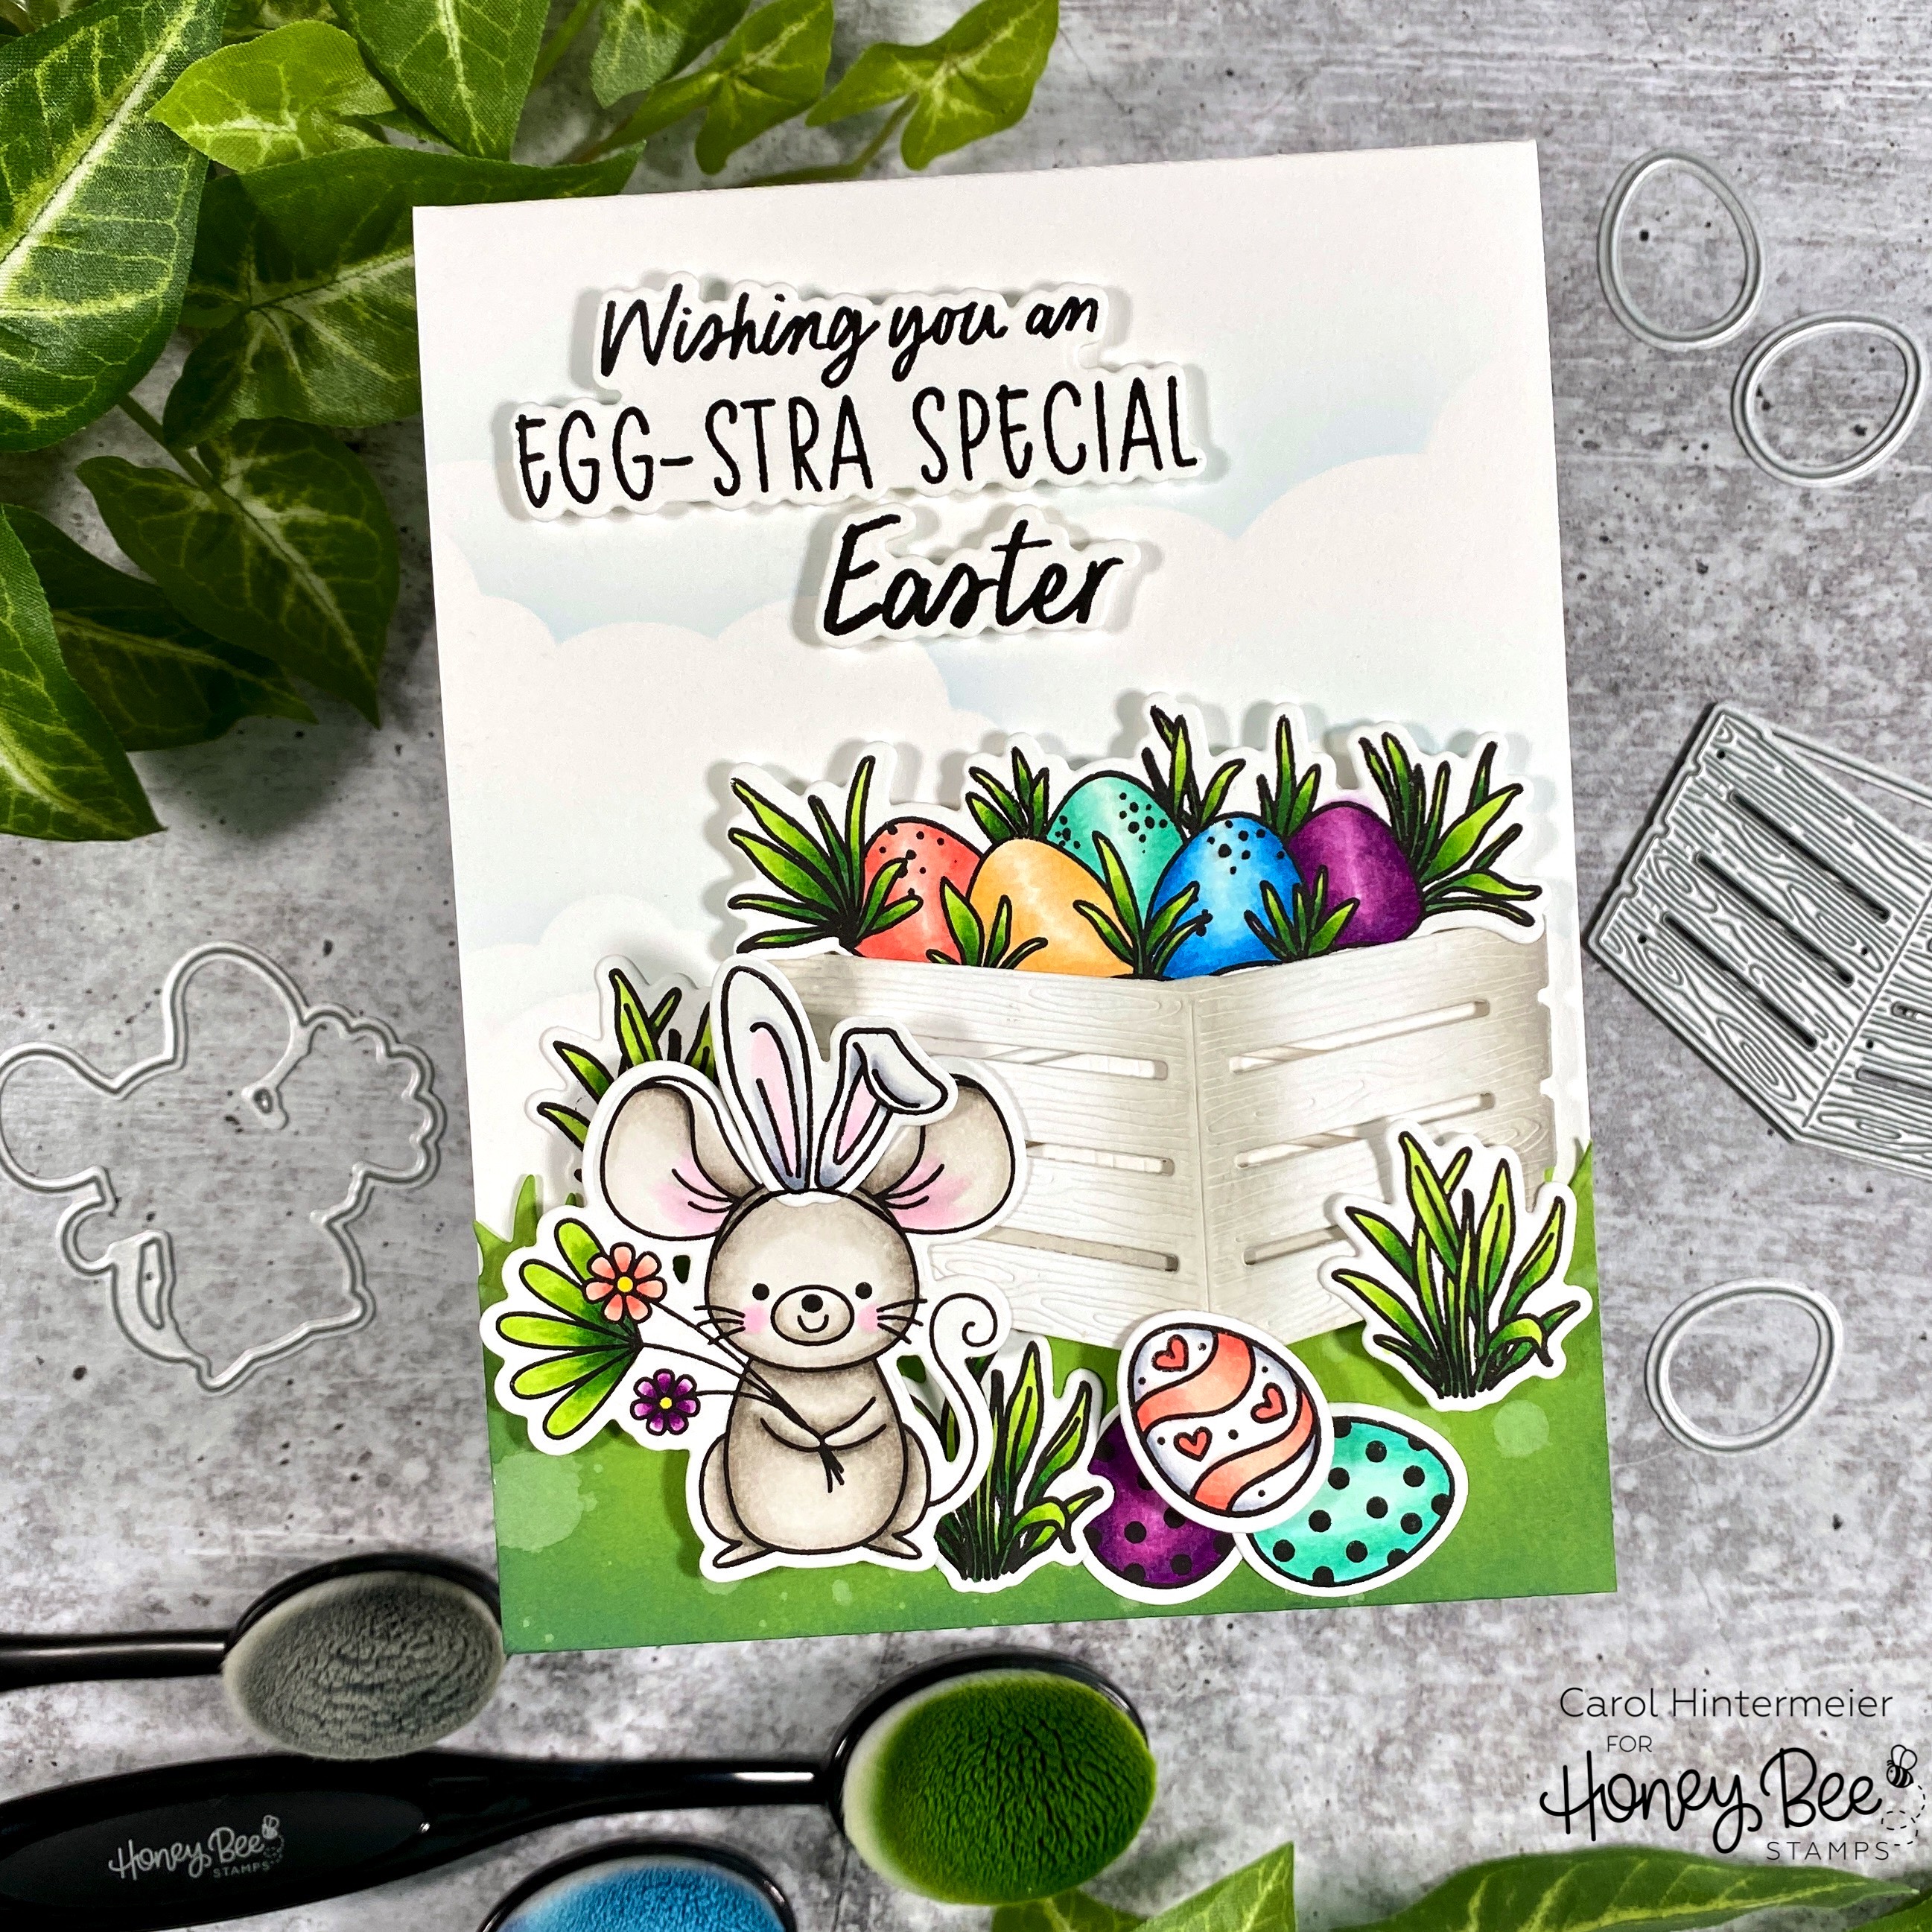
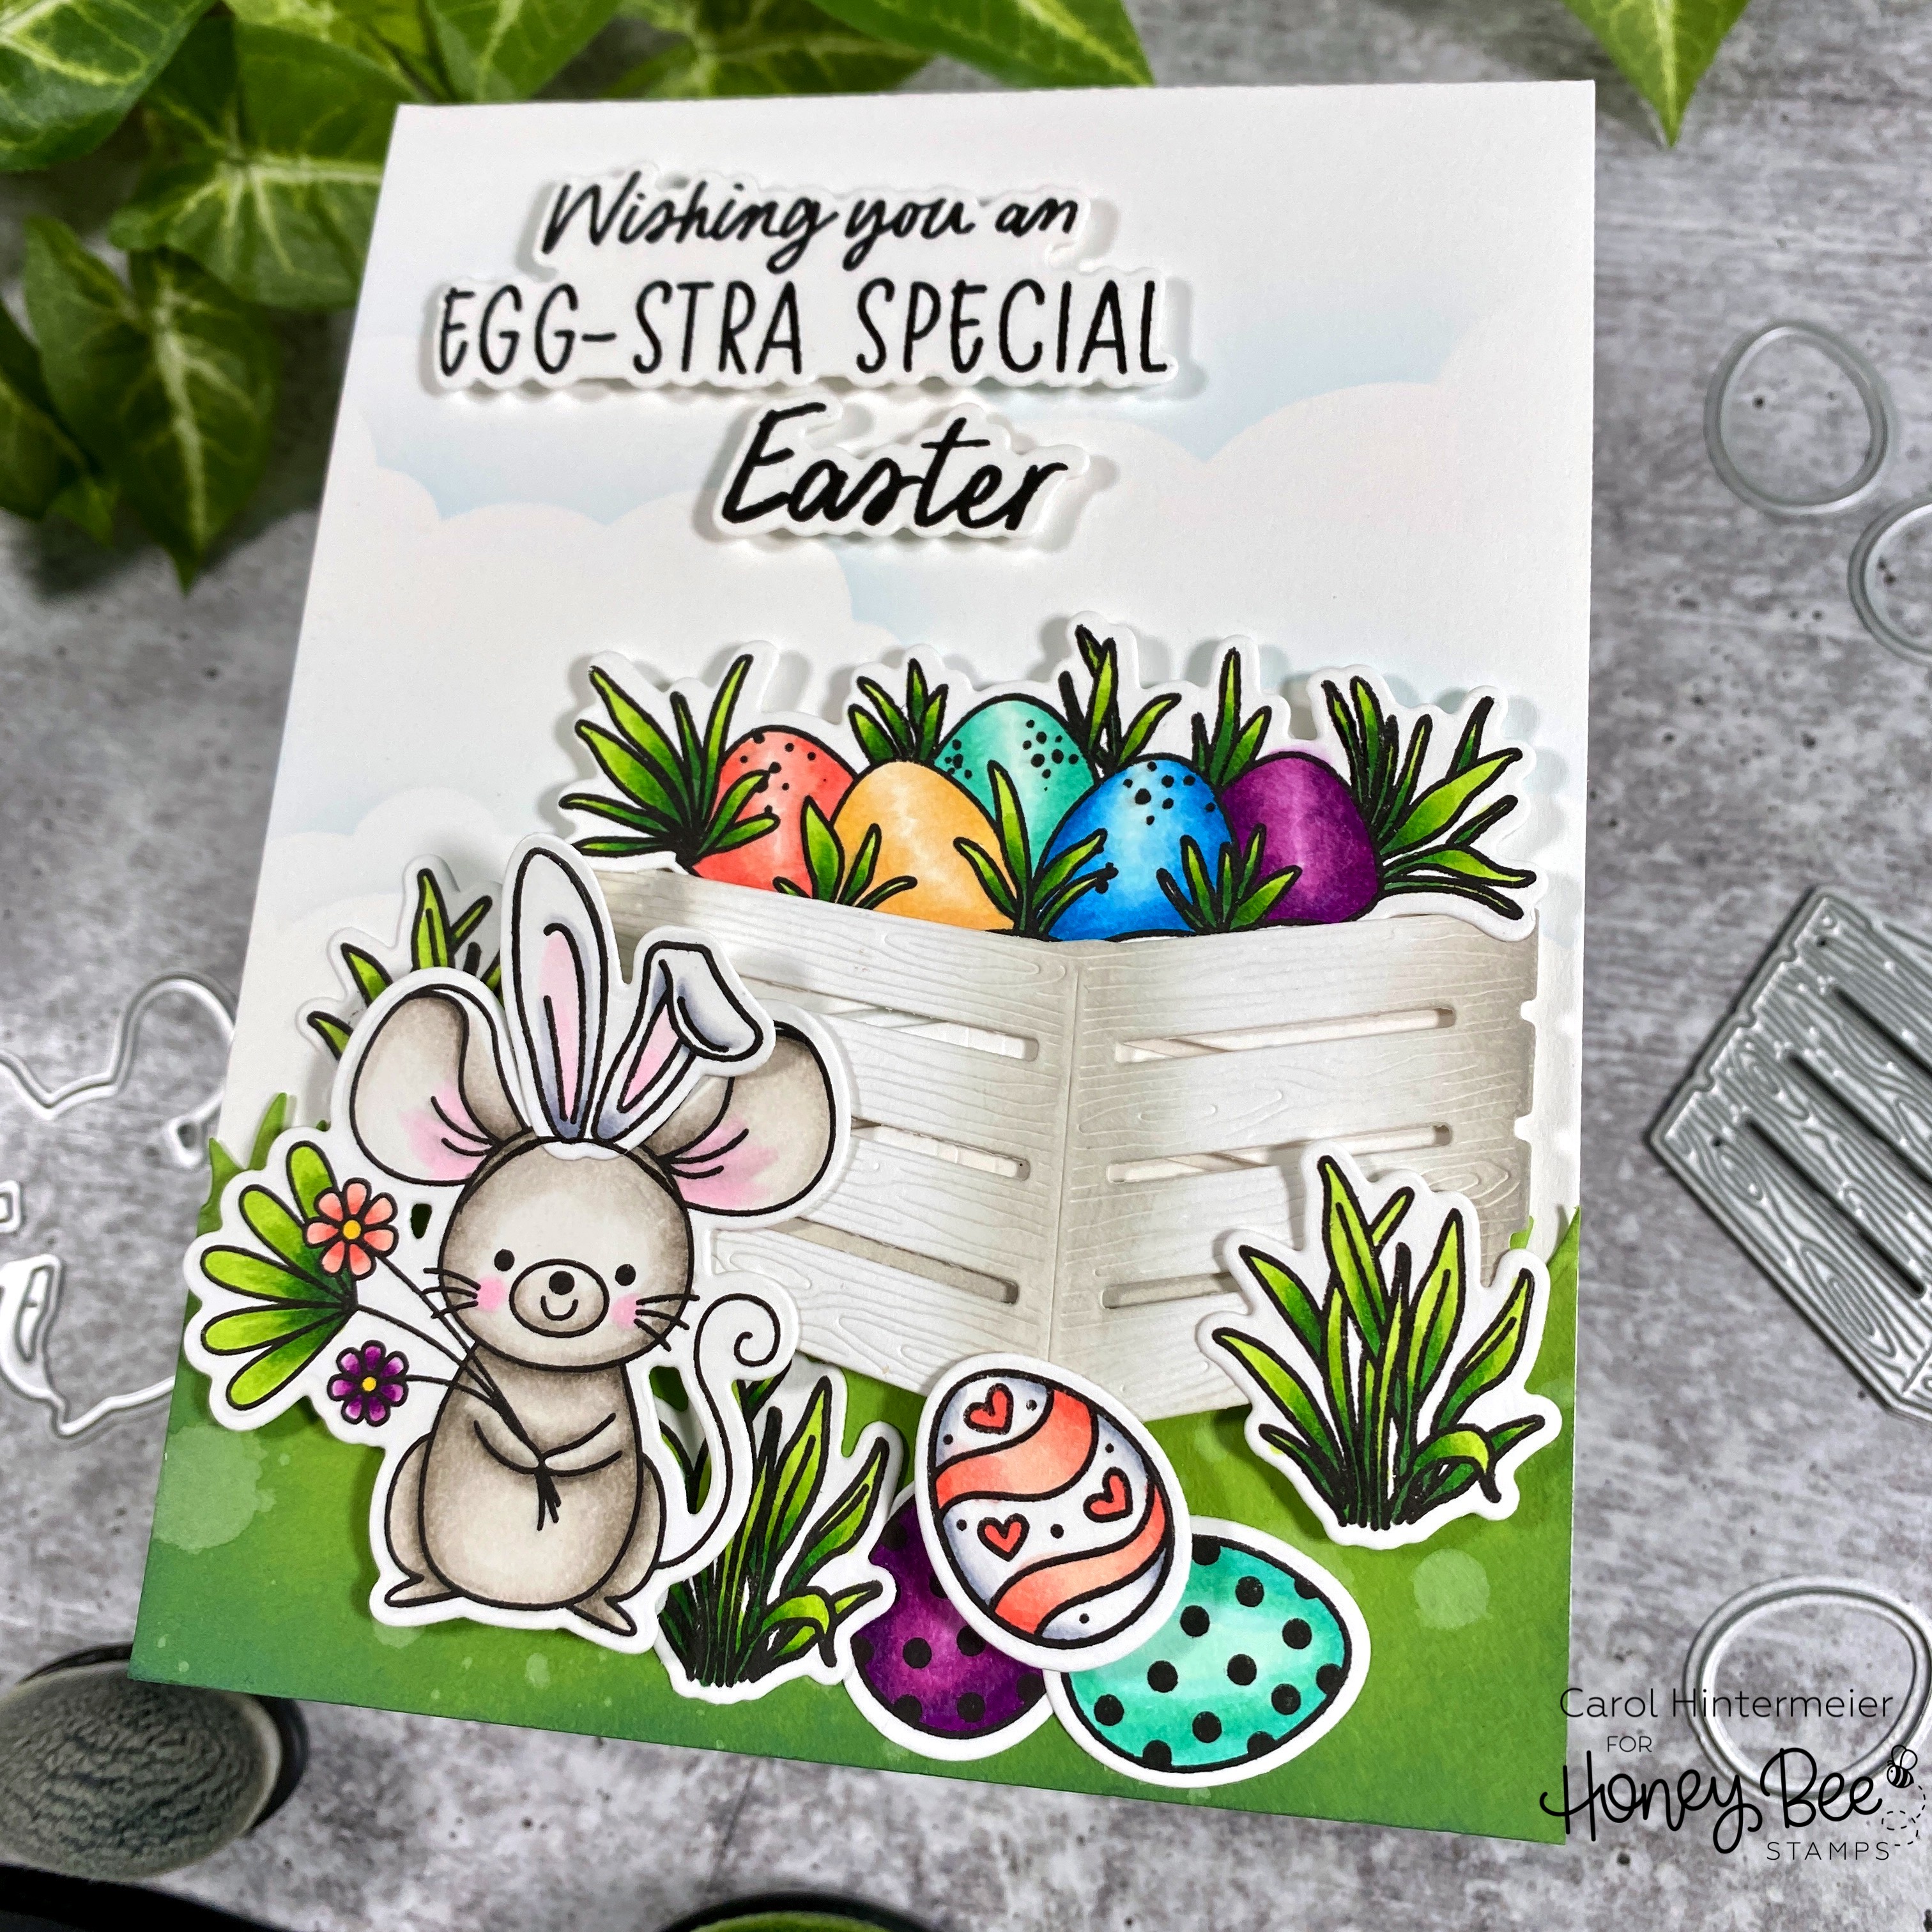
I was super excited to see that the eggs in the Easter Basket Builder set (intended for the basket in that set) fit perfectly in the new Wooden Crate! I stamped it, the bunny ear, the extra eggs, and grass from that set in Intense Black ink. Then I stamped the mouse from the Sweet Spring Mice stamp set in the black ink. I colored them all with my Copic markers and die cut them with the coordinating Easter Basket Builder and Sweet Spring Mice Honey Cuts.
I used a pencil to sketch a line to "tie" the bunny ears onto the mouse. When I had my line how I wanted it, I used a black Micron pen to draw it in. Then I used Bee Creative glue to attach the ears to the mouse.

Next I die cut the Wooden Crate and the Grass Border Honey Cuts from white cardstock. I used some Detail Blender Brushes to add Mowed Lawn and Rustic Wilderness Distress Oxides to the grass strip. Then I sprinkled on some water drops and set it aside to dry. I used another Blender Brush to add Pumice Stone Distress Oxide ink to the wooden crate on the sides and the center. I adhered the two pieces together with foam strips.
Before I adhered anything to my A2 card base, I used the cloud stencil from the Outdoor Scene Builders Stencil set and blended on some Tumbled Glass Distress Oxide over it for the clouds.
After I adhered the grass strip to the card base, I added some foam strips to the back of the crate and adhered it to my card. Then I added some foam dots to the back of the mouse, one of the grass bunches, and one egg to adhere and used glue to adhere the other items.
I stamped the sentiment from the Hoppy Easter set with Intense Black ink and used the coordinating Honey Cuts to cut them out. I added foam strips to the back for dimension.
This little mouse with the bunny ears just makes me smile; and I hope it makes you smile too! Thank you so much for stopping by! Have a wonderful, crafty week!
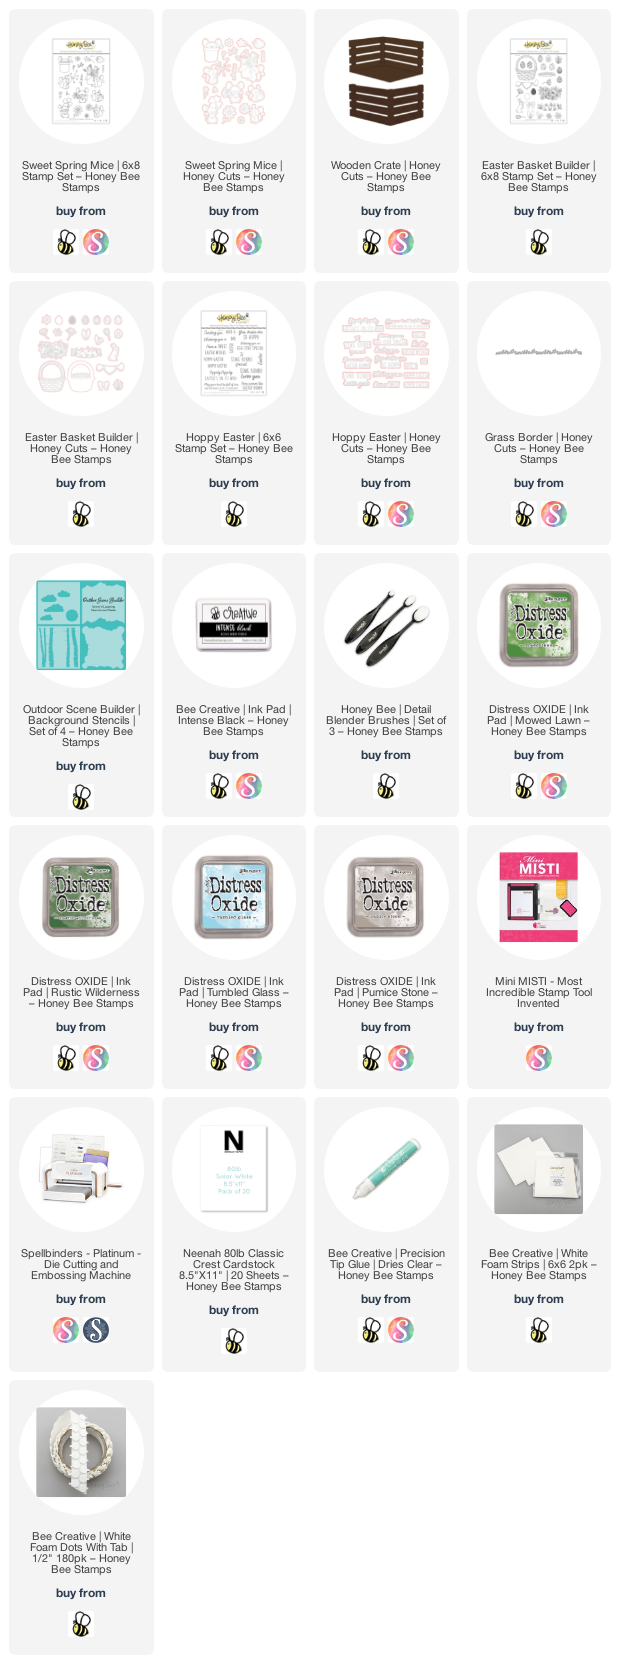
Click the image to check out the supplies I used:
Sweet card -- he's got quite a haul!
ReplyDelete