
Hello Honey Bee friends! In keeping with Honey Bee Stamps' "green theme" for this week, I have an adorable card with the Sweet Spring Mice stamps and coordinating Honey Cuts with the Secret Garden A2 Cover Plate. This adorable mouse is peaking through the "secret garden" where he (or she) has found a lucky four leaf clover and a rainbow!
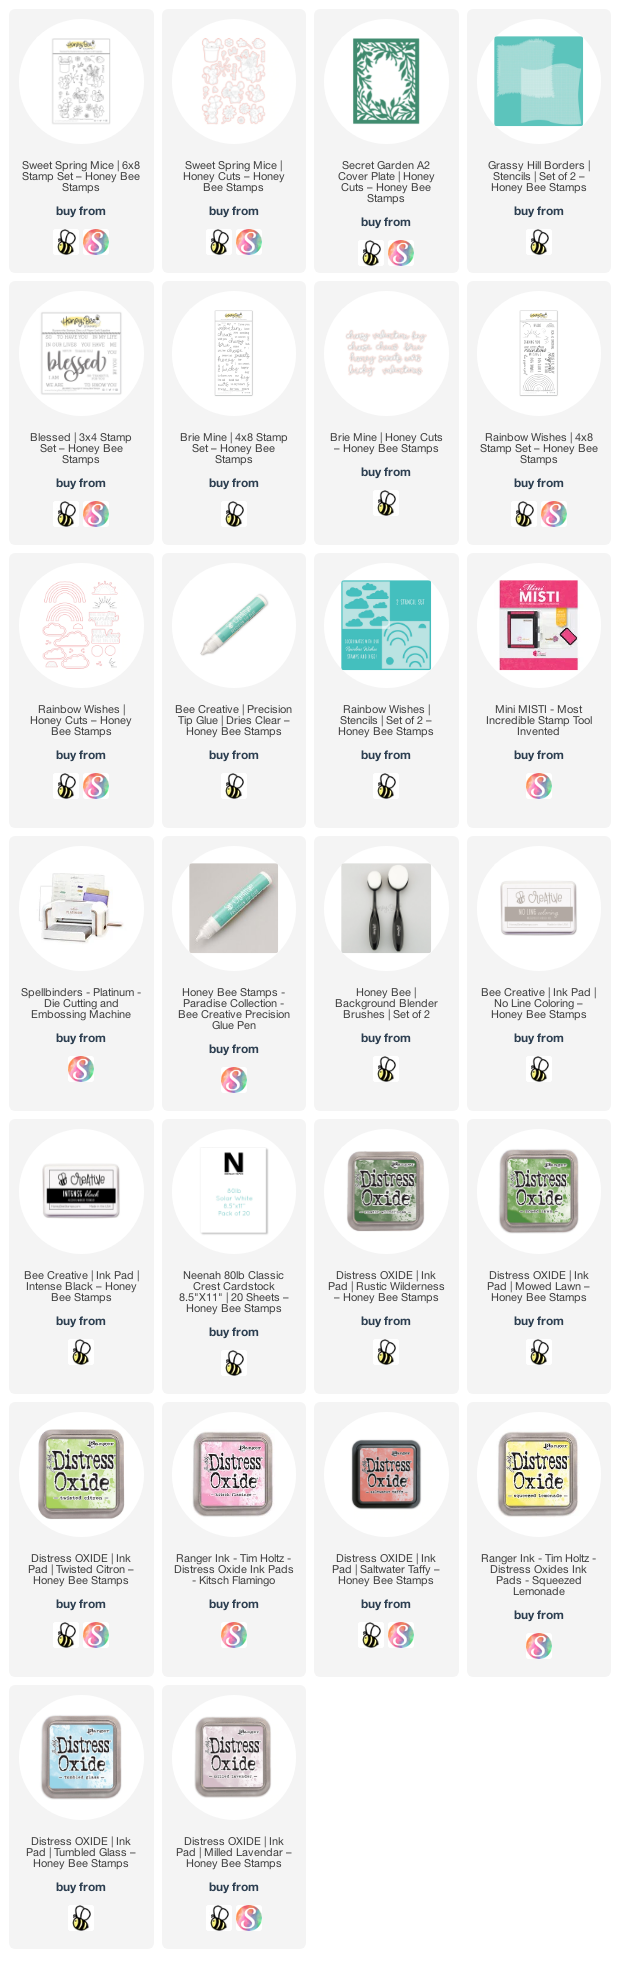
Before I get to my card details, have you checked out the Green Week sale going on over in Honey Bee's shop? Click the image to see all of the lovely green related products that will be automatically discounted by 15% in your cart!

Now, on to my card and the details!

I began by creating my card base by die cutting the rainbows from the Rainbow Wishes Honey Cuts from white cardstock. I colored them using the Rainbow Wishes stencils and Distress Oxides. I used Detail Blender brushes to add these Oxides: Kitsch Flamingo, Saltwater Taffy, Squeezed Lemonade, Mowed Lawn, Salvaged Patina, and Milled Lavender. I adhered the rainbow pieces onto a double-sided adhesive sheet, trimmed away the excess, and set them aside.
I blended some Mowed Lawn, Twisted Citron, and Rustic Wilderness Distress Oxide inks at the bottom of an A2 card using the Grassy Hill Borders stencil set. Next I blended on Tumbled Glass Oxide above the hill for a sky background. Then I adhered the rainbow pieces and trimmed off the excess from the side of the card. Before I added the Secret Garden die cut, I swiped a clear glitter pen over the rainbow for some subtle sparkle!
I inked up an A2 card with Rustic Wilderness, Mowed Lawn, and Twisted Citron Oxides in an ombré pattern and die cut it with the Secret Garden A2 Cover Plate die. Next I die cut two more from white card stock. I adhered all the layers together with Bee Creative glue. I placed narrow foam strips on the back to pop it up on the card.

I stamped the mouse from the Sweet Spring Mice set with No Line Coloring Ink. I used these Copic markers to color him: C3, C2, C1, C0, and C00. The clover is colored with RV55, G24, and G21. (Yes, RV55! Use it to deepen the shadows of G24.) I used a black Micron pen to fill in his eyes, nose, mouth, and whiskers. Next I used the coordinating Honey Cut to cut it out.
I stamped the sentiment Lucky from the Brie Mine set with Intense Black ink and cut it out with the coordinating die. I used a stamp from the Blessed Buzzword set to complete my sentiment. I used foam strips to adhere both sentiments to my card.
I do love my sparkles, so I added a bit more to the card with some green gems from the Hugs & Kisses Gem Sticker set!

I do adore the mice in this sweet set! Thank you much for stopping by and I hope the rest of your week is fabulous!
Thank you should you choose to use my affiliate links (always no additional cost to you!) 💗
Sweet card, and an adorable mouse too!
ReplyDelete