Showing posts with label Farmhouse Fields Scene Builder. Show all posts

Wednesday, June 11, 2025

Hello, My Sweet Friend

Hello crafty friends!  Today I'm sharing a card I made that features Honey Bee Stamps beautiful Lovely Layers: Wishing Well.  The Scene Builder die sets have always been a favorite of mine and I was happy to get to use one again!  I love how these older and new products work together!

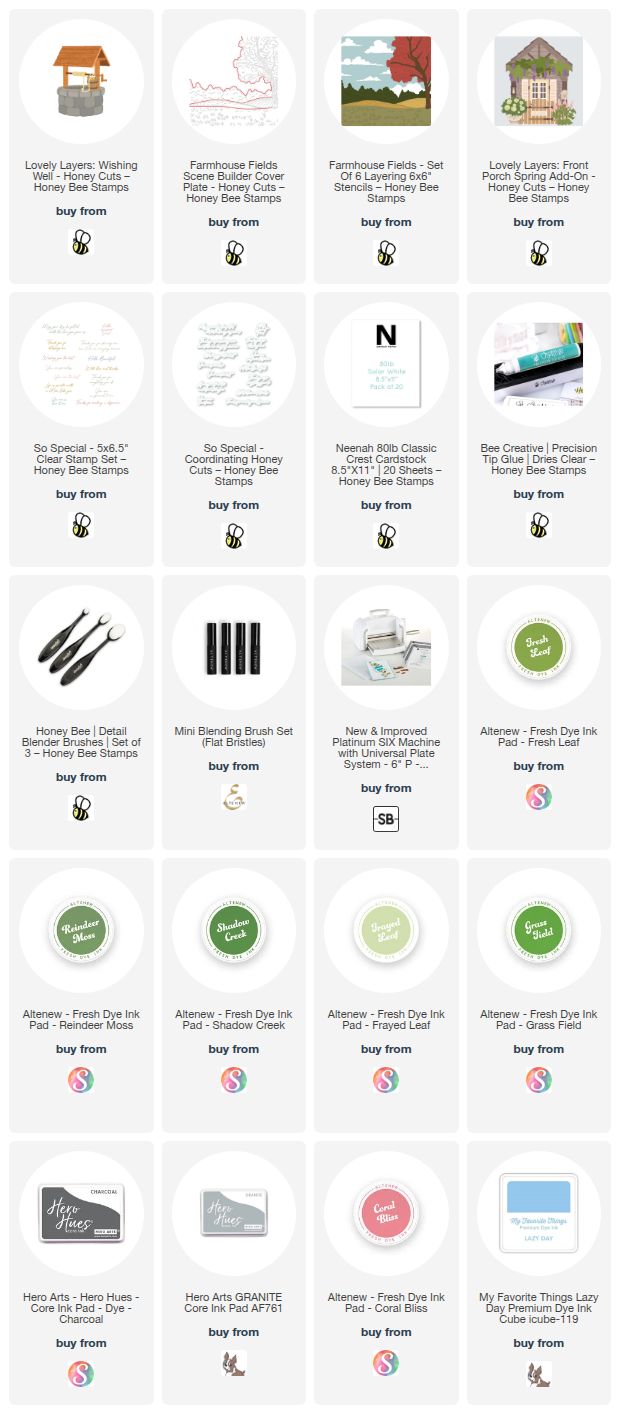
First I die cut the Lovely Layers: Wishing Well dies from light gray and 80# white cardstock.  I used various brown and gray inks to color most of the pieces with Blender Brushes.  I had fun using three different shades of gray inks on the wishing well stones.  Then I splattered the stones with white paint.  For some reason it started smudging off even after it dried.  So I just used a clean paper towel to smudge it and it turns out, I liked the look!

To color the smaller pieces that I wanted more detail on (the well handle, the bucket, and rope) I used a few Copic markers.

Next I followed the Layering Guide to adhere the layers with glue.

I pulled out the Farmhouse Fields Scene Builder Cover Plate die and cut it out from 80# white cardstock.  To color the scene, I used the coordinating stencil set with Blender Brushes and various shades of green inks and a brown ink.

I trimmed the left edge of the colored scene with my paper trimmer.  Before I glued the scene to my A2 card base, I inked on some blue ink for the sky.

I wanted some more color on the card, so I die cut white cardstock with three of the floral dies found in the Lovely Layers: Front Porch Spring Add-On set.  I used blending brushes for some quick coloring of the layers.  Then I used glue to adhere the layers together.  These remind of wildflowers that might be growing at the base of a wishing well!

The wishing well and flowers are adhered to the card base with foam tape.  Then I stamped the sentiments from the So Special stamp set with black pigment ink.  I cut them out with the coordinating dies and adhered each one with a double layer of foam tape.

I totally love this scene and hope you do too!  Also, I hope you've been inspired to give this type of scene card a try.  It's fun!  Have an awesome and crafty week!!

Thank you for shopping with my affiliate links (never any additional cost to you)!
Wednesday, August 28, 2024

Autumn Scene Card With The New Lovely Layers: Scarecrow

Hello crafty friends! Have you see the awesome new Honey Bee Stamps "Falloween release"?  It is filled with beautiful autumn stamps, dies, stencils and more!  Also there are some sweet and not too spooky Halloween items too!  I can't even begin to choose a favorite, but this adorable Lovely Layers: Scarecrow is definitely one I love!

Also, I don't want to forget to tell you about an awesome Instagram hop we are having today to celebrate Honey Bee's new release! When you are done here, be sure to join me on Instagram and leave a comment on each stop for your chance to win! Two winners, drawn from the comments, will each win a $50 gift certificate!

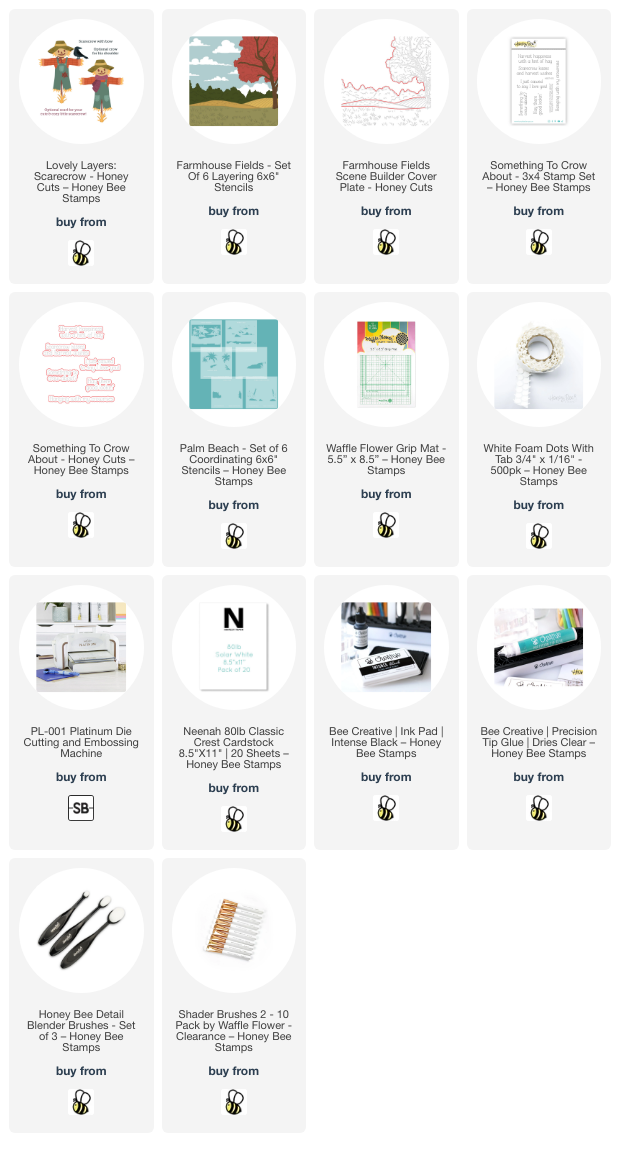
I created my autumn background for the adorable Scarecrow with the Farmhouse Fields Scene Builder die and the coordinating stencils. I used ink blending brushes and a lot of my favorite autumn color Distress Inks. I used Peeled Paint, Faded Jeans, Tumbled Glass, Scattered Straw, Carved Pumpkin, Aged Mahogany, Antique Linen, Gathered Twigs, and Black Soot.

I stenciled the black birds in the sky by using a stencil from the Palm Beach stencil set. But I think these could easily be hand drawn too.

Next I die cut the Lovely Layers: Scarecrow dies from 80# white cardstock. I used blending brushes and Distress Inks to color the layers. Using a sticky mat to hold the small pieces while inking is so helpful! I used the Layering Guide for assistance in assembling the scarecrow for the first time. After I glued the layers together, I added a few foam dots to the back of the scarecrow to adhere it to the card.

The sentiment is from the new Something To Crow About stamp set and stamped in black ink. I love that Honey Bee has coordinating dies to cut out the sentiments!

I thought the crow would look super cute perched on the sentiment so I popped him up with a small piece of foam tape.


Thank you so much for using my affiliate links to shop (never any additional cost to you)!  Note: In order for me to receive credit, you need to have your browser set to allow cookies.

Tuesday, August 29, 2023

Autumn Card With Lots of New Honey Bee Stamps Lovely Layers

I have another card featuring several of the beautiful new Lovely Layers sets from Honey Bee Stamps' Heartfelt Harvest release!  How many gorgeous Lovely Layers do I have here?  Check it out!

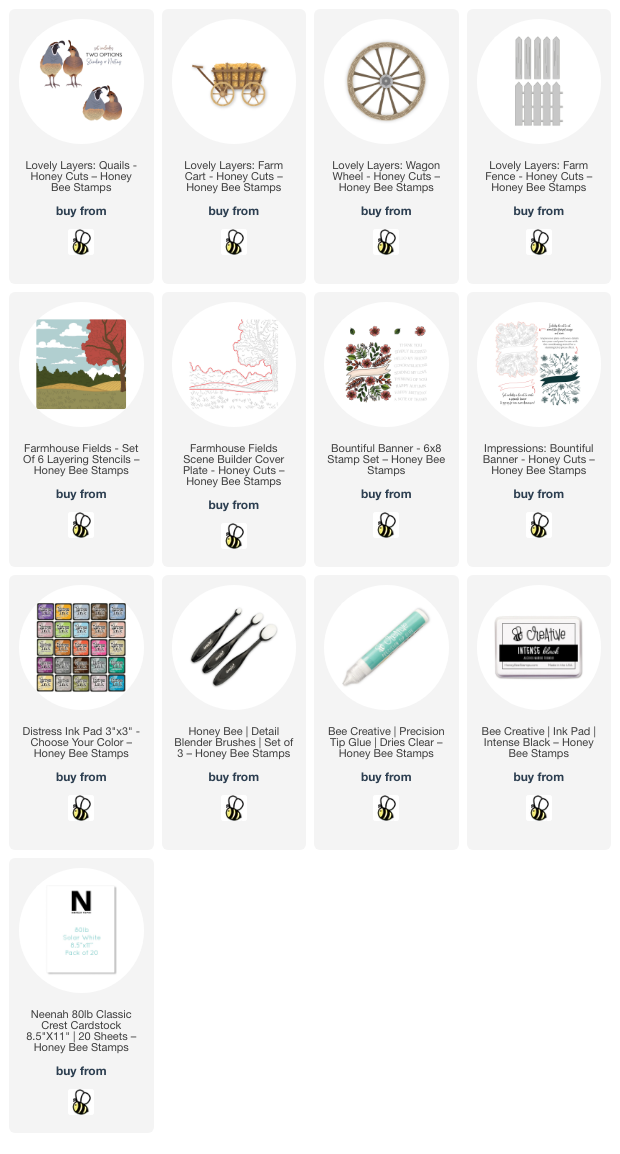
How sweet are these quail??!!!  I used all of my favorite colors of autumn Distress inks to ink blend and color all of the elements on this card.

I've given you a peak of the gorgeous Farmhouse Fields Scene Builder die I colored using the coordinating stencils.

The too cute fence is the new Lovely Layers: Farm Fence lightly shaded with Lost Shadow Distress ink.

Next is the also new Lovely Layers: Wagon Wheel.  A few brown Distress inks colors it up nicely.  I like the brown/gray color of Frayed Burlap that shows towards the center of the wheel.

The Lovely Layers: Quail are perched atop the hay bale that's in the Lovely Layers: Farm Cart dies.  Oh my gosh, this one's adorable!

I added a popped up sentiment I stamped from the Bountiful Banner stamps.  I cut it out with the banner die in the Impressions: Bountiful Banner die set.  (Check that set out!  It is a plate that impresses the details of the Bountiful Banner set!)

Stay tuned for my usual Wednesday Honey Bee blog post and details of the most awesome Instagram Hop!  Thank you so much for stopping by!

I so appreciate your using my affiliate links to shop (never any additional cost to you)!