Showing posts with label My Pretty Things. Show all posts

Saturday, October 10, 2026

My Pretty Things' Handmade Holidays Release Blog Hop + Giveaways!

 Hello, crafty friends!  Today I'm happy to be joining the in blog hop to celebrate My Pretty Things' Handmade Holidays release!

My Pretty Things is celebrating the magic of the holiday season by sharing handmade paper crafts created with joy and love. From thoughtful cards to festive tags, each creation is a little reminder that the most meaningful gifts come straight from the heart. So cozy up with a cup of hot tea, hop along with us for plenty of holiday inspiration, and don’t forget to leave each designer a kind comment for your chance to be entered in the giveaways!

Read to the end for the hop order and prize details!

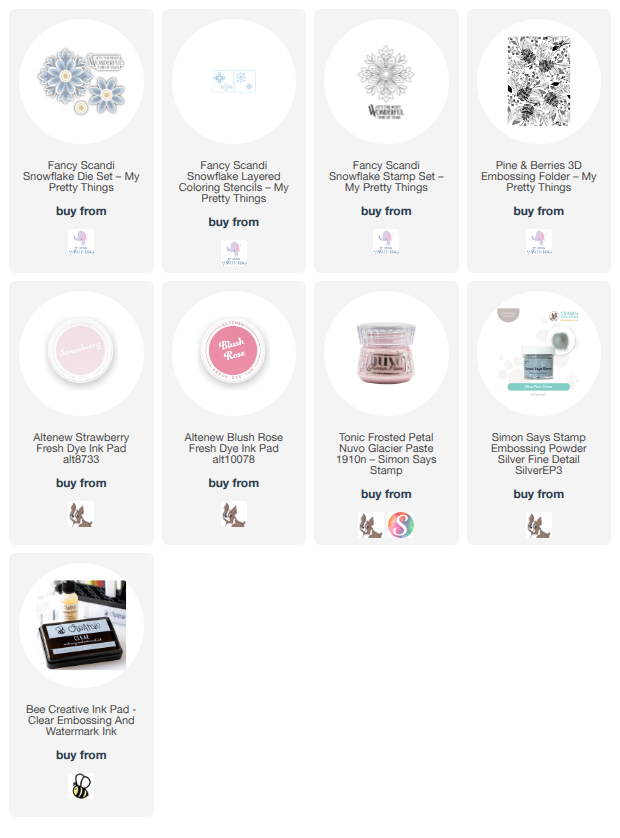
My card features the beautiful Fancy Scandi Snowflake stamp set with the coordinating dies and stencils.  Also new is this gorgeous Pine & Berries 3D embossing folder.  (All supplies are in the links below.)

First I stamped the Fancy Scandi Snowflake image with clear embossing ink onto two panels of white cardstock.  I added silver embossing powder to both and heat set it.  Then I cut it out one snowflake with the largest coordinating Fancy Scandi Snowflake die.  I die cut the other snowflake with the smaller die and the inner circle die.

I put the large snowflake onto a sticky mat and then inked two shades of pink ink through three of the Fancy Scandi Snowflake stencils layers.  For the final, and largest layer, I used a pallet knife to spread some pretty pink texture paste.  I repeated these steps for the other two snowflake die cuts.  I set them aside to dry.

For the card base and layer, first I inked around the edges of an A2 card base with the same ink I used on the Fancy Scandi Snowflake.  Then I embossed white cardstock with the Pine & Berries 3D embossing folder.  I trimmed it to 4" x 5-¼" and glued it to the card.

I glued the large Fancy Scandi Snowflake to the card.  Then I popped up the other two layers with foam adhesive.

Then sentiment is also in the Fancy Scandi Snowflake stamp set.  I stamped it with embossing ink and heat embossed it with more silver embossing powder.  I die cut the sentiment with the coordinating Scandi Snowflake die.  I die cut it a second time from white cardstock, inked the edges, and glued it offset behind the embossed sentiment.  The sentiment is also popped up with foam adhesive.

I love that my lighting was just right to capture all of the fabulous shimmer and shine of my pink holiday card with the Fancy Scandi Snowflake!!

Be sure to leave a comment here and at all of the stops along the way for more chances to win!

Blog Hop:


Erin Thompson

Andrea Shell

Meghan Kennihan 

Amy Tsuruta

Carol Hintermeier <---you are here

Linh Van

Brenda Noelke

Amber Lynn Nelson


Giveaway Info:


My Pretty Things is giving away a $25 gift card to two lucky winners!!


Both winners will be drawn randomly from US entrants that have hopped along and left kind comments for this blog hop by midnight CT October 17, 2026. 


Winners will be announced on the My Pretty Things Website main page on Tuesday, October 20, 2026. *This giveaway is open only to participants in the US as My Pretty Things does not currently ship internationally.

I so appreciate that you use my affiliate links to shop! (There's never any additional cost to you.)  It helps me with the expenses of posting my creative content, thank you.  Note:  You must have "allow cross-site tracking" and cookies turned on in your browser in order for it to know you use my links.
Saturday, June 27, 2026

Chinoiserie Thank You Card

Hi friends!  I'm so happy to be a part of an Instagram Hop happening today for My Pretty Things new release called Life InDex.  There are lots of fun products for your memory keeping and these can also be used in your card making too!  I've used the gorgeous Chinoiserie Stamp set with coordinating stencils and dies.

If you don't know about My Pretty Things, this is a small company owned by Erin Thompson.  She also hosts the most awesome craft retreat.  The Nashville Craft Retreat is held annually in Franklin, TN, which is just outside of Nashville.  Erin also has crops and virtual retreats that you should check out!  I've been to the Nashville Craft Retreat this year and the previous three.  It is SO much fun and you get to learn new things and bring home so much swag and products from her sponsor companies!  Information about and registration for the 2027 retreat is open now!

First I stamped the Chinoiserie images.  Then I used a few pink and green inks in my stash to color these with the Chinoiserie stencils and blending brushes.  A brand new tool, available from My Pretty Things, are these awesome blender brushes that I used with the inks and stencils!

I seriously would not recommend these if I did not like them.  I know there's lots of choices we have for ink blending brushes, but I definitely recommend these!

When I finished the stenciling, I cut out the images with the coordinating Chinoiserie dies.  I used glue and some foam adhesive to adhere them to a 4" x 5-¼" pink cardstock panel.  Then I added foam tape to the back of the panel to adhere it to my A2 card base.

The sentiment is one of two included in the Chinoiserie stamp set.  I stamped it with black pigment ink and cut it out with the coordinating die.  A few foam squares were used to adhere the sentiment to the card.

I added some pretty and so sparkly sequins from the Chandelier Shaker Mix.

I hope you will join me over on the Instagram Hop.  There will be a prize of a $25 gift certificate given away to two lucky commenters!  If you can't join the hop, then I hope you will check out the new release and all of the other fabulous products in the My Pretty Things shop.

Saturday, March 28, 2026

My Pretty Things Blooming Friendships Release -- A Celebration of Growing Our Crafty Community

Hello, crafty friends!  Today I am excited to be participating in My Pretty Things' first EVER blog hop!  Today, we are introducing My Pretty Things' newest release in this blog hop: Blooming Friendships -- a collection designed to celebrate community, kindness, and the beauty of handmade expression.

There's something truly special about the way creativity brings people together, and that's why the My Pretty Things' tagline is:

"Crafting Friendships Everyday"

Whether it's a handmade card or crafty time shared together, the bonds we build through art are some of the most special moments between friends.

-------------------------------------------------------------------------------------------------

There will be prizes drawn for this hop!  Be sure to read all about it at the end.  I also have the complete hop list for you too!

Today I am sharing three cards I made with products from the Blooming Friendship release!  First up are these two cards featuring the absolutely beautiful Watercolor Wonderland Wide Washi Tape and the coordinating Watercolor Wonderland Washi Die.

I've also used the new Spring Floral Lattice stencil set to create my textured background.  I inked through the stencil and around the card panel edges with a pretty green ink.  I added a few gold splatters to coordinate with the gold in the washi tape.

I pulled off a section of florals of the Watercolor Wonderland Wide Washi Tape and adhered it to a piece of white cardstock.  Then I placed the one-piece Watercolor Wonderland Washi Die over the panel and ran it through my die cutting machine.  This one die will die cut 10 individual pieces for you to arrange in any way you like.

The sentiment is from the Pretty Awesome Birthday stamp set.  After stamping, I trimmed it into a rectangle and popped it up with foam adhesive.

Here is the second card featuring the Watercolor Wonderland Wide Washi Tape and the Spring Floral Lattice stencil set.

What is different on this card is the texture paste I tinted with a drop of yellow and green re-inkers.  I applied one color through one of the Spring Floral Lattice stencils, let it dry, and then repeated the step with the other color texture paste and the other stencil.

The sentiment is made with the new Layered Friend Dies.  These multi-layer dies are so fun.  I inked cardstock with the same color ink as used for the stenciling for a coordinating sentiment.

This Watercolor Wonderland Wide Washi Tape is absolutely beautiful with the touches of gold!  These would be gorgeous on scrapbook pages too!

One more card that I am sharing today is made with these awesome new products:  Buzzing By stamp set and the Postage Stamp Frame die.

I cut white cardstock with the Postage Stamp Frame die.  Then I placed all of the pieces back together onto a sticky mat inside my MISTI.  Then I stamped the sentiment images from the Buzzing By stamp set as shown, allowing some to hang over the die cut rectangles.

I colored all of the images with various Copic markers.

I added a black cardstock layer to an A2 card base.  Then I glued the frame of the Postage Stamp die cut piece to the card.  Next I added foam tape to the back of each rectangle to adhere each one to the card.

I'll be sharing a fourth card next Tuesday over on my Instagram!  I hope you will follow me there to more inspiration for this awesome Blooming Friendships release!  Now on to the fun stuff!

Giveaway Info:

My Pretty Things is giving away a $25 gift card to TWO lucky winners!!  Both winners will be drawn randomly from U.S. entrants* that have hopped along and left kind comments on the blogs along the way.  Deadline to comment is April 3, 2026.  

Winners will be announced on the My Pretty Things website main page on Monday April 6, 2026.  

*This giveaway is open only to participants in the U.S. as My Pretty Things does not currently ship internationally.

Hop along at each of these stops and leave comments to increase your chance to win:

Erin Thompson

Andrea Shell

Meghan Kennihan 

Carol Hintermeier  <<<that's me!

Amy Tsuruta

Shalana Glass

Brenda Noelke


Blooming Friendship release products used for my cards:

Tuesday, October 14, 2025

Merry And Bright

 Hello friends!  Today I'm sharing this card featuring some products from My Pretty Things' 2025 Holiday Collection!  This features the beautiful Timeless Beauty stamps, stencils, and coordinating dies.  While this stamp set comes with some awesome birthday sentiments, I'm in the mood for holiday cards!  Read on for the details.

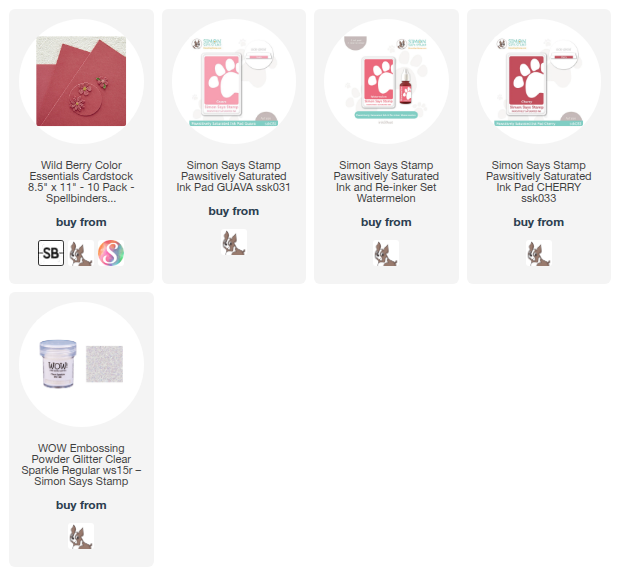
I like to stencil my stamp sets before I stamp it in black ink to help prevent smearing.  So first I stamped the Timeless Beauty floral stamp with a no-line coloring ink.

Tip:  To easily stamp the black ink later use a stamp positioning tool.  I placed the white cardstock panel into the bottom corner of my MISTI and then stamped it with no-line coloring ink.  LEAVE the stamp on the door of the MISTI.

Now you can pull out the stamped panel and begin to add your ink colors through the Timeless Beauty stencils with blending brushes.  Check out my list below for the ink colors I used.

I did not stencil ink for the berries. 

Next, place the colored floral panel back into the MISTI.  Make certain that the card is completely into the same corner as before.  I inked up the Timeless Beauty floral with black ink.

To color the berries, I made a custom color of pearl texture paste by mixing a bit with a drop of re-inker.  After I spread it onto the berries stencil, I set it aside to dry.

I created my card base layer by stamping the Art Deco Christmas Tree stamp onto deep pink cardstock with clear embossing ink.  I added clear sparkle embossing powder and then set it with my heat tool.

I trimmed the piece to 4" x 5-¼" then used the Art Deco Christmas Tree stencils and two pink inks to add a bit of subtle color to the stamped image.  Then I glued it to my card base.

Making sure the texture paste was dry, and it was, I cut out the Timeless Beauty floral with the coordinating Timeless Beauty die.  I added foam tape to the back to adhere the flowers to the card.

Next I stamped a sentiment from the Happy Holidays Sentiments with pink ink.  I cut the sentiment out with the coordinating die and adhered it to my card with foam tape.

Thank you so much for stopping by today!  I hope it's a great one for you!

Thank you very much for using my affiliate links to shop (never any additional cost to you)!

Sunday, August 17, 2025

Beach Friends Forever

Today I'm sharing another beach themed card with the Beach Friends Forever stamps and dies.  These are from the new company, My Pretty Things!  I have lots of friends I could send this to as we wait for our next beach trip!

See the wavy background at the top of the card?  This was made after I sprayed through the Making Waves Stencils for THIS card.  Before I picked up the stencil I pressed a clean piece of white cardstock onto the stencil to pick up the over spray!  Next I carefully tore one each of the panel.  Then I inked on some Peacock Feathers Distress Oxide around the edges and glued it to the card base.  I added lines of Star Dust Stickles around the white edges of the waves and set it aside to dry.

I made the sandy background by ink blending some tan colored ink onto a piece of white cardstock.  (I hand trimmed the top of the piece.)  The inks are in the list below.  Then I added splatters of the darkest tan ink and let dry before adhering it to the card.

All of the images are from the Beach Friends Forever stamp set.  I stamped them in a Copic safe ink and used my markers to color each image.  After I cut out the images with the coordinating dies, I adhered each one with either glue or foam tape.

I stamped two of the sentiments included in the stamp set with black pigment ink.  I love that there are dies included in the Beach Friends Forever die set to cut these out!

I sure hope you have gone over to the My Pretty Things website to check out these adorable and so fun summer themed products!  Thank you, always, for stopping by!

Affiliate links (never any additional cost to you)!

Saturday, August 16, 2025

"Waving" Hello! Ocean Scene Card

I'm back today to share my card using more of the adorable products from the new company called My Pretty Things!  This card totally makes me wish I was waving hello from the beach!  Oh, well, I'll just have to dream!  Haha!

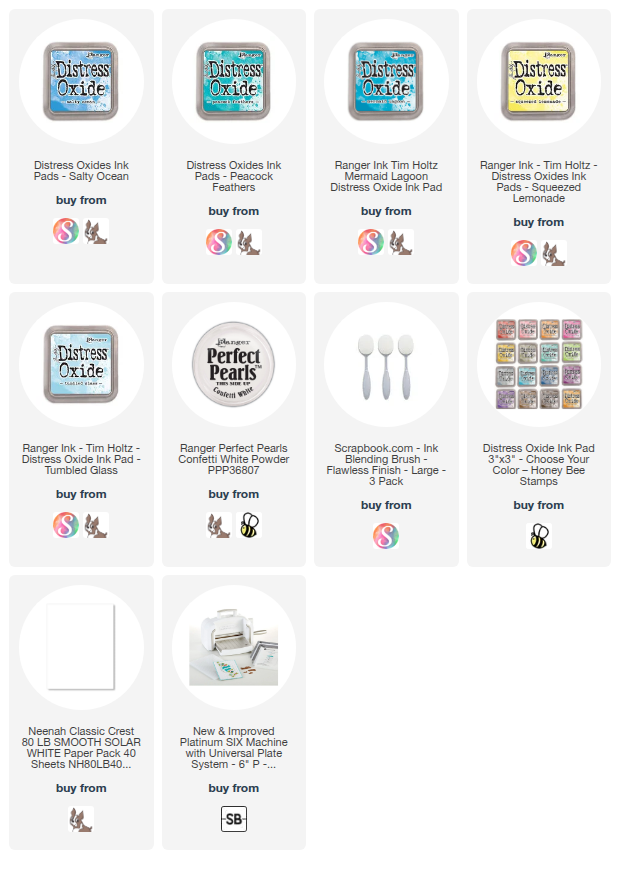
I do enjoy ink blending and really enjoyed the inking up of these waves I die cut from white cardstock with the Layered Waves Dies!  I used ink blending brushes and Distress Oxide Ink in the colors of Salty Ocean, Peacock Feathers, and Mermaid Lagoon.

I overlapped the colors for a smooth blend checking each layer as I went along to make sure it showed some contrasts of colors from one wave to another.  When I was finished, I added water splatters all over and let it air dry.  Then I mixed up a little bit of Confetti White Perfect Pearls and splattered that all over the waves.

While the waves were drying, I chose two adorable images from the Waving Hello stamp set and stamped them in Copic safe black ink.

I decided that I wanted to use the little flower in the Waving Hello set to decorate the surf board.  To do that, I stamped the image onto masking paper.  Since I didn't want the stamp beyond the lines of the surf board, I cut the surf board from the masking paper following the inner stamped line.  This masked everything except the top of the surf board allowing me to stamp the flower just onto the board.

After I colored the images with my Copic markers I cut them out with the coordinating dies.

Before I added the Layered Waves to my card base, I inked on some Squeezed Lemonade and Tumbled Glass Distress Oxide for a sky and sunshine.  I used glue and also foam tape to adhere the waves and images.

The sentiment is also ion the Waving Hello set and cut out with the coordinating die.

Have you checked out the products over at My Pretty Things?  I hope you will--let's support these small businesses!  Thank you so much for stopping by!!

(Affiliate links--never any additional cost to you!)

Monday, August 11, 2025

You're A Ray Of Sunshine!

 Hello friends!  While I've been on the mend from a horrible dog attack, I've had time to play with some new products from a NEW company!  This company is called My Pretty Things by Erin Thompson!  This is part of her very first release and it's filled with fun beach/summer themed stamps, dies, and stencils.

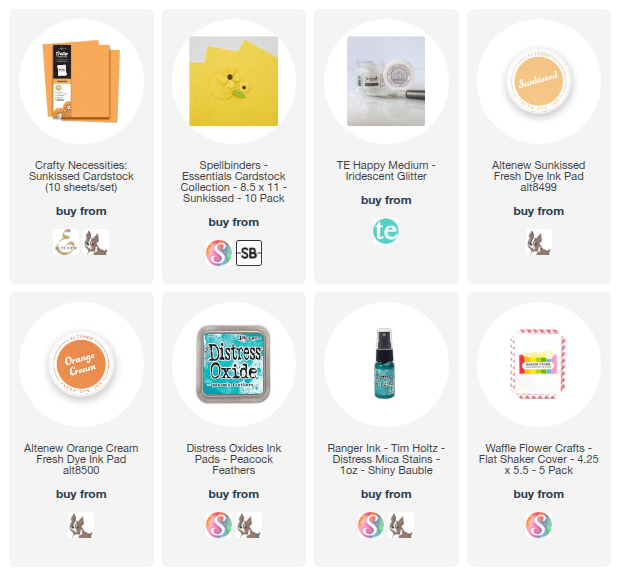
The first thing I did is have fun making the background with the Making Waves Stencil set!  I added Peacock Feathers Distress Oxide ink through the first stencil onto a panel of A2 sized white cardstock.  I positioned the next stencil over the panel and spritzed on Shiny Bauble Distress Mica Stain.  Before I removed the stencil, I pressed another piece of white cardstock onto the stencil to pick up the mica stain that was on the stencil!  This will make a great piece for another card (coming soon)!

When the Mica Stain was dry, I spread some Iridescent Glitter gel through the third stencil.  I set the piece aside to dry.

Next I die cut the Sweet Sunshine Layered Dies twice from two different shades of yellow cardstock.  I used a mini blending brush to add shading with two inks.

I glued the bottom two layers together, slightly offsetting the layers.  Then I glued the two pieces of the next layer, again offset.  I added foam tape to the back to adhere it to the bottom layer of the sun.  After I added the smiley face die to the inner circle, I glued on a small piece of pink cardstock behind the cheeks. I popped it up with foam tape to adhere.

I trimmed the Making Waves stenciled piece to 4" x 5-¼".  Then I placed it into a shaker pocket and adhered all sides except the top.  I poured in a pretty sequin mix that coordinates with the stenciled colors and sealed the top of the shaker pocket.  I added double-sided adhesive to the back of the shaker to adhere it to an A2 card base.

The sentiment is from the Hey There Sunshine stamp set.  I used the Hey There Sunshine dies to create the layered sentiment with a shadow die.

This is the first of three cards I will be sharing where I used other products from My Pretty Things!  I hope you enjoyed this one!  Thanks so much for stopping by!

Thank you for shopping with my affiliate links (never any additional cost to you)!