Showing posts with label die cut cards. Show all posts

Wednesday, August 26, 2026

Country Fruit Basket Birthday Card -- Honey Bee Stamps

Hello crafty friends!  Today I'm here to share all of the fun details of this card I made with Honey Bee Stamps Lovely Layers: Berry Basket Honey Cuts.  Our team has made some awesome cards using this set, so I wanted to think of a way to make my card a bit different.  I had this great idea to use the Lovely Layers: Wrap It Up bow and some gingham paper and I love how this turned out!

I had a very busy day yesterday with every-day-life stuff and let me tell you, this card came together so easily!  I die cut red, blue, green, and Kraft cardstock with the dies in the Lovely Layers: Berry Basket set.

The lemon is from the Lovely Layers: Citrus set and one I had saved from a previous project!  I love having these random pieces ready to use!  After I added darker inks to the fruits and basket with blending brushes for dimension, I used Bee Creative glue to adhere the layers together.

Next I die cut the Lovely Layers: Wrap It Up bow from a piece of gingham paper in the Perfect Picnic paper pad.  So that the reverse pattern of the paper wouldn't show on the inside of the bow loops, I just flipped that paper over to die cut another layer of the bow loops.  Then I glued the two pieces together with the gingham pattern facing out.  I assemble the bow with glue and use my reverse tweezers to hold the bow in the center until the glue was dry.

I glued the ribbon portion of the Bow to the Berry Basket and used my scissors to trim off the excess on each side of the basket.  Then I glued the bow to the basket.

I just love this patterned paper I used from the Perfect Picnic paper pad.  It has just enough of the blurry look to appear as if it's in the background behind the Berry Basket!  I trimmed just 1/8" of an inch from the top and one side to create just a slim white border on the A2 card.

I stamped two of the sentiments from the Berry Sweet Summer stamp set with black pigment ink.  I cut them out with the coordinating Berry Sweet Summer Honey Cuts and use foam strips and glue to adhere them to my card.

I think this gingham bow makes this into the cutest little fruit basket that might be found on a roadside stand!  What do you think?

I always so appreciate your stopping by!  I hope your day is a good one with some good crafting time!

I so appreciate that you use my affiliate links to shop! (Never any additional cost to you.)  It helps me with the expenses of posting my creative content, thank you!
Sunday, August 23, 2026

Let's Eat Candy -- Big Mouth Jack-O-Lantern Interactive Halloween Card

Hello friends!  Today I am sharing this fun card I made that features Hero Arts Big Mouth Jack-O-Lantern die set!

The Big Mouth Jack-O-Lantern dies, when used with the Big Mouth Slider dies, creates such a fun and interactive slider card!  And, if you don't have these slider dies, the Big Mouth Jack-O-Lantern dies make a wonderful card without them!

Check out this next photo!

By pulling the slider tab it reveals your sentiment inside the big mouth!

I started with the Big Mouth Slider dies and cut white cardstock with the dies.  You can search YouTube and find several videos that show you how to easily assemble this.  The one I watched is by Mindy Egan, on Spellbinders channel.

I die cut several different colors of cardstock with the Big Mouth Jack-O-Lantern dies.  Before I glued the pieces together, I added shading with coordinating ink and a blending brush.  (All of my supplies are linked in the list below.)

The sentiment is another one in the August Clear Stamp+Die Club Kit.  (Yes, I have used this one a lot--it's a keeper!)  I added the Jack-O-Lantern to some dark indigo cardstock that I inked with Black Soot Distress ink and then added white splatters.

If you like this one, be sure to check out all of the other available Big Mouth die sets!

Thank you for stopping by!  I hope your day is a good one with lots of crafting time!

 I so appreciate that you use my affiliate links to shop! (Never any additional cost to you.)  It helps me with the expenses of posting my creative content, thank you!

Saturday, August 15, 2026

Buzzy Pup-Bee Halloween Card

Happy Saturday, friends!  Today I'm sharing this adorable Halloween card that features Spellbinders new Buzzy Pup-Bee die set!

This adorable little Buzzy Pup-Bee is so cute dressed up in his bee costume!  I die cut the dies from white, black, and yellow cardstock.  The wings are die cut from vellum.

I used Copic markers for the eyes and ears of the pup.  For his candy bucket, I colored green and pink Copic colors onto a scrap piece of white cardstock.  I trimmed it to fit behind the top layer of the bucket and used glue to adhere the two layers together.

The Buzzy Pup-Bee is easy to assemble, and if you need a bit of help, there's a guide you can see in the photos on the product page.

For the layers of the A2 card base, I first die cut black cardstock with the second largest die from the Playful Stitched Panels die set.  Then I placed the die cut panel into the Spooky Web 3D embossing folder.  This is from the August 3D embossing folder club kit, and is still available!  This folder has two different embossing patterns perfectly sized for your A2 card layers.

I glued the die cut and embossed piece to some yellow cardstock that I trimmed to 4" x 5-¼".

The sentiment is from the Birthday Bear die set.  After I die cut it from white cardstock, I glued a piece of black cardstock to the back and popped it up with foam squares.

Next I popped up the Buzzy Pup-Bee with foam squares for more fun dimension.

I think this turned out super cute!  I hope you do too!  Thanks for stopping by.  I hope you are having a great weekend with lots of crafty time!

I so appreciate that you use my affiliate links to shop! (Never any additional cost to you.)  It helps me with the expenses of posting my creative content, thank you!

Wednesday, August 12, 2026

Hope Your Day Is Stacked With Joy -- Honey Bee Stamps

Hello, crafty friends!  Do you make clean and simple cards?  If you are here regularly, you most likely know that I do not!  Haha!  But I think I've succeeded today with this card that features Honey Bee Stamps awesome Lovely Layers: Sub Sandwich Honey Cuts!  Check it out!

I started out with the Lovely Layers: Sub Sandwich dies.  First I chose the items I wanted to layer in my sub sandwiches.  Next I chose various colored cardstocks for the pieces.  I die cut the meat and onion layers from white cardstock.

Once you have the dies and cardstocks planned out, it's super easy to have a die cutting session and cut out enough pieces for three sub sandwiches!  To add some dimension and depth of color to the pieces I used either inks with blending brushes or my Copic markers.

If you'd like to see some of this process, check out my Instagram later this morning to watch my reel!  I particularly like how the bread for the Subs turned out after I added shading to the pieces!

With all of the goodies shaded or colored, I used Bee Creative glue to adhere layers together and then layered them into the sandwiches.

To keep the card background simple and give a place to "ground" the three sandwiches, I ink blended a rectangle onto the A2 card front.  This was super easy!  I used my paper trimmer to cut four ½" strips of masking paper.  I placed the strips around the edges of the card base, then used a neutral blue ink and a large blending brush to color in the space.

I removed the masking paper to reveal this pretty inked rectangle!  I used glue and foam strips to adhere each Sub Sandwich into the rectangle.

The sentiments are from the Stacked With Joy stamp set.  After I stamped each sentiment with black pigment ink, I cut them out with the coordinating Stacked With Joy die.  To match the height of the Sub Sandwiches, I used a double layer of foam strips to adhere each sentiment to the card.

I really like my version of this clean and simple card with the Lovely Layers: Sub Sandwich!  I hope you like it too!  Thank you so much for stopping by today.  I hope your day is a good one!

I so appreciate that you use my affiliate links to shop! (Never any additional cost to you.)  It helps me with the expenses of posting my creative content, thank you!

Saturday, June 6, 2026

Sending You A Splash Of Happy

Today is the day that the June Club Kits by Spellbinders is open for sign ups!  My card to day features the adorable Small Die of the Month, Mahalo Sea Turtle.  The sentiment is one from the Clear Stamp + Die called This Way To Rainbows!

This card was so fun and easy to make!  I die cut the turtle from the Mahalo Sea Turtle set from white cardstock and colored it with my Copic markers.

I had thought about making a shaker card, but I wanted to get this card finished before I left on a short trip.  So I used two colored cardstocks, Seaside and Waterfall, for this card.

To give the card a similar look to a shaker card, I glued iridescent sequins to the card to imitate bubbles.

The This Way To Rainbows (Clear Stamp + Die) has 17 sentiments with included dies in the set!  There is also a pole sign with different shaped sign dies and a small die for a mound of sand included.  Click the link to see the set.

I stamped the sentiment in black ink, die cut it, and popped it up with foam squares.

The This Way To Rainbows stamp set can be used with all of the Club Kits and with lots of products you already have!  I love the adorable turtle in the Small Die Club Kit too!

Thanks for stopping by today!  I hope you have a great weekend with lots of crafting time!

Thank you so much for using my affiliate links to shop (never any additional cost to you)!

Sunday, May 10, 2026

Thanks For Being You -- Everyday City Holiday Collection by Yana Smakula For Spellbinders

Hello crafty friends!  Happy Sunday, and if you're a mom, happy Mother's Day!!  And happy release day for this new collection of add-ons for the City Holiday Collection die sets.  This collection is the Everyday City Holiday collection and was designed by the amazing Yana Smakula and these new sets give the adorable house all of the springtime feels!

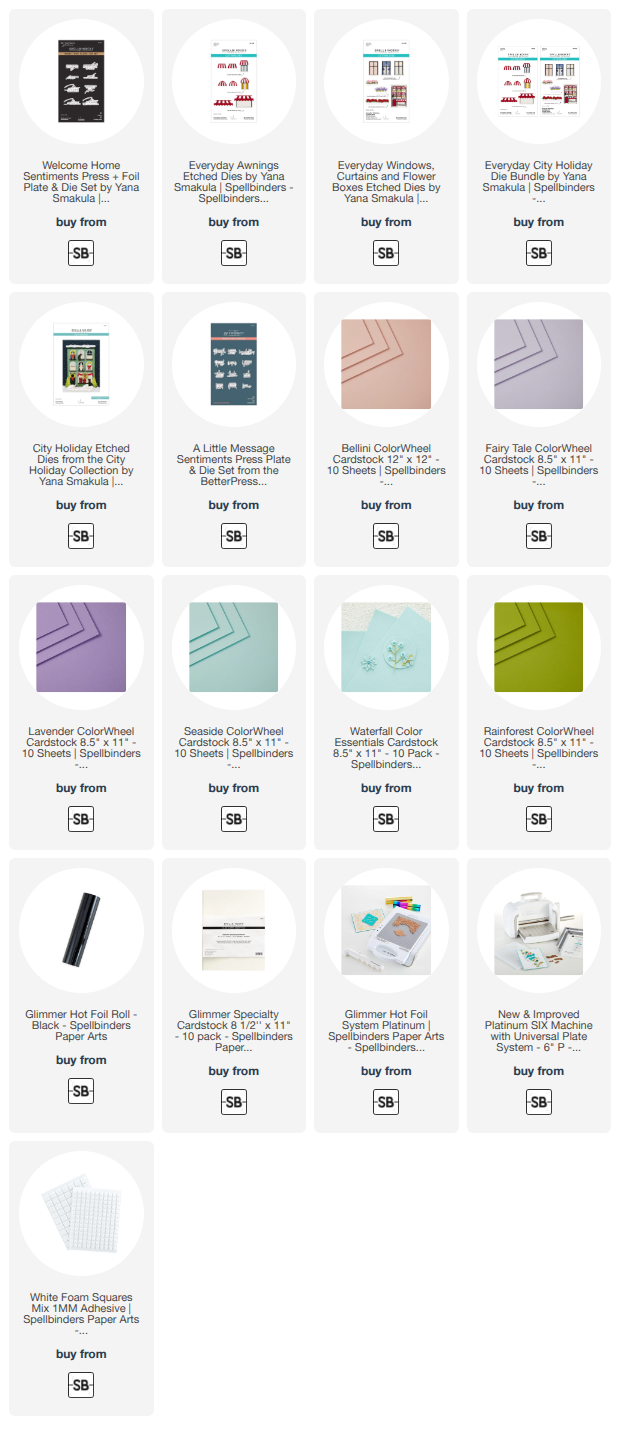
I die cut colored and white cardstocks using the dies in the City Holiday, Everyday Awnings, and Everyday Windows, Curtains and Flower Boxes set.  These two add-on sets are also available in a bundle with savings.   For once, and I do not remember the last time, I did not add any type of shading with ink or markers!!!  Haha!  All of the colors of available cardstock I used are in the list below.

I wanted to keep this sweet card on a more pastel side, and finally, I think I succeeded!  I got my bright color in by using a pretty bright blue cardstock for the layer behind the City Holiday piece.

There is a coordinating Welcome Home Sentiments Press + Foil Plates & Die Set.  I don't have this set, but it's definitely in my wish list!  I found a sentiment that I loved for this card in the A Little Message Sentiments Press Plates & Die Set.  This set also foils beautifully!

I used Black Glimmer Foil and Glimmer Specialty Cardstock with my Glimmer System to create this sentiment.  I love how this gives the appearance of a stamped sentiment, but it is just so crisp and neat!  I used a few foam squares to pop it up on the card.

This set is just so fun and makes a gorgeous holiday card as well!  Thanks for stopping by today.  I hope it's a great day for you!

Thank you for using my affiliate links to shop (never any additional cost to you)!

Friday, April 17, 2026

The Beautiful Magical Fuchsia Collection By Alex Syberia For Spellbinders

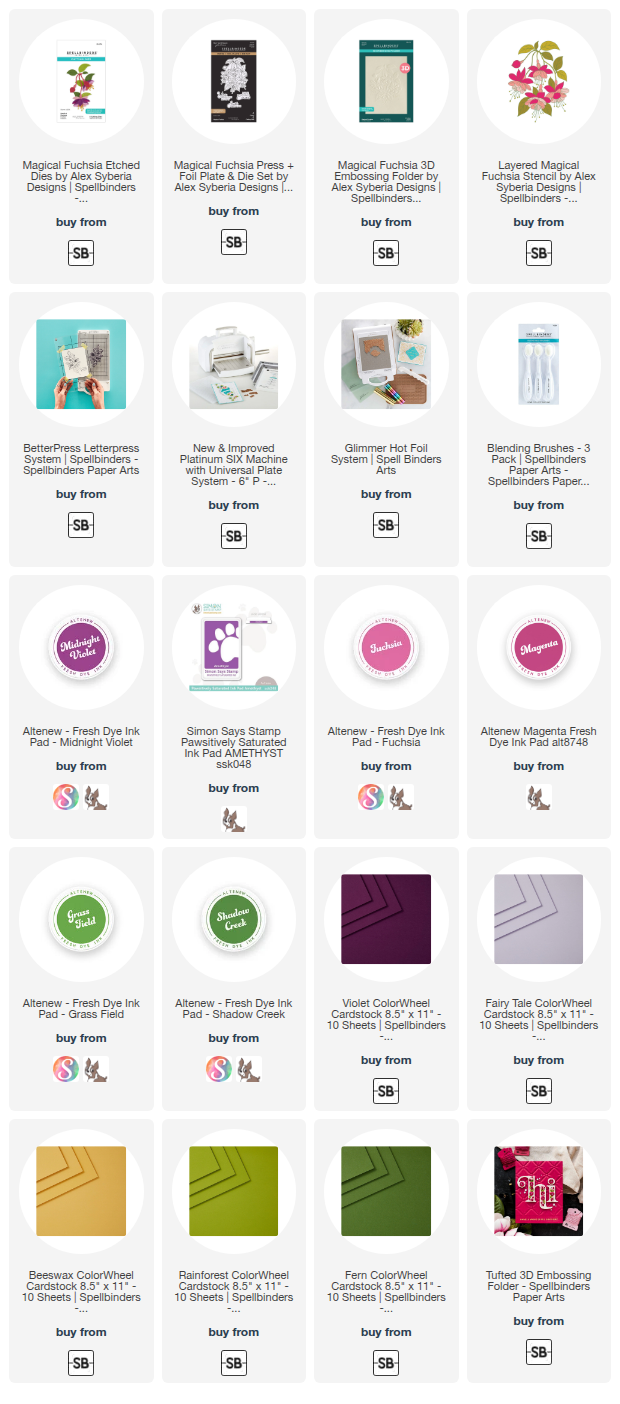
Hi, crafty friends!  Today I am happy to share two cards with you that I made featuring Spellbinders' gorgeous Magical Fuchsia Collection by Alex Syberia!  This collection has all of my favorites:  a 3D embossing folder, layered stencils, stand-alone die set, and a press + foil plate + die set!  Everything you need to make an assortment of gorgeous cards!!

For this first card I used the Layered Magical Fuchsia stencils and the Magical Fuchsia 3D Embossing Folder.

To begin, I first cut white cardstock with the outline die in the Magical Fuchsia Press + Foil + Die set.  This die not only cuts out the BetterPress image!  The cut shape also works with the Layered Magical Fuchsia stencils and can then be placed in the Magical Fuchsia 3D embossing folder!!

So I used the stencils to add various inks with blending brushes through each layer.  Then I placed the colored piece into the 3D Embossing Folder and secured it with small pieces of removable tape.  I ran it through my Platinum 6 die cutting machine.

This Fuchsia piece is so beautiful with all of the dimension added from the embossing folder!  I wish photos showed that better.

I wanted a bold dramatic background that wasn't too busy.  So I embossed Violet cardstock with the Tufted 3D embossing folder, one of my favorites.

The sentiment is one of three included with the Magical Fuchsia Press and Foil set.  Both elements are popped up on the card front with foam adhesive.

------------------------------------------------------------------------------

This second card features the Magical Fuchsia die set along with a background pressed from the Magical Fuchsia Press and Foil plate.

I die cut various ColorWheel cardstocks (in the list below) with the dies in the Magical Fuchsia die set.  I didn't worry about making these flowers realistic, but just arranged the layers how I liked.  A bit of an abstract look, maybe?

I do love a white background to make a focal point pop!  I really love this subtle interest I added by simply using my BetterPress Letter Press system to press the Magical Fuchsia press plate twice into white cardstock.  In real life, this adds not only beautiful visual details, but also tactile interest!  (I really hope to make a card using this with foil and my Glimmer Hot Foil System!)

Be sure to check out the entire Magical Fuchsia Collection!  Each item is also available to purchase separately at the Spellbinders' website.

I am thankful for you all that stop by for a look.  I hope your Friday, and weekend, are filled with rest, relaxation, and lots of crafty time!!

Thank you so much for using my affiliate links to shop (never any additional cost to you)!

Wednesday, May 28, 2025

Wishing You Joy and Beauty

Happy Wednesday friends! Today I'm sharing how I made this card that features the new and so beautiful Lovely Layers: Cottage Honey Cuts by Honey Bee Stamps! While deciding on a background I came across a perfect set to use! Read on for the details.

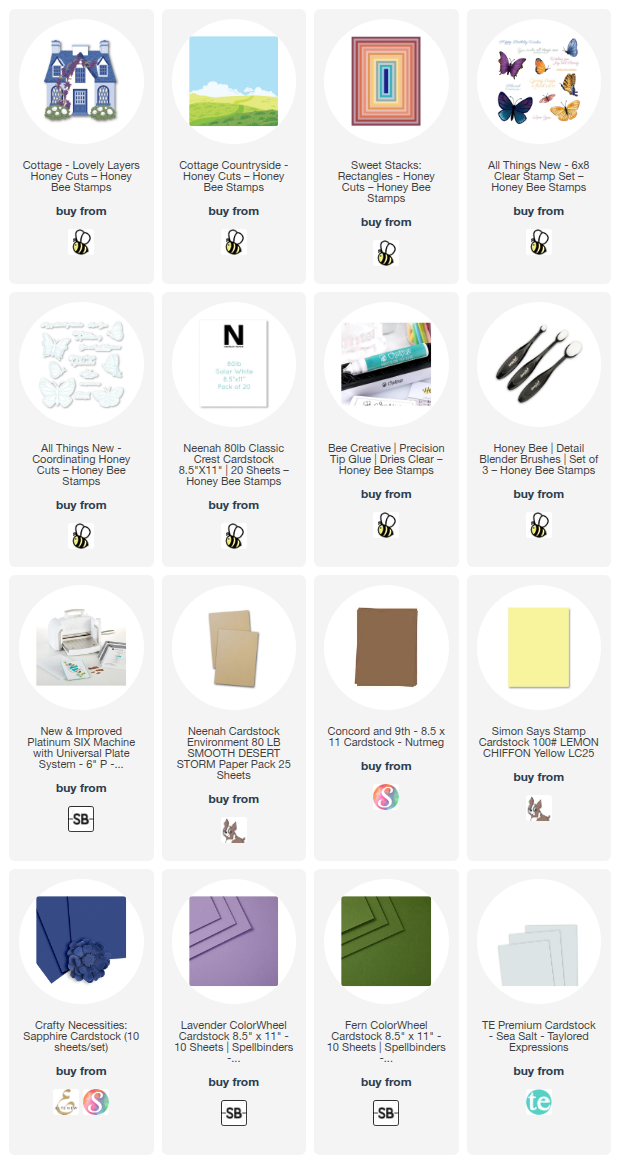
I started out by die cutting white and various colored cardstocks with the dies in the Lovely Layers: Cottage Honey Cuts. I die cut the base layer of the cottage and the brown trim pieces from white cardstock and used a couple brown Copic markers to color the pieces. I did use a purple, yellow, and green Copic to add just a bit of detailing to the flowers and shrubs.

Since this is my first time to create with the Cottage set, I referred to the fabulous layering guide while I glued the various pieces together.

As happens with me frequently, now that I had my main image complete, I really had no idea what I wanted to do for a background! Does that happen with you?

While looking through my Honey Bee dies, I came across the Cottage Countryside die set and thought that it was perfect to use with the Cottage. Much to my delight, I found that I had tucked a die cut and colored piece that I saved from a previous project in the back of the storage pocket! I was very happy! Haha!

All I needed to do was use a Sweet Stacks: Rectangle die to cut it to an A2 size!

Before I glued the Cottage Countryside piece to my A2 card, I used a blender brush to add blue ink for the sky. Then I glued the die cut to my card.

I used foam tape to adhere the Cottage to the card. I did die cut one more shrub with flowers to add along the pathway.

I stamped a sentiment that is in the All Things New stamp set with black pigment ink. I cut it out with the coordinating die and popped it up on the card with foam strips.

This was super fun to make and I love having cards with sentiments that can fit various occasions too! Thank you for stopping by today. I hope you are having a fabulous week!

Thank you so much for using my affiliate links to shop (never any additional cost to you)!

Saturday, May 10, 2025

May The Wind Always Be At Your Back...

 Happy Saturday!!  Today I'm sharing my card that features several of the products from Spellbinders beautiful Field Notes Collection.

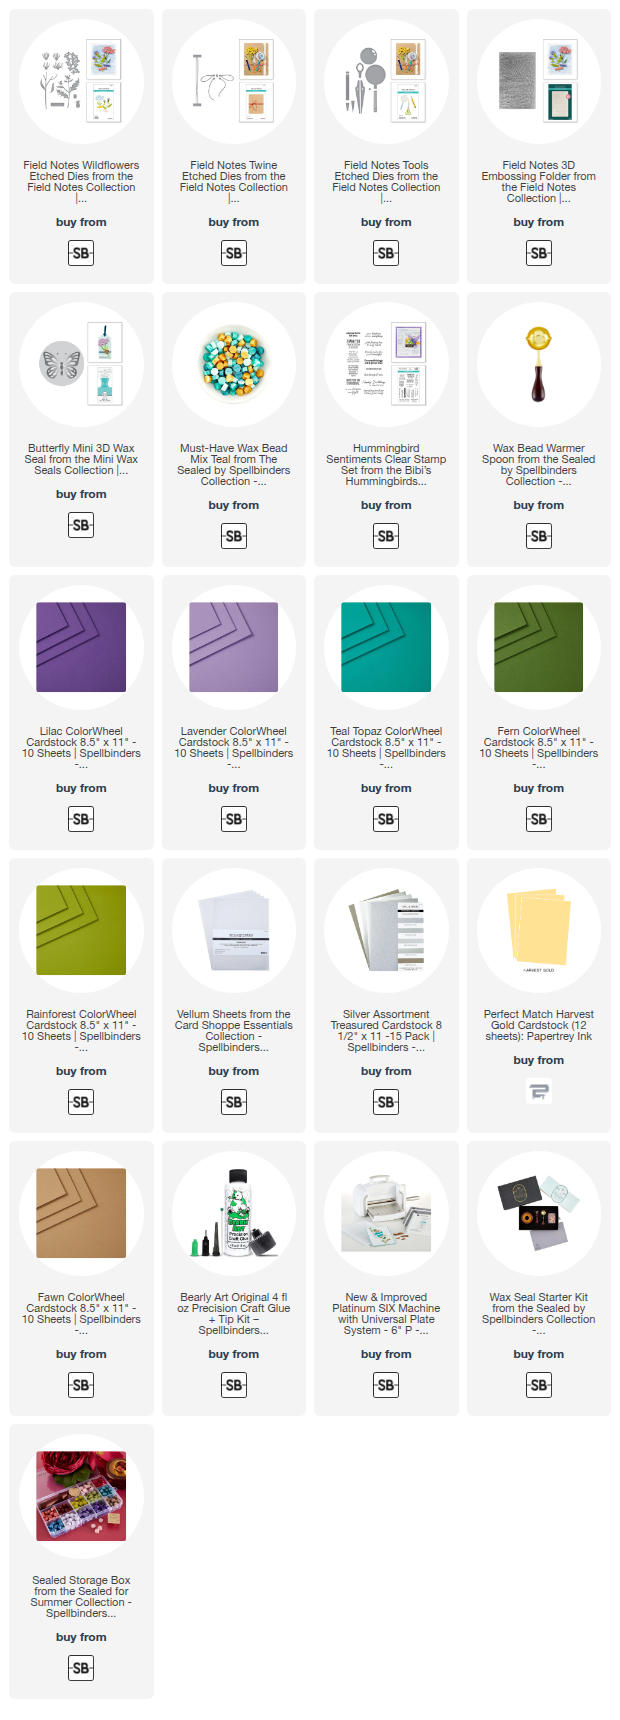
The Field Notes 3D embossing folder makes such a gorgeous background in white.  I used my old corner rounder to round all four corners for a bit of a different look!  This embossing folder will be used many times for my cards, I predict!

Next I die cut the Field Notes Twine from light brown cardstock.  I folded the tabs around to the back of the embossed panel and used glue to secure.  Then I glue the piece to a rounded-corner A2 card base.

Then I used some pretty teal, yellow, green, and purple cardstocks (available colors in the list below) to die cut all of the pieces from the Field Notes Tools and the Field Notes Wildflowers die set.

There is a die that resembles washi tape in the Field Notes Wildflowers set.  I put some black and white polka dot washi tape from my stash onto a piece of white cardstock.  Then I die cut two washi tapes from this.  So fun!

I die cut a piece of vellum for the magnifying glass center and silver cardstock for its handle.  I die cut more silver cardstock with the scissors die.

After I glued the various layers of all of the die cuts together, I tucked them umber the twine die cut and adhered with glue.

The sentiment is from the Hummingbird Sentiments stamp set.  After I stamped it with black ink, I trimmed the piece and adhered it with foam tape.  Then I adhered the washi tape die cuts with small pieces of foam tape.

I finished the card up by adding the cutest Butterfly Mini 3D wax seal to the center of the twine die cut bow.  Two wax beads from the Teal Mix was just the right amount for this mini seal.

I love how this turned out and hope you do too!  I think there are so many ways to use these Field Notes Collection sets for many different occasions.  Have a wonderful weekend!!

Thank you for using my affiliate links to shop (never any additional cost to you)!

Friday, October 18, 2024

Lilac Layering Dies for a Friendship Card

 Happy Friday crafty friends!  I'm sharing my card featuring Altenew's Lilac Layering Die Set and the Branched Frames Die Set.

I die cut the Lilac Layering dies and the Framed Branch dies with colored cardstocks.  The colors are in the list below.

Then I add shading to the flower petals and leaves with Lavender Fields and Deep Iris inks.  Yes, I added purple inks to the blue cardstock!  I shaded the leaves with Hunter Green ink.

I used the layering guides that are included on the packaging to assemble the pieces.  I think that the way Altenew has numbers that imprint on the stem and petals of the Lilac Layering dies is genius!!  The flower centers cover those numbers for a finished look!

I added the Lilacs and Branched Frame to a watercolored panel I made by dropping the purple ink onto dampened watercolor cardstock.  I added purple splatters to the panel before I added the wreath.

The sentiment is from the One-Go: Solid Sentiment Strips Press Plate and coordinating die.

Check out my reel over on Instagram to see some of the process.  Thanks so much for stopping by.  I hope you have a great weekend with lots of crafting time!

Thank you for using my affiliate links to shop (never any additional cost to you)!