Showing posts with label A Little Message Sentiments press plates. Show all posts

Sunday, May 10, 2026

Thanks For Being You -- Everyday City Holiday Collection by Yana Smakula For Spellbinders

Hello crafty friends!  Happy Sunday, and if you're a mom, happy Mother's Day!!  And happy release day for this new collection of add-ons for the City Holiday Collection die sets.  This collection is the Everyday City Holiday collection and was designed by the amazing Yana Smakula and these new sets give the adorable house all of the springtime feels!

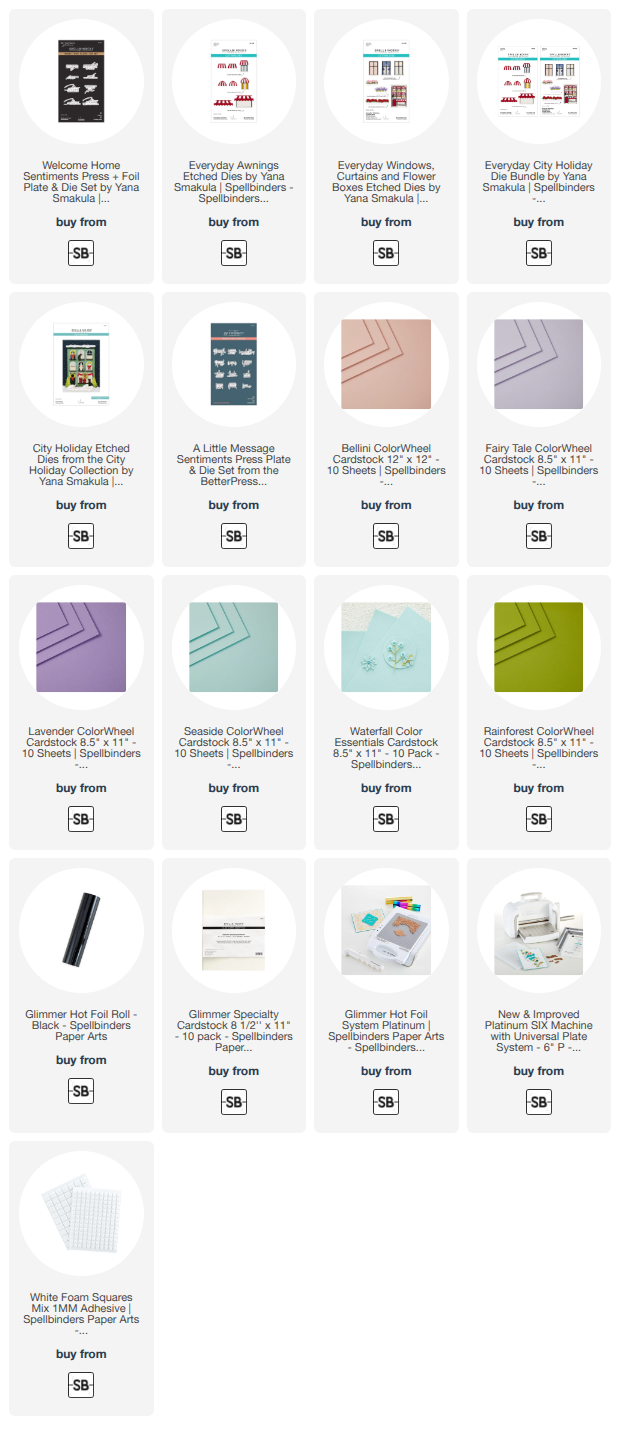
I die cut colored and white cardstocks using the dies in the City Holiday, Everyday Awnings, and Everyday Windows, Curtains and Flower Boxes set.  These two add-on sets are also available in a bundle with savings.   For once, and I do not remember the last time, I did not add any type of shading with ink or markers!!!  Haha!  All of the colors of available cardstock I used are in the list below.

I wanted to keep this sweet card on a more pastel side, and finally, I think I succeeded!  I got my bright color in by using a pretty bright blue cardstock for the layer behind the City Holiday piece.

There is a coordinating Welcome Home Sentiments Press + Foil Plates & Die Set.  I don't have this set, but it's definitely in my wish list!  I found a sentiment that I loved for this card in the A Little Message Sentiments Press Plates & Die Set.  This set also foils beautifully!

I used Black Glimmer Foil and Glimmer Specialty Cardstock with my Glimmer System to create this sentiment.  I love how this gives the appearance of a stamped sentiment, but it is just so crisp and neat!  I used a few foam squares to pop it up on the card.

This set is just so fun and makes a gorgeous holiday card as well!  Thanks for stopping by today.  I hope it's a great day for you!

Thank you for using my affiliate links to shop (never any additional cost to you)!
Thursday, July 11, 2024

Beautiful Flowering Quince Birthday Card

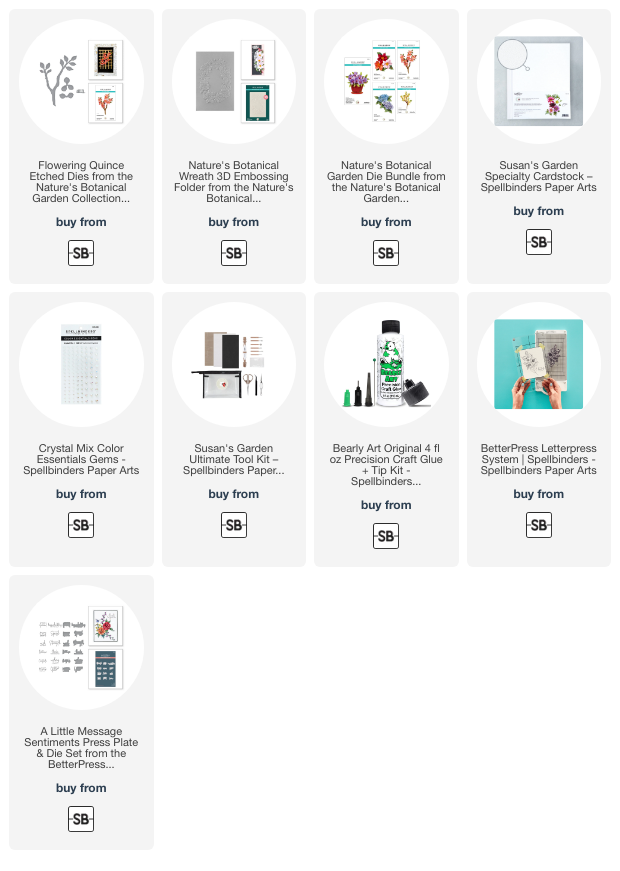
Hello friends!  Today I am sharing this birthday card I made that features Spellbinders Flowering Quince dies from the Nature's Botanical Garden Collection by Susan Tierney-Cockburn!  I've used the Nature's Botanical Wreath 3D embossing folder for a gorgeous background to set off the dimensional flowers.

I embossed an A2 sized panel of white cardstock with the Nature's Botanical Wreath 3D embossing folder.  This embossed image is large enough for a 5" x 7" card!  I centered my A2 panel so the wreath would emboss proportionally on the cardstock.  Then I adhered it to my A2 card base.

Next I cut the Flowering Quince dies from Susan's Garden Specialty Cardstock.  Note: I die cut two of the branch with leaves and nine of the flower die.  This is a wonderful textured cardstock that is easy to shape and it takes Copic marker blending beautifully!

I colored the pieces with these Copic markers:

  • Flowers: R22, R21, R11, Y08
  • Branch: E27, E25, E23
  • Leaves: YG97, YG67, YG17, YG25, YG03

Next I used several of the tools in the Ultimate Tool Kit to form and shape the flowers and stamens.  I snipped one of the branches with leaves into two pieces and adhered those pieces to the other branch.  Then I used glue to adhere the flower petals and stamens together and then to the branches.

The sentiment is from the A Little Message Sentiments BetterPress set.  This set includes coordinating dies for each of the 12 sentiments.  I love the crisp perfect image that the BetterPress Letterpress System gives!

I added a few crystal gems to give the card a bit of sparkle!

Have you tried shaping your own flowers from cardstock?  I find it so relaxing and enjoyable to create these beautiful flowers from paper!

Thanks so very much for stopping by!  I hope your day is fabulous!

Thank you so much for using my affiliate links to shop (never any additional cost to you)!

Tuesday, June 11, 2024

You Melt My Heart - Spellbinders June Stitching & Embossing Clubs

Today I'm sharing my card featuring the Spellbinders Stitching Die and Embossing Folder June clubs!  This month's Stitching Die is an easy and quick stitching session too!

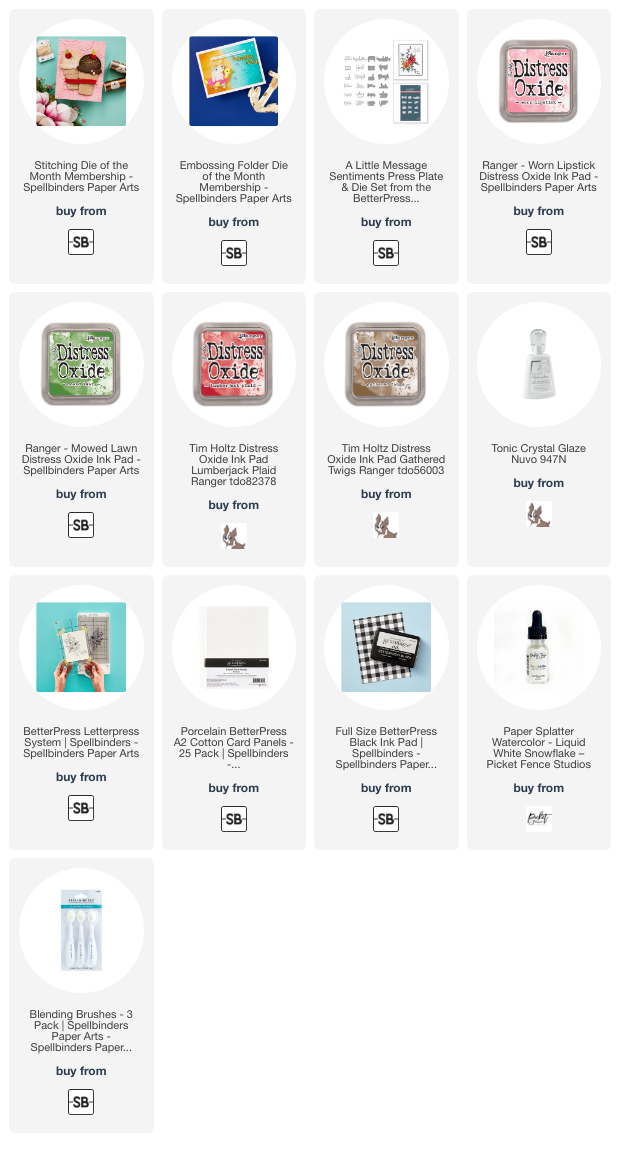
First I inked a piece of 80# Neenah with Worn Lipstick Distress Oxide with an ink blending brush.  Then I added water splatters and after several seconds, used a clean paper towel to blot the excess.  Next I added white watercolor splatters with a paint brush.  I set the piece aside to dry.

The June Stitching Die of the Month called "Stitched Ice Cream", contains all of the dies to make this sweet ice cream cone, plus two sentiment dies and the cherry!  The cardstock and thread I used are all from my stash.  The pink floss is DMC 957.  The off white is leftover from and old embroidery project and is more like a heavier DMC Pearl thread.

I inked up scraps of white cardstock with Lumberjack Plaid, Mowed Lawn, and Gathered Twigs Distress Oxide inks.  I die cut the cherry pieces and assembled it with glue.  To make it really stand out, I added Crystal Glaze to the cherry.

When the ink blended panel was dry, I used the June Embossing Folder (called Summertime Waves) to emboss it and then adhered it to an A2 card base with glue.

The sentiment I used is from the A Little Message Sentiments Press Plate & Die Set.  I used BetterPress black ink to press it into Porcelain Cotton cardstock with my BetterPress Letterpress system.  I cut it out with the included coordinating die.

Why didn't I use one of the sentiments in the Stitching Die set?  Ummm....lame brain, I guess! LOL!  I just totally spaced, but I do like the sentiment I used!

That's it for my sweet and yummy card!  If you'd like to check out all of Spellbinders clubs, click HERE to see all of the options!  Thank you so much for stopping by!

Thank you for using my affiliate links to shop (never any additional cost to you)!

Saturday, August 19, 2023

Set of Three Easy-to-make Autumn Cards featuring the BetterPress Letterpress System

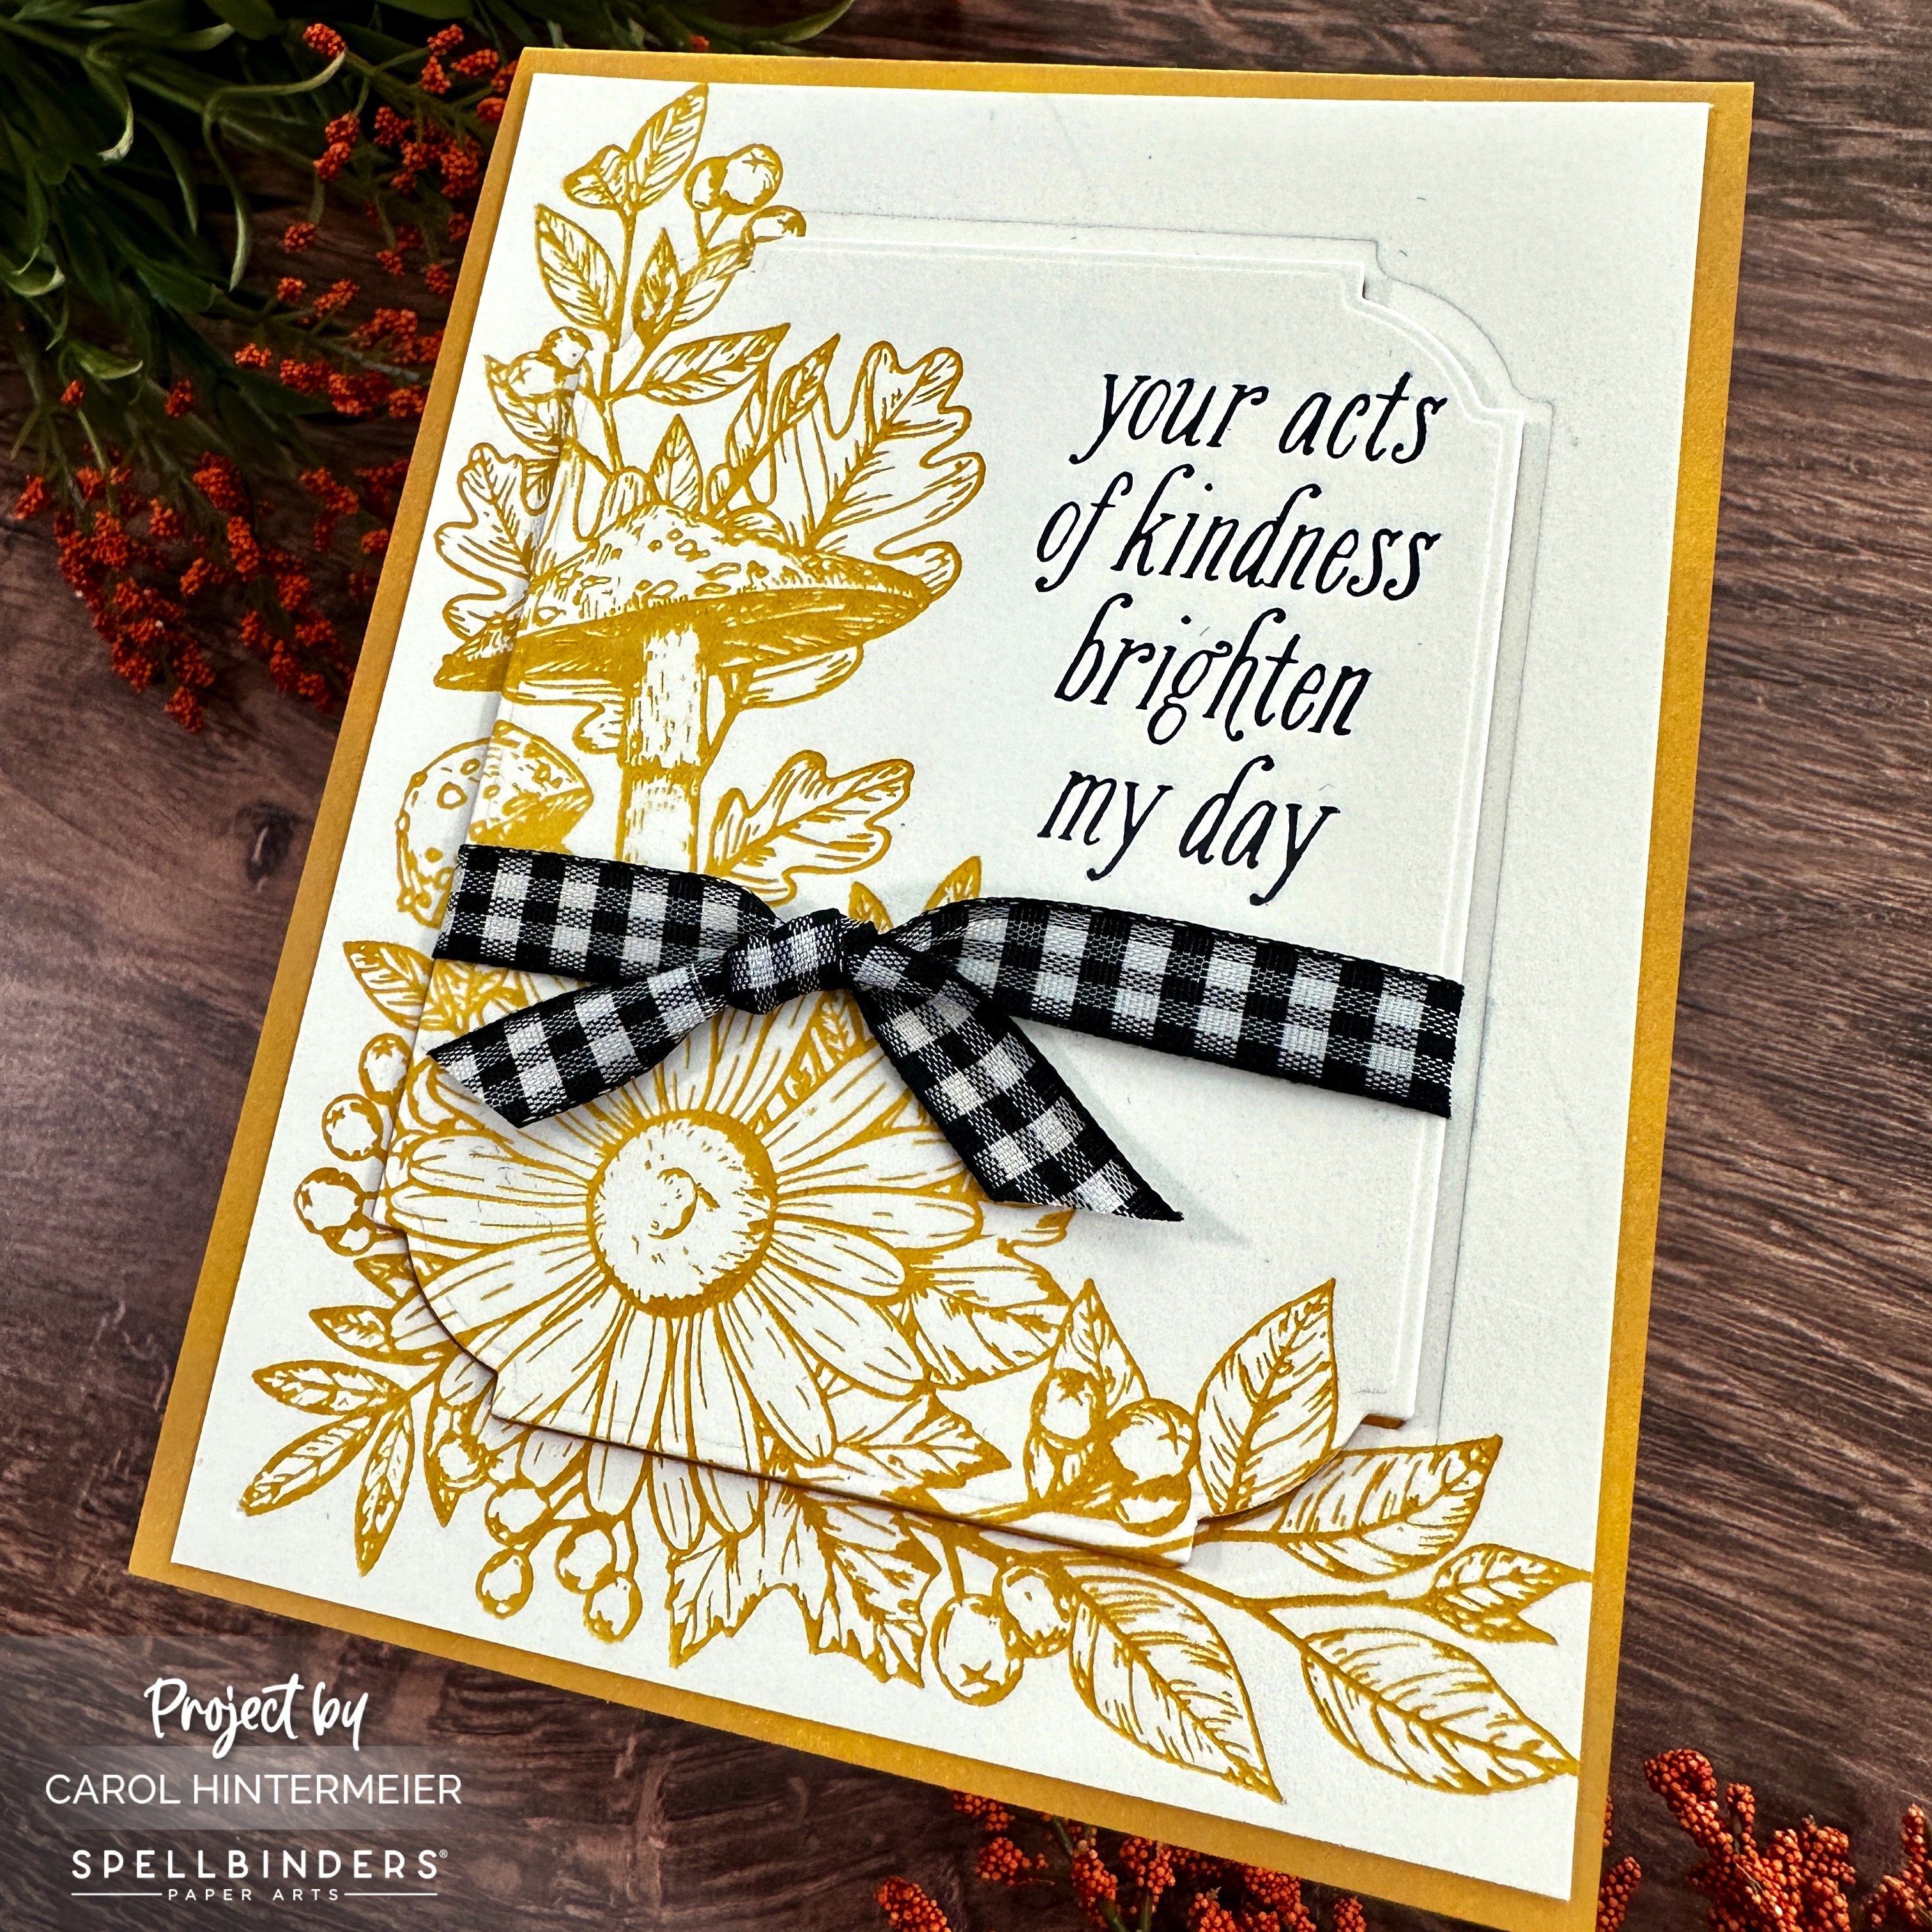
Hello, friends!  Today I'm sharing three cards I made with a couple of products in Spellbinders BetterPress Fall/Halloween Collection. These easy cards feature the gorgeous Autumn Floral Corner press plate and the Notched Corner Frames dies.

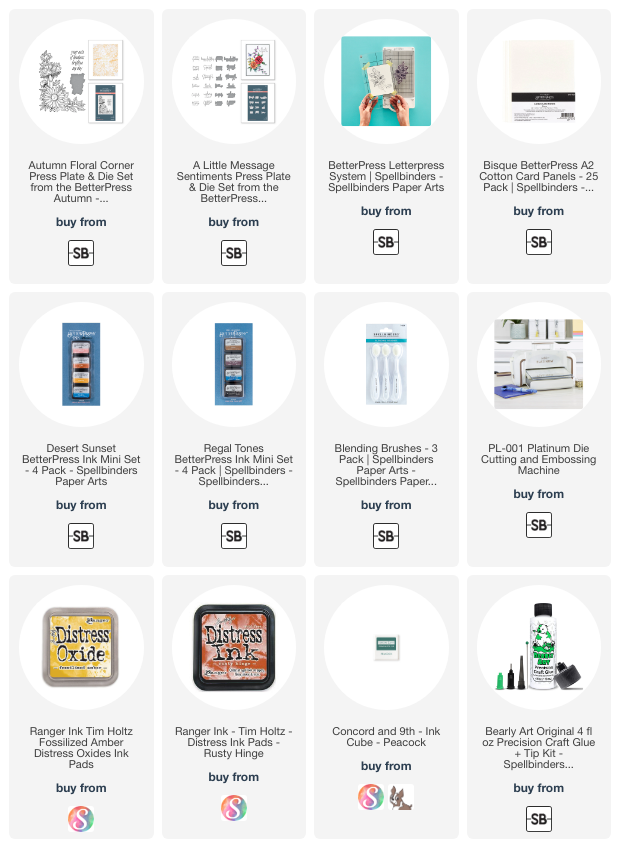
I created all three cards using Spellbinders' BetterPress Letterpress System.  I used three of the inks in the Desert Sunset BetterPress mini ink pad set and the Autumn Floral Corner press plate.  I followed the directions for the BetterPress and pressed the image onto Bisque A2 cotton card panels.  This first card is pressed with Tuscan ink.

The sentiment from this card is included with the Autumn Floral Corner set and pressed with black ink from the Regal Tones mini ink pad set.

Next I trimmed each panel to 4" x 5-¼".  Then I used the fourth largest Notched Corner Frames die and die cut the center of each panel.  Before I glued on the outer portion of the panel, I inked up the front edges of an A2 card base with Fossilized Amber Distress Oxide ink, which matches perfectly!

I tied a piece of gingham ribbon around the center panel and added foam tape to the back to pop it up.

The next two cards are created in the same way as the first, just different ink colors.

This time I pressed the Autumn Floral Corner with Clay ink.  I found another very good coordinating ink-Rusty Hinge Distress ink-for the card base.  This sentiment is from the A Little Message Sentiments press plates and dies set.

Last but not least, is the final card pressed with Coastal Ink.  I searched through my entire stash of ink pads to find a coordinating ink for the card base and this is the closest I could come!

Even though the Peacock ink is a bit bright, I do think that Concord & 9th's Peacock ink coordinates very nicely!  Again, the sentiment is from the A Little Message Sentiments set.

I hope you've been inspired by these easy and beautiful cards today!  I truly do love the BetterPress system and the crisp images it creates!  Thanks so very much for stopping by!

Thank you for shopping with my affiliate links (never any additional cost to you)!