
Today I have two cards to share using Spellbinders' beautiful new Nordic Ornaments die set. This set has two different ornament shapes and several extra dies to go along with the ornaments!

To die cut the different color inlays, you have to die cut the ornament twice, which gives you extra pieces for another card!

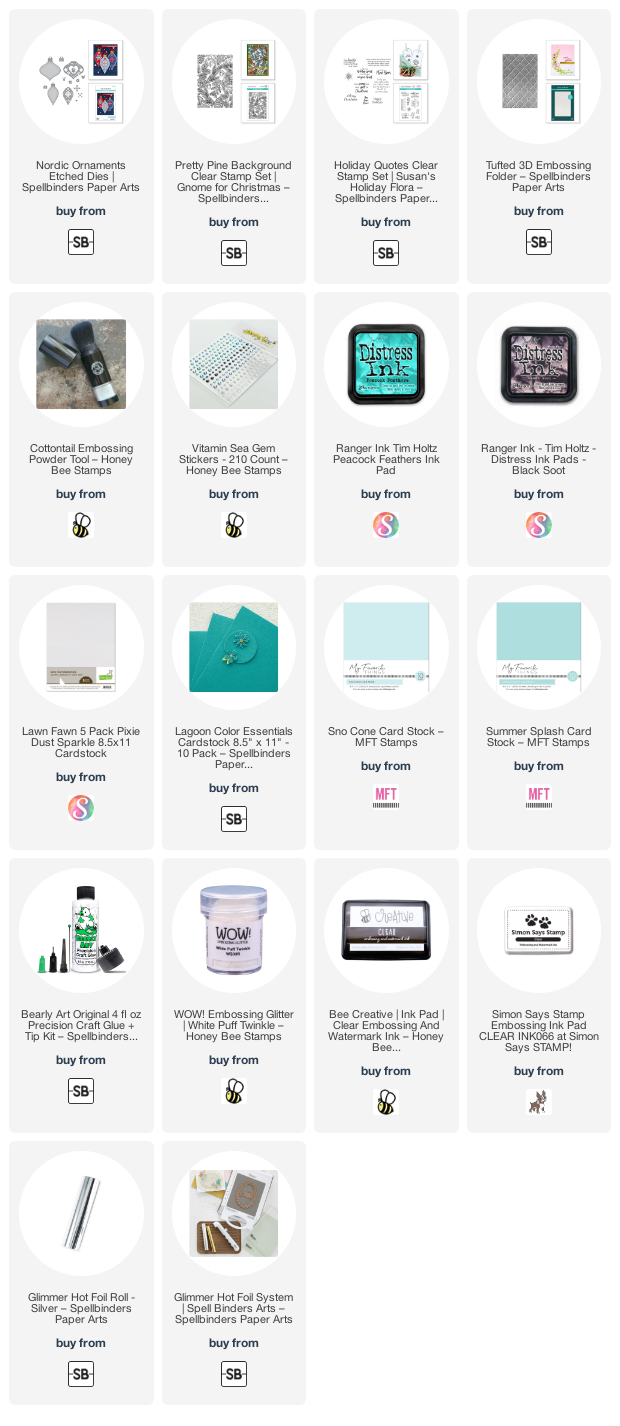
I created the background for this card by stamping the Pretty Pine Background stamp and heat embossing it with White Puff Twinkle embossing powder. I trimmed it 3-¾" x 5-½" and adhered it to a medium teal card.
Then I die cut the ornament base from a lighter teal cardstock. Next I used the medium teal cardstock to die cut the ornament detail die. I cut it again from the light teal. I used Press N Seal to secure all of the extra pieces!

I die cut the Nordic Ornament detail die once again from sparkle cardstock. Then I used liquid glue to adhere the layers and inset pieces as shown in the photo.
I die cut the ornament top from silver mirror cardstock and glued it on. I added a bow with some silver thread. Then I popped it up onto the card with foam tape.
These sentiment is from the Holiday Quotes set and white embossed. I hand cut it out and added foam tape to the back.

For this next card I used all of the extra pieces from the previous card!! The only dies I had to cut again are the ornament base and another topper.

The first thing I die was add Glossy Accents to the reserved inlay pieces. I set those aside to dry. Then I created the base base by inking the edges of dark teal cardstock with Peacock Feathers and Black Soot Distress inks.
Next I used my Glimmer machine to hot foil the sentiment at the bottom of the inked panel. This hot foil plate is one of three in the Gifts of Christmas Sentiments.
I put the foiled panel into the Tufted 3D embossing folder, making sure to leave the bottom edge hanging out to partially emboss it. I ran it through my Platinum die cutting machine, and WOW! I just love this embossing folder!

After I glued the pieces of the ornament together, I added foam tape to the back to pop it up on the card. To finish I tied a little bow for the ornament and added a few gem stickers for a bit of sparkle.

Thanks so much for stopping by! I hope you have a wonderful, and crafty, day!
Thank you if you use my affiliate links (never any additional cost to you).
Your cards are stunning. Thanks for including the details and the wonderful inspiration.
ReplyDeleteReally ornate dies -- beautiful cards, Carol
ReplyDelete