Woohoo! Honey Bee Stamps and Simon Says Stamp have done it again with this absolutely adorable collaboration stamp set called Warm Wishes! Now's the time to go grab it as it is limited, exclusive, and only available while supplies last, and will not be re-stocked! These are only available over at the Simon Says Stamp shop and you can find it by clicking HERE. There if also a stamp/die combo available is you are a die loving crafter like me!
Here's a good peek at the set!
I created an almost-one-layer card with this adorable Warm Wishes stamp set! Here are the steps for making one:
- Plan your scene by laying out the stamps as you want them to appear on the card.
- Stamp each image onto masking paper and cut out.
- Remember to stamp what will be in the very front (such as the snowman's hat) first.
- Note: Do as I say not as I did, like stamping the snowman first, before the hat and scarf! LOL!
- To fix my mistake, I stamped the snowman's hat and scarf again this time on some 80# Neenah with Intense Black ink. I added the masks and stamped the snowman. Then I fussy cut him out and colored it with my Copics.
- I added foam tape to the snowman and popped it up over the previously stamped image.
- Continue stamping, then masking, each image with Intense Black ink (Copic safe.)
- When finished stamping, make sure all images are covered with a mask.
- Ink the sky with Milled Lavender, Shaded Lilac, and Blueprint Sketch Distress Oxide inks. I used an ink blender brush add the inks. (Supply links are at the end of my post.)
- Remove the masks and color the images with Copic markers.
- I decided to stamp the gifts again on some scrap cardstock to have a couple more to pop up onto the sled. Kind of goes with the popped up snowman!
I added shading under the snowman, sled, and trees with a BV01 and B60 Copic Marker. Next I stamped the sentiment from the set with Versamark and heat set white embossing powder. Then I used the snowflake stamp from the set and repeated the heat embossing steps.
I used the largest Deckle Edge A2 die to cut the panel out and adhered it to an A2 card. I used a white gel pen to add more dots for snow and some details to the gifts. I added sparkles with a clear gel pen on the snowman and one gift. I added Star Dust Stickles to the tree tops.
I hope you've enjoyed my card and that you're able to snag this adorable set before it sells out! Don't forget, it's only available over at Simon Says Stamp HERE. Have a very wonderful, and crafty, weekend!
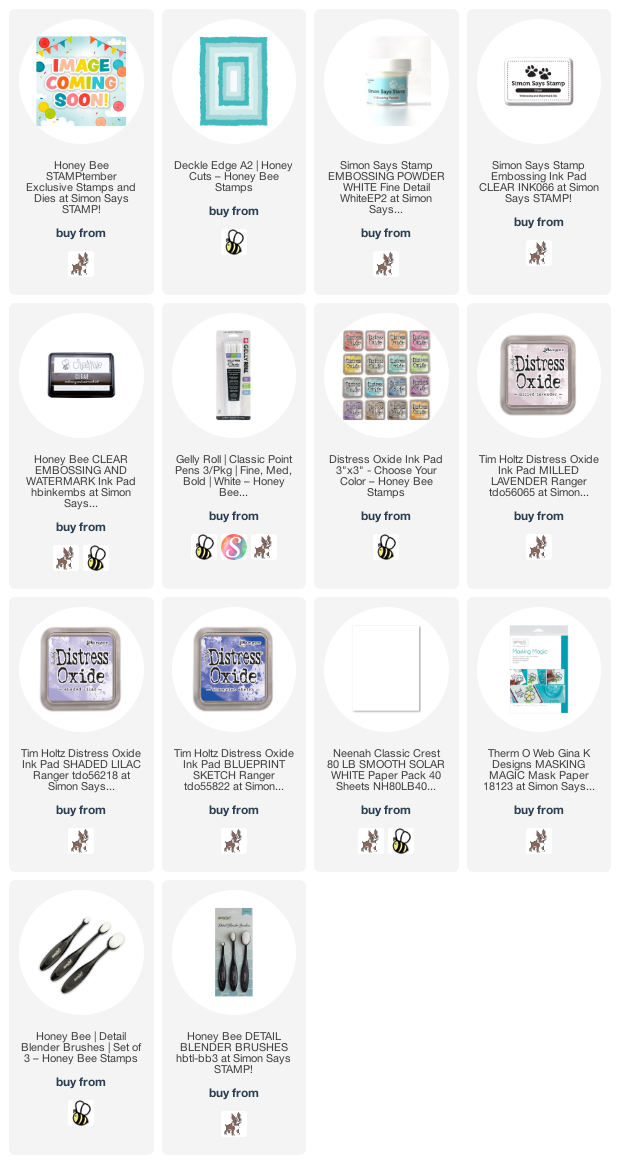
Thank you so much if you choose to use my affiliate links! (never any additional cost to you)


No comments:
Post a Comment
Thank you so much for using my product links to shop. Some of the product links I've provided may have what is called an "affiliate" link. By using my links to purchase products, I may earn a bit of a commission, at absolutely no additional cost for you. Thank you for supporting my blog.