Showing posts with label Tufted 3D embossing folder. Show all posts

Friday, May 10, 2024

Thinking of You!

Happy Friday!  Today I'm sharing my card I made with a few products from Spellbinders' beautiful Propagation Garden Collection by Annie Williams.  I love all of the products in this collection and the Propagation Garden Sentiments give you just the right thing to say for many occasions!

I embossed light gray cardstock with the Tufted 3D embossing folder.  I added this to an A2 card base with glue.

Next I cut a strip of woodgrain cardstock and inked it up with brown ink to make a shelf for the rooting plant to sit on.

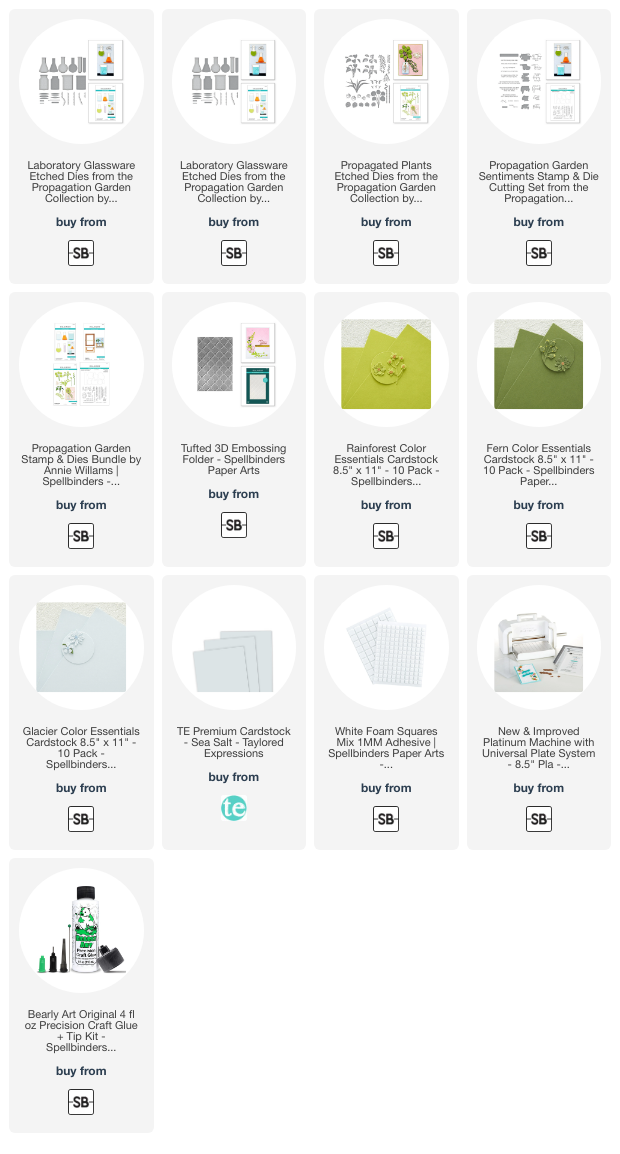
I die cut colored cardstock with the chosen layers from the Propagated Plants dies and the Laboratory Glassware dies.  I have the cardstock colors in the list below.  These were all very easy to assemble and adhere with glue.  I added a couple pieces of foam tape on the back to adhere the arrangement to the card.

As I mentioned, the Propagation Garden Sentiments stamp set is filled with various sentiments.  You can choose from birthday, encouragement, friendship, and general sentiments!  After I stamped my sentiment in black ink, I cut it out with the coordinating die and popped it up on the card with foam tape.

I added a few green enamel dots from my stash for a touch of bling.

This card was really that easy!  The only thing I struggled with was what color of cardstock to use!  However, that is nothing new for me.  LOL!

If you are a mom, happy Mother's Day to you and I hope you have a most wonderful day.  I look forward to seeing our two daughters and sharing the day with them.  I will also be missing my mother.  While it's been almost 12 years now that she's been gone, I miss her greatly, but treasure the time and memories we had with her!

Thank you for shopping with my affiliate links (never any additional cost to you)!
Monday, March 11, 2024

Spellbinders Through The Arbor Garden Carnation Birthday Card

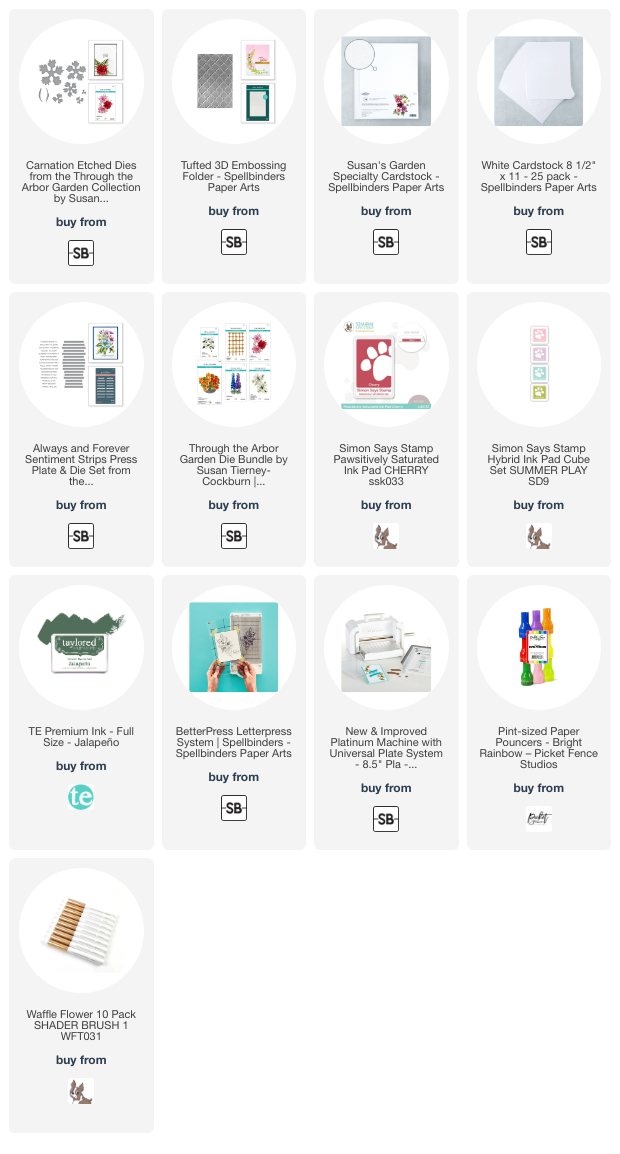
Today I'm sharing my card I made with the absolutely gorgeous Carnation die set from the Through The Arbor Garden collection by Spellbinders.

A little bit about me is that some of my very first dies were flower petal dies to make shaped flowers.  To this day I find it so fun and satisfying to take plain white cardstock and create beautiful flowers!

I used, for the first time, this specialty cardstock called "Susan's Garden Specialty Cardstock".  I don't even remember when I ordered it, but I surely should have used it a lot sooner! Haha!  I die cut all of the Carnation dies from this cardstock.  These dies have a number etched into them to indicate how many times they should be die cut, which is so helpful.

I used paper pouncers and a small ink blending brush to color the flowers with Cherry and Twirling Tutu inks and the leaves with green ink.  The inks are in the list below for your reference.

For the shaping and construction of the Carnations, I followed the directions on Spellbinders' YouTube.  With the shaping tools and these directions, it's easy to get beautifully shaped carnations!

I embossed the background layer with the Tufted 3D embossing folder, leaving the bottom edge hanging out.  The sentiment is one that I had on hand.  The Always and Forever Sentiment Strips letterpress plate creates 16 sentiments at once!  There's also a die included that cuts them out all together.


If you think you could never create beautiful paper flowers, I would disagree!  I really hope I've inspired you to give this a try.

Thank you so much for stopping by.  Have a wonderful week!

Thank you so much for using my affiliate links to shop (never any additional cost to you)!

Friday, July 21, 2023

Stitched For Christmas - Christmas Cards with Stitching!

Happy Friday!!  Today I'm sharing two cards I made with two products from Spellbinders new Stitched For Christmas Collection.

This first card is a cute sweater shaped card that was super fast and easy to make!

This adorable sweater is from the Stitched Christmas Sweater die set.  In addition to the snowflake I used, the set also has a little Christmas tree and an ornament to embellish your sweater with.  I die cut two of the snowflakes from 80# Neenah and used glue to adhere them together.  

Having a double layer adds a lot of stability to the piece as you stitch.  I used DMC #3755 to stitch in the die cut openings.  Be sure to check out Spellbinders shop to see the nice selection of embroidery thread they have.

To create the card, I die cut the sweater in the Stitched Christmas Sweater set two times from Glacier cardstock (all cardstock is linked below).  I scored one piece just above the base of the collar (about ¼") and adhered the two with glue on the scored tab.  To give the back a finished look, I die cut the sweater once more from 80# Neenah and adhered it to the back with the "pretty" side out.

I die cut the sweater trim pieces from a white Flock Transfer Sheet.  (This can be used with a laminator, or just used as I did by die cutting).  I love the soft fluffy look it adds to the sweater!

I found a Christmas sentiment from a retired set that would fit inside the card and stamped it in a coordinating blue ink.

I used the third smallest Matting Basics B die to cut it out.  I made it fit by doing partial die cutting to shorten the rectangle.

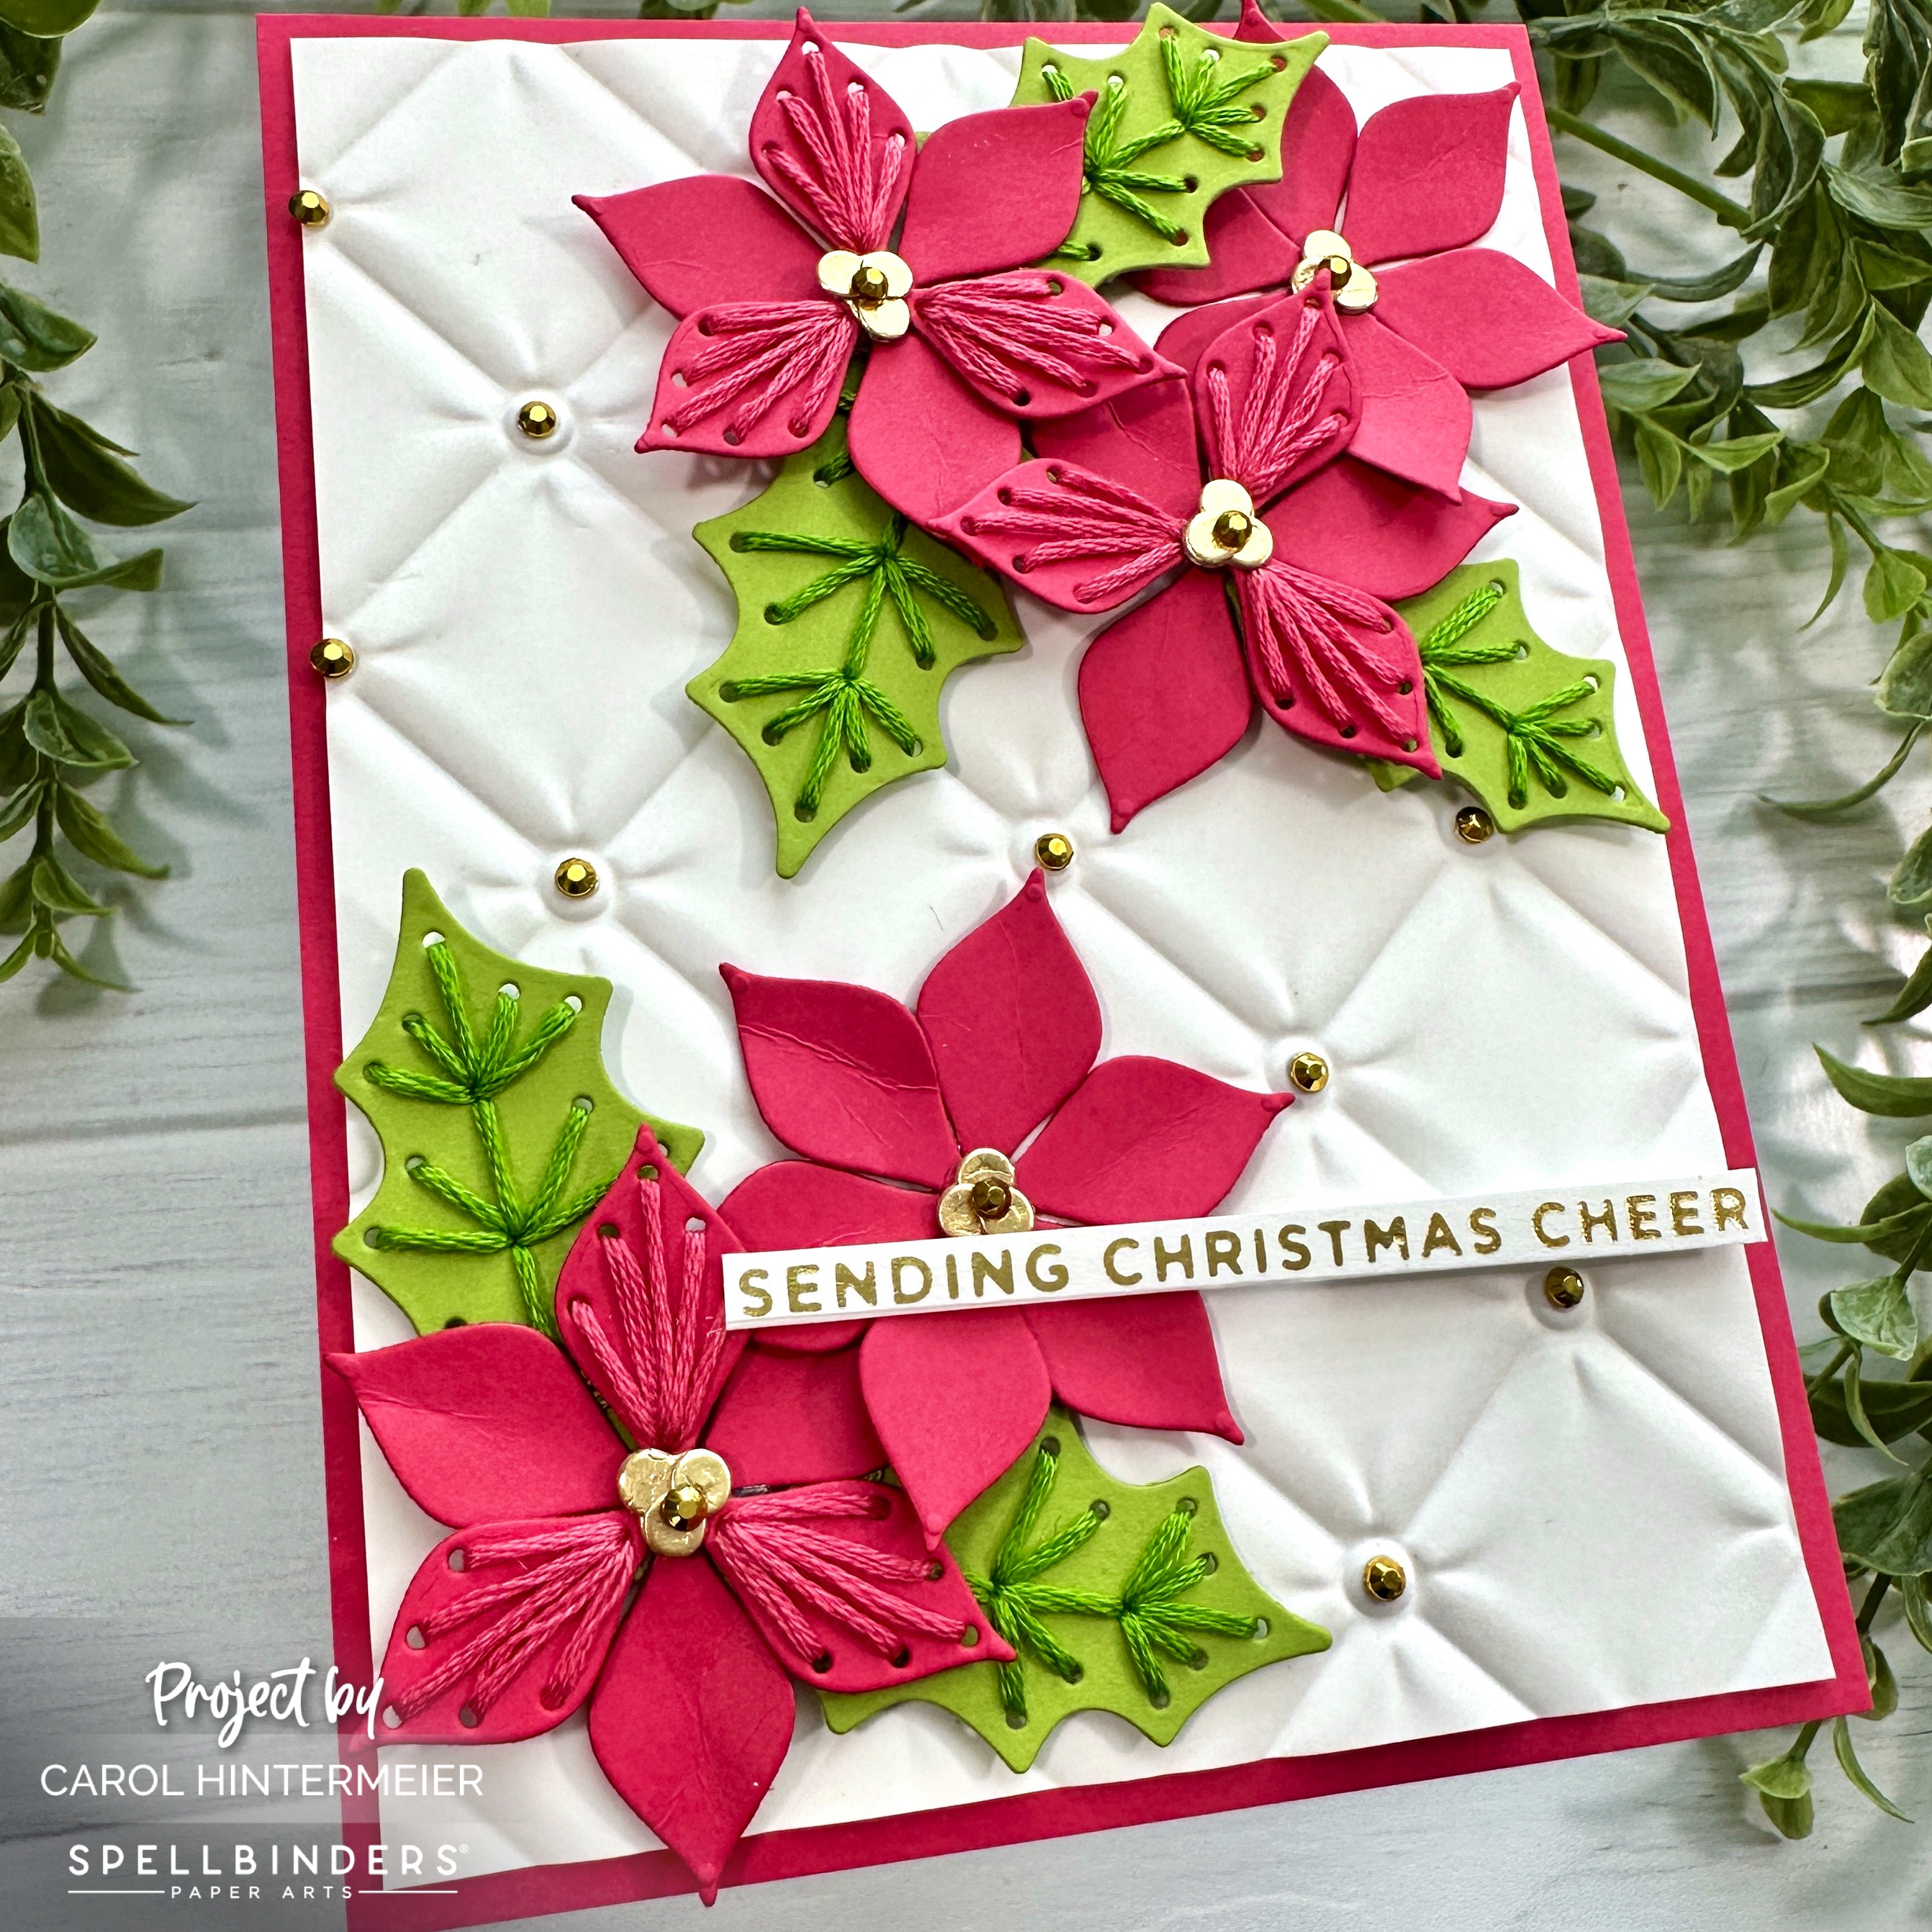
My second card features the beautiful Stitched Poinsettia & Holly die set.  Had I just used one of the flowers, this card would have been pretty quick to make too!

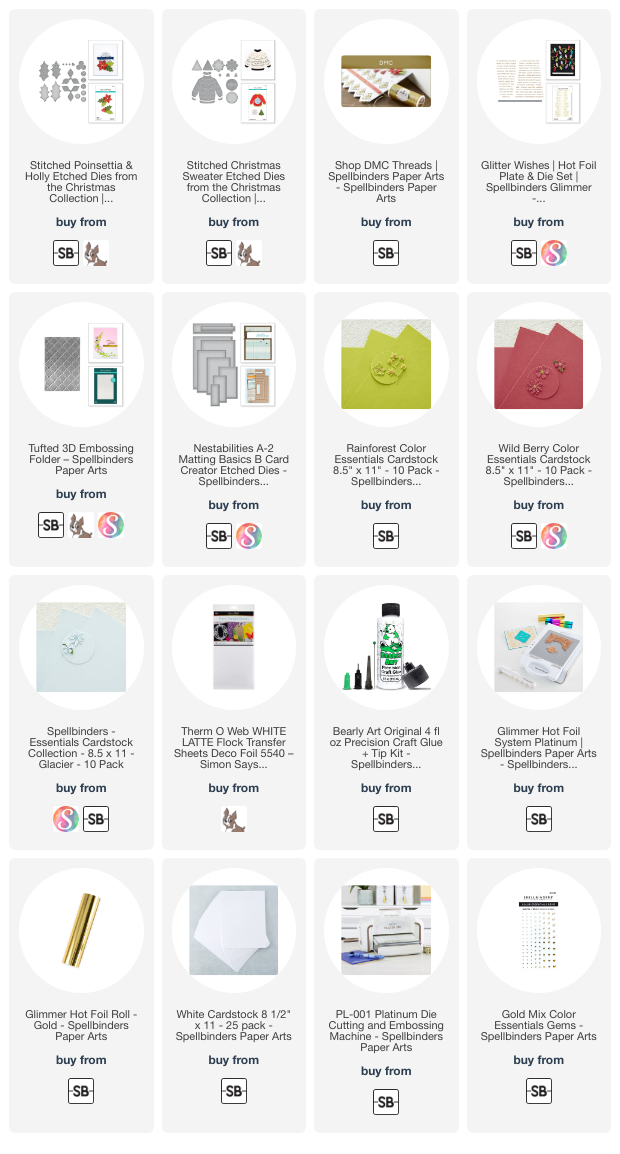
I die cut the poinsettia flowers from Wild Berry cardstock and the holly leaves from Rainforest.  I decided to make the stitching close to the same color as the cardstock and used DMC #335 and #906.

I embossed some 80# Neenah with the Tufted 3D embossing folder and added it to a layer of Wild Berry cardstock and an A2 card base.

I used glue to assemble the flower layers.  I die cut the poinsettia centers from matte gold cardstock and added them to the flower centers.  To adhere the poinsettias and holly leaves to the card, I used a combination of glue and foam dots.

I used my Glimmer Hot Foil System to create the gold sentiment found in the Glitter Wishes Hot Foil Plate & Die set.  I added more sparkle by adhering some gems in my stash to the card layer and onto the center of the poinsettias.

I'm very happy to have two very pretty Christmas cards ready for mailing in December.  I hope you've been inspired to give stitching on your cards a try.  These small die cuts are a great way to try it out!  Thanks so much for stopping by!

Thank you for using my affiliate links to shop (never any additional cost to you)!