Showing posts with label Vivid Blooms. Show all posts

Saturday, March 8, 2025

So Grateful For You -- Featuring Spellbinders March Embossing Folder

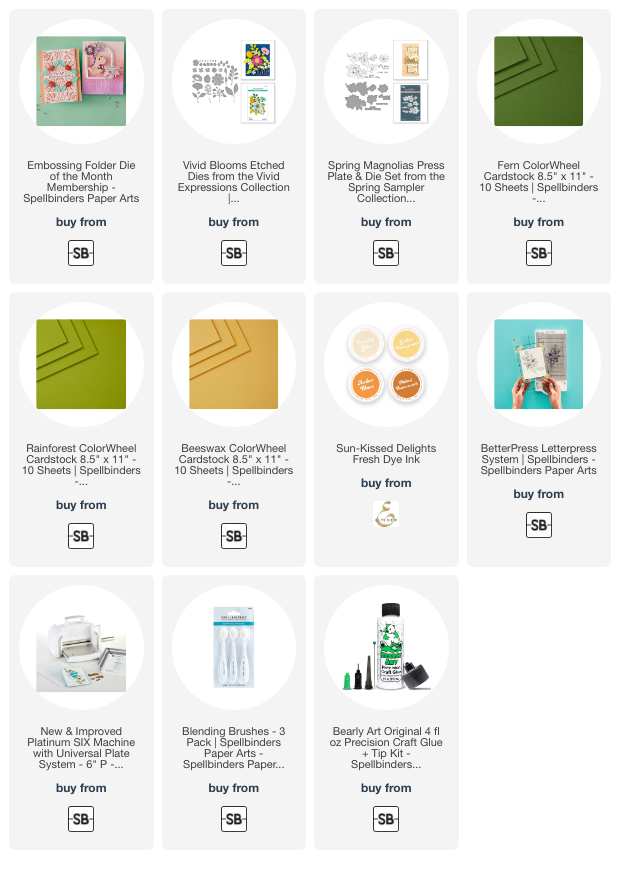
Spellbinders' March Club Kits are out now!  My card today features the beautiful and very versatile Embossing Folder Of The Month called Mosaic Memories!

I have fun creating this card with a bit of a different look!  If you look at the image of the Mosaic Memories embossing folder, you can see that the pattern is in a grid.  First I embossed white cardstock and then I used my paper trimmer to trim the center piece out.  I use two shades of warm yellow inks to add color to the piece.

Then I used the Mosaic Memories embossing folder to emboss a piece of Beeswax cardstock.  I trimmed it to about 5-¼" x 4".  I also trimmed the inked center piece by about ¼".  Then I matted both with white cardstock and glued the large piece to an A2 card base.  I used foam tape to adhere the smaller piece.

I used a few of the dies from the Vivid Blooms set to die cut Rainforest, Fern, and a periwinkle colored cardstocks.  (All available cardstocks are in the list below.)  I used glue to adhere the flowers and stems and the glued them to the card.

I used a sentiment from the Spring Magnolias Press Plates (currently on sale ½ off!) set with a warm orange ink.  I cut it out with the coordinating die and popped it up with foam squares.

I have several ideas on different ways to use this beautiful embossing folder!  Check out all of the Club Kits to see which ones you like!  Thanks so much for stopping by.  I hope you have a wonderful weekend!

Thank you for using my affiliate links to shop (never any additional cost to you)!

Sunday, February 23, 2025

Happy Birthday Gorgeous!

I made a fun and quick card with Spellbinders February 3D embossing folder of the month.  Embossing, die cutting, inking, and a BetterPress sentiment completes this card.

First I die cut the diamond shape from the center of an A2 sized piece of Fruit Punch cardstock using a die from the Essential Diamonds set.  Then I embossed it with the 3D Folder Of The Month (called Petite Bow).  Next I inked around the edges of the cardstock with a slightly darker coordinating ink.

To make the embossing really stand out, I swiped a white pigment ink pad over the piece and set it aside to let the ink dry.

Then I die cut white cardstock with several of the dies from the Vivid Blooms die set.  I used inks from my stash to color them with ink blending brushes.  I used glue to adhere the layers.

Next I embossed white cardstock with the Petite Bows 3D embossing folder.  I used foam tape to adhere the pink embossed panel to the white cardstock.  These layers were glued to an A2 card base.

I arranged the flowers and leaves around the die cut opening and adhered them all with some glue.  I used a sentiment from the Bougie Birthday Sentiments Press Plate & Die Set and popped it up with a foam strip.

I thought about adding some bling, but decided that I liked the card just as it is!

If you like this folder (how could you not?!) there is still time to sign up for the 3D Embossing Folder Club Kit for February!

I appreciate you stopping by today and hope you have a fabulous week ahead!

Thank you for using my affiliate links to shop (never any additional cost to you)!

Friday, February 14, 2025

Vivid Blooms Floral Card with Letterpress Background

Today I'm sharing details about this card I made featuring Spellbinders gorgeous February BetterPress Of The Month Club Kit!   This beautiful press plate, Luxe Damask, made an awesome background for the die cuts from the Vivid Blooms die set!

The February BetterPress press plate actually presses two rows of the Luxe Damask pattern.  There is a preprinted "registration template" with guide lines for placement of the press plate to get a perfect pattern for a full card front.

I used three shades of yellow ink for the Luxe Damask press plate and the flowers from the Vivid Blooms die set.  The inks are linked in the list below.  After you tape the registration template to your magnetic insert on the BetterPress Letterpress System's chase, you line up the press plate according to the template.  Ink up the press plate and run the chase through your die cutting machine.  I use a Platinum 6.

Then I moved the Luxe Damask press plate to the next set of lines on the template and repeated the above steps until I had the entire piece of Porcelain cotton card covered with the pattern.

I used several of the dies from the Vivid Blooms die set and cut them from white, light green, and dark green cardstocks.

I used blending brushes to add yellow inks to the flowers and a black Copic marker for the flower centers.

The sentiment is one of three sentiment press plates (and coordinating dies) included with the February BetterPress of the month.  I pressed it with black ink onto Porcelain cotton card.  I used foam tape to pop it up on the card.

 I wish you could see the beautiful impressed, textured background this Luxe Damask press plate creates!  You can check out all of the Spellbinders Club Kits and the information for subscribing by clicking HERE.

Thanks so much for stopping by!  Have a wonderful, crafty weekend!

Thank you for using my affiliate links to shop (never any additional cost to you)!